November 16, 2017
DIY HOME | Staining My Dining Room Table
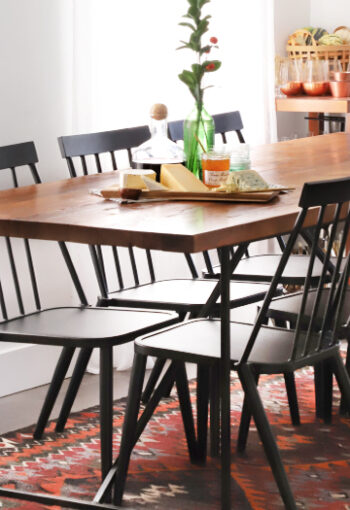
If you all have been following along on ISPYDIY Instagram, you’ve seen that I have been putting some finishing touches on my… Read More
If you all have been following along on ISPYDIY Instagram, you’ve seen that I have been putting some finishing touches on my… Read More

I didn’t forget about the last two episodes of Makeover by Monday! (I just got pregnant, and super sick, ha!) But I… Read More
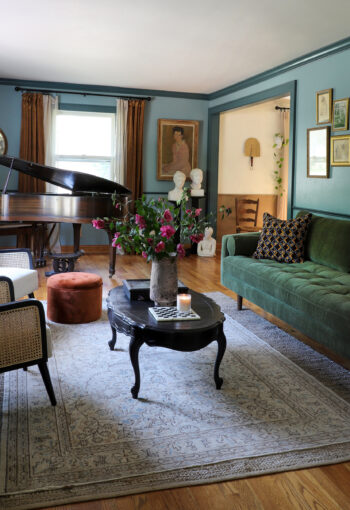
In last weekend’s episode of Makeover by Monday, I got to create a gallery wall with ALL the homeowner’s art. So I… Read More
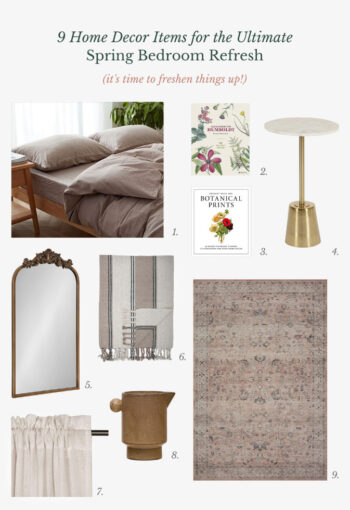
Spring Has Arrived (Finally) Goodbye to Wisconsin Winter, HELLO SPRING! Every year at about this time I like to revisit our rentals… Read More
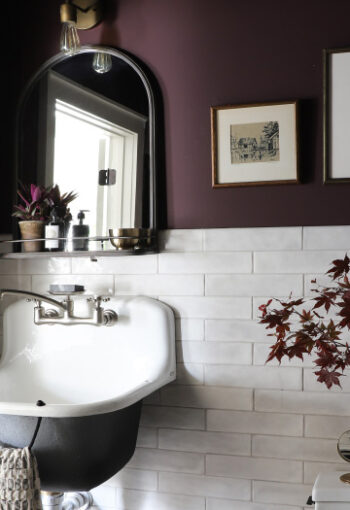
Looking back on 2020, I could not believe that we did more than a dozen room reveals, including a full restaurant makeover!… Read More
It’s Week 2 of the One Room Challenge, and SO MUCH has happened since last week!! The hub has been working his… Read More


