DIY HOME | Staining My Dining Room Table
DIY PROJECT, Home DIY
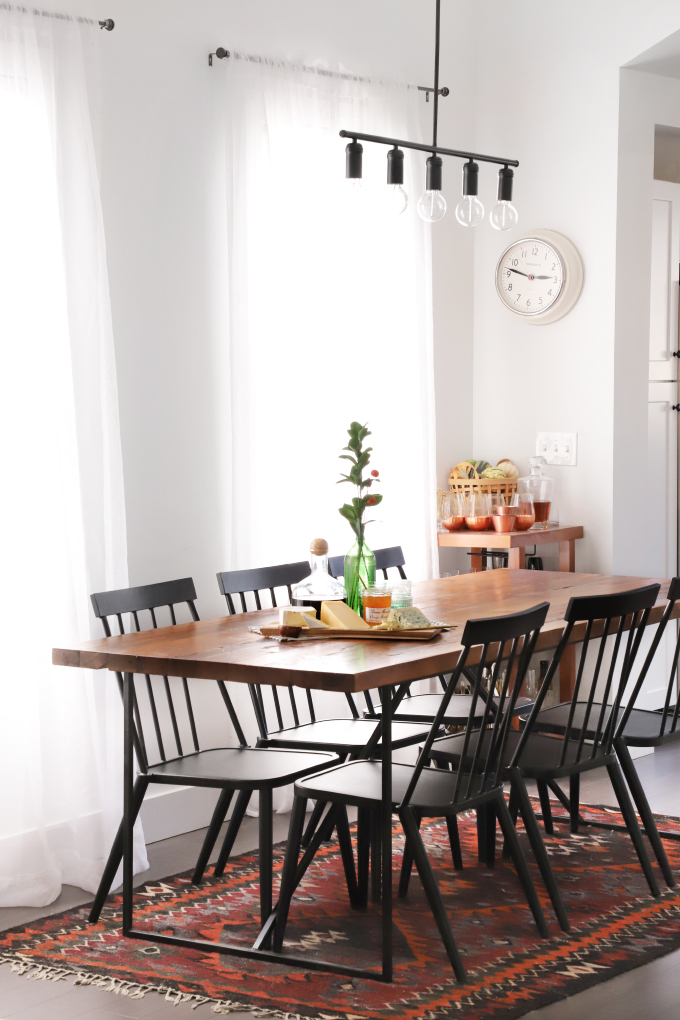
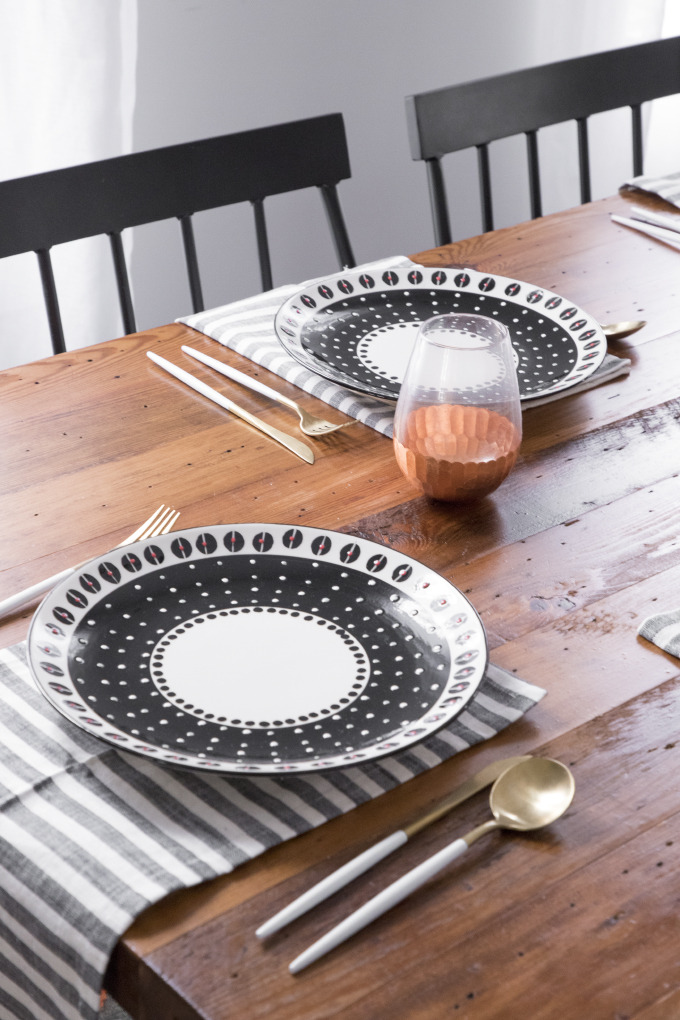
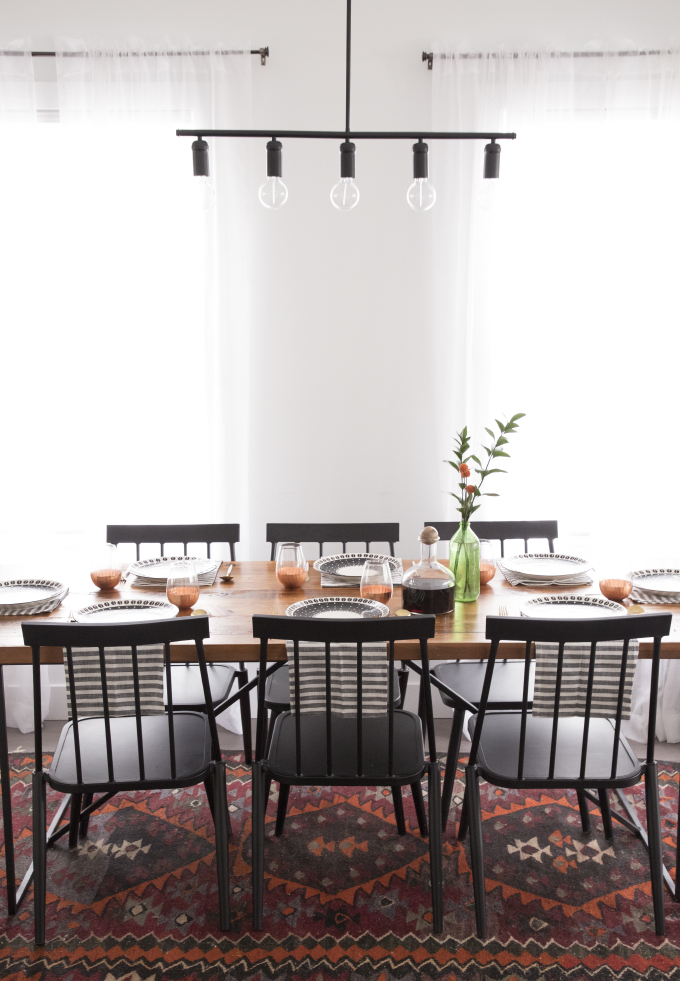
If you all have been following along on ISPYDIY Instagram, you’ve seen that I have been putting some finishing touches on my dining room and kitchen, and giving it a bit of a Fall makeover. I was going to waiting till I had everything done to show you all photos, but I a bunch of you DMed me questions about my kitchen table while I was staining it, and I wanted to give you the details right away! A little backstory, when we were gutting the house, and vaulting the ceilings, I had the demo guys keep a bunch of the original 125-year-old 2x4s. I knew I wanted a big kitchen table for entertaining, and thought using them would be a fun homage to the house and it’s history. My carpenter pulled out the one million nails from each piece of wood, and ran them though a plainer a bunch of times, then glued and clamped the 2x4s together to create the top. I stretched up a base idea for him, and he welded it to match the vision I had in my head perfectly!
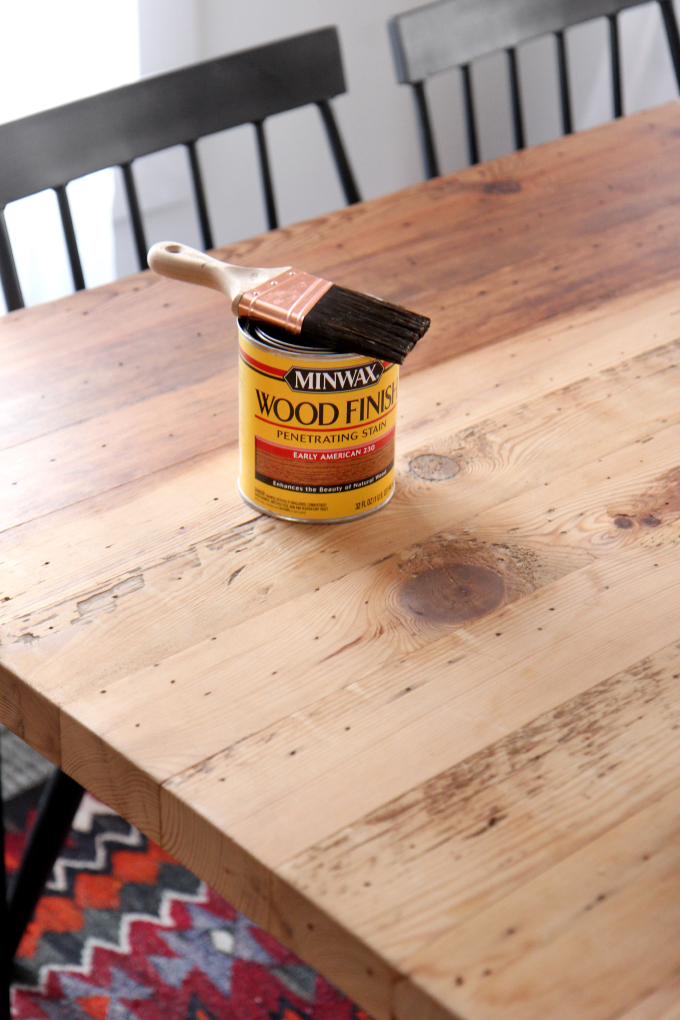
The table has been sitting unfinished for about a year and a half, because I was not sure what direction I wanted to go with it. I honestly love the unfinished wood look, but it left the room looking a bit undone. I went stain shopping an found a color I had not seen before called Minwax® Early American, and I thought it would be perfect to give the wood a richer tone and really show the character. It did exactly that! I love the color variation from one piece of wood to the next. 
Next, was deciding on a top coat…gloss or matte. I tend to always go for matte satin, but I thought for a dining table that would have to withstand a lot of spills, a gloss would be better…so I ended up somewhere in the middle with a semi-gloss Minwax® Helmsman® Spar Urethane specially formulated to use on surfaces exposed to water. No coasters for me! I was nervous because it looks SUPER glossy when it goes on, but it dried with just the right amount of sheen.
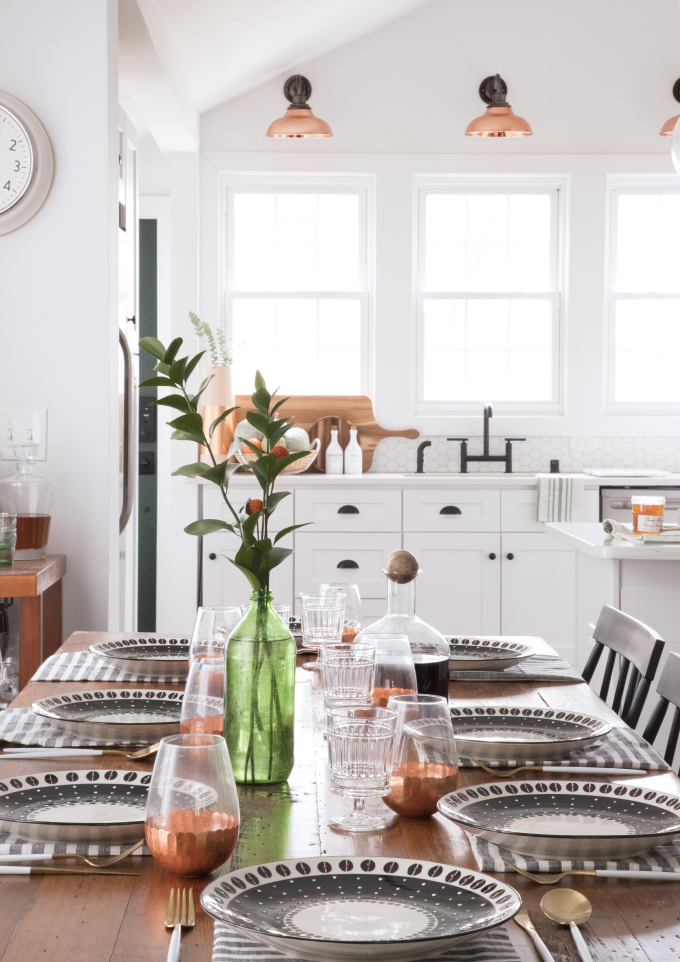
Steps and Supplies after the break!
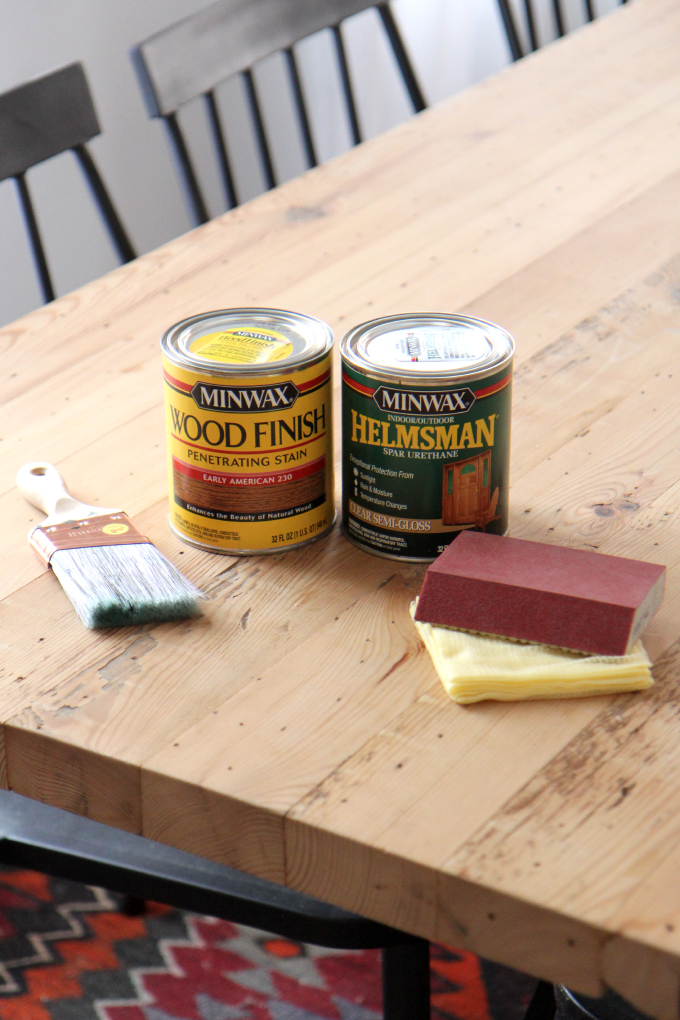
What you need:
Minwax® Early American Oil Based Interior Stain
Minwax® Helmsman® Spar Urethane
Brush
Rag
220 Git X-fine sandpaper
Tack Cloths
Protective gloves
What to do:
Start with sanded table top, then remove any dust by patting it was the tack cloth so surface is clean.
Mix the Minwax® Early American stain, and rub on a thin layer with the rag, going with the grain of the wood. I actually brush on a little, then rubbed it into each board with the rag, wiping off any excess. I only did one coat, then let it sit for 24 hours.
Once dry, I lightly sanded the table with the 220 grit block, then use the tack cloth again to pat the table clean.
Next, use the brush to paint on a layer of of the Minwax® Helmsman® Spar Urethane then let dry. After 4 hours add a second coat. Then let dry. Time for dinner!


This post was made in partnership with Minwax, thanks for supporting my amazing sponsors!
EXPLORE MORE: DIY PROJECT, Home DIY


That dining table looks great! I love it.
http://sugarcoatedbears.blogspot.com/
This is a great shade, it fits perfectly to the rest of the room!
https://www.makeandmess.com/
The table looks beautiful! Where did you get the chairs?
They are from the outdoor collection last summer at Target!
I love the rug! Might I ask where it’s from? I’m having a hard time finding the right kilim rug for my space.
I always like to buy mine in person, got it at my local antique store
Love that rug! Where’s it from?
Got it antiquing 🙂
Beautiful table! Where did you get the light fixture above the table?
Got it on Amazon it’s by The Novogratz!
Such a lovely space! The stain pairs so nicely with the rich colors in the rug, which by the way is gorgeous ?
I love diy!
https://thepinkpineappleblog.blogspot.com/2017/11/lfw-day-45.html
I am going to have to remember this! I love how it came out!
Michelle || http://www.byquinn.com