Makeover By Monday Season 2 Premiere!! Limewash Guest Room & Laundry Room
As Seen In, Before & After, DIY PROJECT, Makeover by Monday, Room Makeovers, SHOP
Welcome to Season Two of Makeover by Monday!! I AM SO EXCITED for you all to see this season!! First up, how to watch it: episodes are live on Saturdays at 1p/12p c on the Magnolia Network on TV, or stream anytime on Max and Discovery+! This season is going to be a bit different from the last one because I was 7-9 months pregnant while filming, which was a wild experience, but we did some really cool stuff (swollen feet and all)! You’d think I’d slow down and make things easier, but nope, I pushed our same crew even further this season (thanks for coming back, guys!), and created bolder and more exciting designs. I challenged myself to take some chances and experiment with new color, design styles, and techniques, starting with this first makeover of a guest room and laundry room!

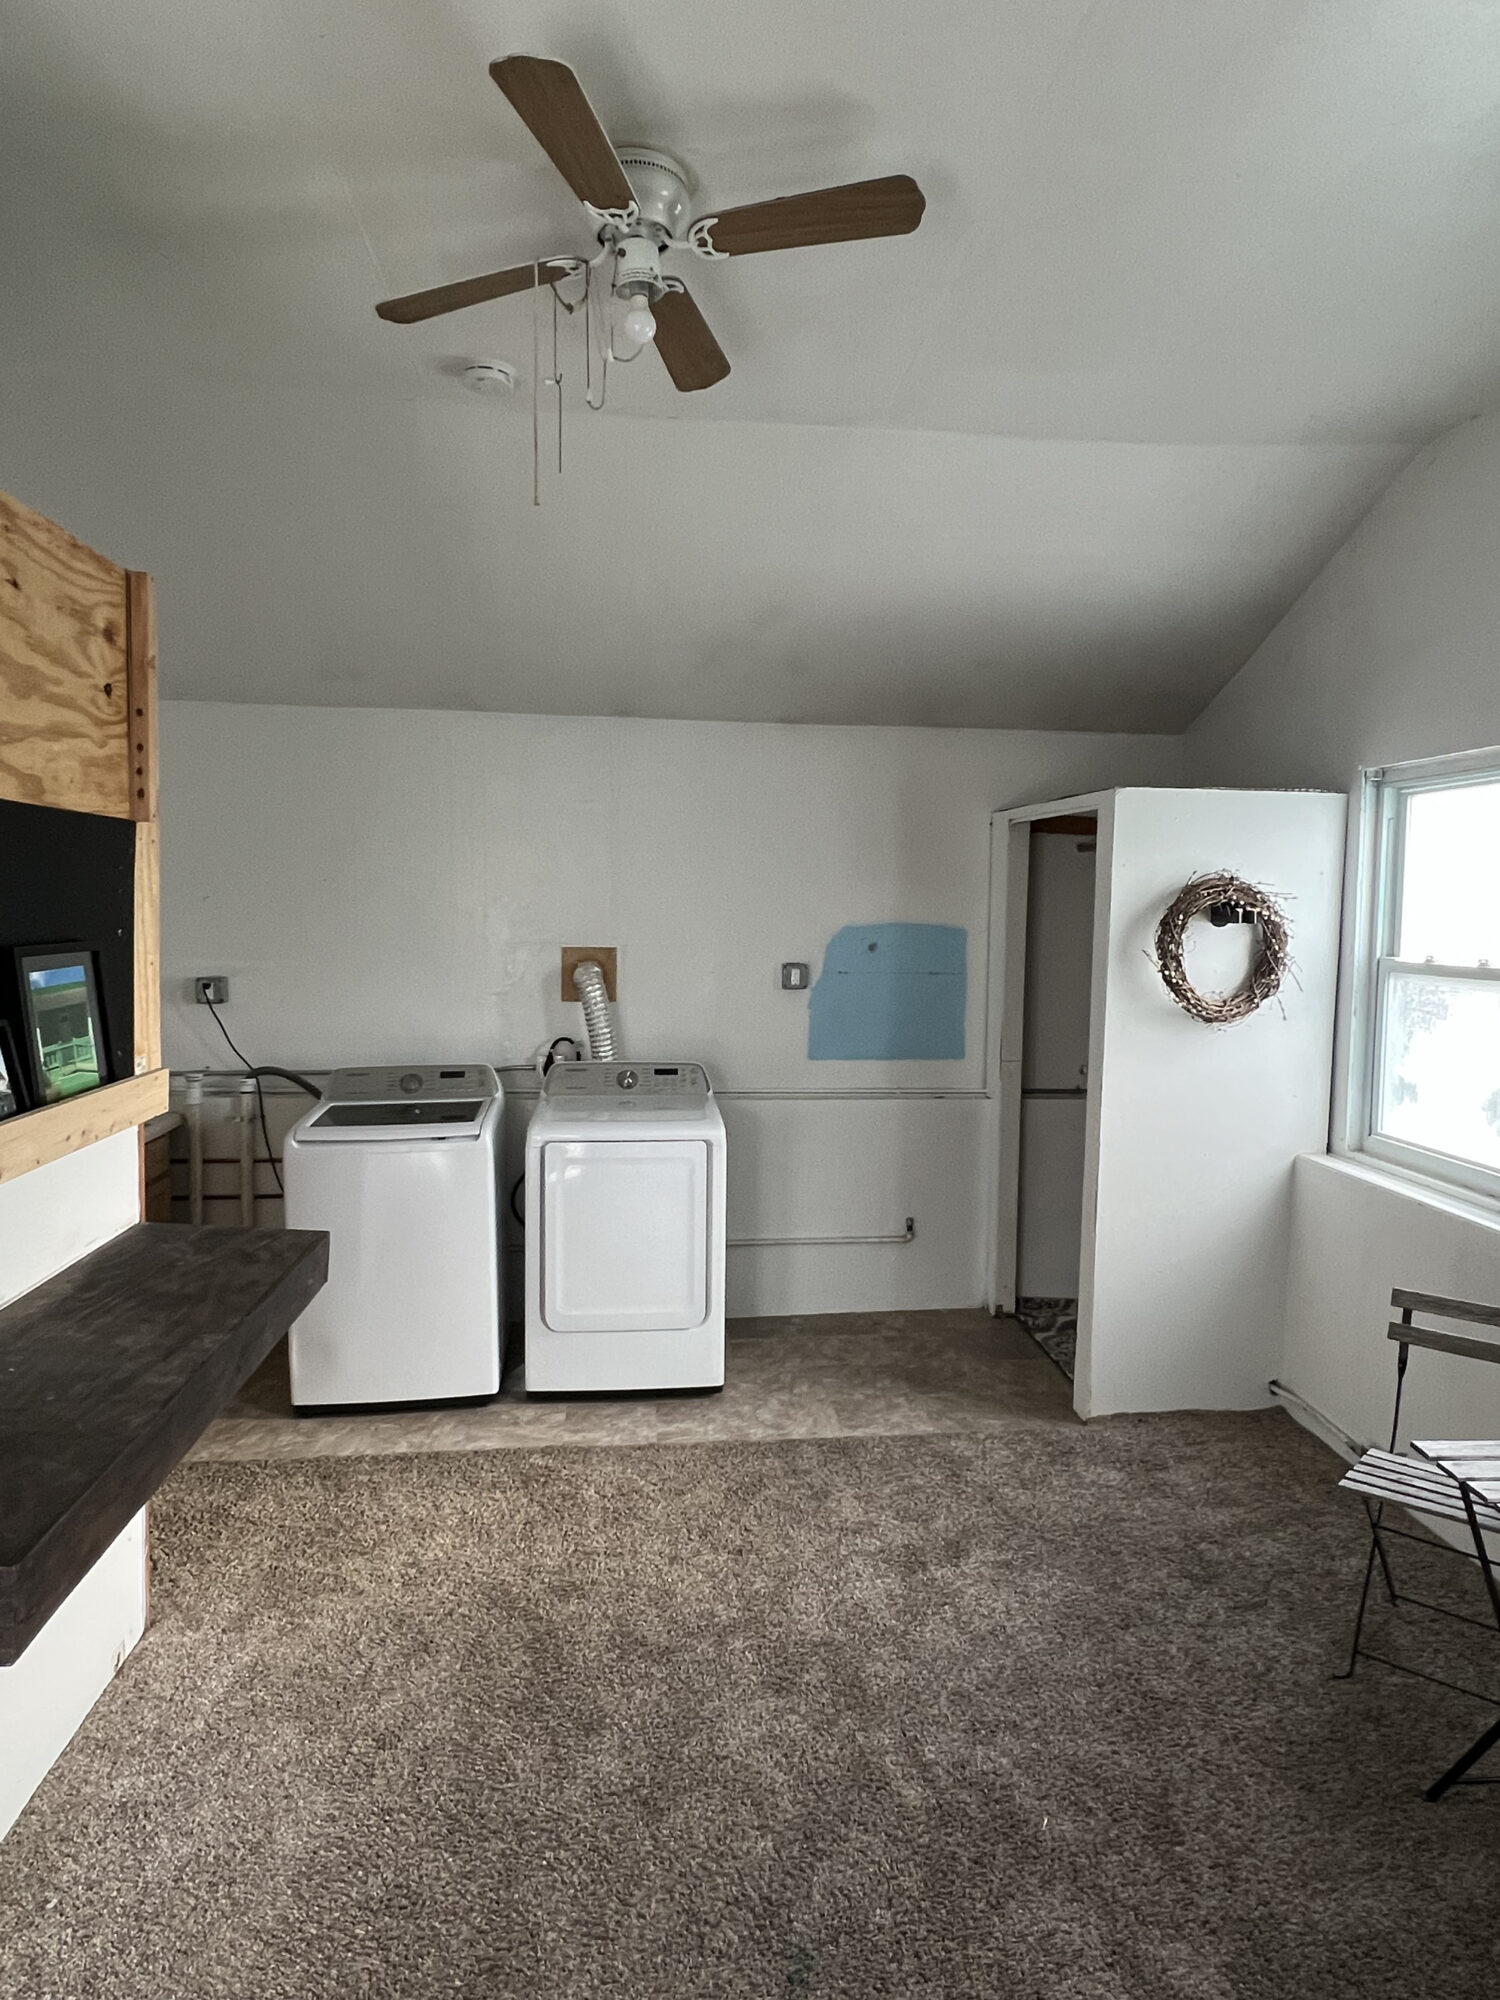

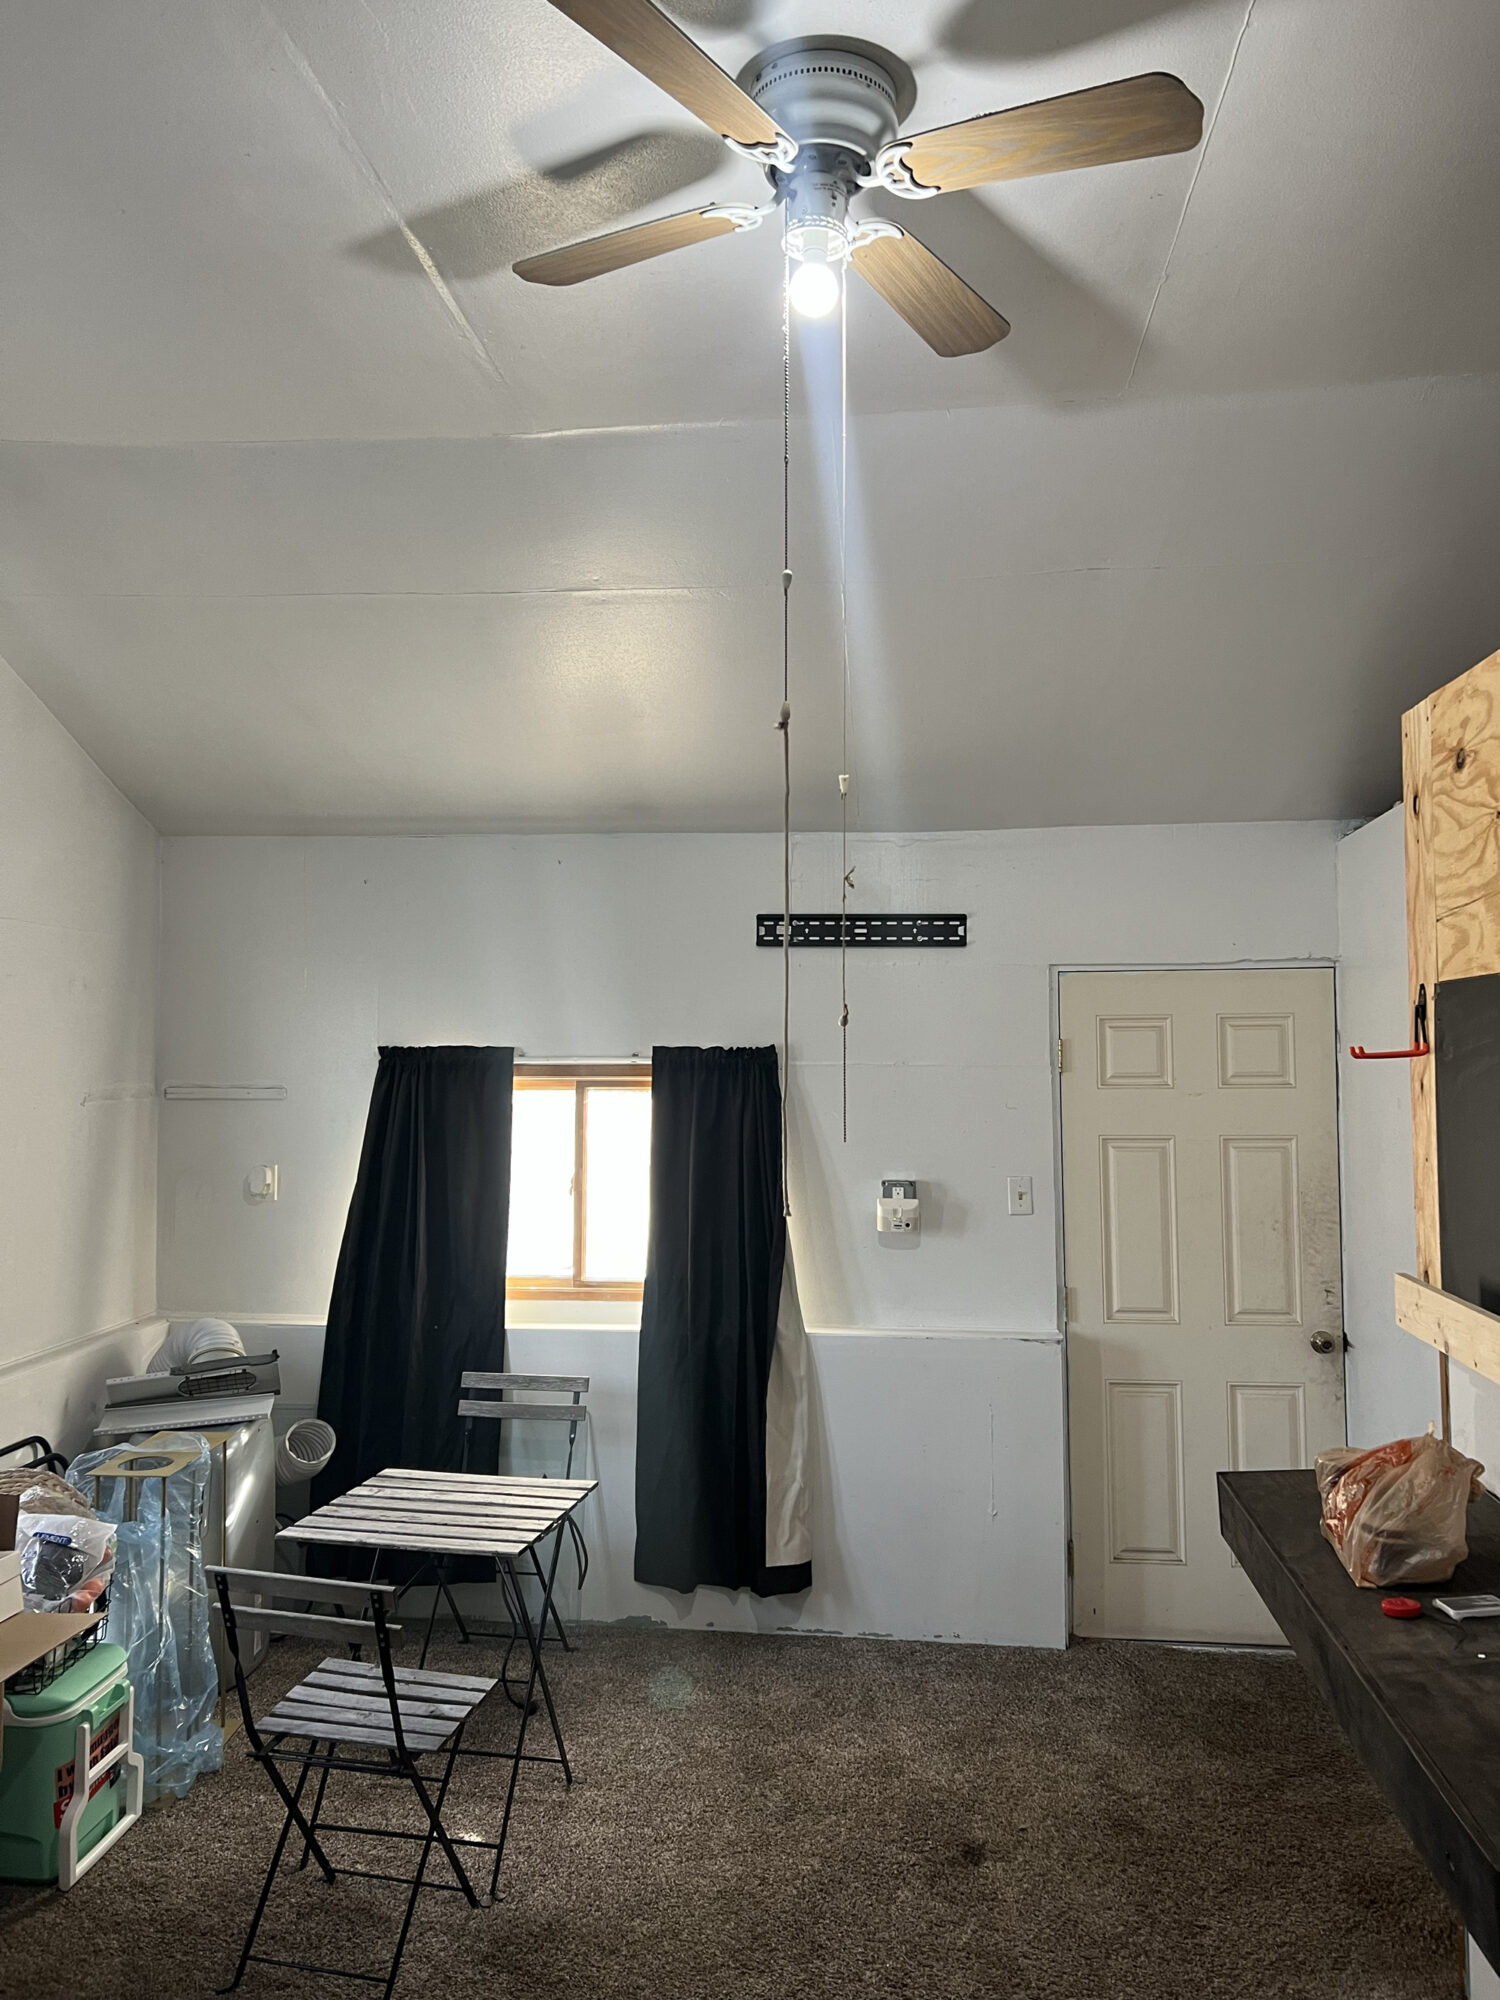
Our first makeover was my friend Mikel’s, who owns 414loral, and her husband Rey’s space. This area is behind their house, an addition they weren’t totally sure what to do with. It was a super raw space they were using as a laundry room and storage. And they were hoping it could be a versatile multi-functional space: part guest room, part laundry…but all together cozy and inviting. Mikel’s husband, Rey, is from Puerto Rico, and family visits often, so they wanted this to be a space they could host family in, while also keeping it functional as a laundry room.
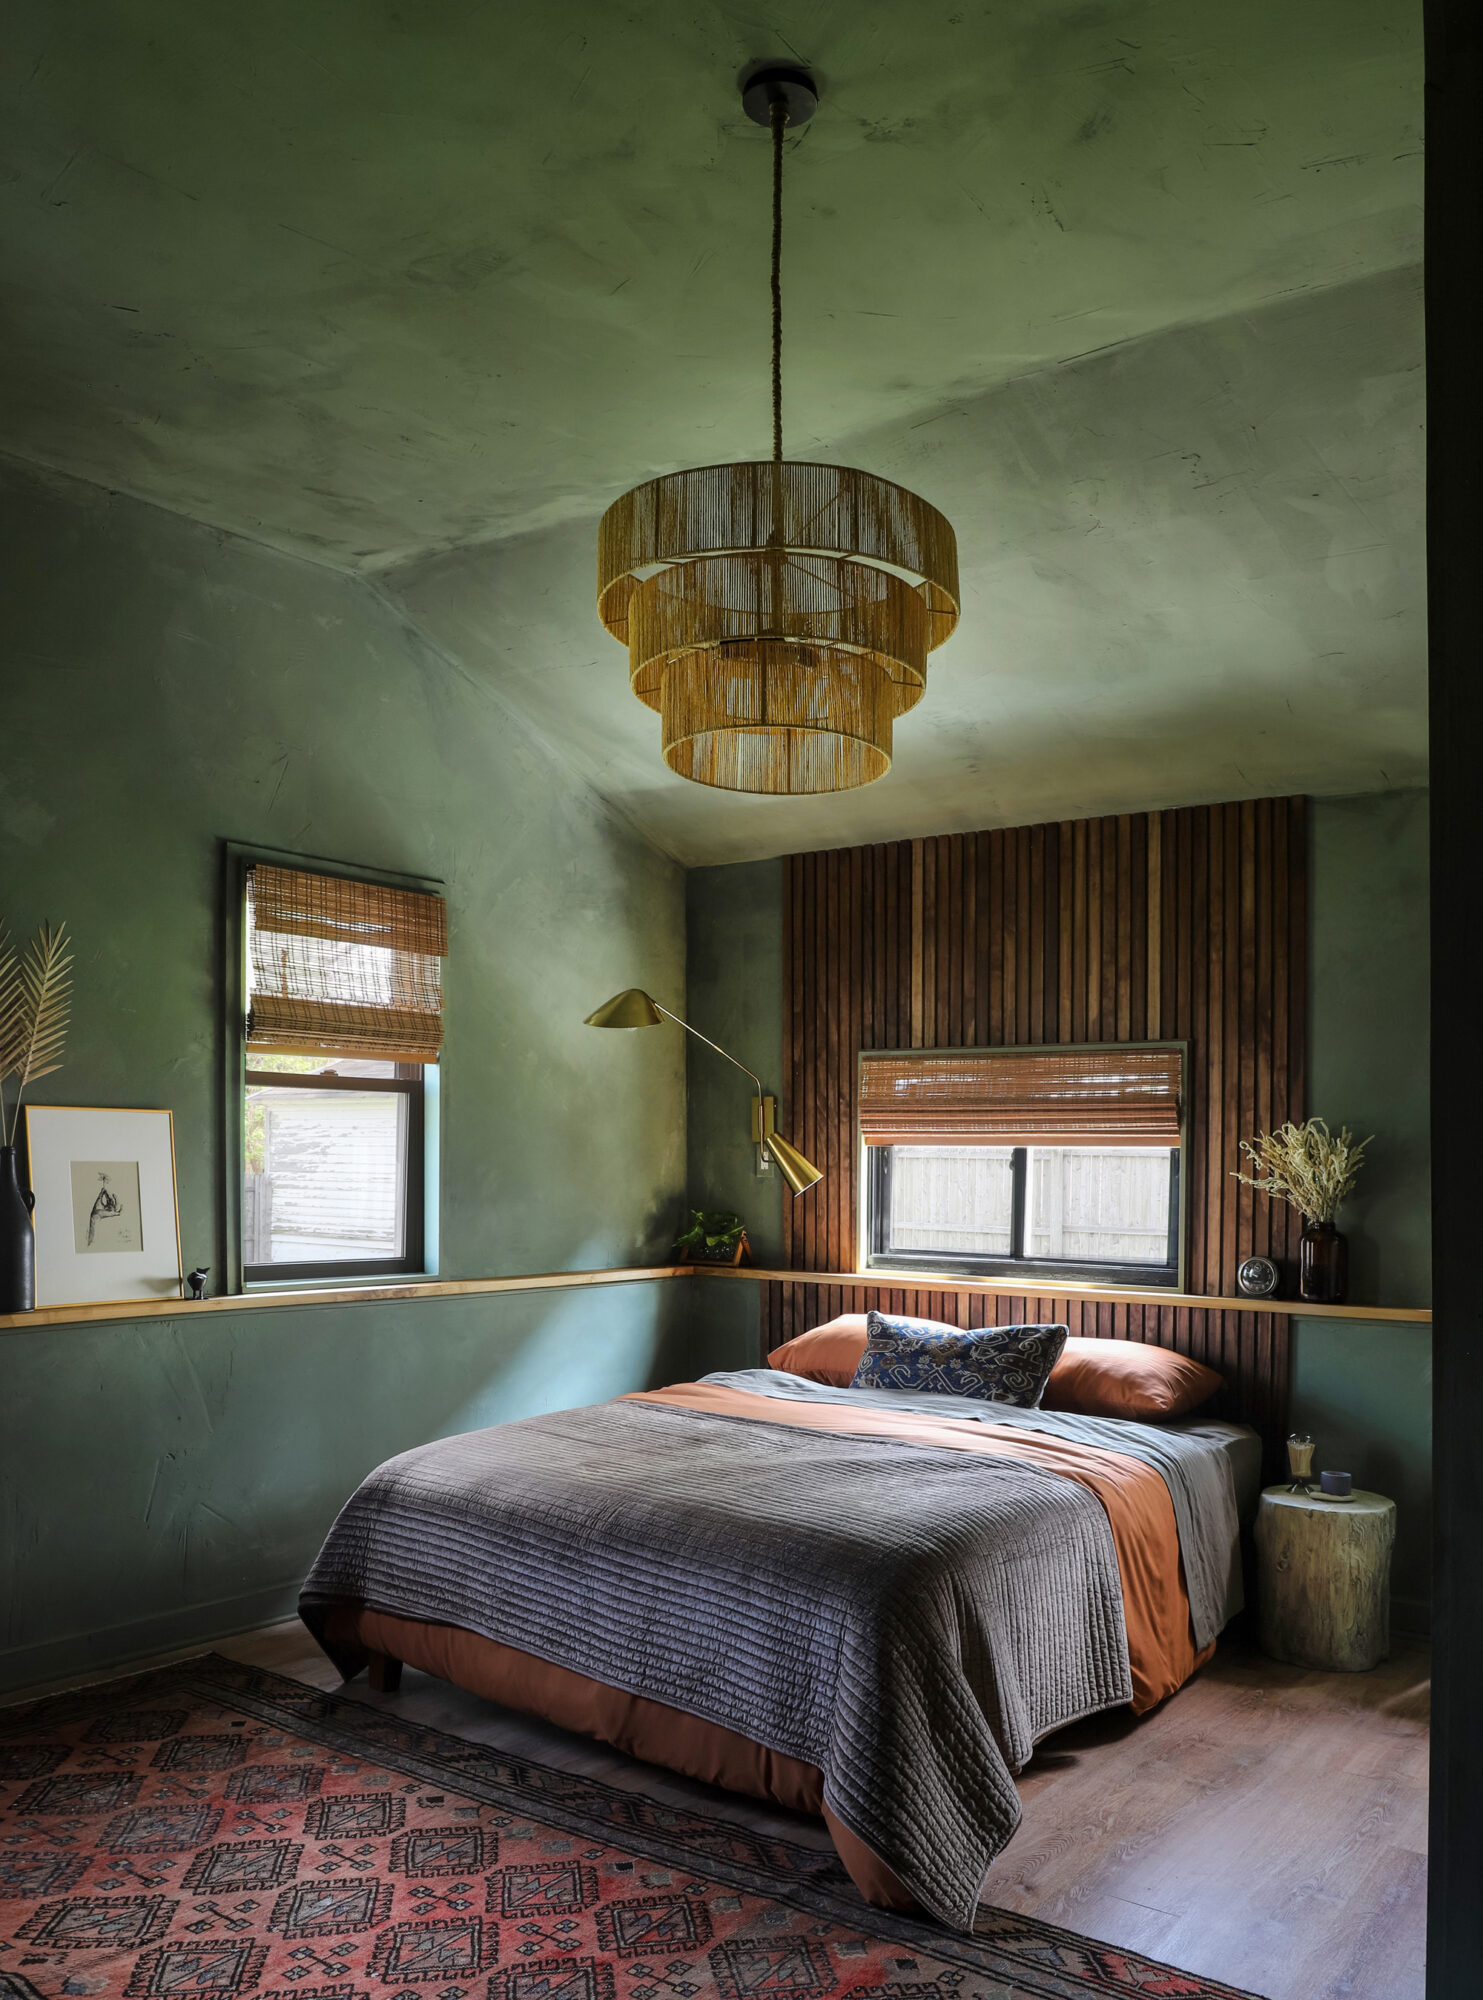
When I asked Mikel and Rey what vibe they wanted, they said warm, cozy, inviting, and like an oasis. Both she and Rey agreed on green as the primary color, which was exactly what I was envisioning! Given that Mikel owns a flower shop, I aimed to make it feel like a live, green sanctuary with plants and flowers.


Limewashed Walls
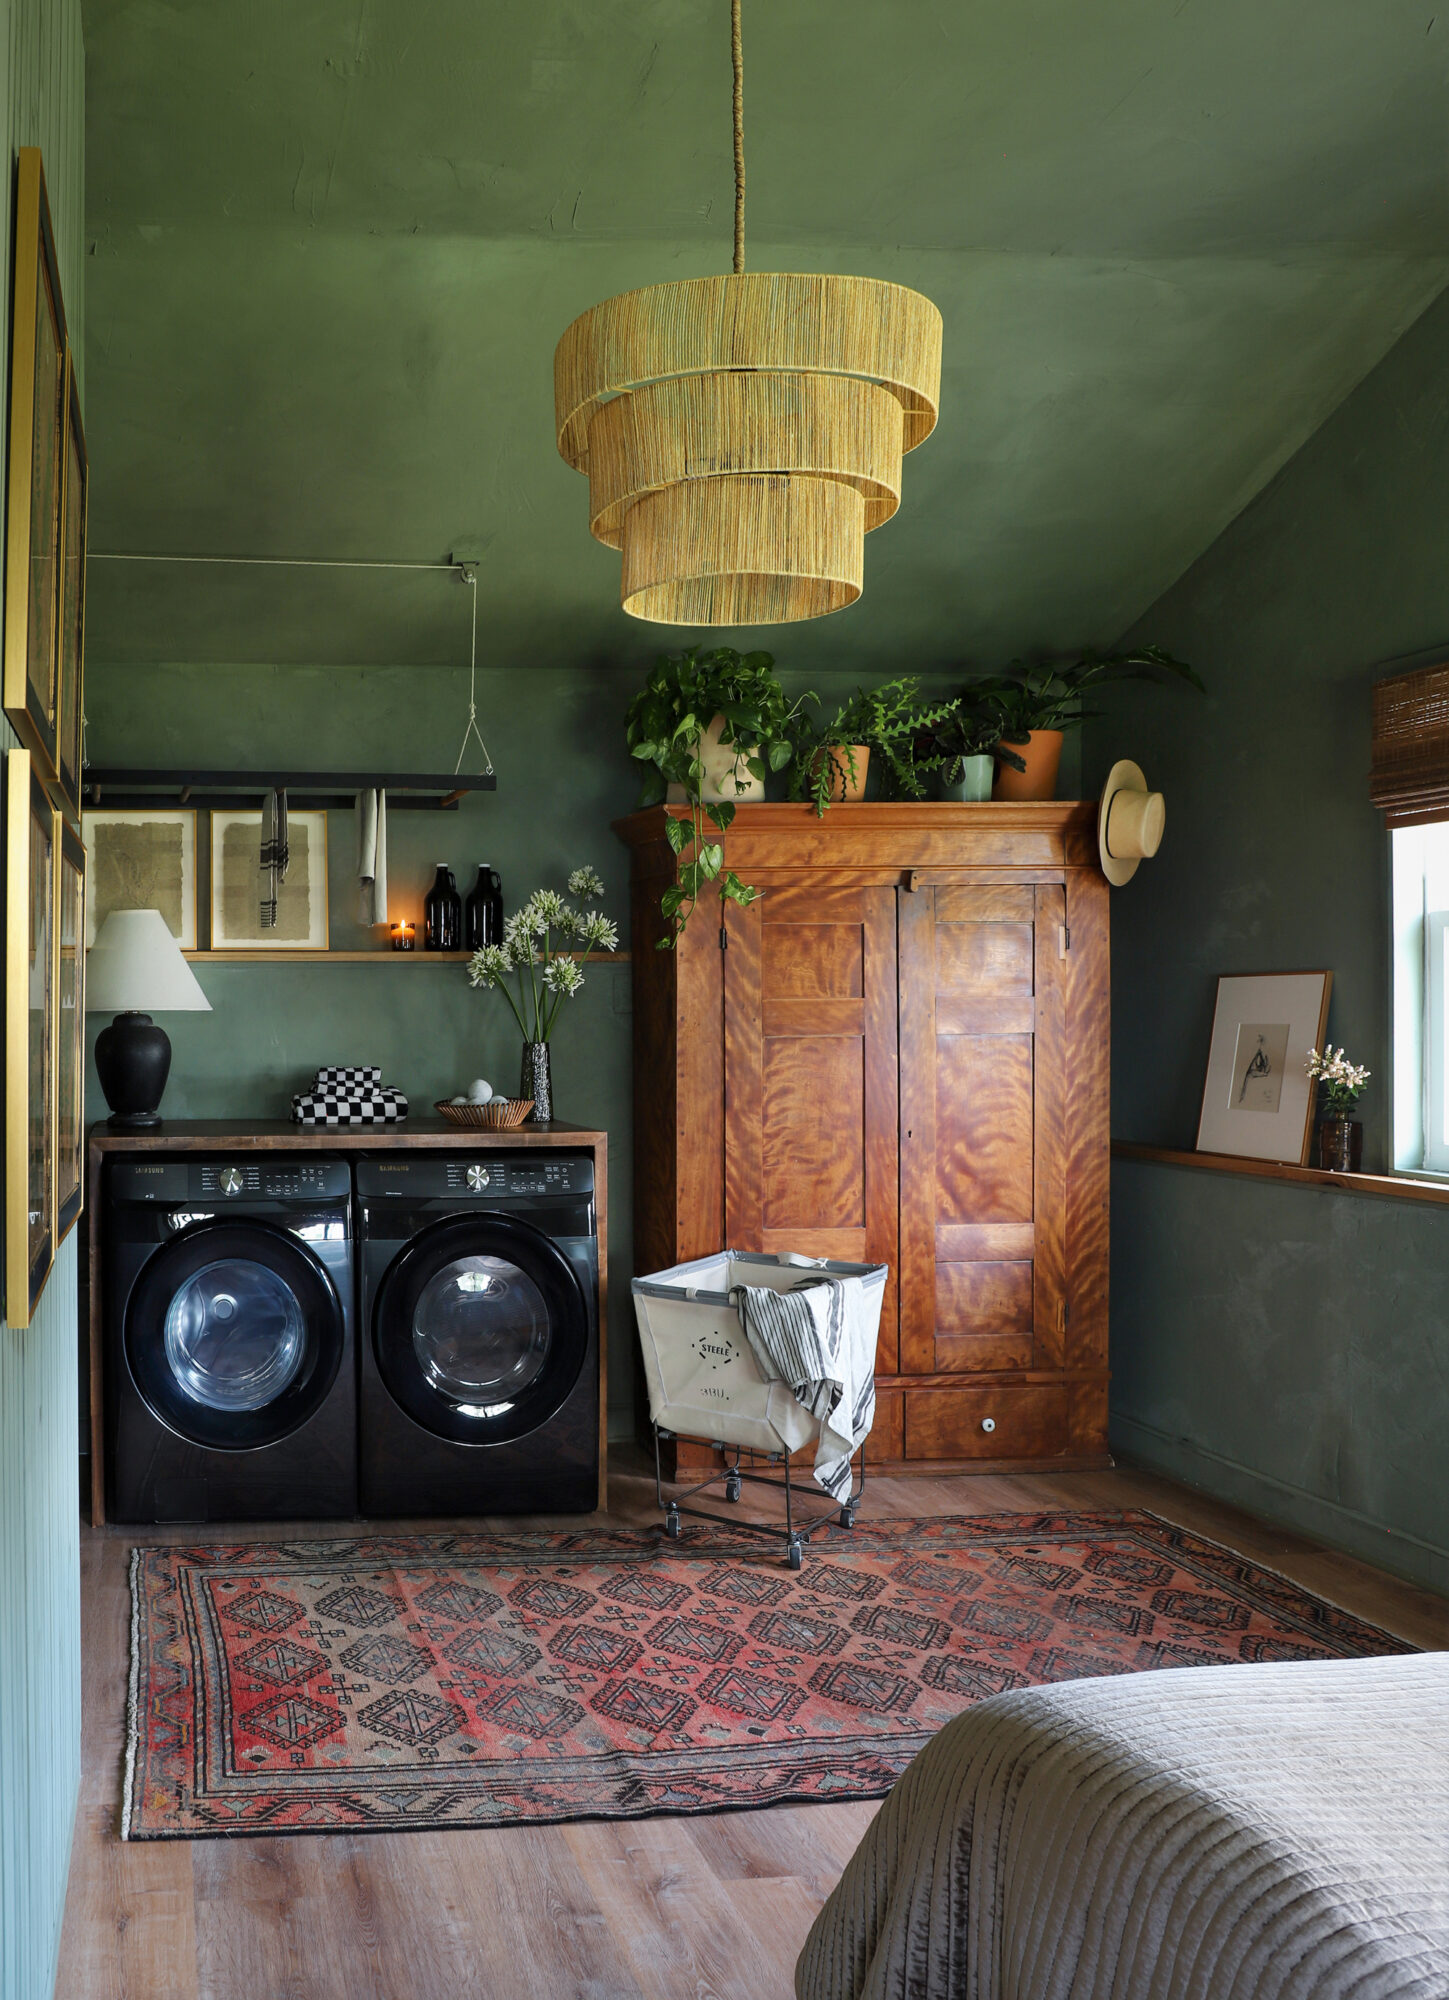
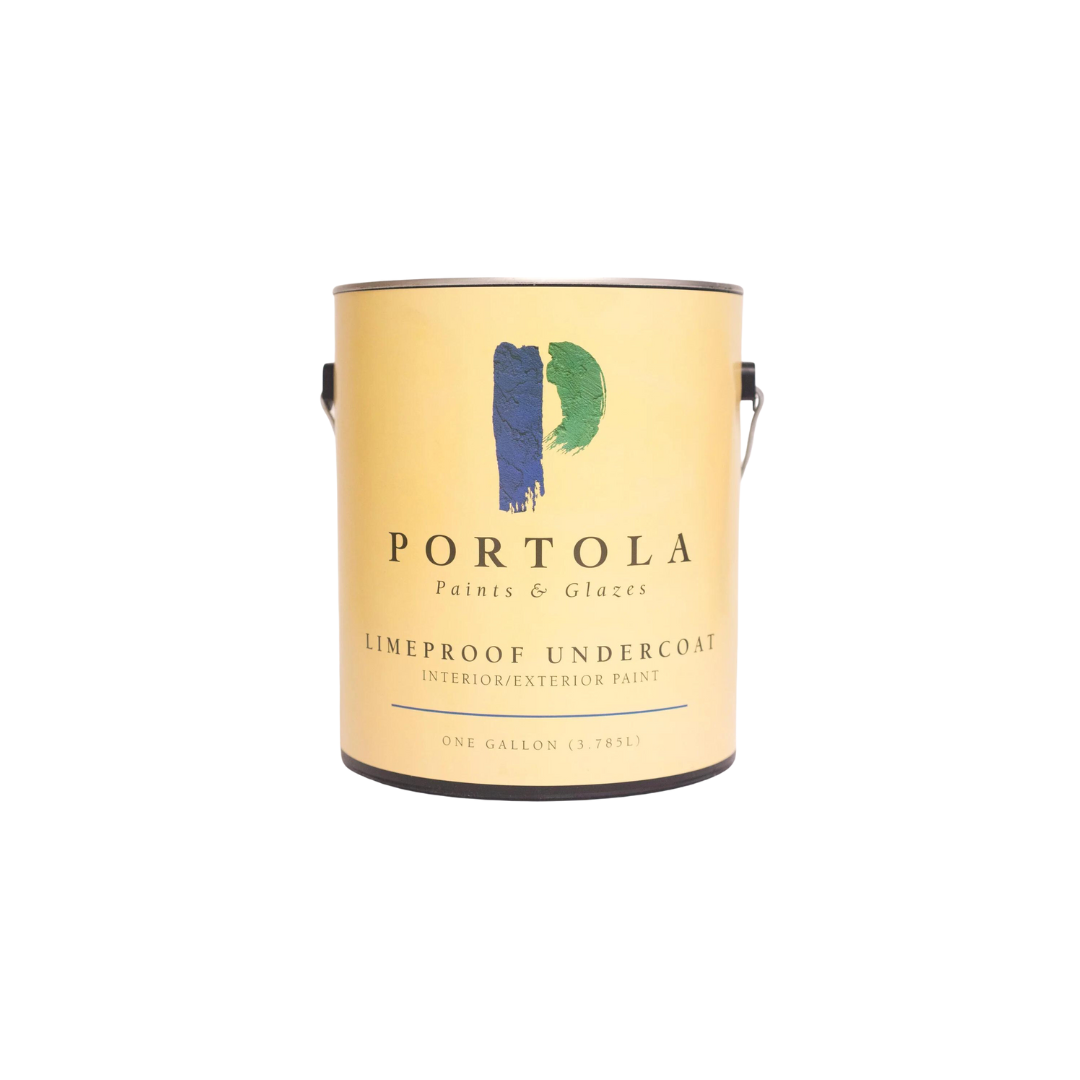
My first step was to limewash the walls (I will share the process this week!). I decided to do limewash for two reasons: 1. I knew this would give the room a really lush, transformed feel 2. We had to cover up the DIY drywall job done by previous owners…it looked like the drywall was installed without using tape, leaving seams visible…not great. To cover them up, we first did a skim coat with drywall mud over all the walls. The beauty of using the limewash technique is that it doesn’t require the mud to be perfectly smooth; it just adds to the textured look. Read my limewash tutorial!
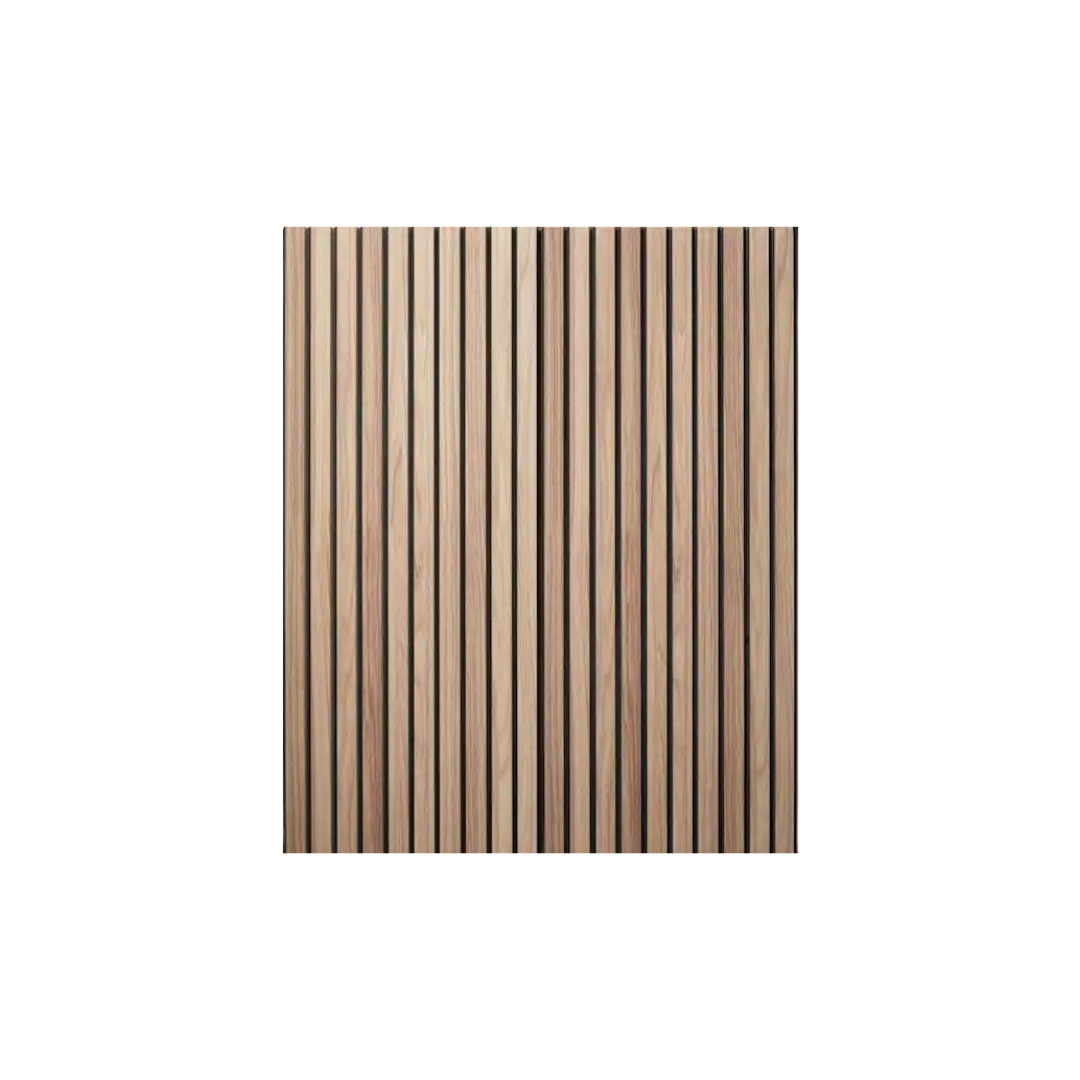
Slat Wall
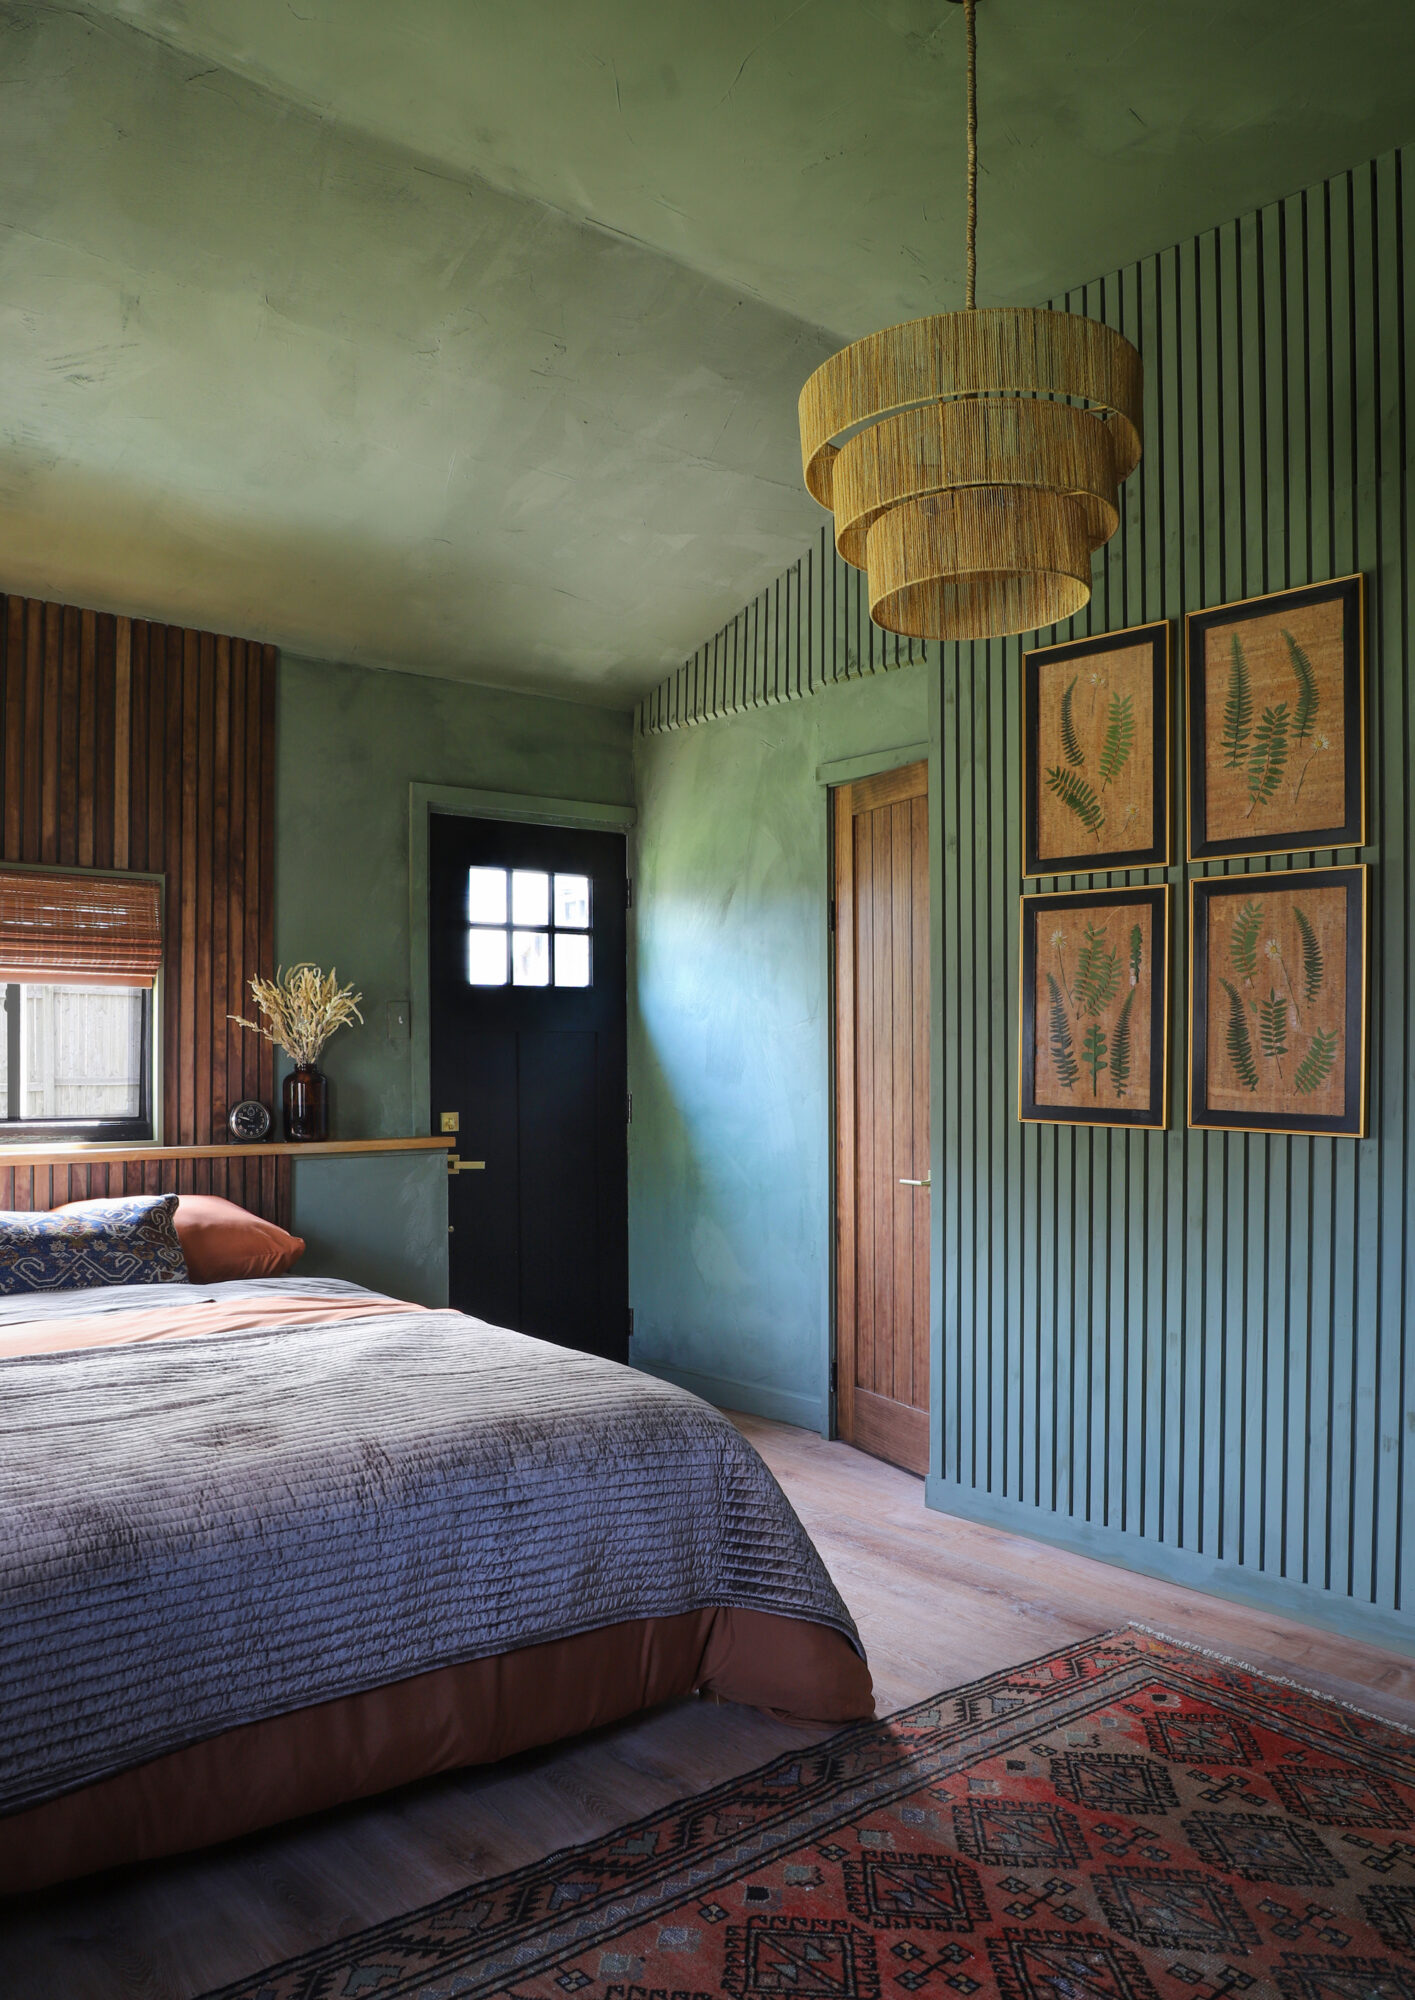
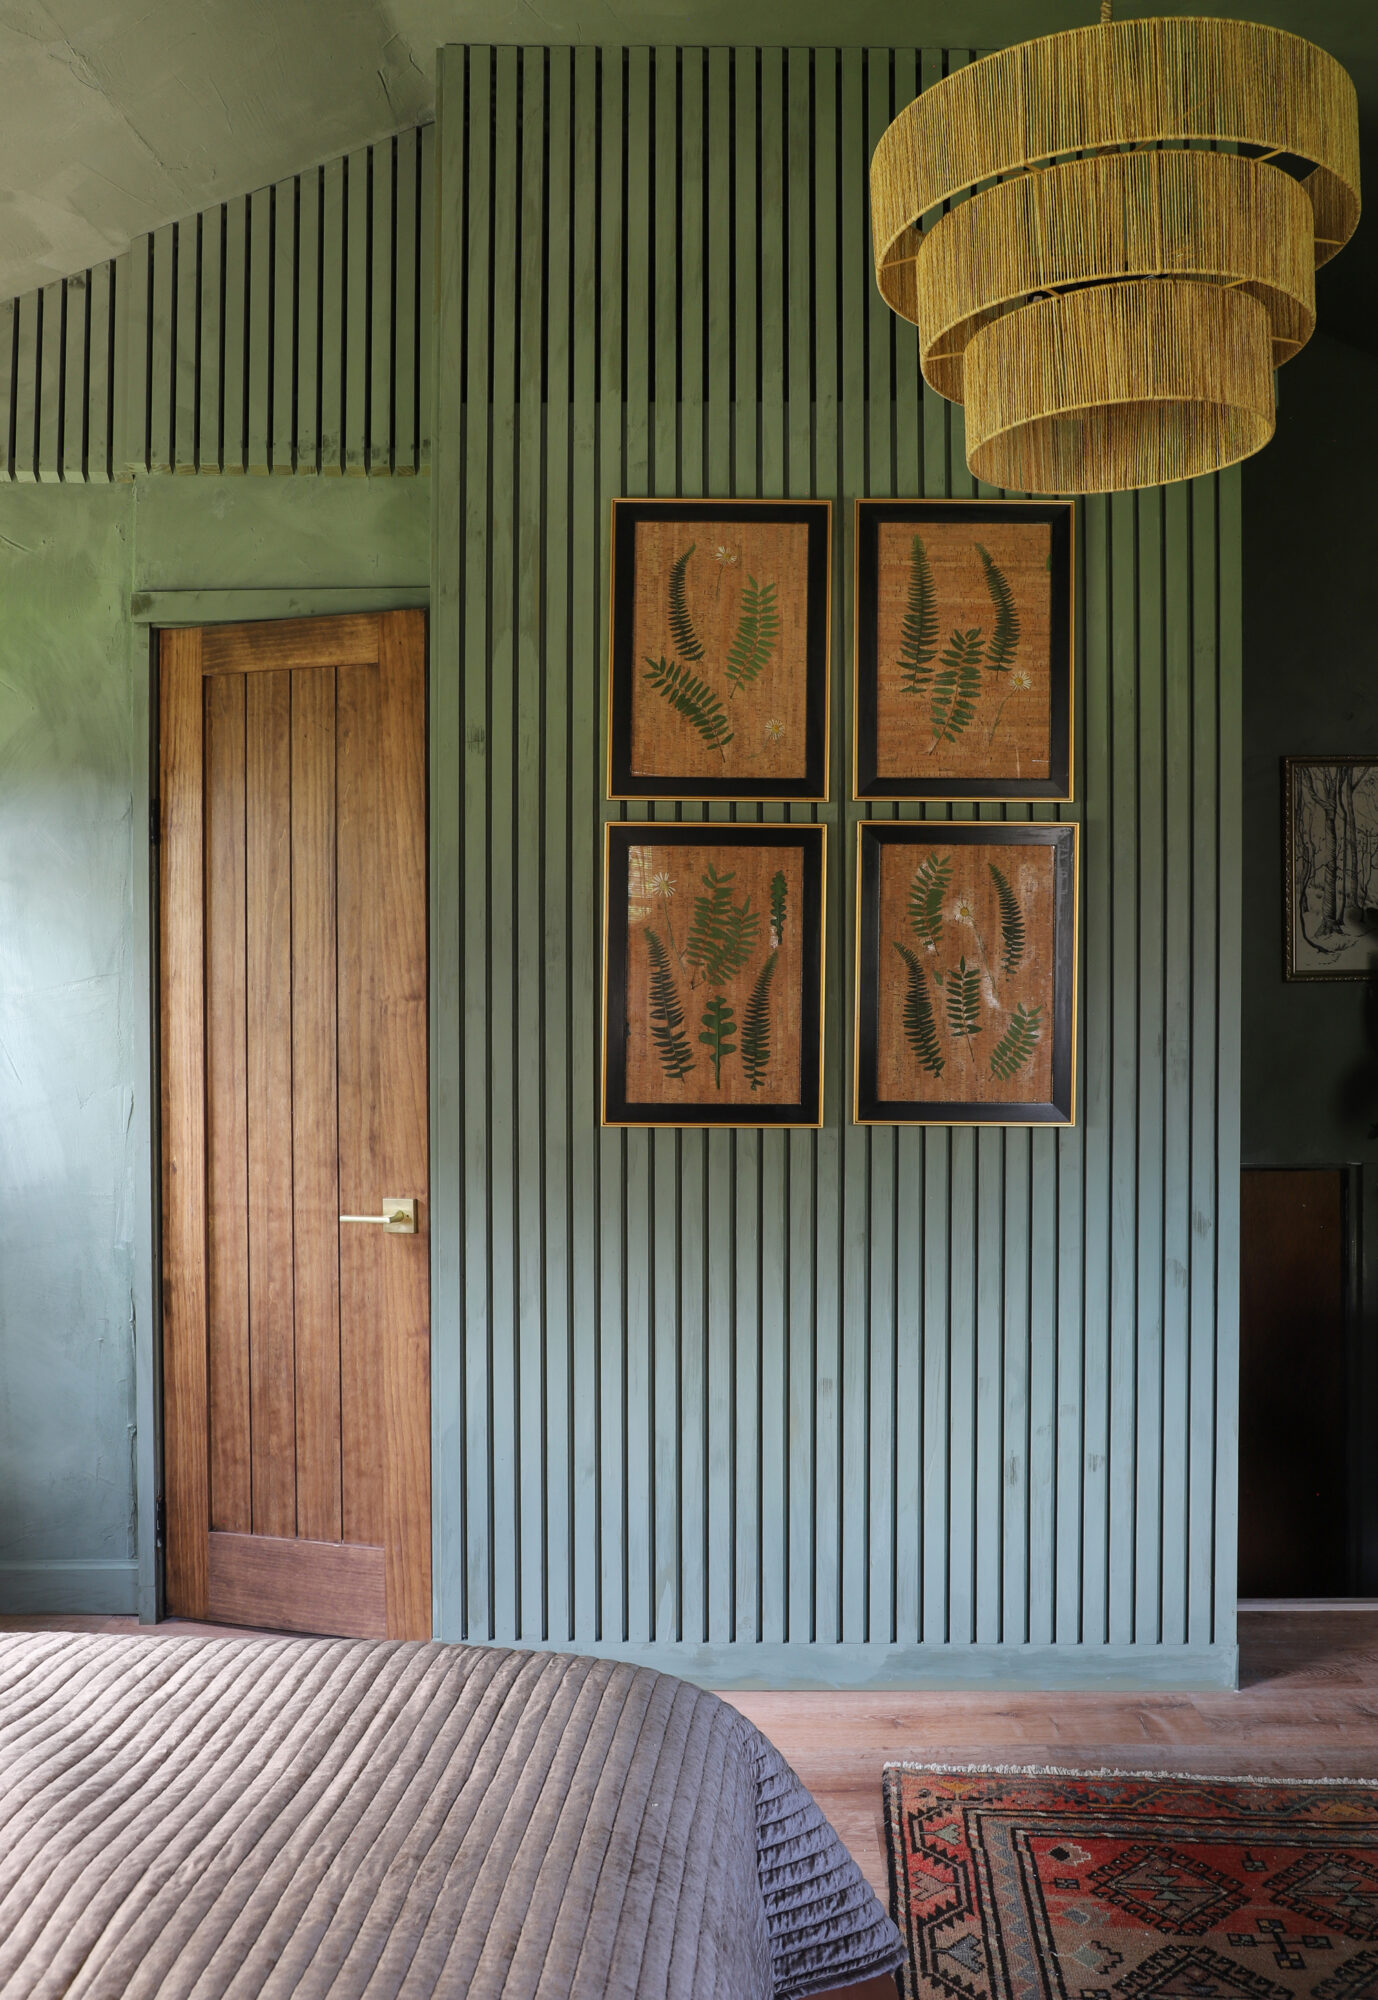
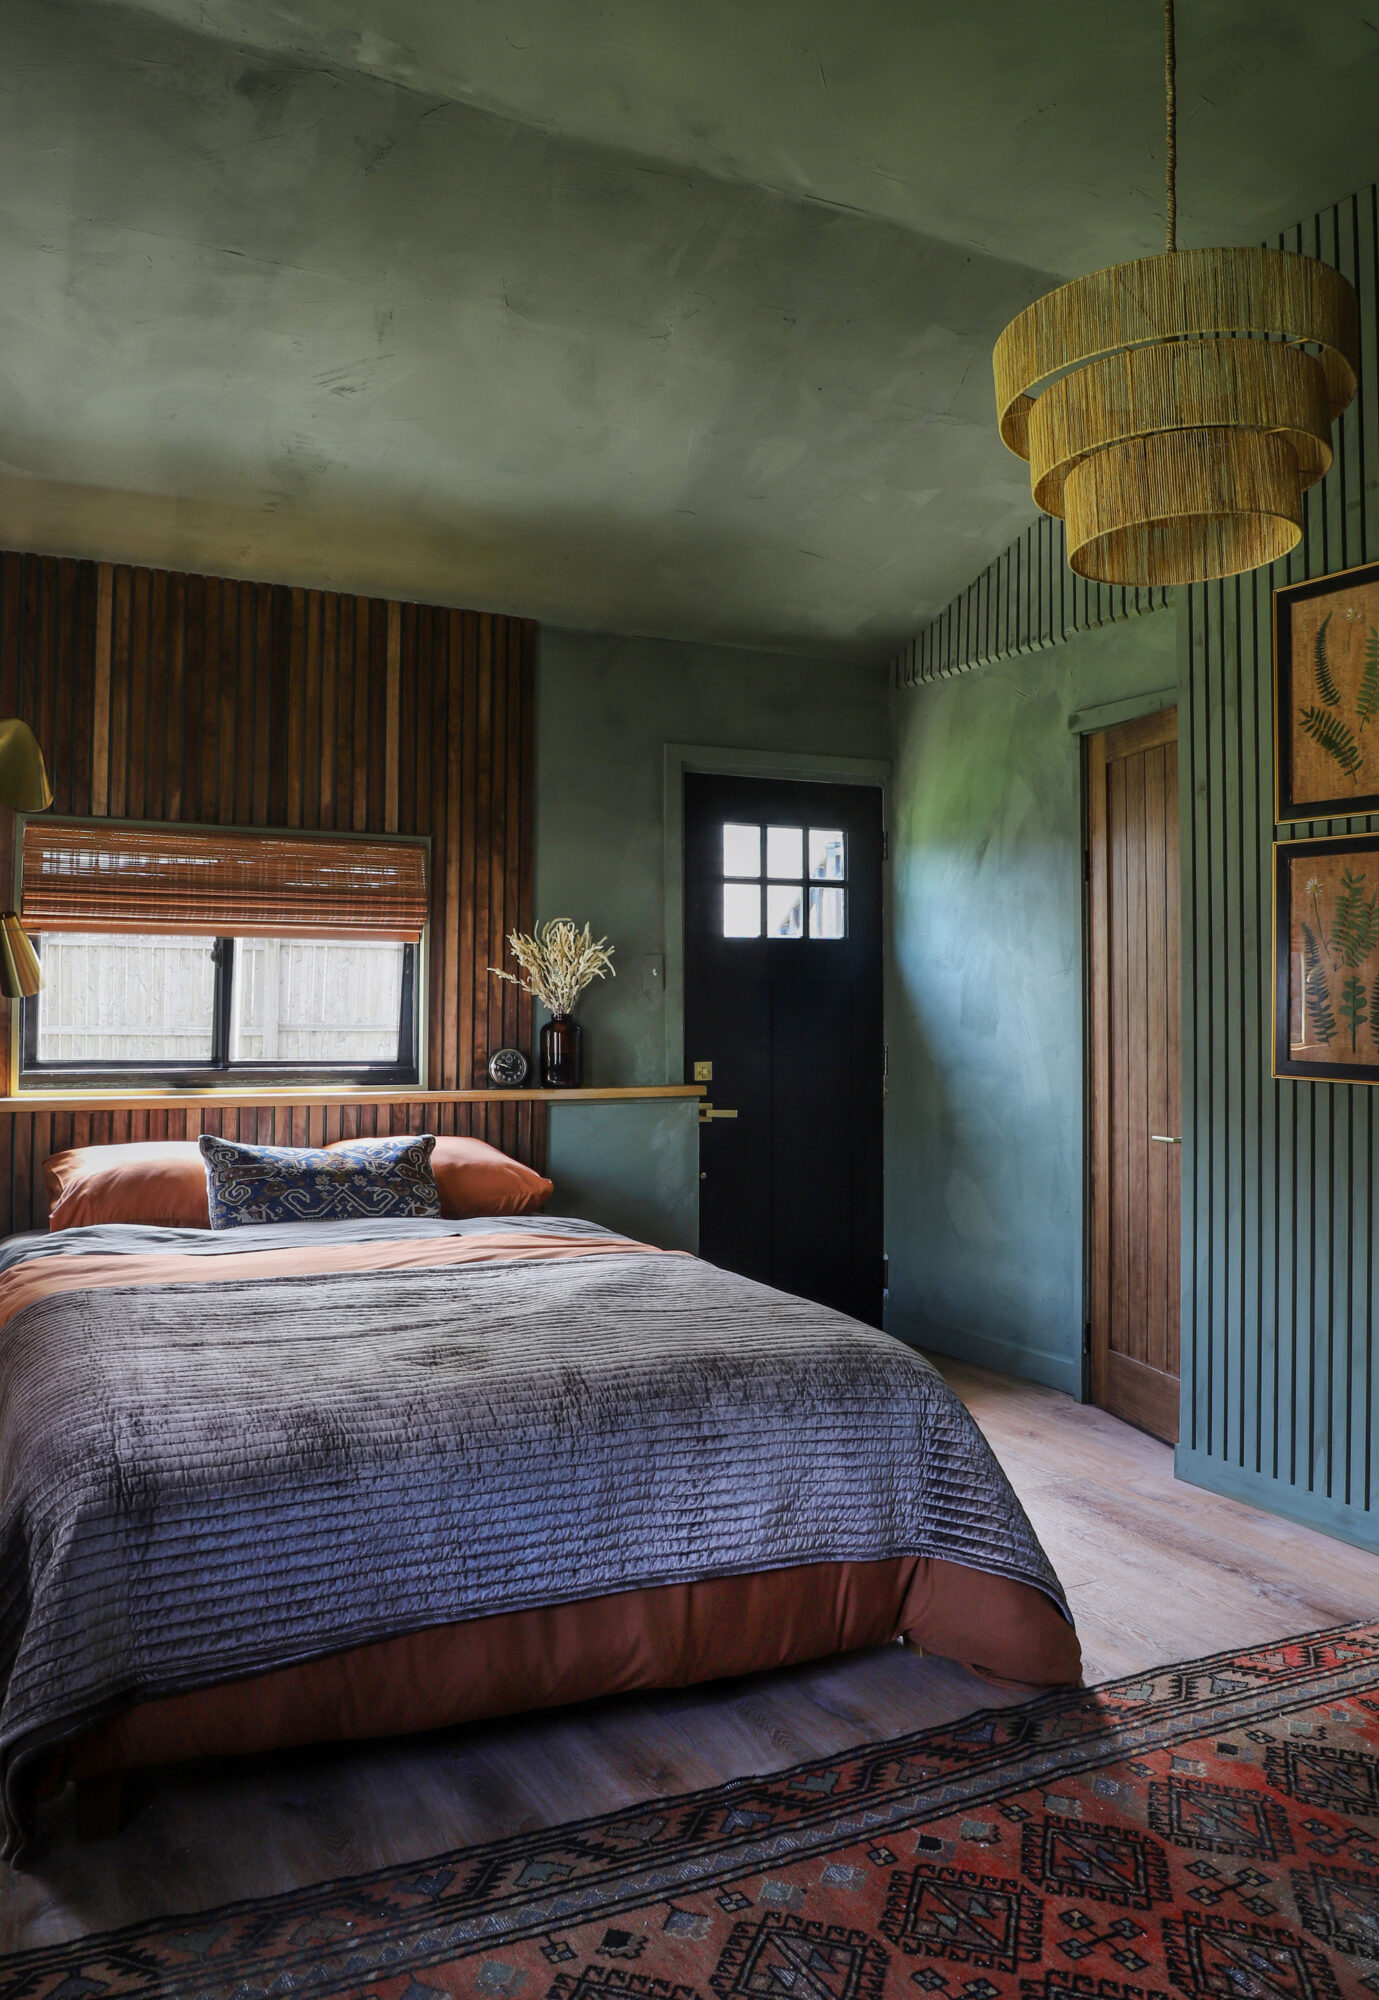
Another design element we added to the room to cover up the rough drywall and wall imperfections was a slat wall. The concept behind a slat wall is attaching wooden pieces to the wall to create visual interest. I incorporated this feature in two areas: First, on an unfinished wall with an opening at the top. Slats were added, creating the illusion of a floor-to-ceiling structure that draws your eye upward. We also installed a full slat wall on an awkward bump-out in the room, effectively transforming what was once an eyesore into a focal point. This feature not only adds character but also emphasizes the room’s tall, vaulted ceilings.
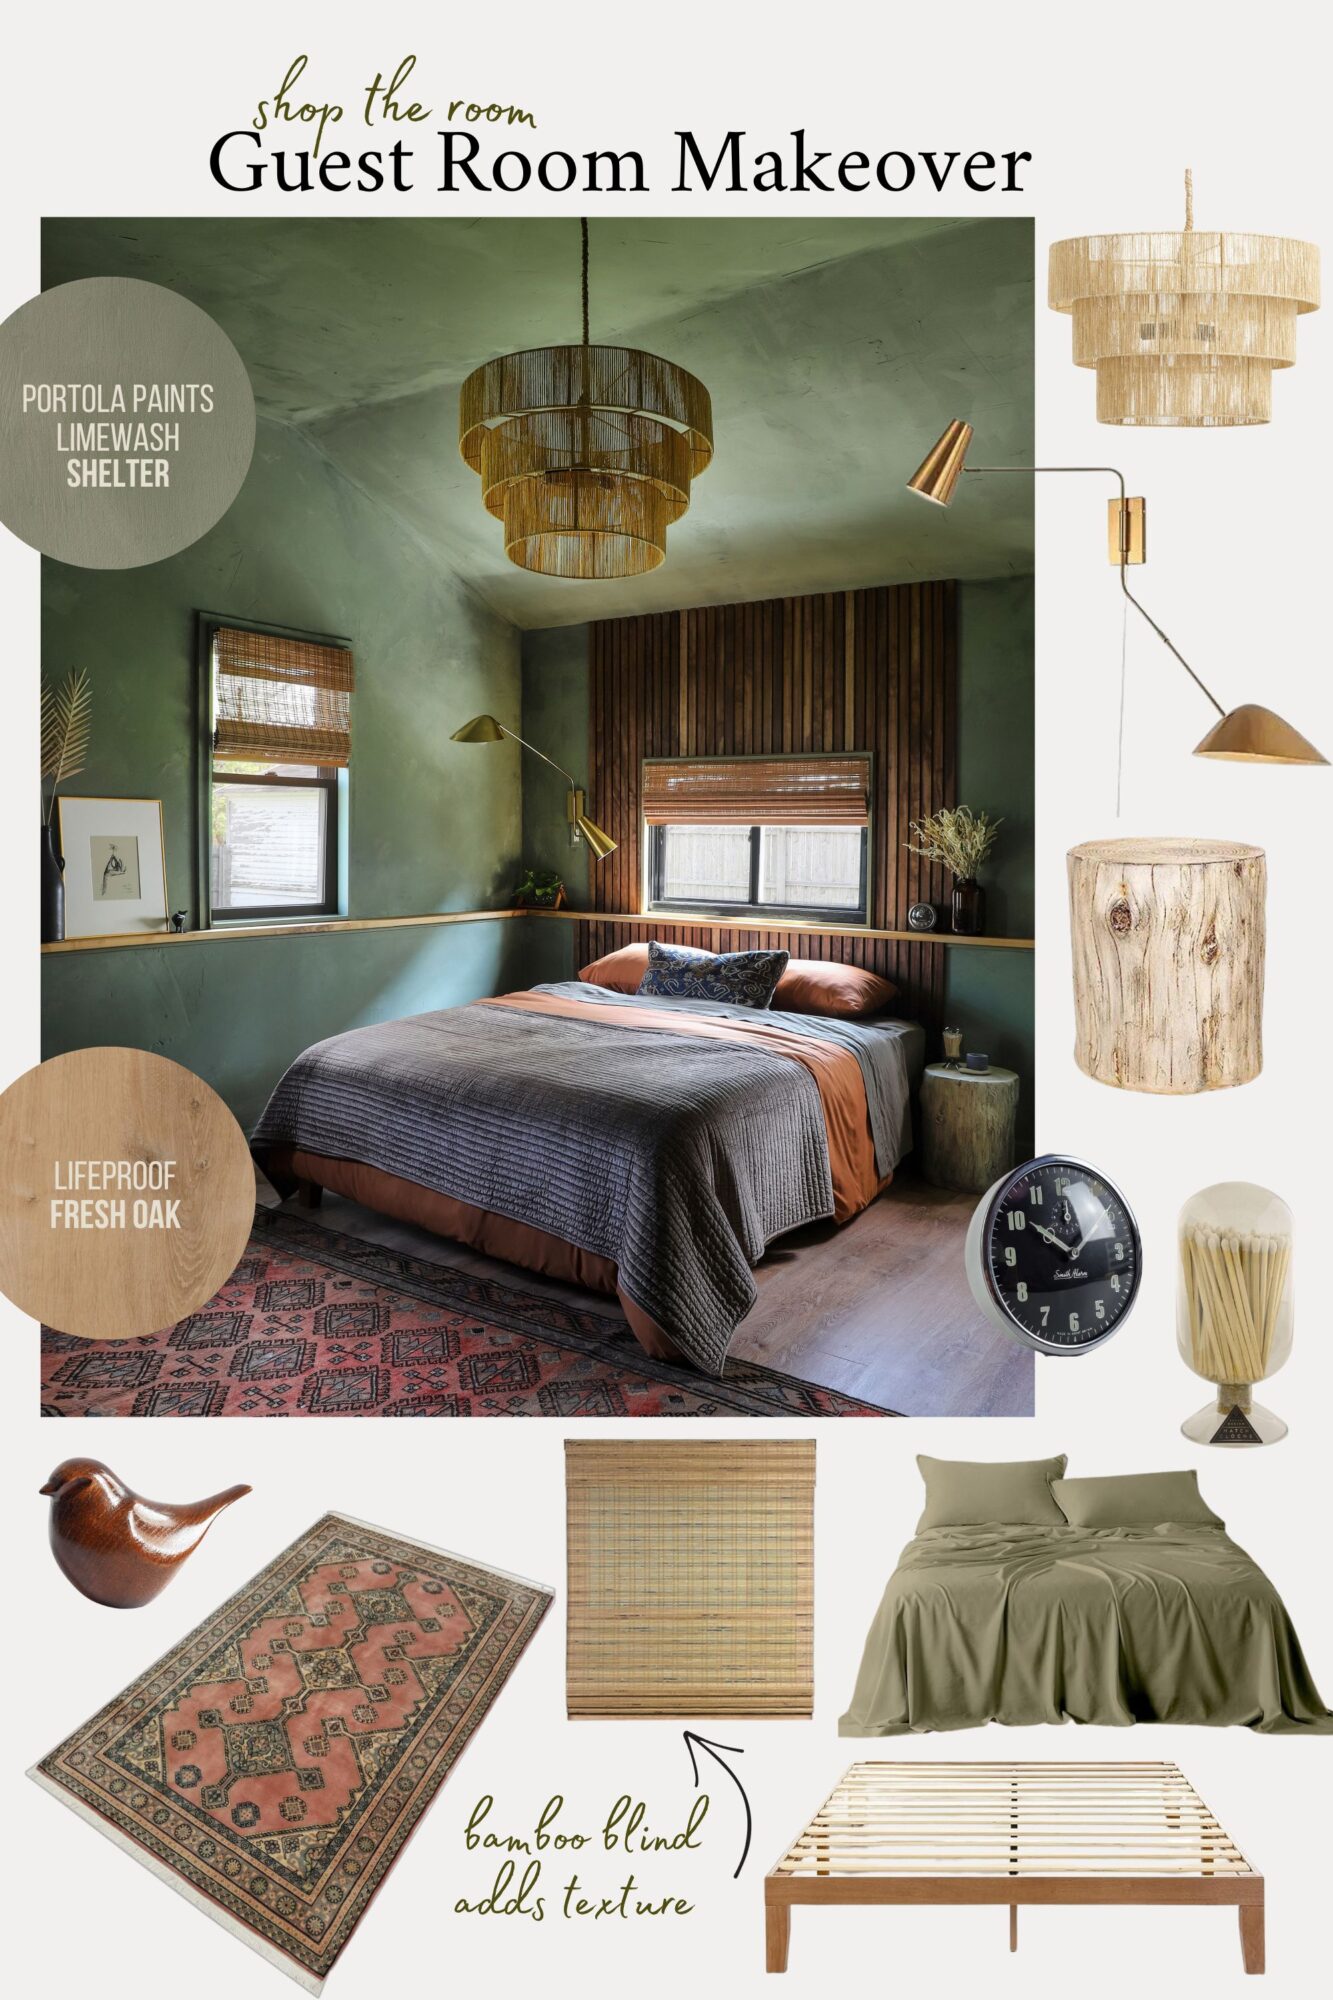
Guest Bed Headboard
The second location we applied the slat wall was behind the guest bed, to create the look of a dramatic headboard without covering the window. Once again, the goal was to direct attention upward and make the room seem more spacious. To complement the limewash wall, and bring more wood tones into the room, I decided to stain the pine slats with a walnut stain. Slat walls are definitely doable DIY! You can find step-by-step instructions in the episode, so make sure to check it out! Also, we have a bonus DIY art project that hung on the slat wall but did not make it into the episode coming soon. I’ve shared all the details to create Dried Fern Art here.
Vintage Elements
Now, let’s dive into the antique and vintage elements that tie the room together. Being that the style of this room is more modern, a slight departure from my usual style, I wanted to incorporate antiques to give it that Jenni Yolo touch. I love when vintage pieces mix with modern; it gives it that lived-in look I love.
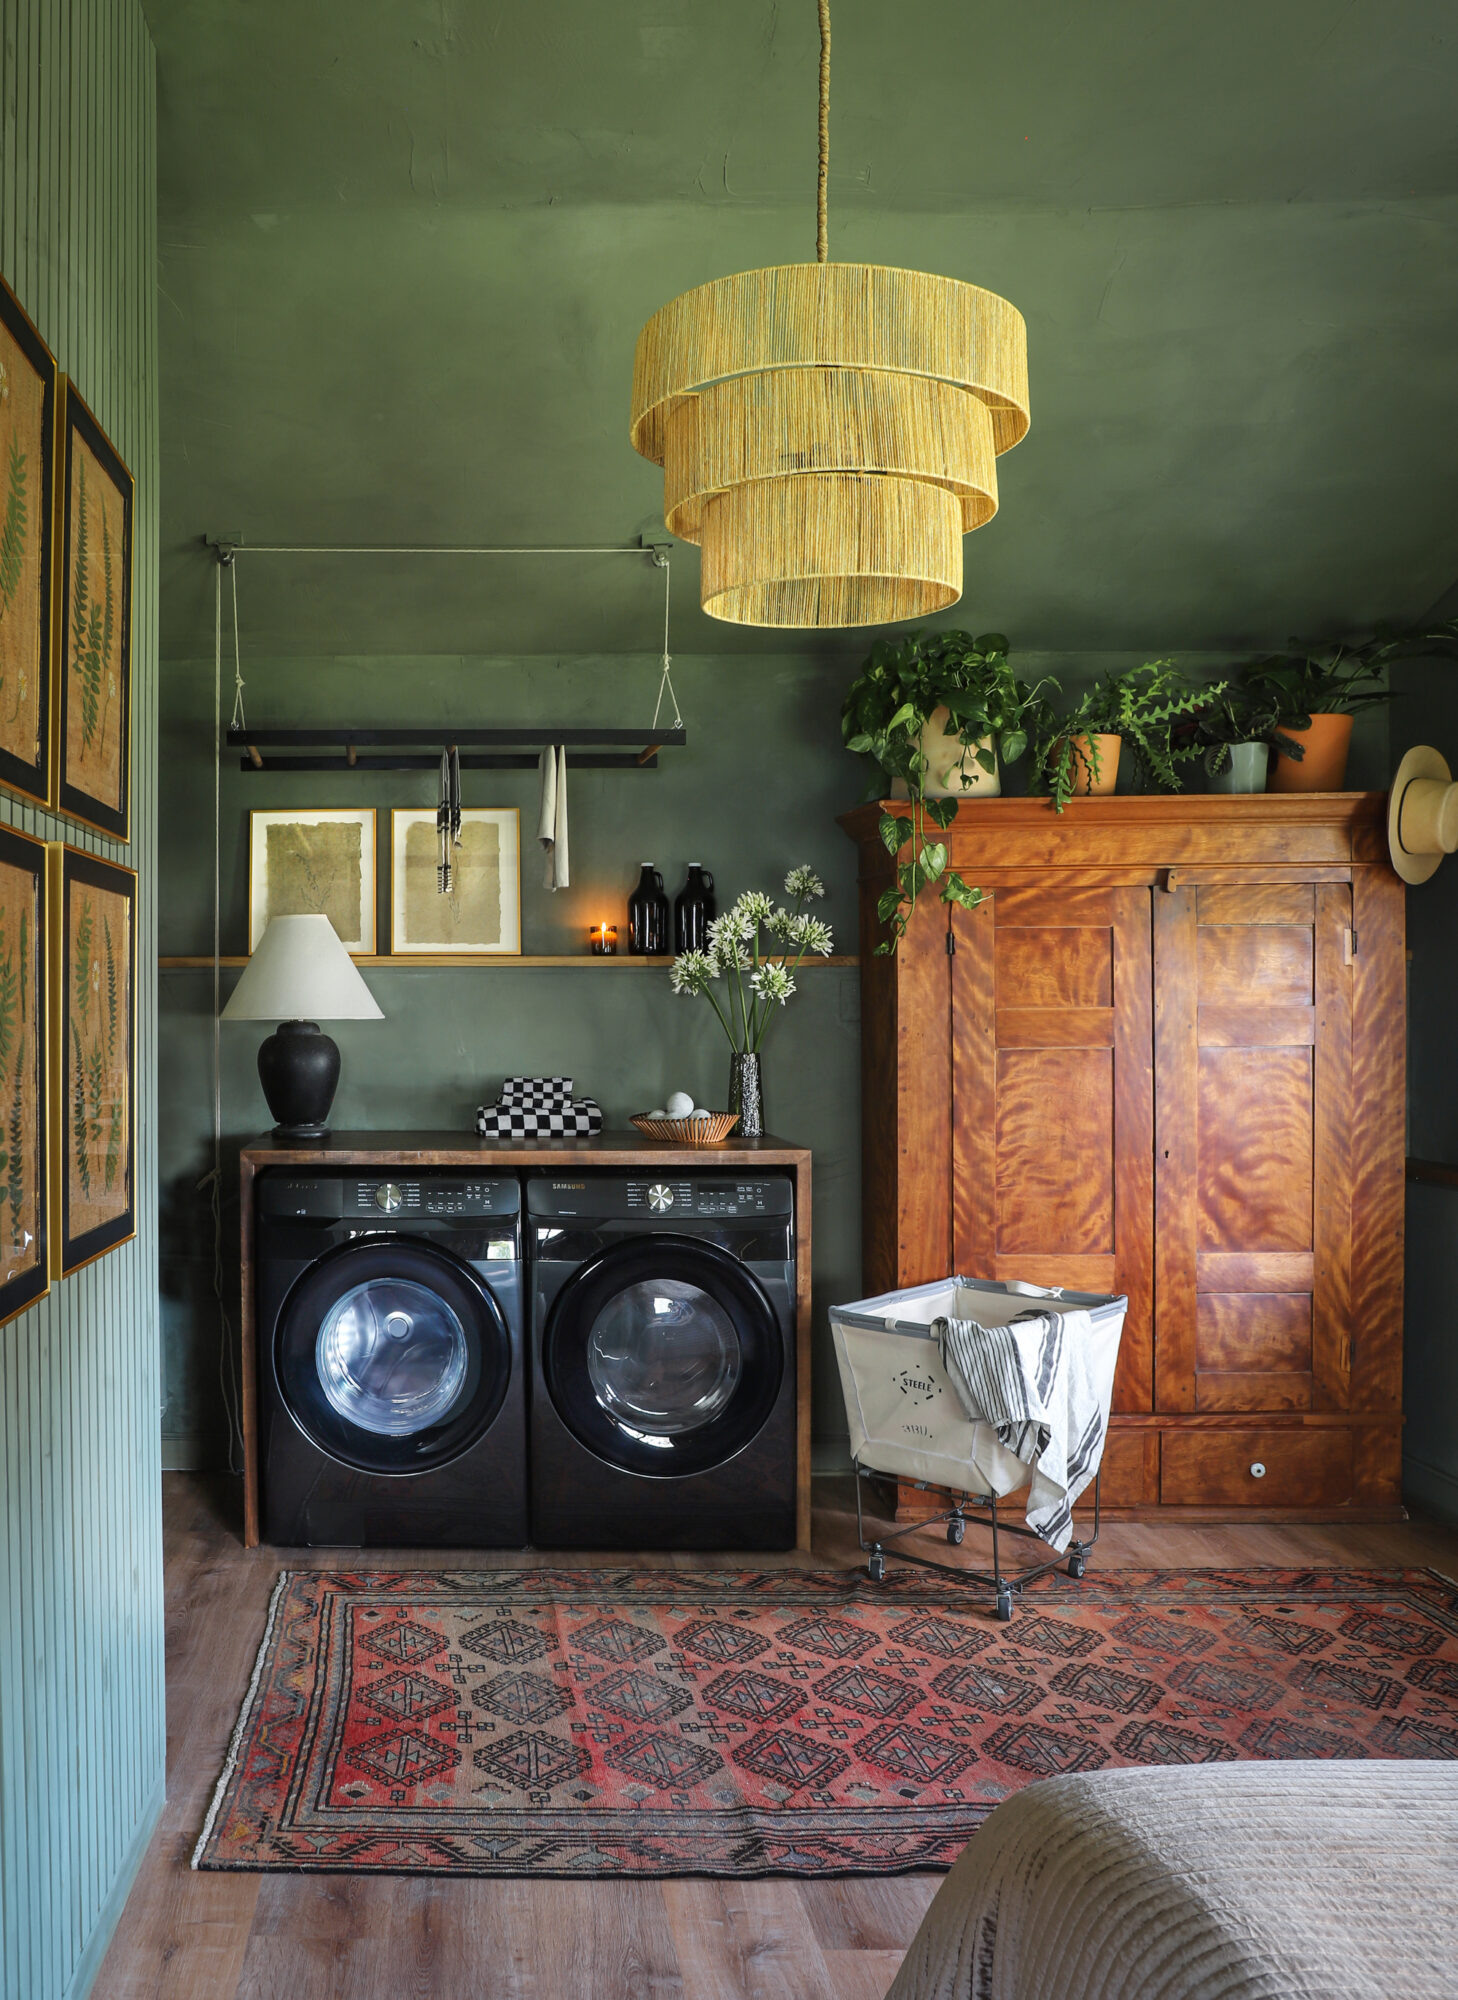
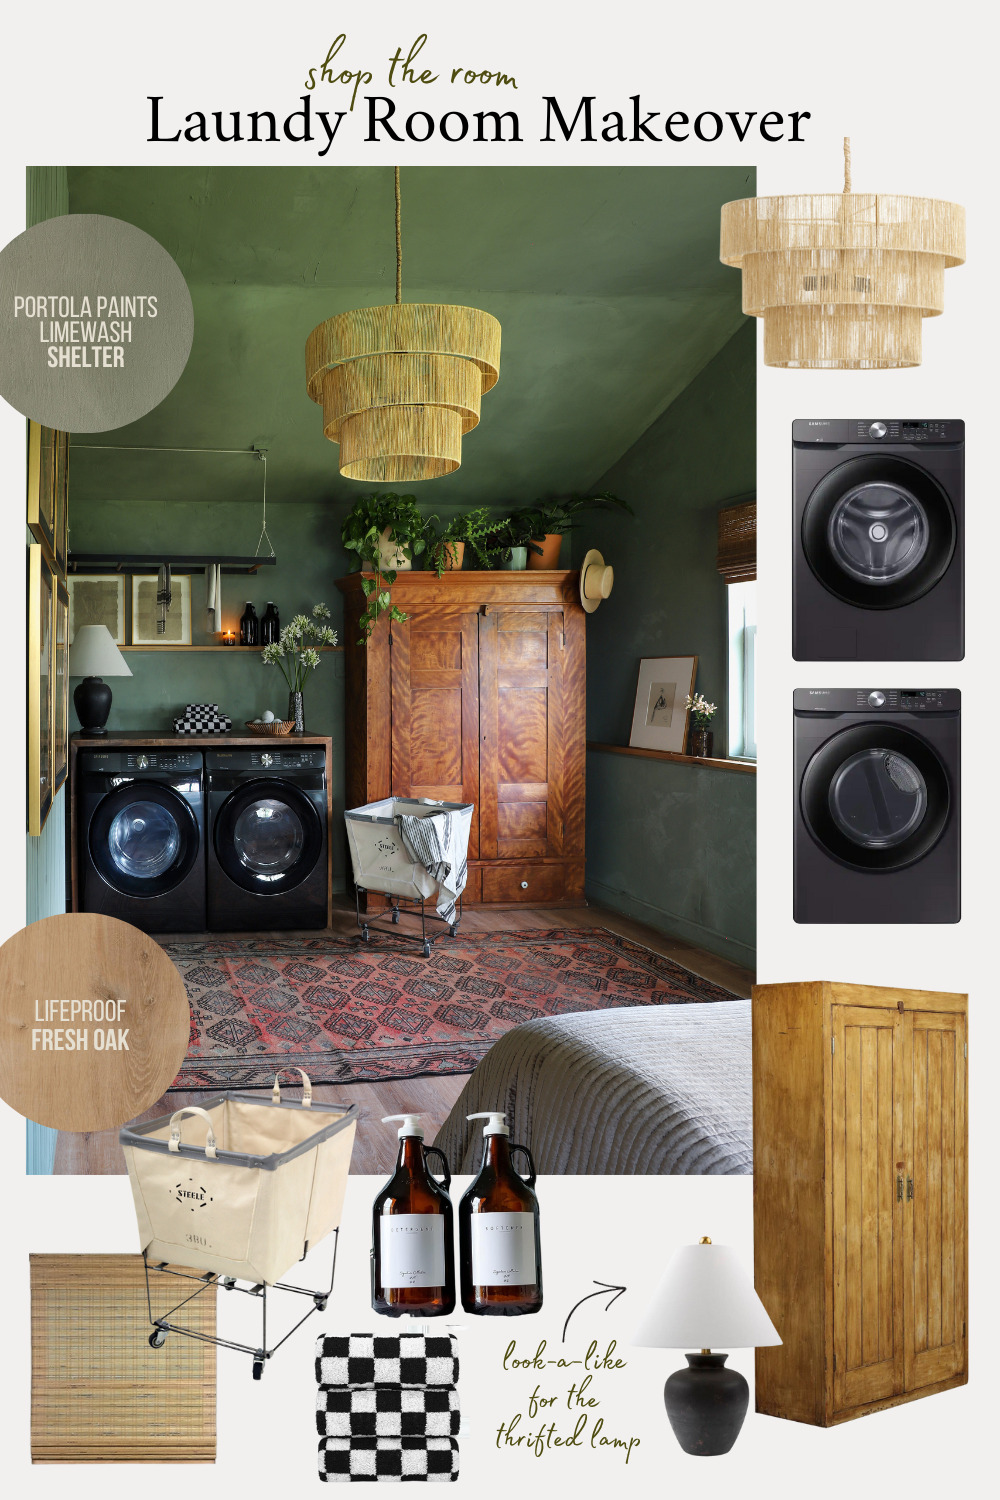
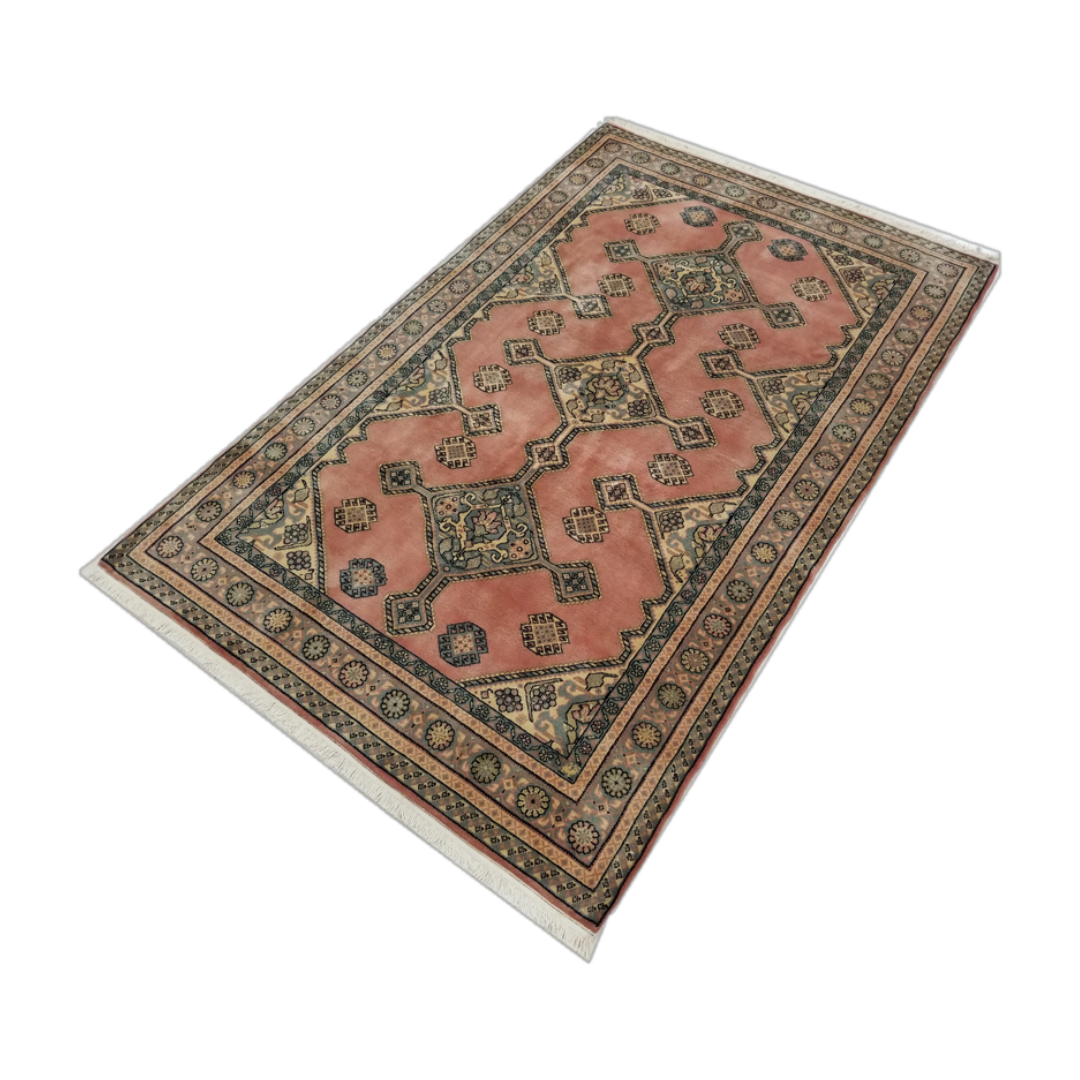
The stunning wardrobe was a score from Farm Girl Antiques. I had my eye on this piece for quite some time, and I am so glad I FINALLY found a home for it. The woodwork on this wardrobe is so interesting and full of character. Plus, it also serves a practical purpose: it’s storage for guests or a linen closet for the laundry area. The other vintage gem that completes the room is the rug from Cori Elizabeth Vintage. During the episode, Cori brought over a selection of rugs, and this particular one took me by surprise. It wasn’t until I placed it in the space that I realized it was the perfect fit. It pulls together the greens and oranges in the room, adding pattern and a layered aesthetic that elevates the entire design. (Shop a similar style rug here)

A few other things we pulled off in the three days: we repaired the walls, laid down new life-proof flooring, new lighting, a set of front-loading washer and dryer units, allowed us to create a waterfall butcher block folding station above them. Another exciting DIY project featured in the episode is the clothing hanging rack. You can find DIY instructions in the episode.
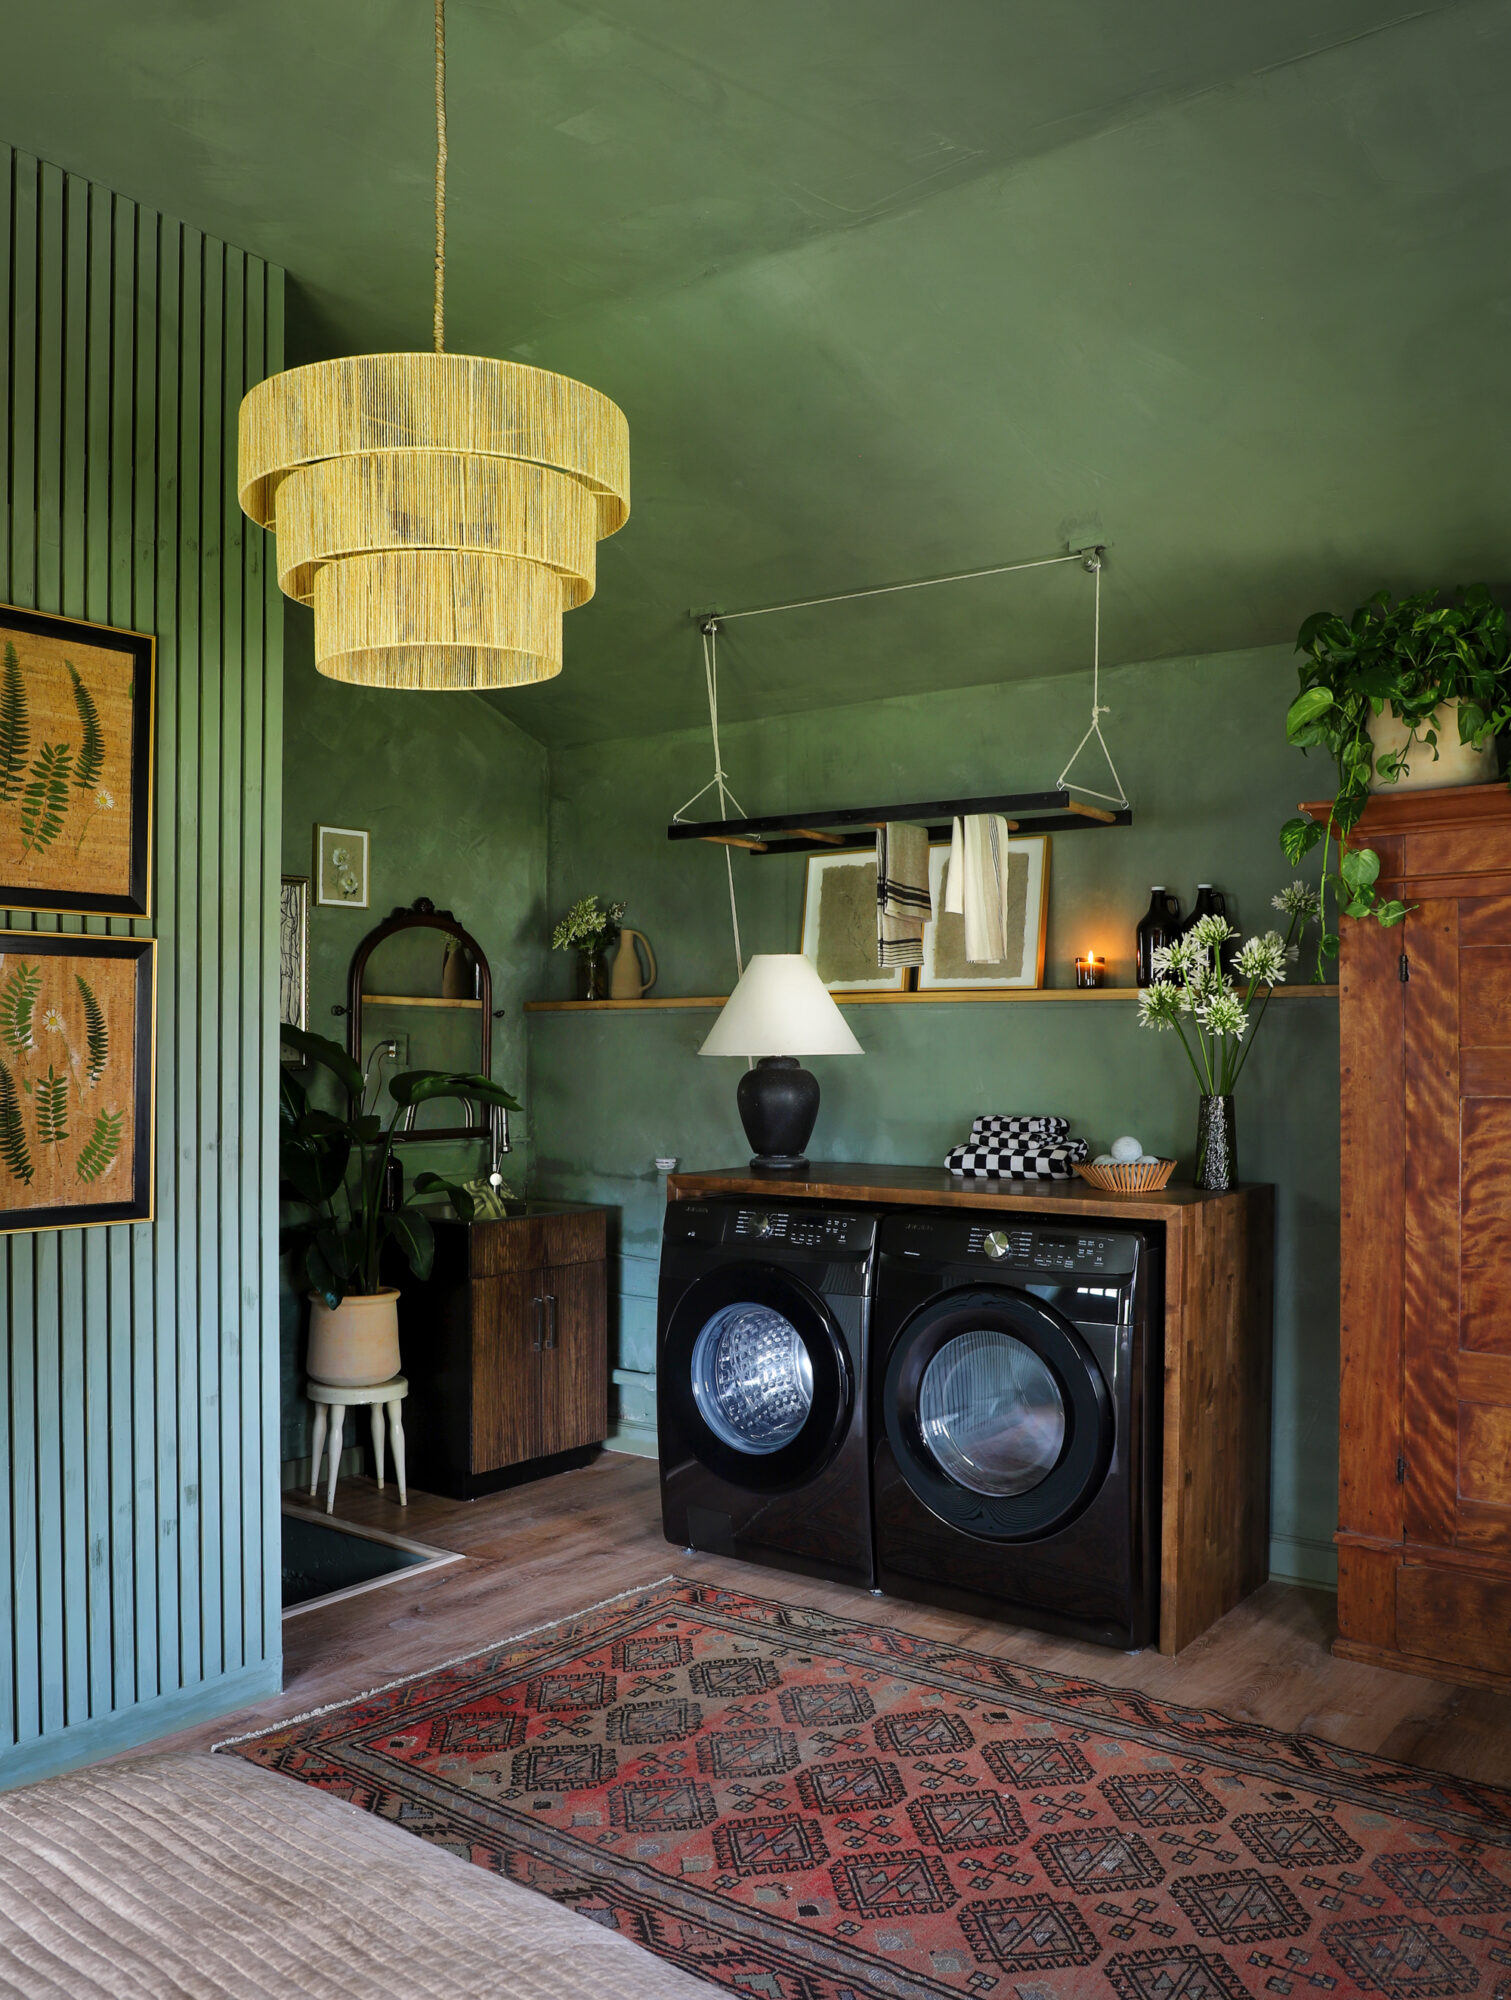
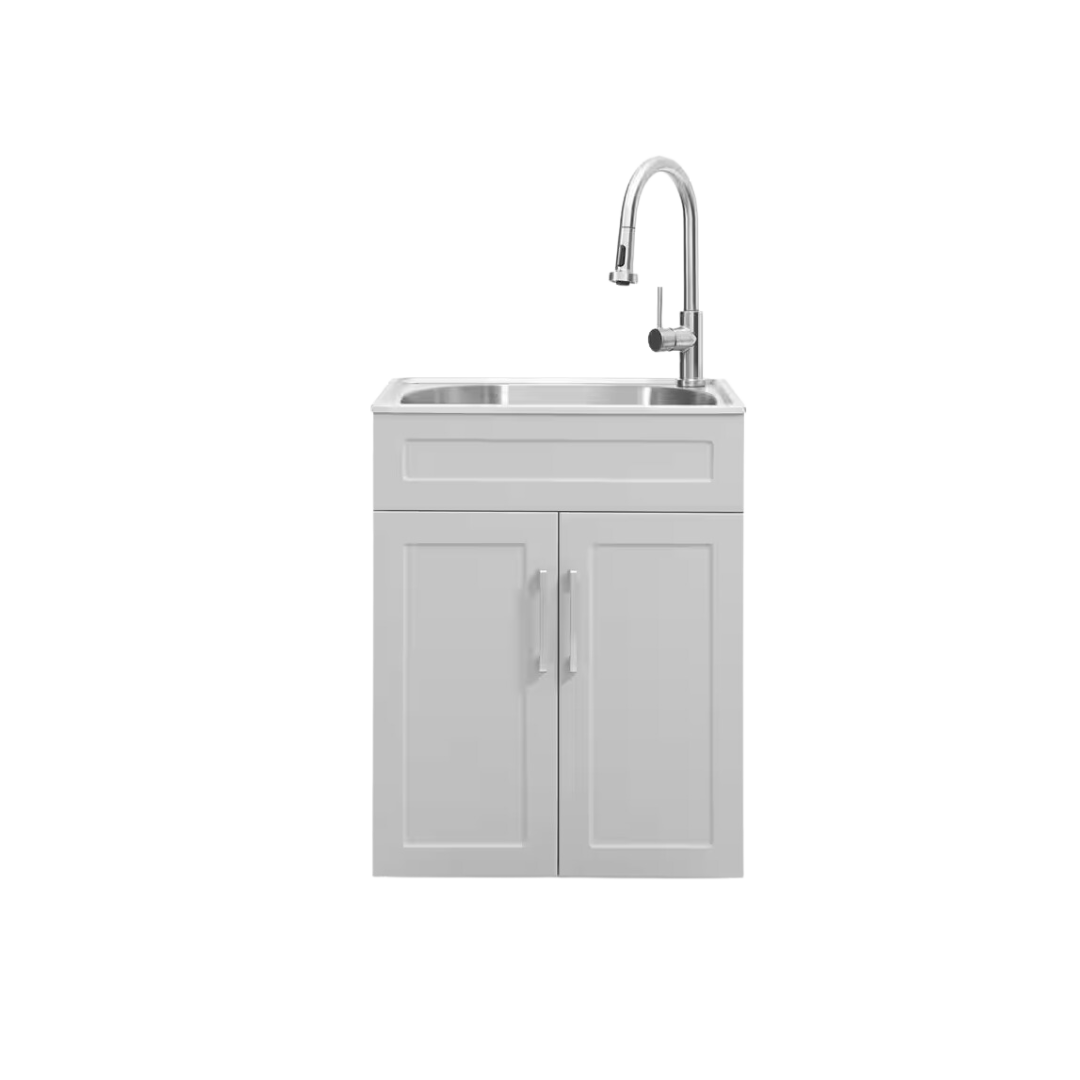
I went all out on this guest room and laundry room makeover, and did another project that didn’t make it into the episode: I transformed a laundry sink by painting it and wrapping the doors with pole wrap, then staining it to mimic the slat wall’s aesthetic. It took a basic laundry sink, and gave it a modern look.
Below, I’ve included links to all the exact or similar products we used in this makeover. Stay tuned for the Limewash tutorial and the Dried Fern Art tutorial, both coming this week!
Watch Season 2 of ‘Makeover By Monday’ Saturdays at 1p/12p c on the Magnolia Network on TV! Or stream anytime on Max and Discovery plus!
Shopping


- Wooden Bird
- Retro Alarm Clock
- Vintage Style Rug
- Log Side Table
- 2 Light Swing Arm Wall Lamp
- Olive Green Sheets
- Orange Duvet Cover
- Bedding Comforter
- Wooden Bed Frame
- Mattress
- Amber Vase
- Dried Florals
- Front Door Handle
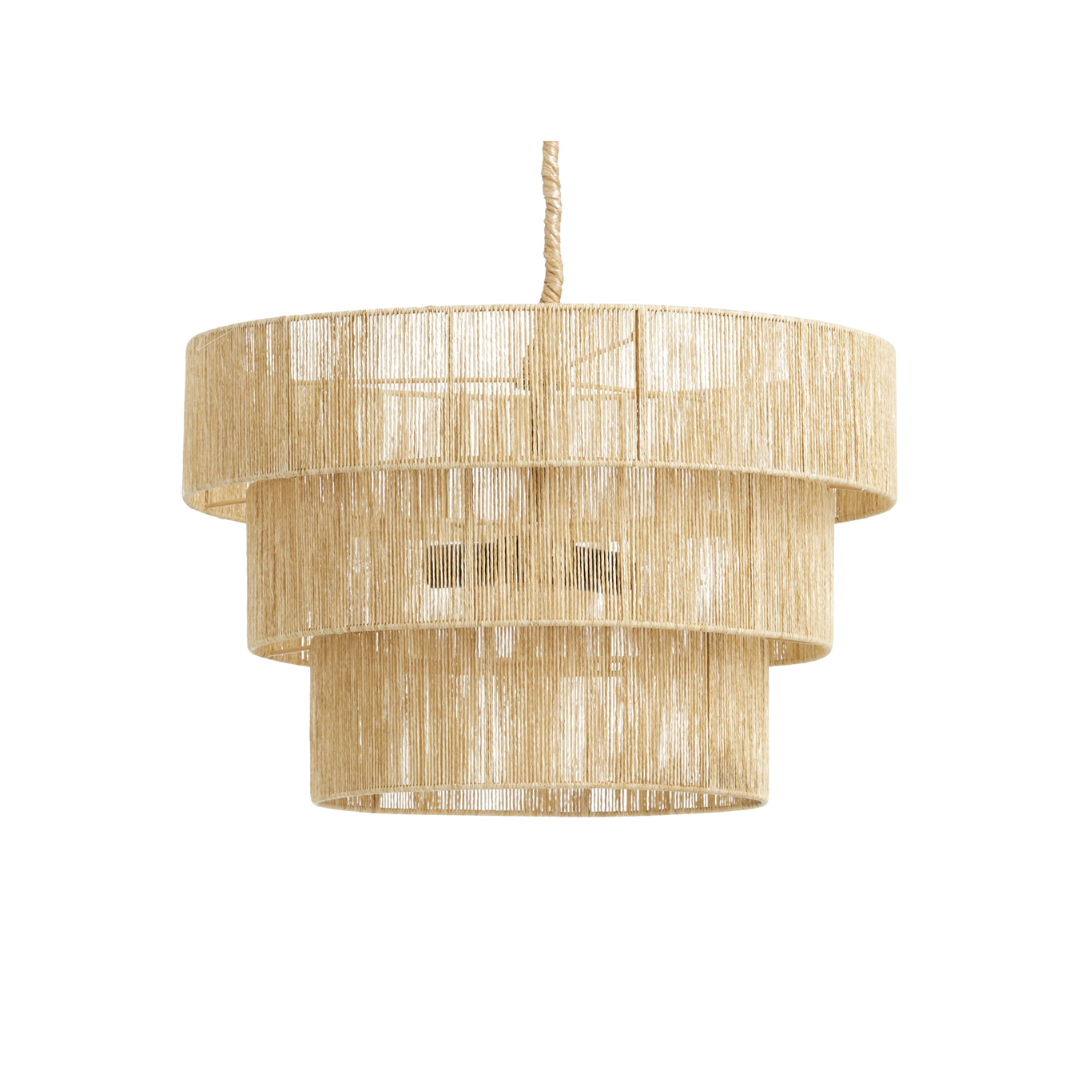
- Ceiling Pendant Light
- Large Wooden Armoire
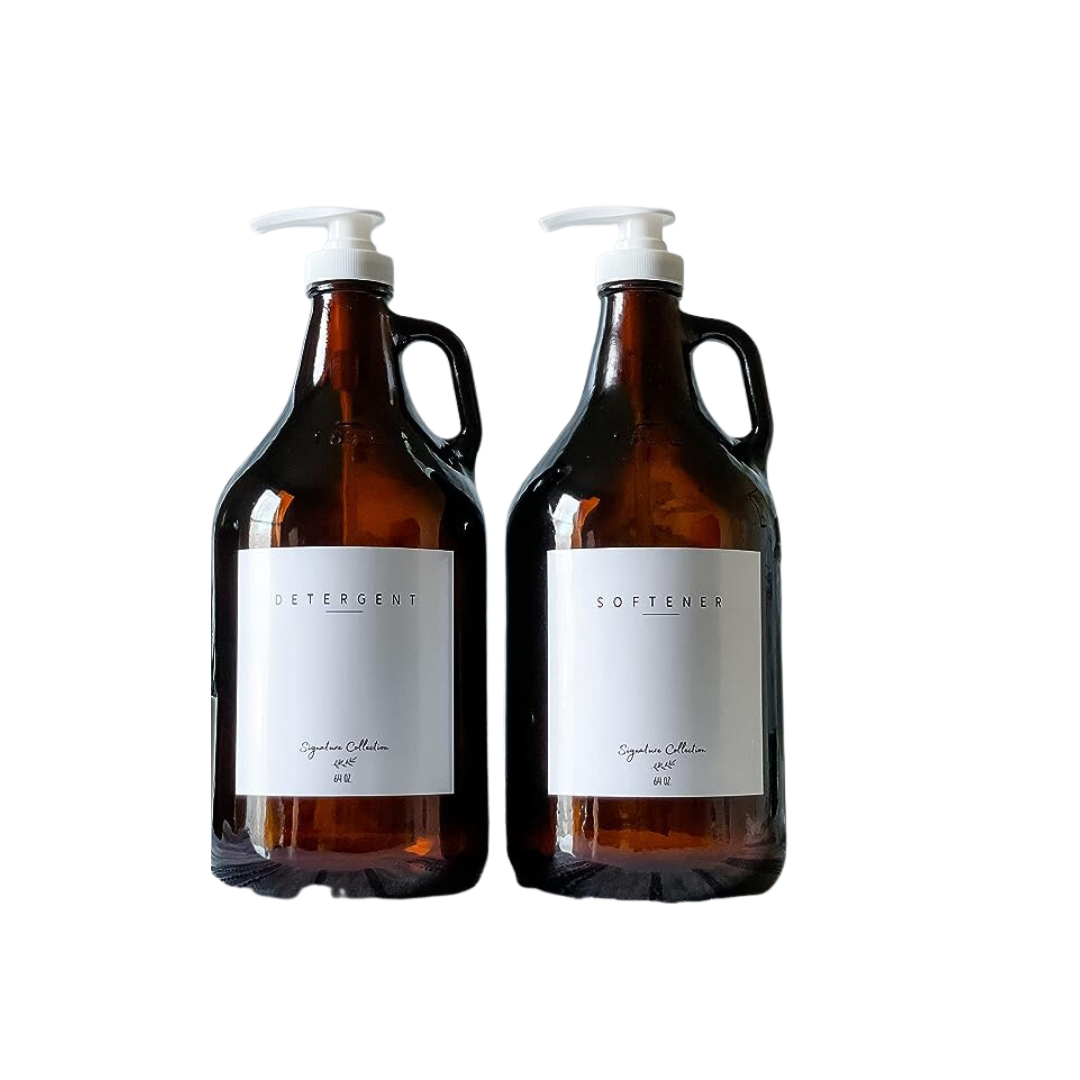
- Laundry Soap Pumps
- Checkered Towels
- Wool Dryer Balls
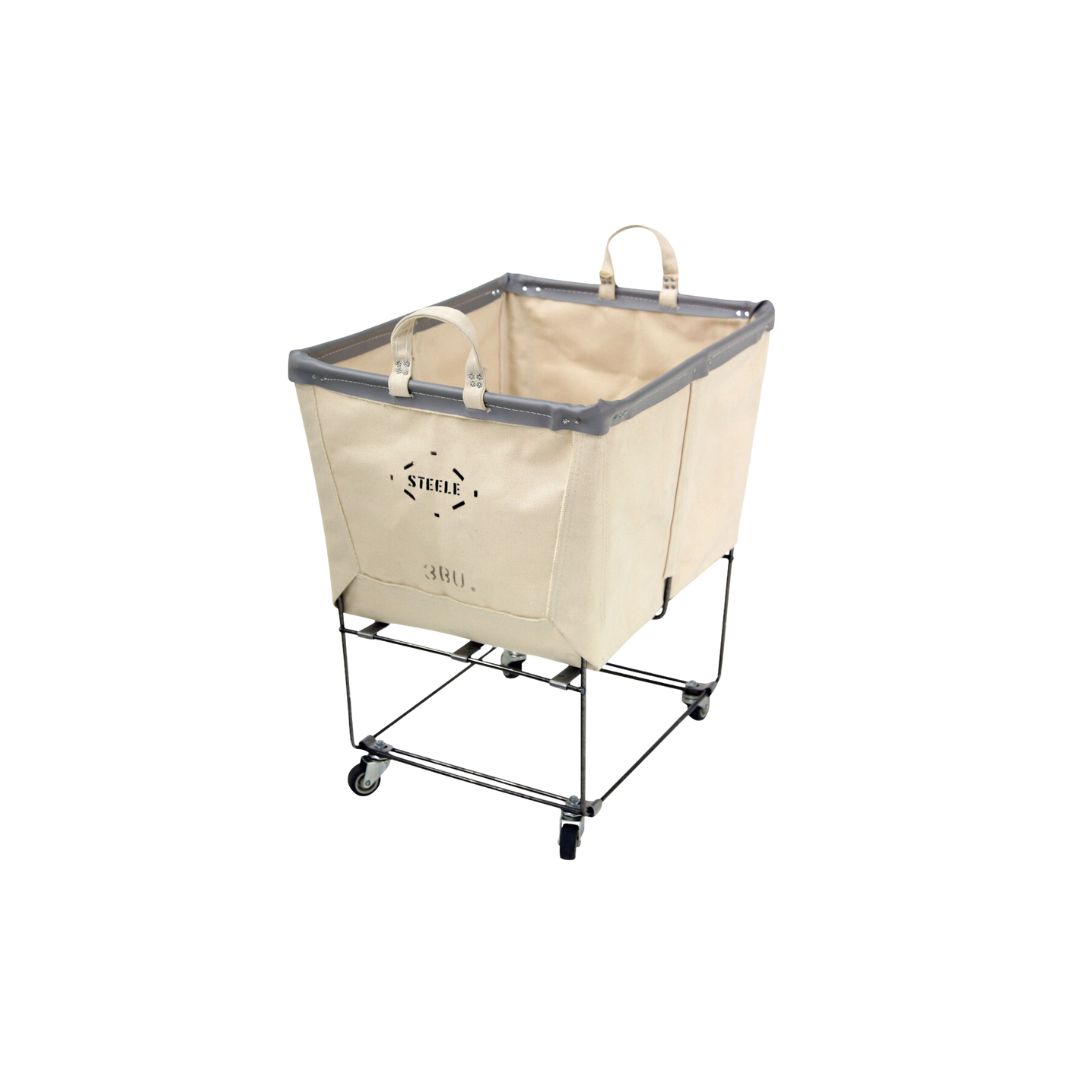
- Rolling Laundry Hamper
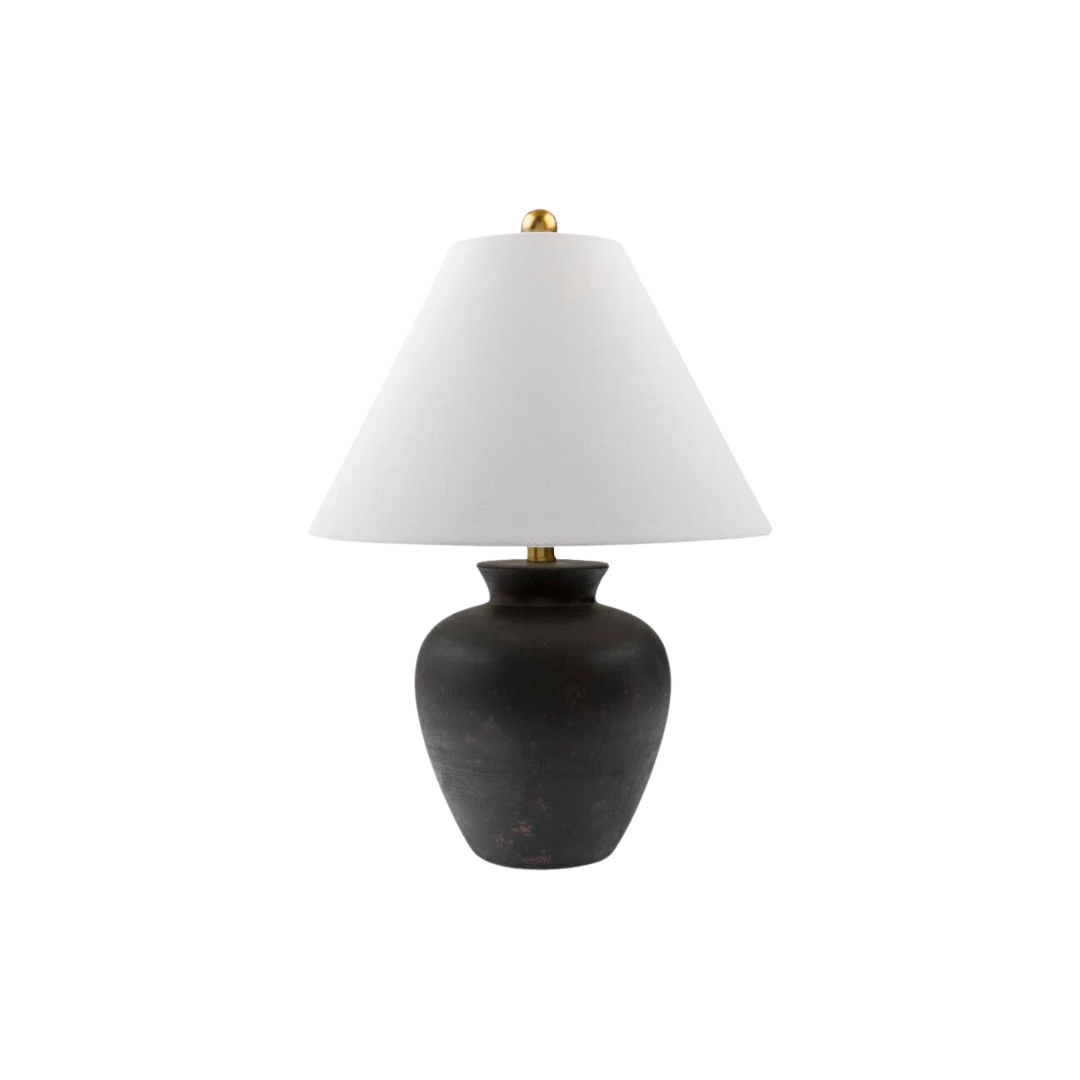
- Laundry Table Lamp (Similar to Thrifted)
- Laundry Sink
- Pole Wrap (DIY Material)
- Washer
- Dryer
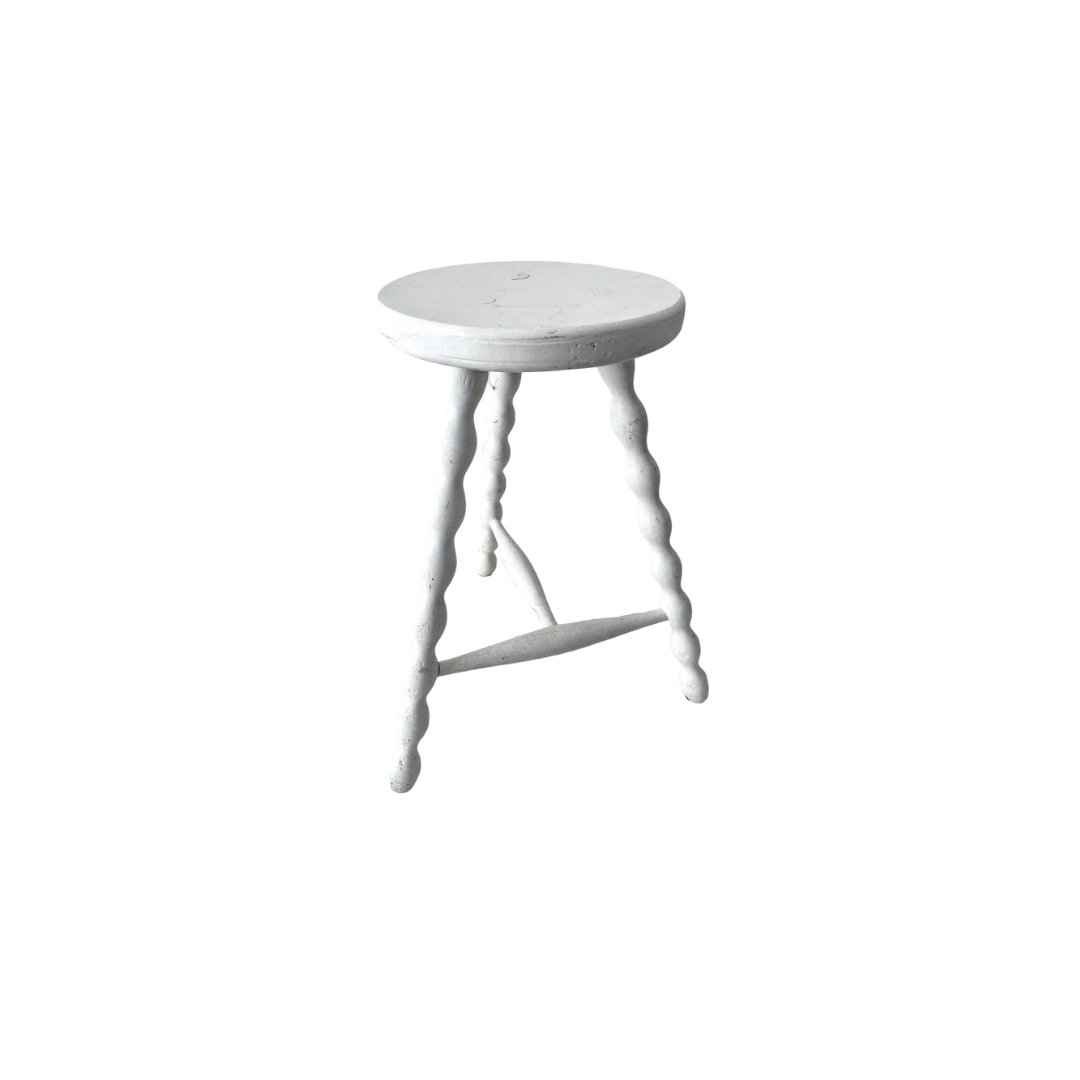
- Plant Stand Stool
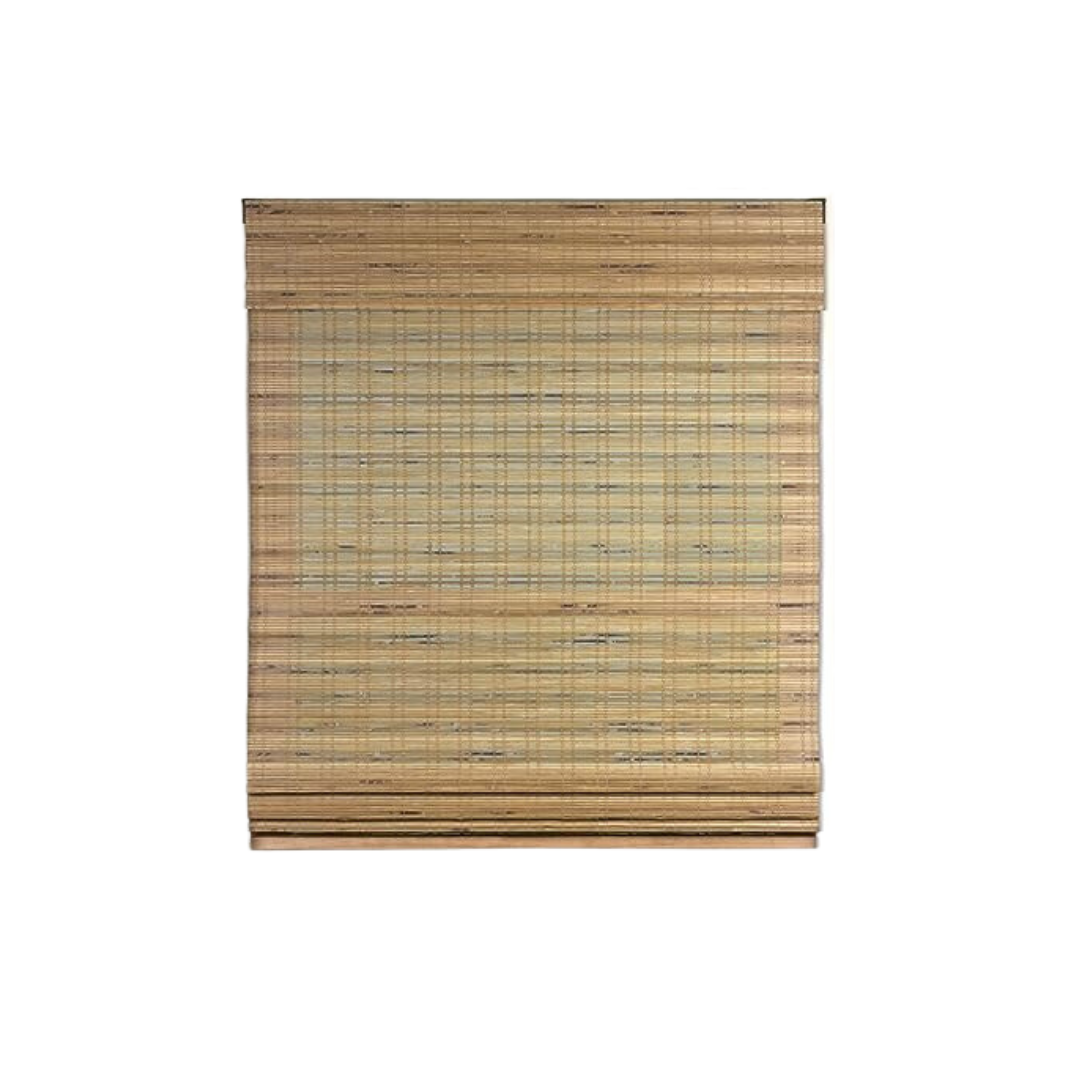
- Blinds
- Lifeproof Flooring: Fresh Oak
- Portola Limewash Paint (Color: Shelter)
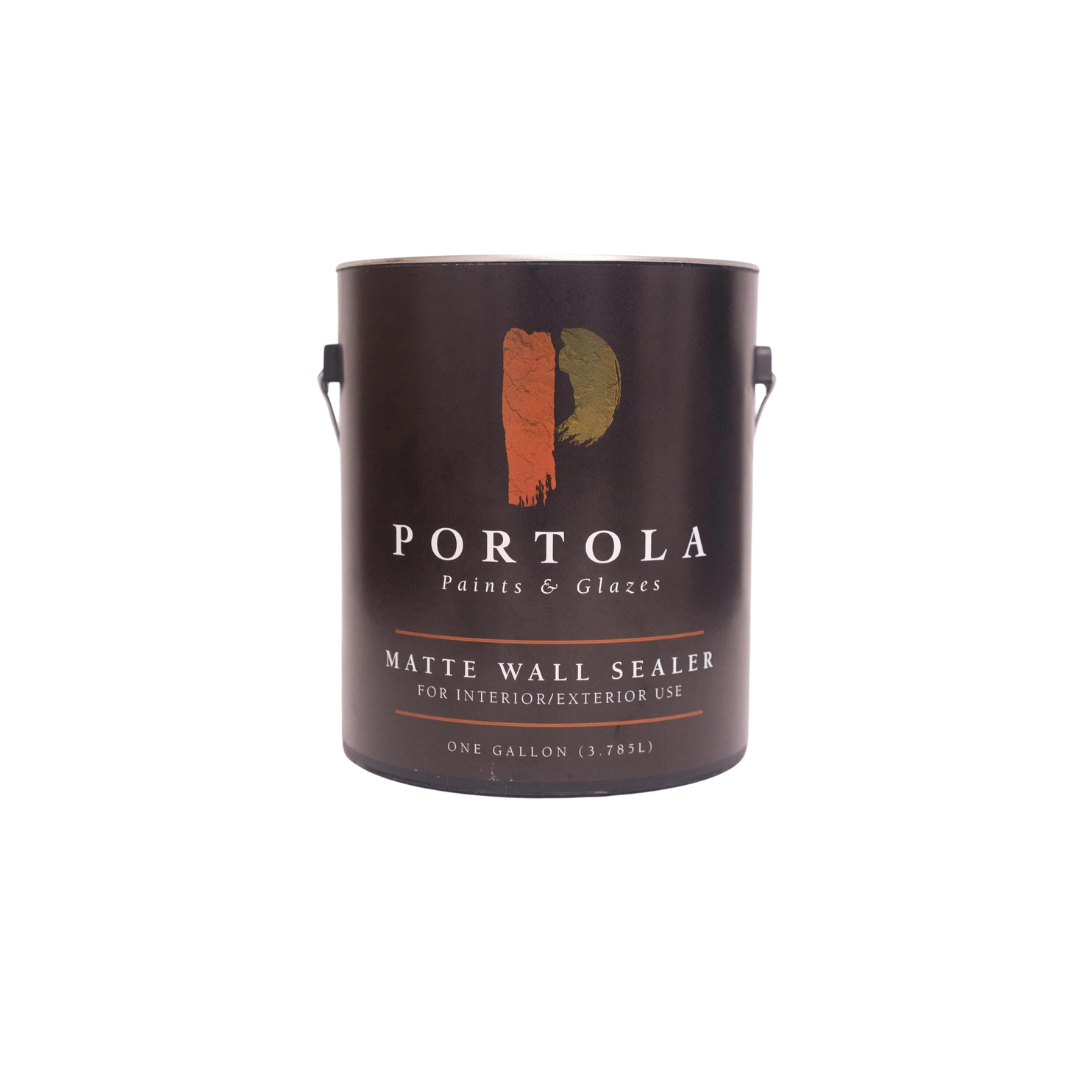
- Portola Wall Sealer
EXPLORE MORE: As Seen In, Before & After, DIY PROJECT, Makeover by Monday, Room Makeovers, SHOP


Love your ideas!Love your show. Would you share ideas and give advice?? I don’t have a website just a fan!!