DIY Dried Fern Art | As Seen on “Makeover By Monday”
As Seen In, DIY PROJECT, Makeover by Monday, SHOP
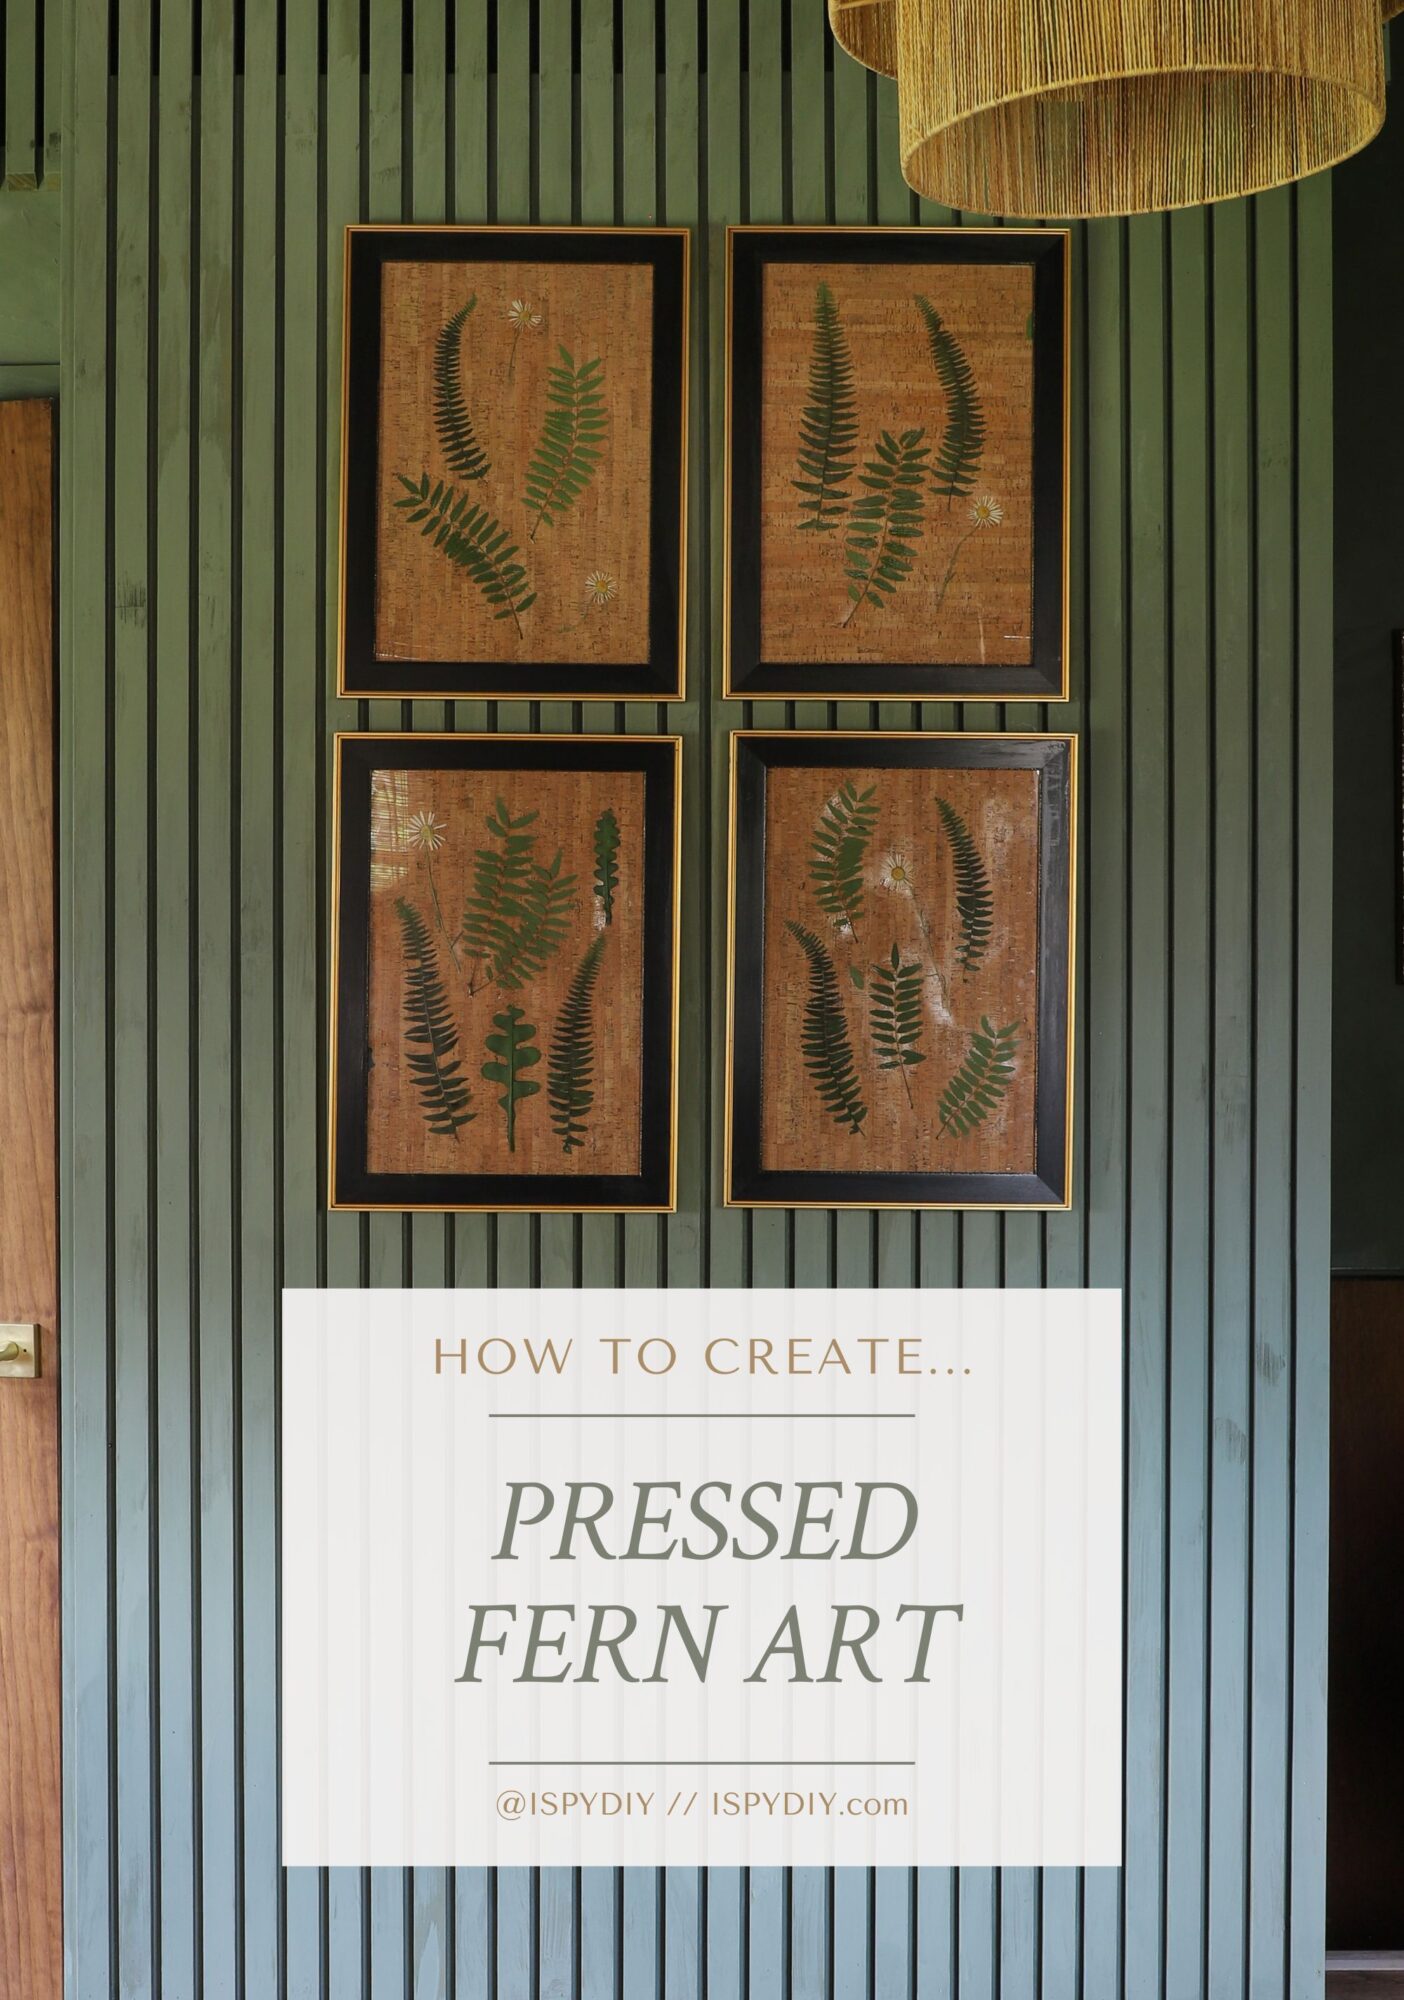
An easy and affordable way to make art for your room! I created this project for the first episode of “Makeover by Monday”, we filmed the process, but the episode was packed with projects, so it didn’t make the cut. I love how the ferns look on the cork, with the black and gold frames. See all the details are below!
Supplies
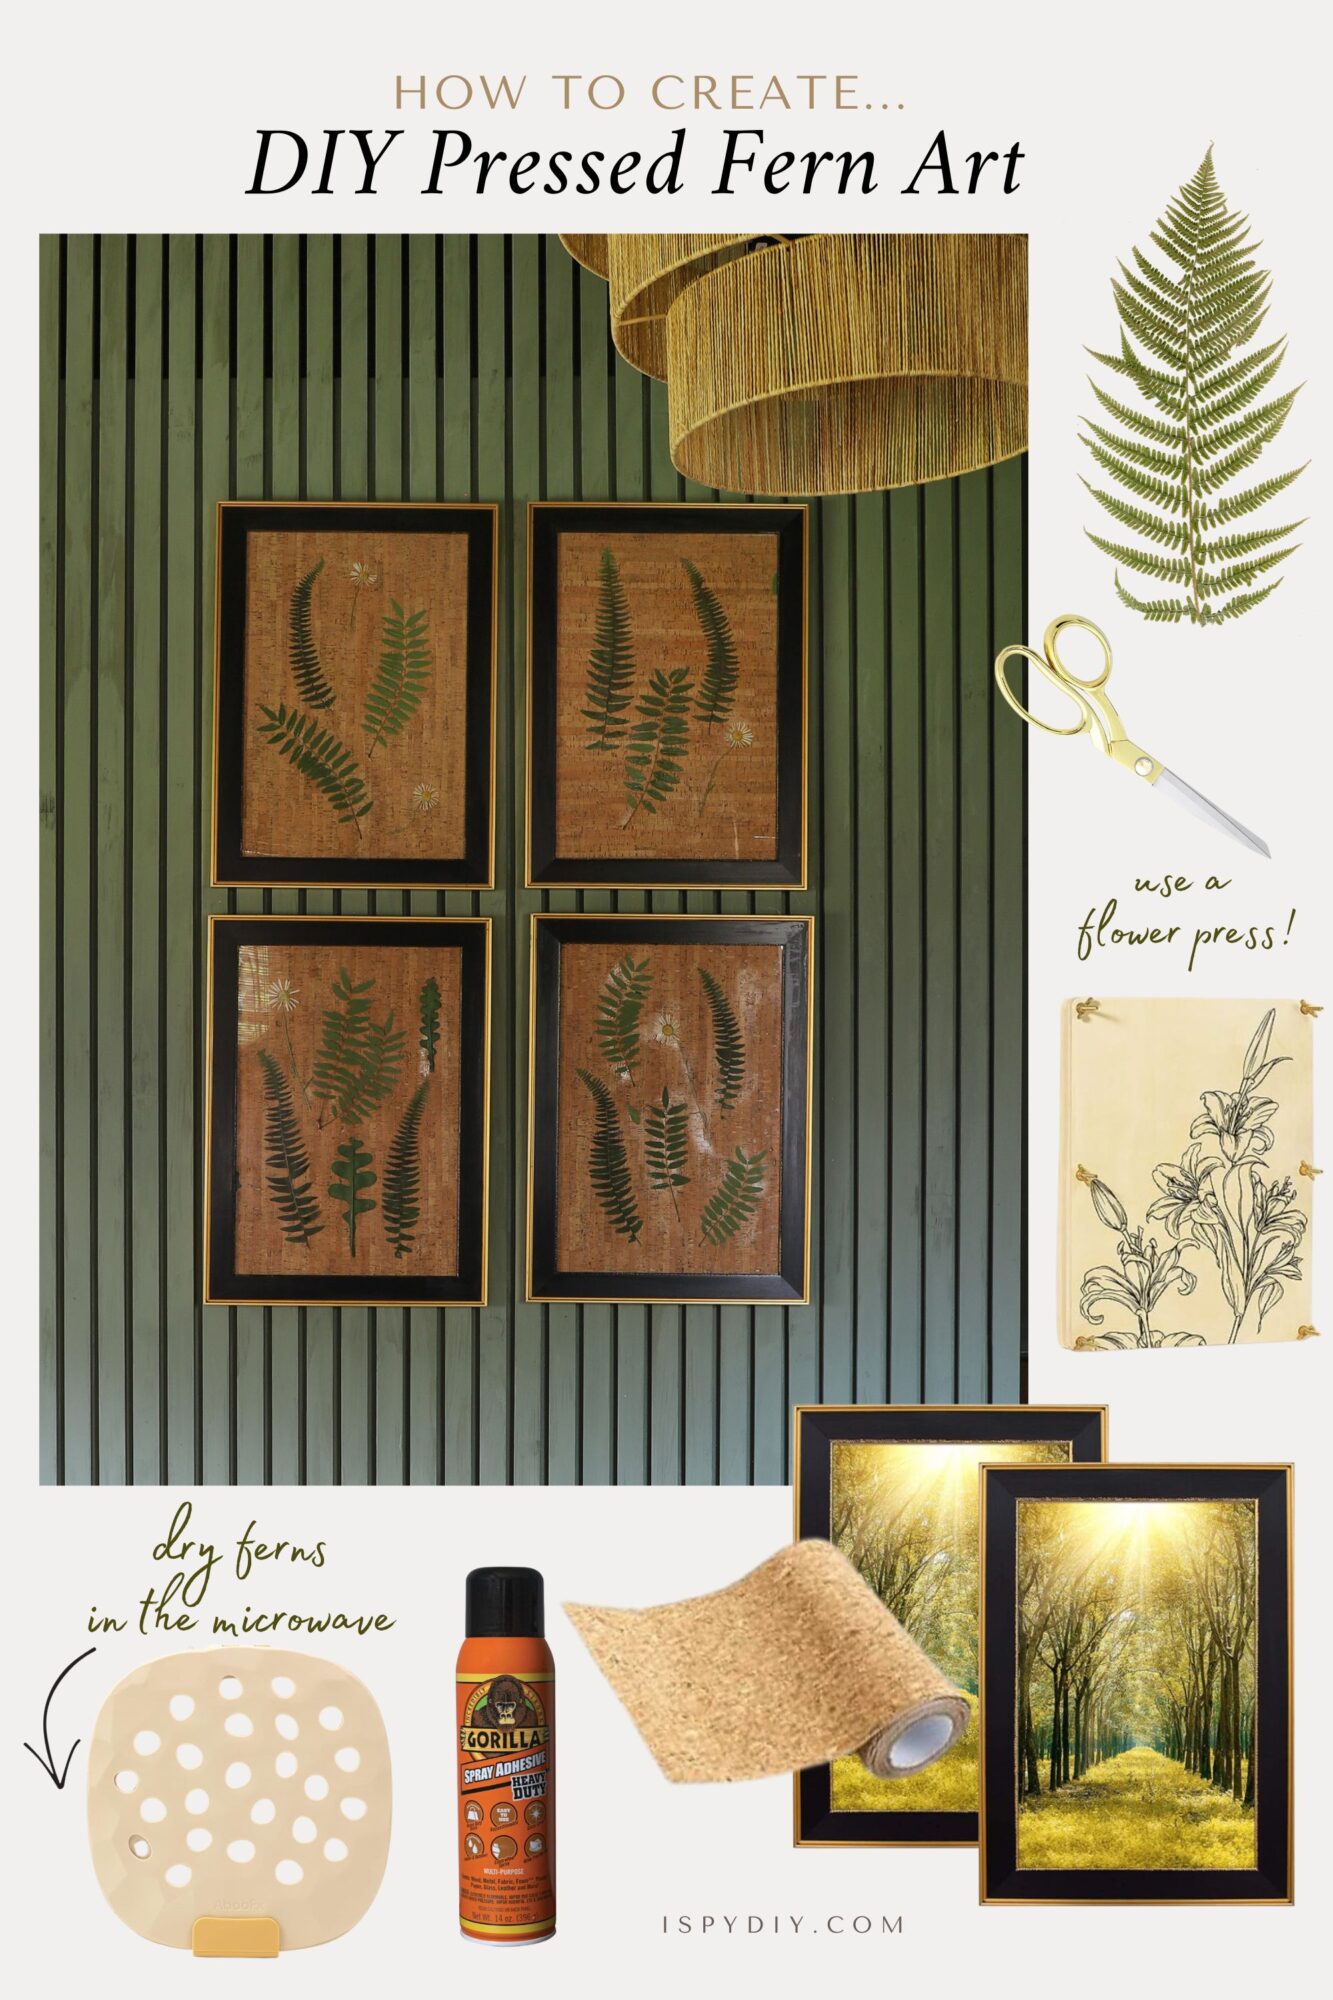
- 4 11×17 Picture Frames
- Live Boston Fern
- XL Flower Press Kit Or Microwave Flower Press Kit
- Cork Board Paper (Self adhesive)
- Spray Adhesive
- Scissors
Step-by-Step
1. Use scissors to cut several leaves from the fern plant. Choose leaves which you like the shape of.
2. Then, press leaves for at least one week either in a large book or XL flower press kit. You can also use the instructions for the microwave flower press kit to press leaves this way for faster results.
3. While leaves are drying, unroll and lay the cork board paper on a flat surface. Remove the backing from the picture frame and lay on top of the cork.
4. Trace around the backing and use scissors to cut the cork board paper. Repeat until you have cork cut out for all four frames.
5. Remove the adhesive backing on the cork board paper and adhere to the picture frame backing.
6. Once leaves have dried completely, remove from the pressing kit. Layout leaves on the cork board paper, which is now adhered to the back of the picture frame.
7. When the leaves are laid out and arranged as you want them, use the spray adhesive to lightly spray both the back of the dried fern leaf and the cork board paper. Then adhere the fern leaves to the cork board paper.
8. Once fern leaves are placed, let sit flat until adhesive is completely dry.
9. Lastly, place the frame backing back in the picture frame, and hang your beautiful dried fern hang art.

Read about the full room makeover HERE!
Watch Season 2 of ‘Makeover By Monday’ Saturdays at 1p/12p c on the Magnolia Network on TV! Or stream anytime on Max and Discovery plus!
EXPLORE MORE: As Seen In, DIY PROJECT, Makeover by Monday, SHOP


