How-To Install Removable Wallpaper
DIY PROJECT
So, by now you may have heard that we’ve launched a collaboration with Chasing Paper! Pinch me! I’m so excited to see these Chasing Paper x I SPY DIY designs come to life, and I’m even more excited to see them in your home!
I’ve been asked on Instagram how to install Chasing Paper wallpaper, since I’ve used it in so many makeovers over the years. Is removable wallpaper easy? Will I need a professional installer? I’m here to tell you that you can do this project yourself (but it goes faster with a friend.) It’s straightforward, but there are definitely some tricks that I want to share with you to make it easier.
5 Step How-To Guide for Installing Chasing Paper.
First of all, let’s talk about a couple of specifics unique to Chasing Paper wallpaper. Chasing Paper has both removable and traditional wallpaper options available. The removable wallpaper comes in 2×4’, 2×8’, and 2×12’ pieces. The traditional wallpaper is available in 2×8’ and 2×12’ pieces.
Traditional vs. Removable Wallpaper
I’m a fan of removable wallpaper. Why? Well, I prefer removable because…I like to DIY (and change my mind!)
Removable wallpaper tends to be a lot easier to do as a weekend DIY project. Plus removable wallpaper gives you the ability to change up your rooms as often as you like. It’s really easy to apply and remove, and renter friendly.
For Chasing Paper (and likely any removable wallpaper) to adhere properly your walls must be smooth or it won’t stick. I’ve used it in many types of rooms in my homes including bedrooms and bathrooms. My experience has been that it’s stayed on the walls really well. The adhesive that Chasing Paper uses is amazing!
Bathrooms?
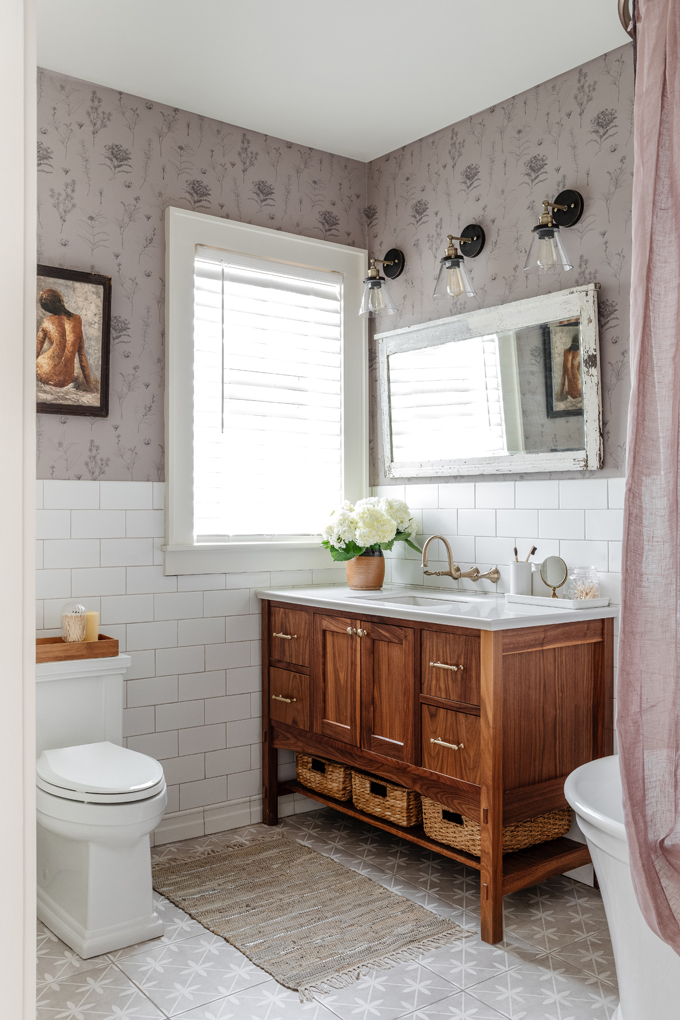
Technically Chasing Paper will advise against using it in a bathroom, but I’ve had a lot of success with it — even in high-use bathrooms. Powder rooms have not been a problem. However, you may not want to install it in your family bathroom that you’re using every day if it has a lot of moisture because the paper could peel. Traditional wallpaper would be a better option in a high-use bathroom. Traditional wallpaper uses a different type of adhesive and is more permanent.
Essential Install Supplies:
- Sharp blade such as an Exacto knife
- Box cutter
- Level
- Plastic putty knife
- Step stool
- Your Chasing Paper wallpaper, of course!
Time to Get to Work!
Reminder: Ensure your walls are truly smooth. If they’re not completely smooth, removable wallpaper won’t work. If they’re not smooth, there are options like sanding or skim coating to prep in advance, but this guide assumes your walls are smooth.
Step 1: Wash your hands so you don’t get the paper dirty. Then, wipe down your walls with a damp rag ensuring they are very clean. Let them dry fully before moving on to the next step.

Next, pull out your wallpaper.
The nice thing about Chasing paper is that you can pick different-sized sheets. For instance, for our project, we measured the room and we’re using a combination of two by fours, two by eights, and even some two by twelves because we have nine-foot ceilings. You’ll want to group them so you know what’s going to go on which wall —you can always mark these with a pencil so you know which goes where.
Now that all the wallpaper is sorted it’s time to start hanging it!
I usually like to hang it starting in the top corner. You’ll want to find out how level the room is. Because let me tell you, we live in a 140-year-old house so nothing is level or plumb!

Step 2: Determine which way the room slopes and start in the highest area. That way, when you’re working your way over the top edge of the ceiling, you don’t have a big gap at the top. It’s also a good idea to leave a little bit extra at the top to overlap the ceiling to get a crisp edge. This method ensures that if your room slopes or dips you’ll have a little extra paper to work with that you can trim at the end.
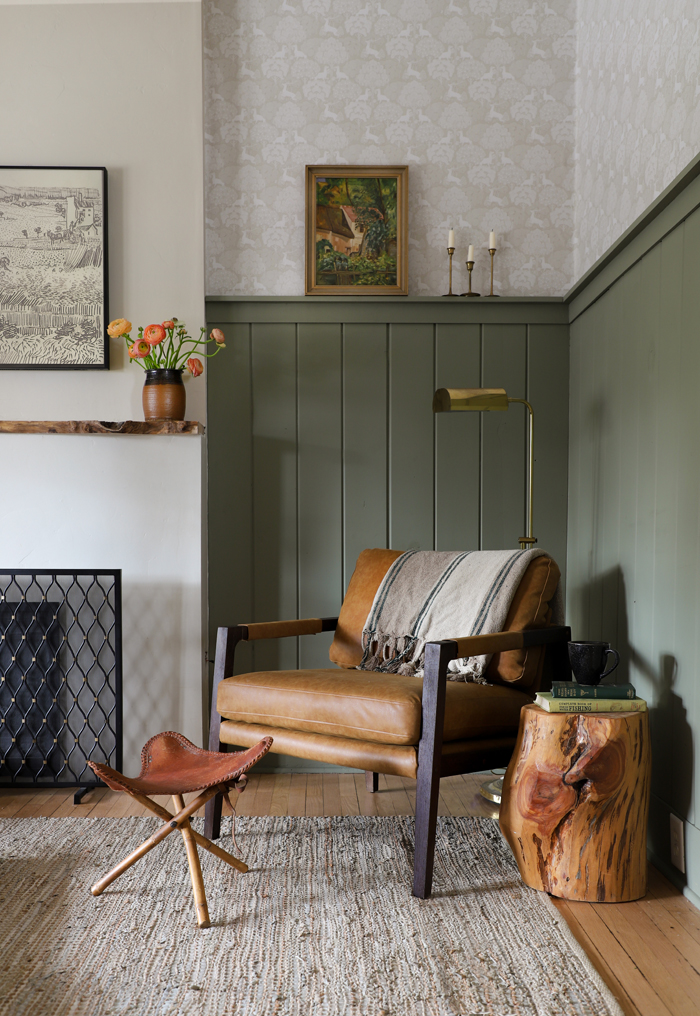
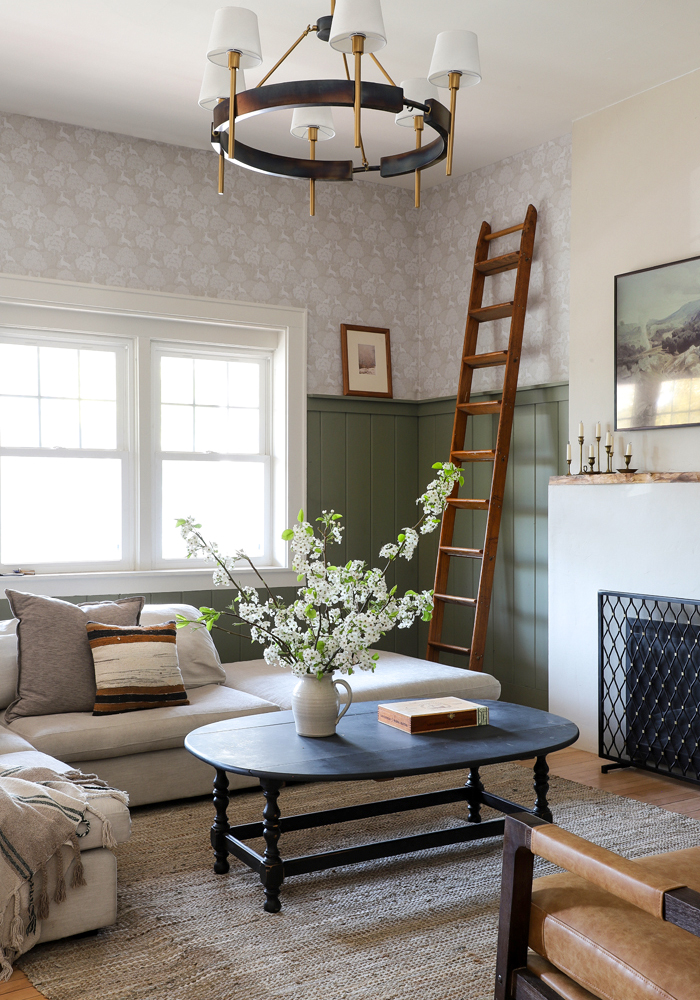
Also leave some extra on the sidewalls too, in the corner. That way, when you’re working your way down, you won’t run into a situation where you have a big gap at the bottom. The pattern we’re using is Forest in Tan from our collaboration with Chasing Paper, CLICK HERE.
Step 3: Peel off about half of the back of the first sheet and start adhering it to the wall. Once the sheet is in position, pull off the rest of the backing. First, run your hand down the center of the wallpaper to adhere to the walls. Then work your way out to the sides to get all the air bubbles out. If you have air bubbles that you can’t get out with your hands, that’s when I use my plastic putty knife, and run it across the paper, to get the bubbles out the side. Use a plastic putty knife because a metal one can cut your wallpaper, a credit card or gift card could work as well.

Once your wallpaper is in place, it’s time to go back and trim.
Step 4: Here’s a choose your own adventure step. If you want to trim it right now you can, or you can take scissors and just cut off the excess, and then go back at the end and trim all your wallpaper with your blade.
Use the putty knife to make sure the wallpaper is really taut against the corner of the wall, make sure that it’s really stuck in there. Then use a really sharp blade to go in and cut the wallpaper. Cut it around any molding, window trim or door trim.

Step 5: Okay, so you have your first piece up (yay!), now start working your way over and match your pattern. Once your pattern matches up, repeat step 4 by smoothing down the middle and working to the sides to get all the air bubbles out.
Chasing Paper is very easy to work with, and forgiving — you can stick it and then pull it off and re-stick it — just keep in mind that every time that you stick it or you pull it off you lose a little bit of that adhesive. It’s best to try to get it on the first try if you can.
Repeat Steps 1-5: Continue until all your pieces are installed!
It’s tempting, but try not to stretch the wallpaper.
If the pattern is almost meeting up, and you just want to pull it slightly you’ll notice the wallpaper does have a little give to it so you are able to stretch it, but that will compromise the rest of the pattern. You don’t want to risk skewing and distorting the paper otherwise the pattern won’t match up later. I know it’s tempting, but try really hard not to pull your wallpaper.
I know what you’re thinking. Is installing removable wallpaper TRULY a DIY project?
It absolutely is!
My suggestion is to start with a simple wall with no windows or minimal doors, maybe a statement wall behind your bed to get the feel for it.
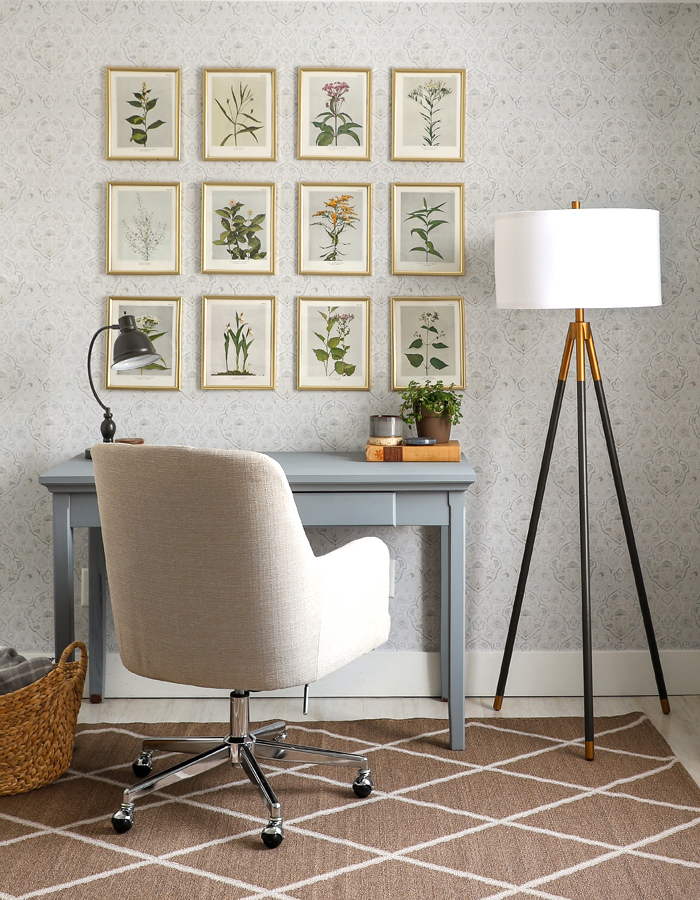
I installed Chasing Paper on a blank wall in my office that was pretty level and straight. I used Floral Play in Sage from our collection, CLICK HERE. I didn’t have to deal with too much sloping either and put up those four or five pieces of paper in about 20 minutes! The only place I had to cut out was around the outlets, and there’s a little bit of forgiveness with outlets because you can cut the paper and then put the outlet cover over it. If you want bonus points, you can also cover the outlet cover in wallpaper!
My advice? Start simple and then gain confidence to build your way up to a more!
Now the hard question is which one of the I SPY DIY x Chasing Paper patterns to start with first? Try a sample kit, CLICK HERE.
EXPLORE MORE: DIY PROJECT


I love the idea of removable wallpaper as a renter, but found it really interesting you’ve stated smooth walls – mine are far from it. So I may have to rethink and just ask my landlord if I can paint!