BARNHOUSE | Before & After DIY Dream Pantry
Before & After, DIY PROJECT
Ahhh, that magic feeling of walking into a space that you DIYed… I built the shelves and peg rail in the Barnhouse pantry forever ago, but I have had a bunch of requests for the details recently, so better late than never!
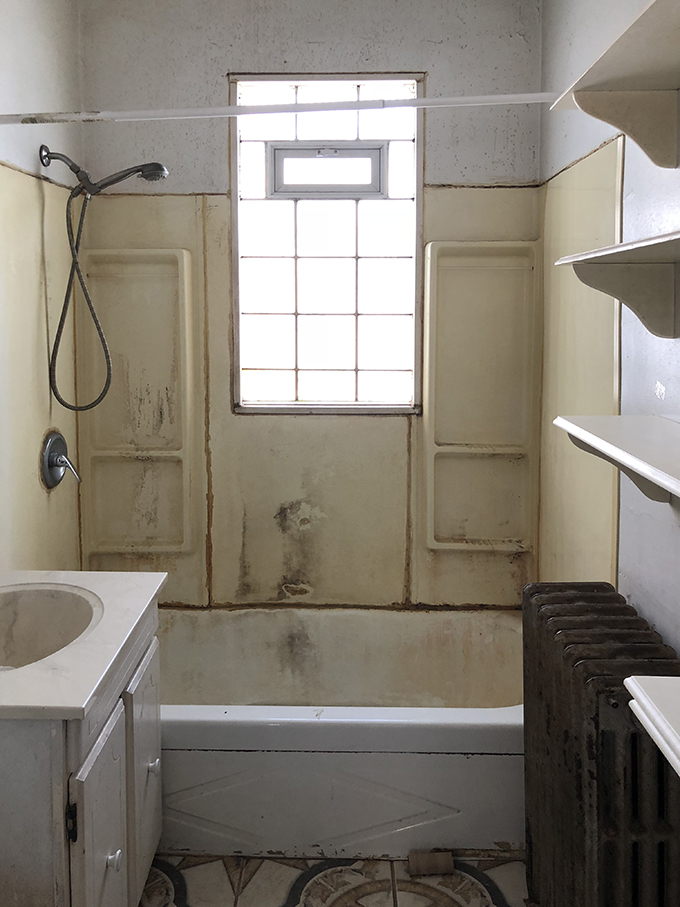
Originally, this pantry space was a bathroom. Sitting right off the kitchen, this was…well….disgusting. So, we moved the bathroom and turned the space into a butler’s pantry.
Here’s the thing. I may not be great at cooking, but I love to entertain and arrange food on platters. This room helps me do just that! It’s an incredibly useful space that’s less about food and more about utility.
However you plan to use your pantry, here are a few tips for creating one you’ll love, even if you have just a small space and minimal budget.


Maximize the Space with a Mix of Storage
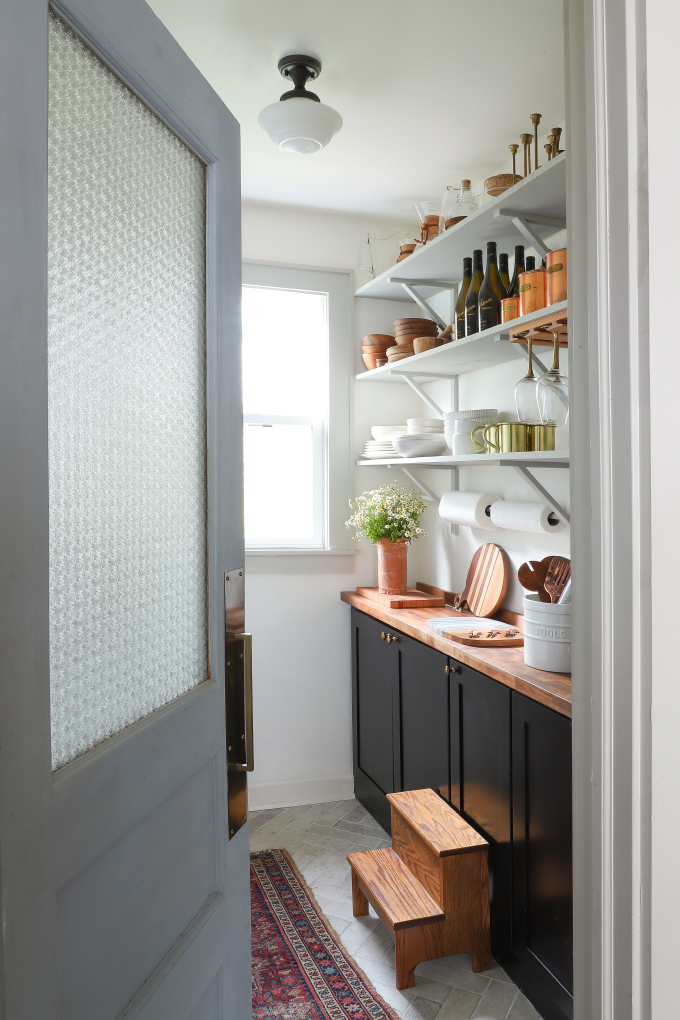
Since this pantry is only 5′-6″ wide, in order to keep clear of the door opening I used upper cabinets for bases. Using uppers as your lowers is a great trick to get more space because they are narrower than typical base cabinets. The only additional step is to build a simple base to get the overhang of a typical base cabinet. The countertop is an off-cut piece of butcher block stained Walnut to match the kitchen countertops. Instead of upper cabinets I used shelves. For the upper shelving, I wanted something with depth to fit plates, platters, and larger items, so I used Ikea brackets and 1×12 boards.
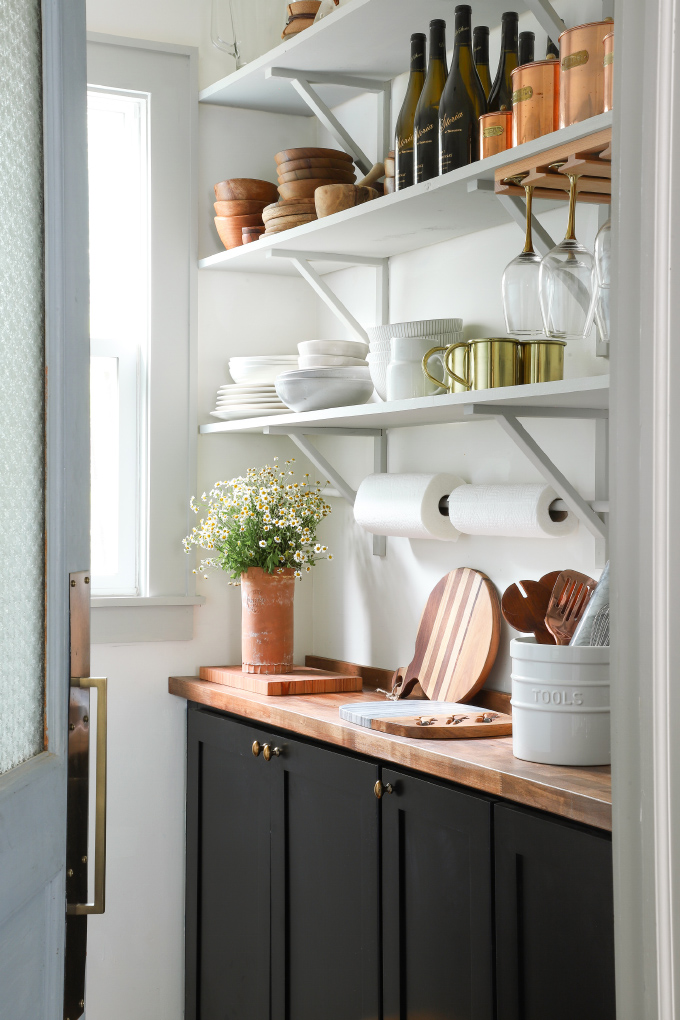
DIY: To create the shelves, I used Ikea brackets (this is a link to the newer version of this bracket) screwed into the studs. The shelves are spaced 14” apart vertically and are made of 1x12in pine boards. Also, a fun little idea I saw on A Daily Something is to use a dowel in the angle of the shelf brackets as a paper towel holder.
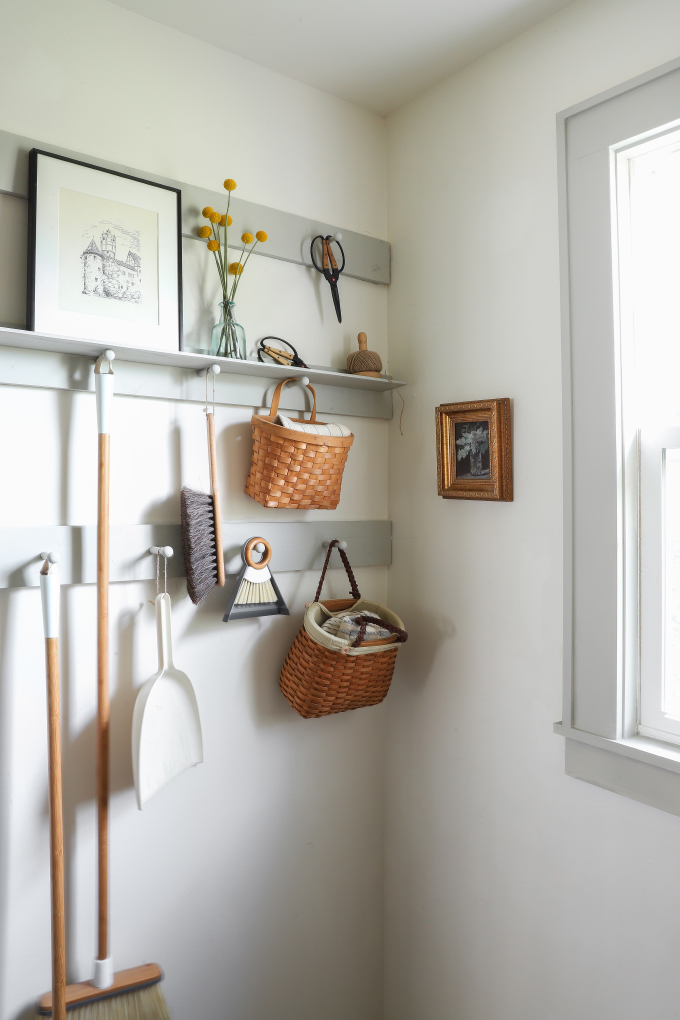
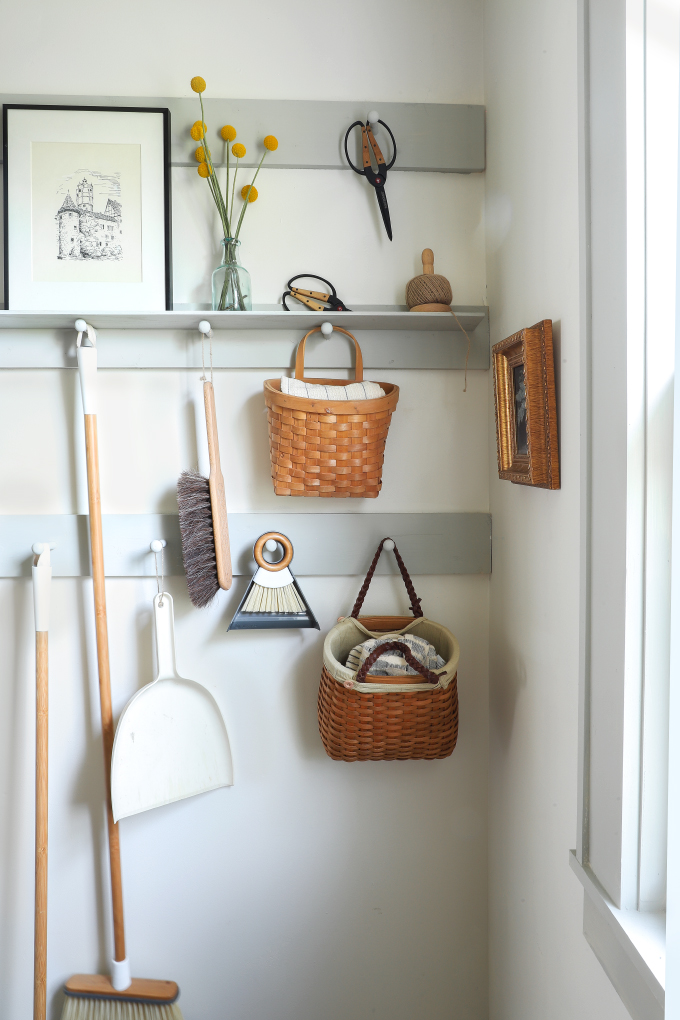
On the opposite side, I wanted a place to hang brooms, dustpans and cleaning supplies, so I created a wall of peg rails. It made the wall functional without being cutting into the width of the room. Then I rested a thin piece of wood on the peg rails to make a temporary, moveable shelf for cleaning products.
DIY: Check out my peg-rail tutorial here!
Consider How It Will Function
It’s all about the planning. When mapping out your space, factor what you’ll put in your pantry when you determine the height and depth of your shelves and cabinetry. Make sure you know your dish, storage container, or food dimensions, so you plan a space that fits everything without items hanging over the edge.
Consider how different containers will help you sort like items and where you’ll put the most-used items, so they’re within easy reach.
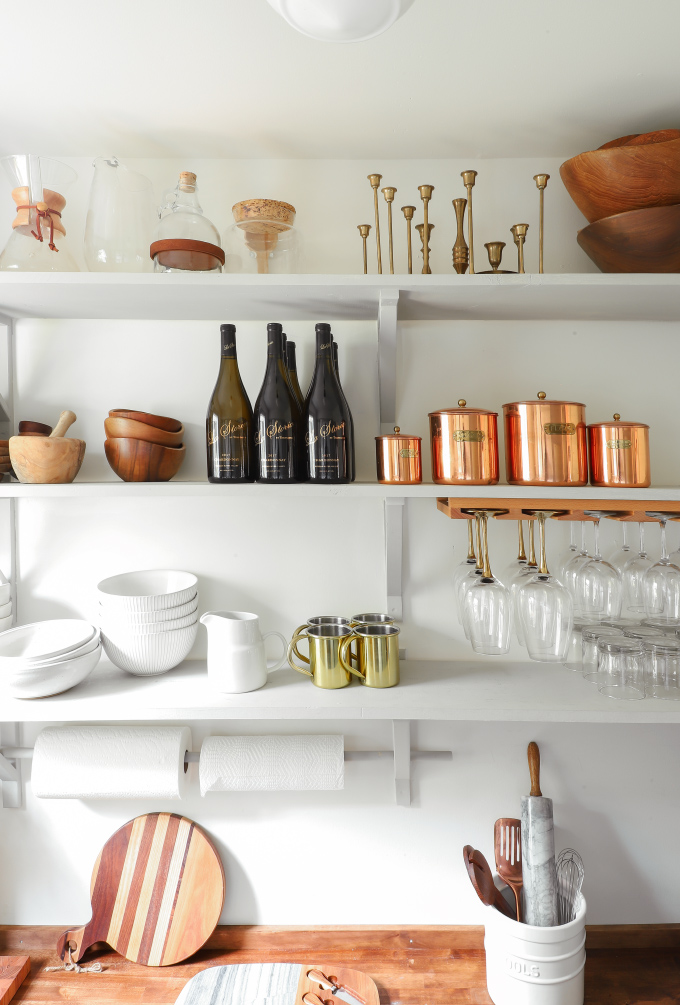
Embrace Open Shelving
I love how airy this space feels, which is mostly due to the open shelving that allows me to see most everything. It makes entertaining much more fun, because I don’t have to dig for hidden things in the back of the cabinets to find what I need. When a space is open, you are so much more intentional about what you store. Since even my cleaning supplies are visible, I find well-designed packaging to display it. It’s those little extra touches that make me so happy!
I get a ton of questions on open shelving and dust. For me, I’ve never had a huge issue with that. I have that wine glass hanger from the Container Store that hangs classes upside-down that helps with dust. And before I use wooden bowls or platters that may have been sitting a while, I quickly wash them out. Most of the everyday plates and bowls get used so frequently that they don’t accumulate dust.

The door was thrifted and painted! Check out the video tutorial for it HERE!
Give it Personality
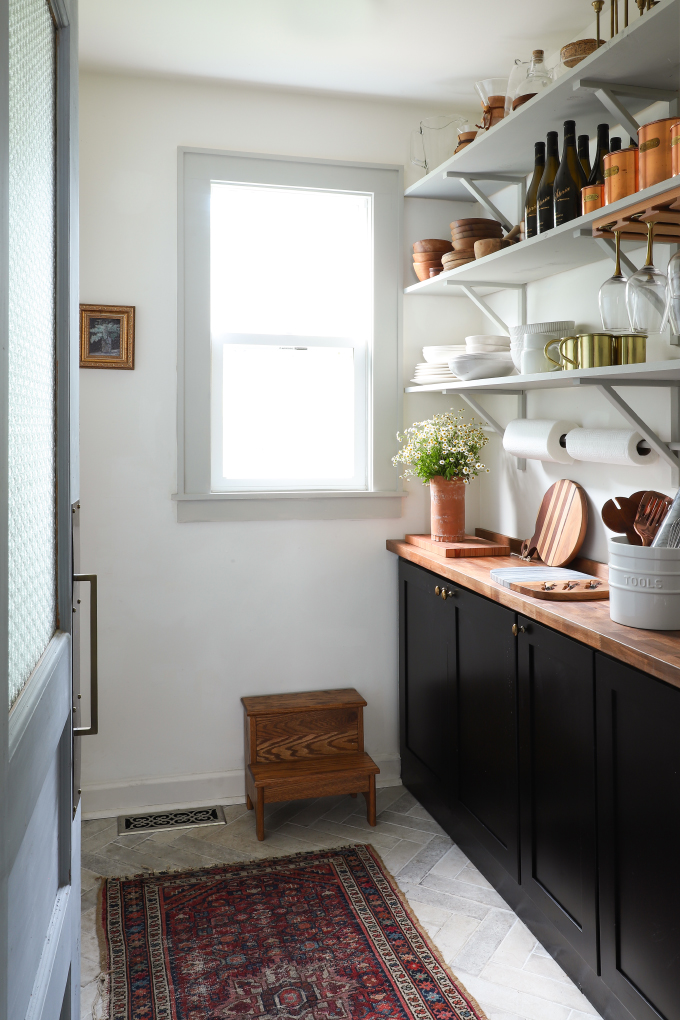
You know me — just because it’s a utility pantry doesn’t mean it shouldn’t have style! I painted the walls Behr Swiss Coffee and the shelves Behr Silver Celadon chalk paint. On the floor, the Bricklane Tile from the Tile Shop continues through from the kitchen. And the light from Amazon adds that extra spark (see what I did there?). Overall, I love how the space fits so well with the rest of the Barnhouse. There’s no reason small, practical spaces can’t be designed just as thoughtfully as the larger ones in your home.
This room sparks so much joy. If you do your own DIY pantry, make sure you tag me and use #doityoloself so I can be sure to see it.
EXPLORE MORE: Before & After, DIY PROJECT


We are in the middle of redoing our pantry.
I love how you used uppers as lower. Very clever. The humble peg rail is having a bit of a moment these days and I have to say I am smitten with them. We will be putting one in our pantry as well. I also like how you hung a small painting here. Sweet added touch to a utility space. Did you make the step stool? My li’l ole five two self will definitely need one for our open shelving. ; )
Well done!
Thank you!! And the stool is actually thrifted!
Would love to see what’s inside the cabinets. #moseyperson 😂
Beautiful, useful space. We recently DIYed a pantry wnd I wish we’d left room for the hanging space. Great idea! And don’t you love having a window in your pantry? I rarely have to turn the light on which I love. Love the rug!
It doesn’t seem the same space!! now it looks so beautiful 🙂
xx
Eli
Curly Style