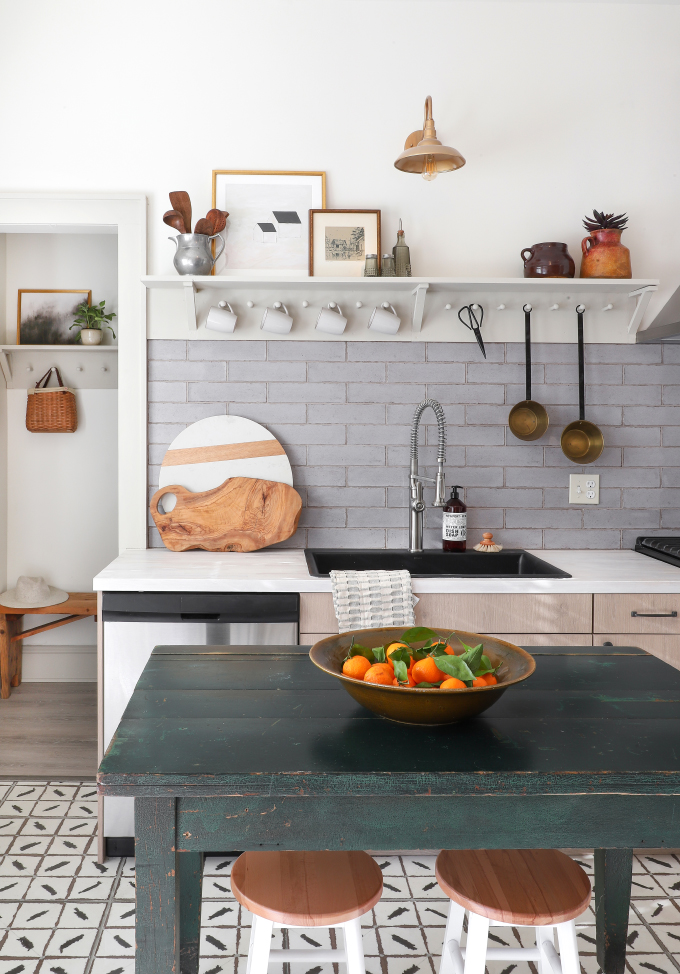
MY DIY | Shaker Peg Rail & Shelf Tutorial
DIY PROJECT
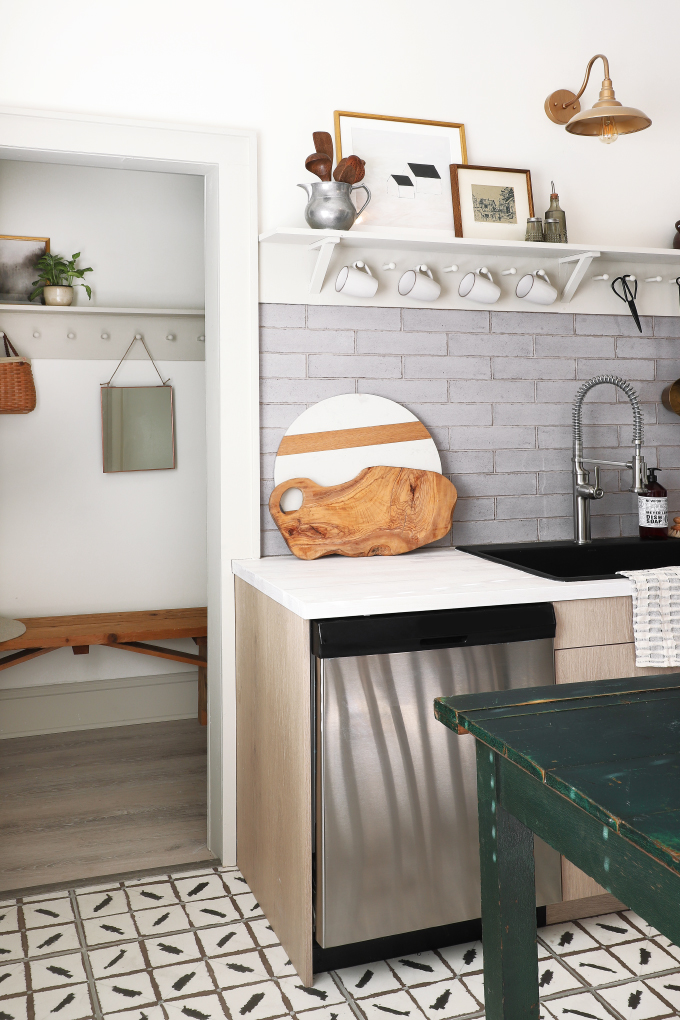
I am such a fan of the classic look of a peg rail, and they are so simple to DIY! You all have been asking for a tutorial since I installed one in the Barnhouse pantry, so I made sure to work a peg rail into the DIY Duplex design so we could document the process! Plus, we partnered up with BLACK+DECKER, and used their 20V MAX* Lithium Ion Drill/Driver + 68 Piece Project Kit, which has all the tools to get you started on this project! Head over to the video on IGTV for real time steps as we built it!


What you will Need:
BLACK+DECKER 20V MAX* Drill/Driver
20V MAX* Lithium Ion Battery
Tape Measure
12 oz. Hammer
Screwdriver Bits
Drilling Bits
Spade Bits
(All found in BLACK+DECKER 20V MAX* Lithium Ion Drill/Driver + 68 Piece Project Kit)
Ikea Bracket
Stud Finder -OR- Wall Anchors for brackets
1×10 Common Boards
Bullet Level
Speed Square
Shaker Pegs
Caulk
Wood filler
Wood glue
Screws
Miter Saw (or you can take measurements beforehand and have the wood cut to size at the hardware store.)
Table Saw (Optional. In case you want a specific board width not available in stores)

Step 1: Mount the brackets
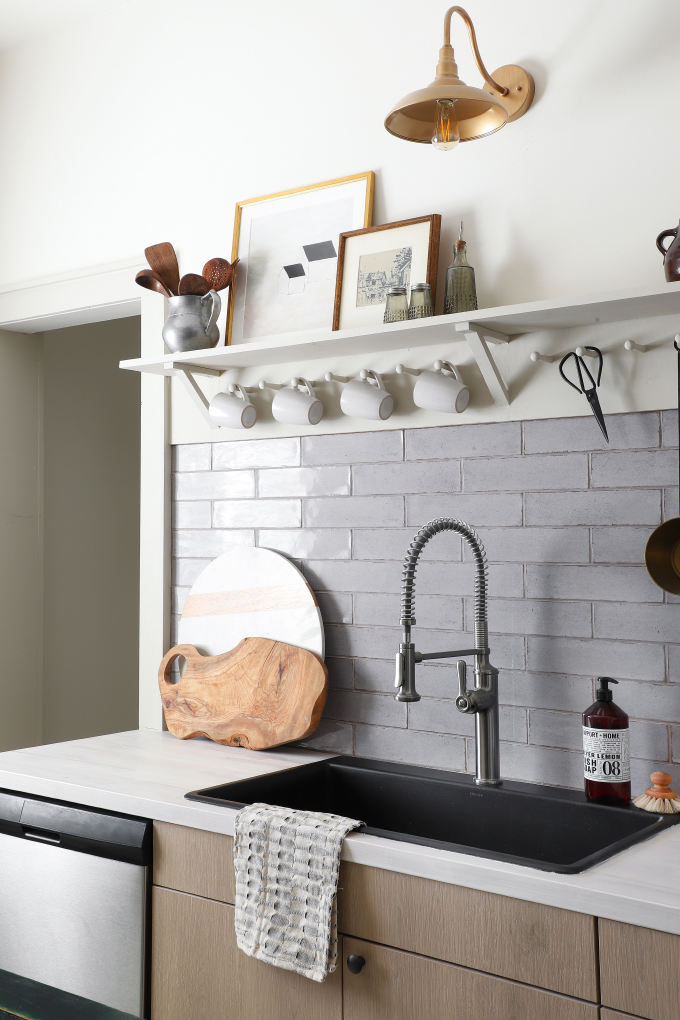
Use a stud finder to figure out where the studs are in the wall. If you can screw the brackets into the studs, wonderful! If not, use wall anchors to install brackets so they can handle the weight of the shelf. I wanted ours centered on the sink/light, so we used anchors on one and drilled into studs for the other two using the drill/driver. In order for step 2 to work, it’s important for the brackets to be plumb (straight up and down). I found it easiest to set both screws in the wall to secure the bracket, but not tightened all the way. Use the bullet level to find plumb, hold the bracket in place and tighten the screws down 100%.
More steps after the break!!
Step 2: Measure distance between brackets + cut board
This will be the board that your pegs go into (we’ll call it the peg board). Cut the board to fit. (Ideally, the fit is snug, but if there is a small gap between the peg board and the brackets, that can be remedied in step 7). If you’re not experienced with the saw, it’s better to leave the board ⅛” long

Step 3: Figure out peg spacing and mark board
Measure the peg board and divide the distance in inches by the number of pegs plus one. (Plus one gets you the number of spaces from the ends of the peg board.) This will get you the horizontal spacing of the pegs. ( ie. A 24” long board with 3 pegs would be 24” / 4 = 8” gaps). The pegs on this rail are 4” apart. We started by measuring from the end and marking every 4” inches.
For vertical spacing, instead of centering pegs on the peg board, we cheated the line of pegs higher so the coffee mug would not hang below. I recommend testing out some hanging items to make sure the vertical (and horizontal) locations will work.
Once you have your vertical location, make a few marks on the board and use a straightedge to draw a horizontal line the length of the board. Then, use a speed square to extend the horizontal spacing marks to intersect the horizontal line you just drew. Each intersection is center of a peg.
Optional Step: Test spade size.
Some packets of pegs include the spade size you should use to drill the holes. The pegs we used did not. We eyeballed the end of the peg against the spade bits in the Black and Decker Tool Kit. Before drilling into the board, I like to use a text piece of wood to confirm the spade size we selected will work. In this case, ½ inch spade was perfect. You want the peg to fit snugly in the hole.
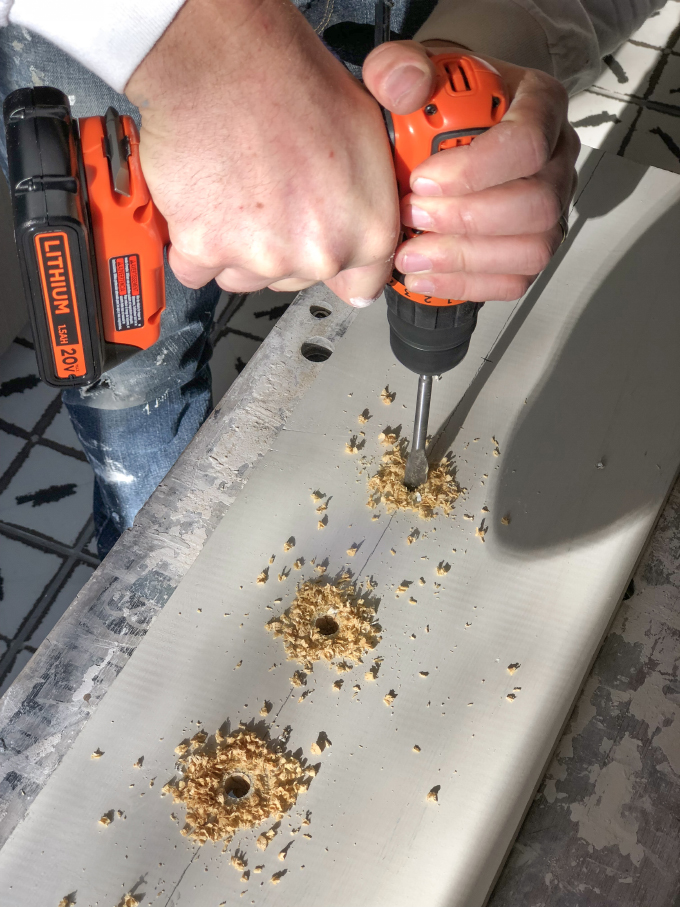
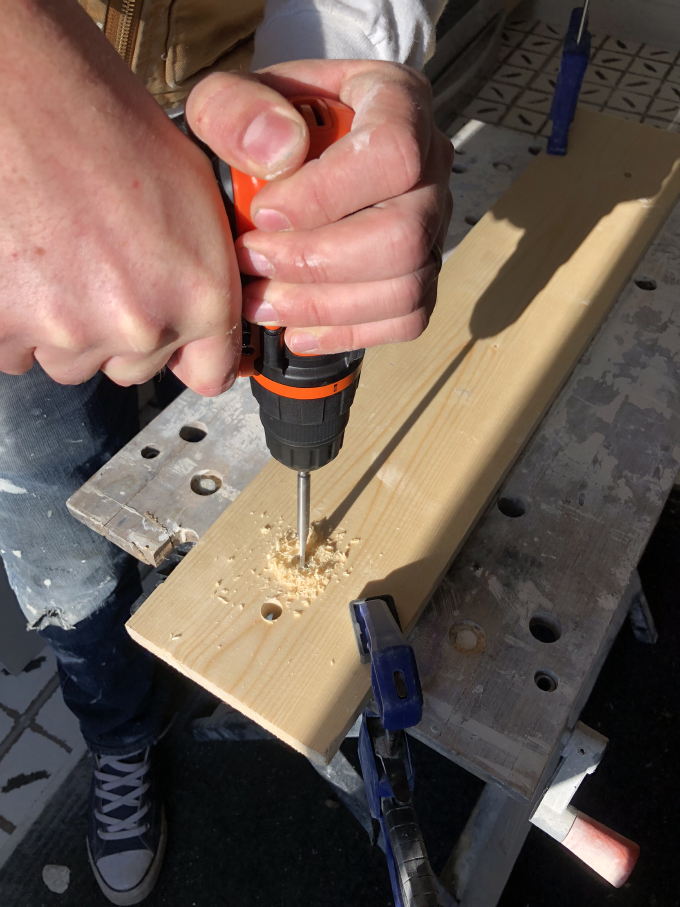
Step 4: Drill peg holes with spade and drill/driver
Clamp down your wood to a work bench or table. Place the tip of the spade on your mark and use the drill/driver to create the holes for the pegs. Remember, safety first, use two hands! This is a good time to paint the peg board too!

Step 5: Secure the board to the wall
Place the peg board (now full of holes) in place between the two brackets. Next, secure to the wall. Predrill holes in the peg board (to prevent splitting) at the locations of the studs, and then screw to the wall. Four locations minimum into studs.


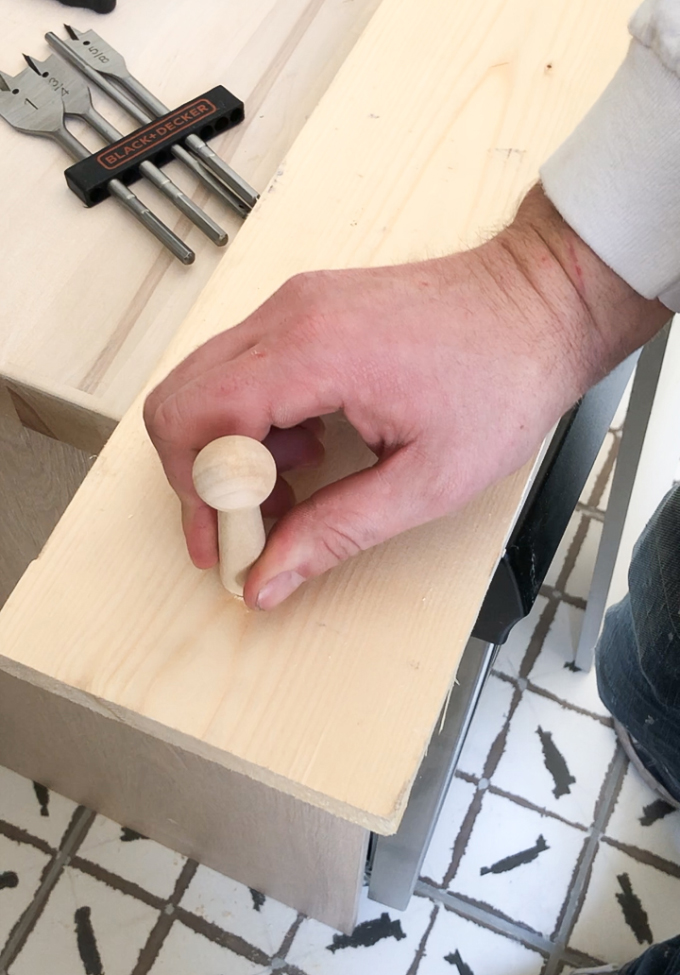
Step 6: Glue and hammer in pegs
Add a small amount of wood glue around the base of the peg and then lightly hammer the peg into the hole. Wipe any excess glue. Let set for 24 hours before hanging anything.

Step 7: Fill the holes and seams
Use wood filler to cover the screw holes and caulk any seams between the peg board and brackets. Let dry and sand if needed.
Step 8: Touch-up Paint
Paint over wood filler and caulk and let dry.

Step 9: Cut and Attach the top
Cut the top shelf to fit, then paint. Once dry, fit the shelf in place. Using a drill bit smaller than the diameter of a screw, predrill the underside of the shelf, through the existing hole in the brackets. Using 1” screws and the drill/driver attach the top shelf to the brackets.

*Maximum initial battery voltage (measured without a workload) is 20 volts. Nominal voltage is 18.
This post was made in partnership with BLACK+DECKER. Thank you for supporting my amazing sponsors!
EXPLORE MORE: DIY PROJECT


I’m obsessed with how this turned out! It’s so cute!
Paige
http://thehappyflammily.com
This looks extremely gorgeous! By the way, are you using iPhone for these images? Just curious 🙂
Natalie
https://graciousquotes.com/
This is such a terrific DIY!! I will have to try it!
Kate,
https://runawayfiancee.blogspot.com