MY DIY | Marquee Letter Sign
DIY PROJECT, Home DIY
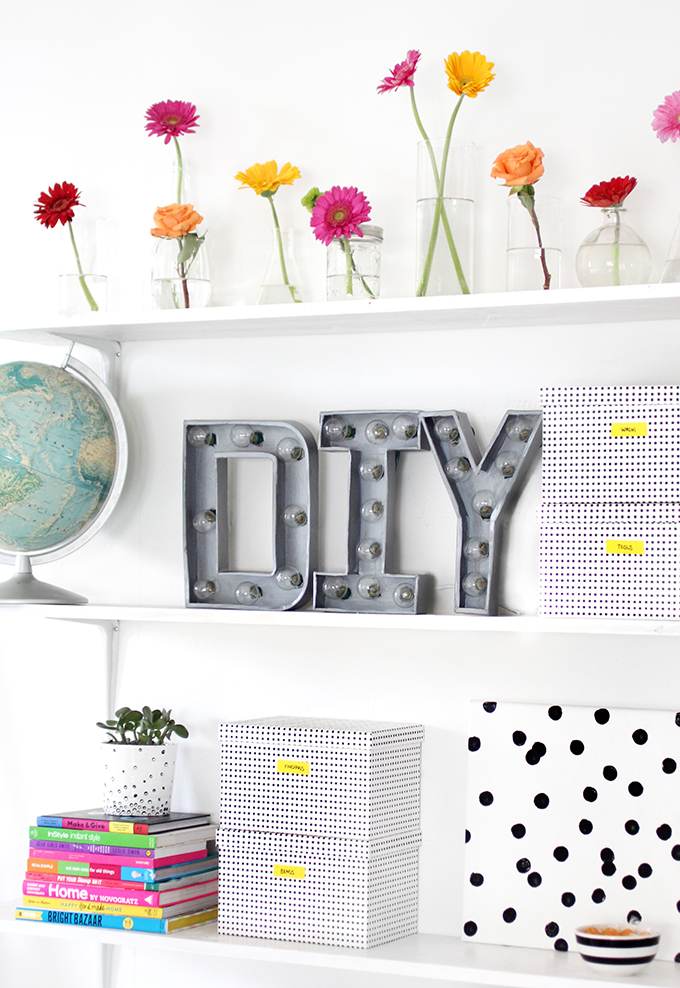
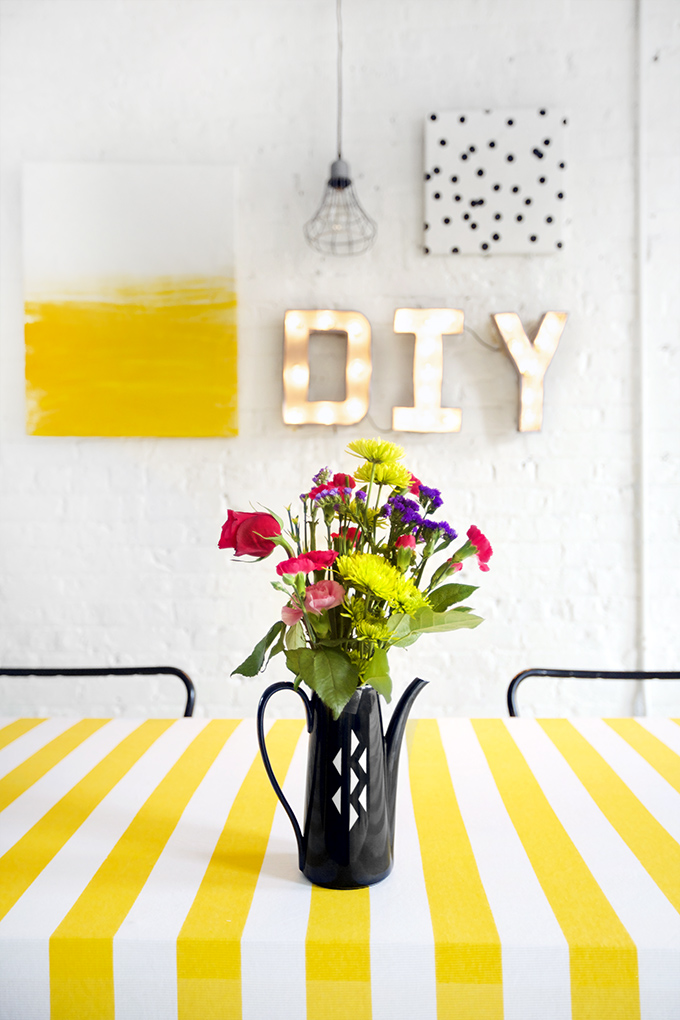

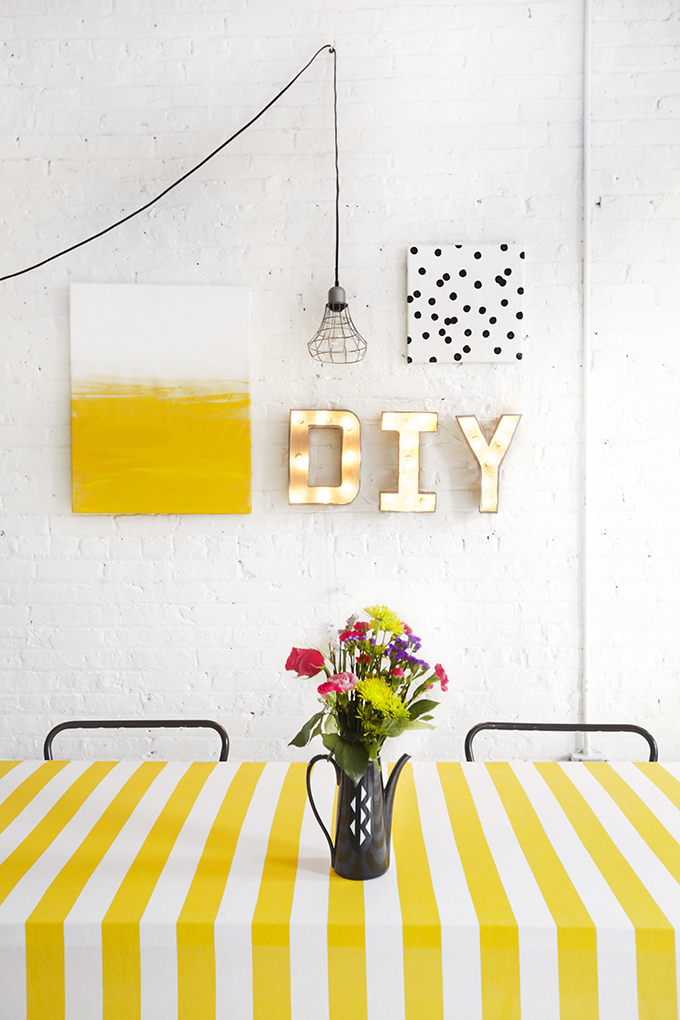

Remember a while back when I was ogling over marquee letters? Well, I finally checked it off my craft to-do list, and I am stoked with the results! We hung them up on the wall for a little gathering at the studio, and since then, I moved things around a little on my craft shelves to make space for the sign. I have to say, now that it gets dark at 4:30 everyday, it is quite lovely to have “DIY” light up this side of the studio. Check out the steps and supplies after the break…
And check out a few other DIYs displayed: Canvas painting, Dotted succulent pot, Globe collection
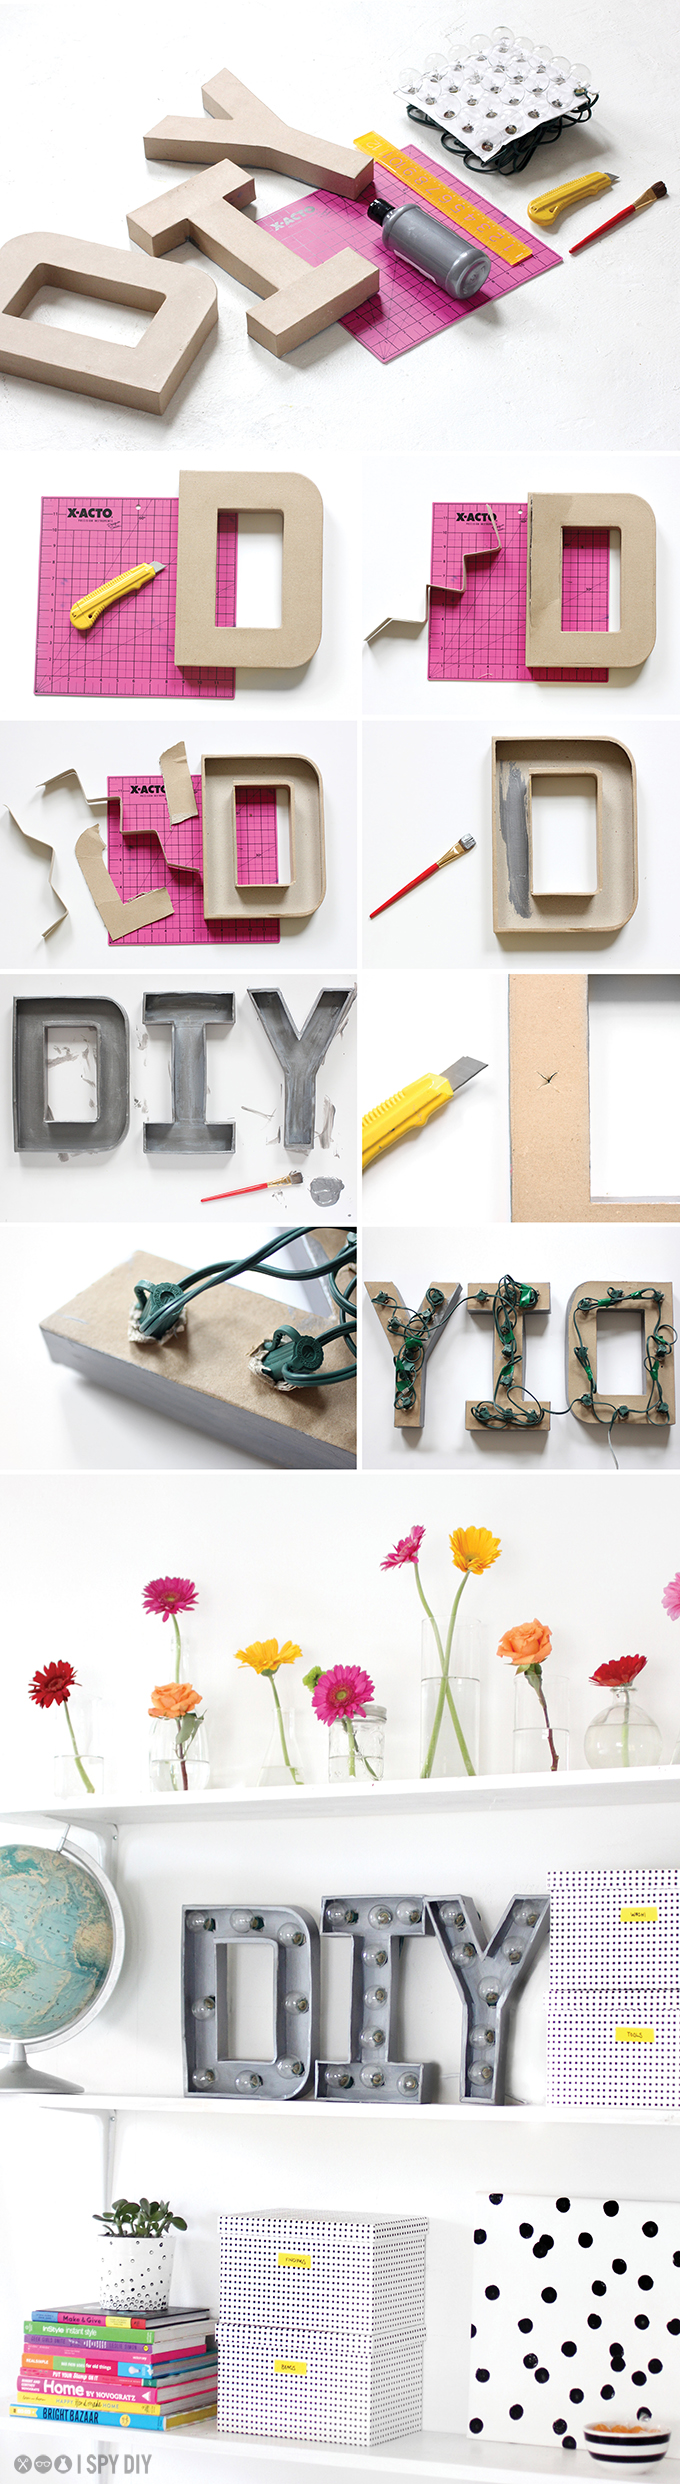
What you need:
X-ACTO blade
Silver paint
Paint brush
What to do:
First, cut the top of the letter about a quarter of an inch from the edge of letter.
Next, peel a bit of the top of the letter back, and pull out the inside cardboard.
Then remove the top part of the cardboard, leaving a hallow letter.
Next, paint your letters with sliver paint and let dry.
Turn over your letters and mark where each bulb should be placed, evenly spaced. Cut an “X” on the mark with your blade.
Unscrew a bulb from the string of lights, push the socket through the “X” cut. Screw bulb back on.
Note: Plot out the path of your string of lights, so the plug ends on a bottom corner.
Disguise the cord by painting the visible areas white (or the color of you wall).
EXPLORE MORE: DIY PROJECT, Home DIY


