MY DIY | Gold & Chalkboard Globe
DIY PROJECT, Home DIY
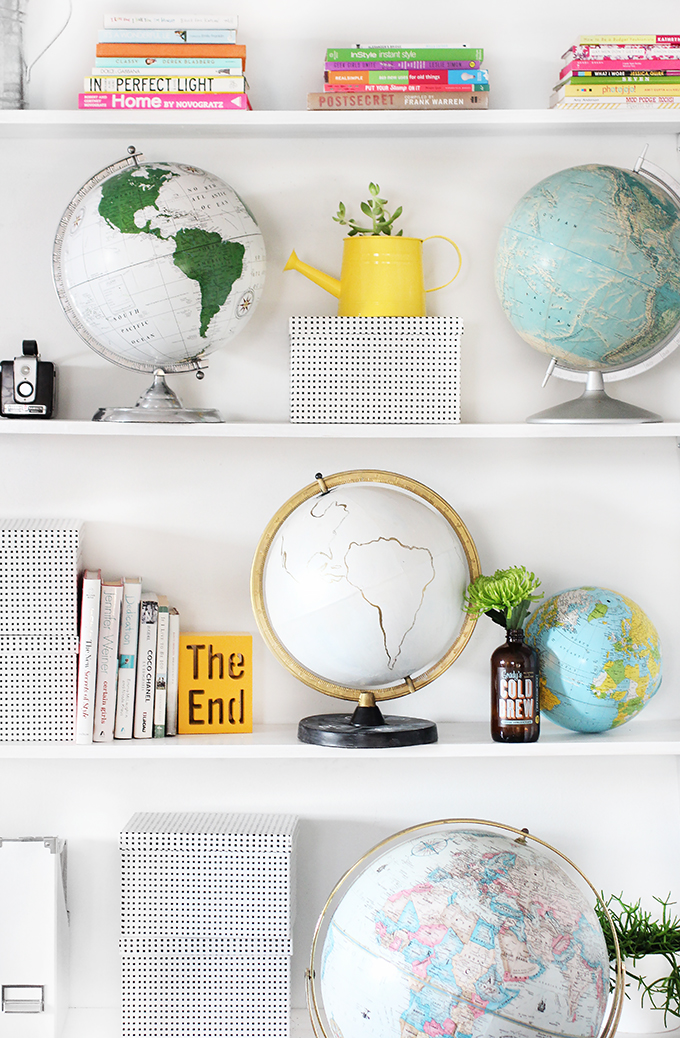
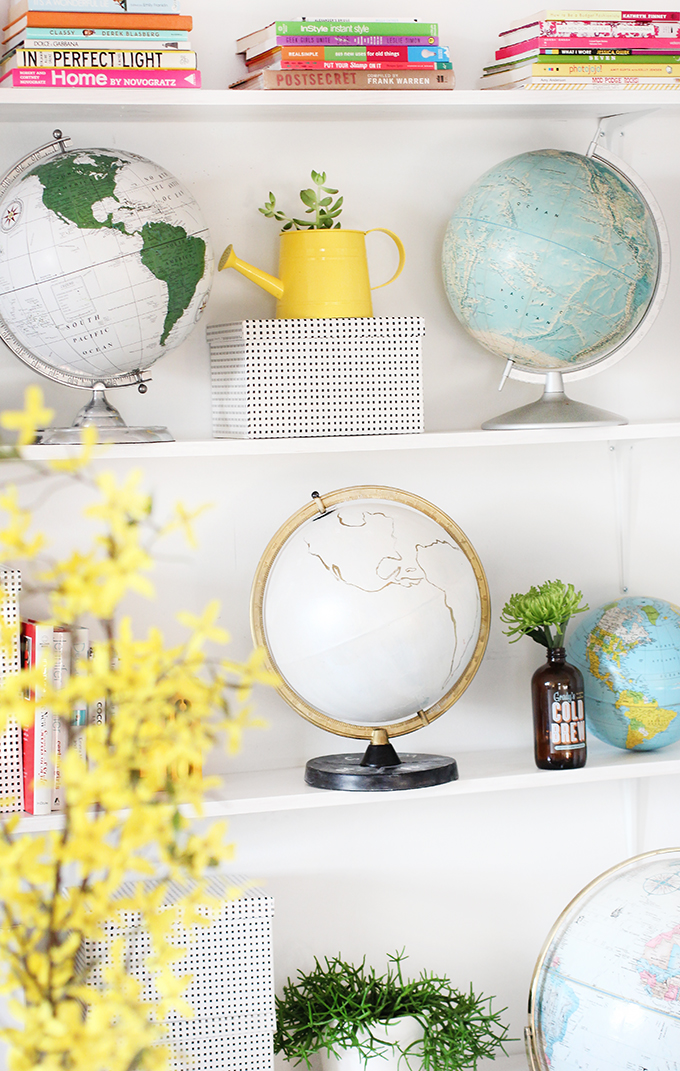
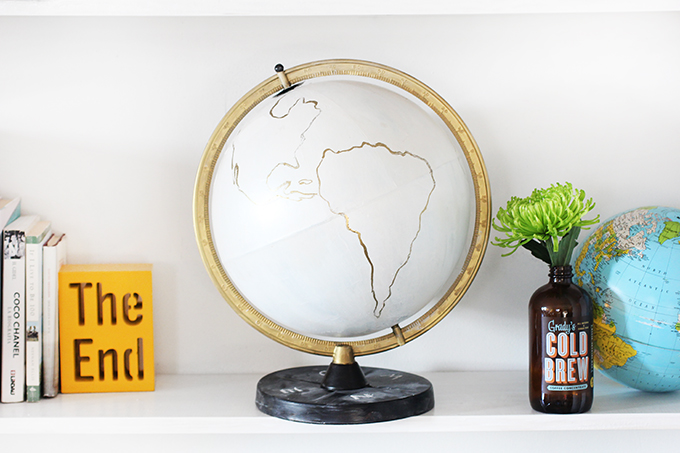
Hey all! Sorry for the slow week, I got back from a weekend in Philly for Labor Day and have felt a little under the weather since. The good news is that finally organized my shelves to display my growing globe collection! I went back to the antique store to get the black globe, but was beyond bummed when I found out it sold the day before…I ended up scoring a super rad floor one (so many uniques one were less then $30, it was hard not to buy them all!) and picked up a $10 dollar cheapie to give a makeover. With a little paint and some pretty poorly freehand drawn continents (neither geography or drawing are strong skills of mine) I had a new globe that fits in perfectly on my craft wall! Supplies and steps after the break!…
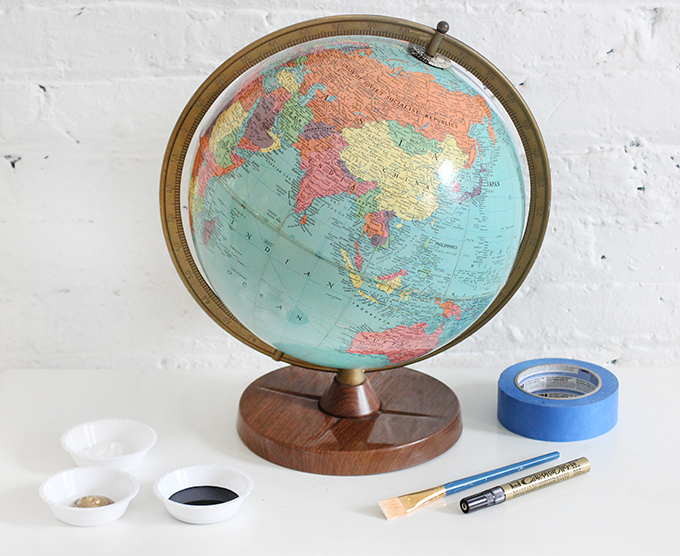
What you need:
Cheap globe
Chalkboard Paint
Black acrylic paint
Gold acrylic paint
Paint brush
Painters tape (optional)
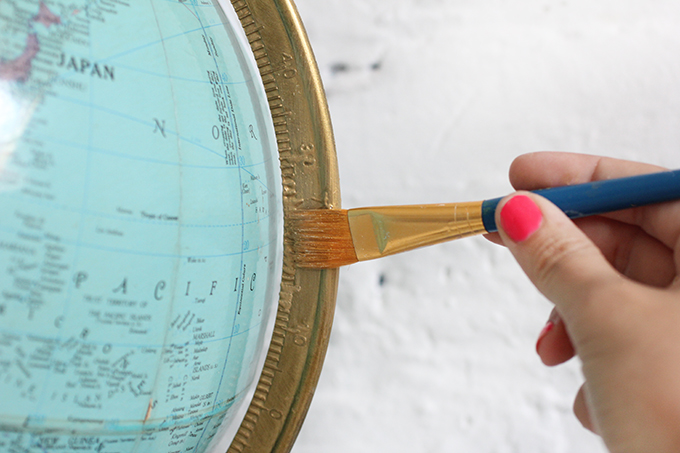
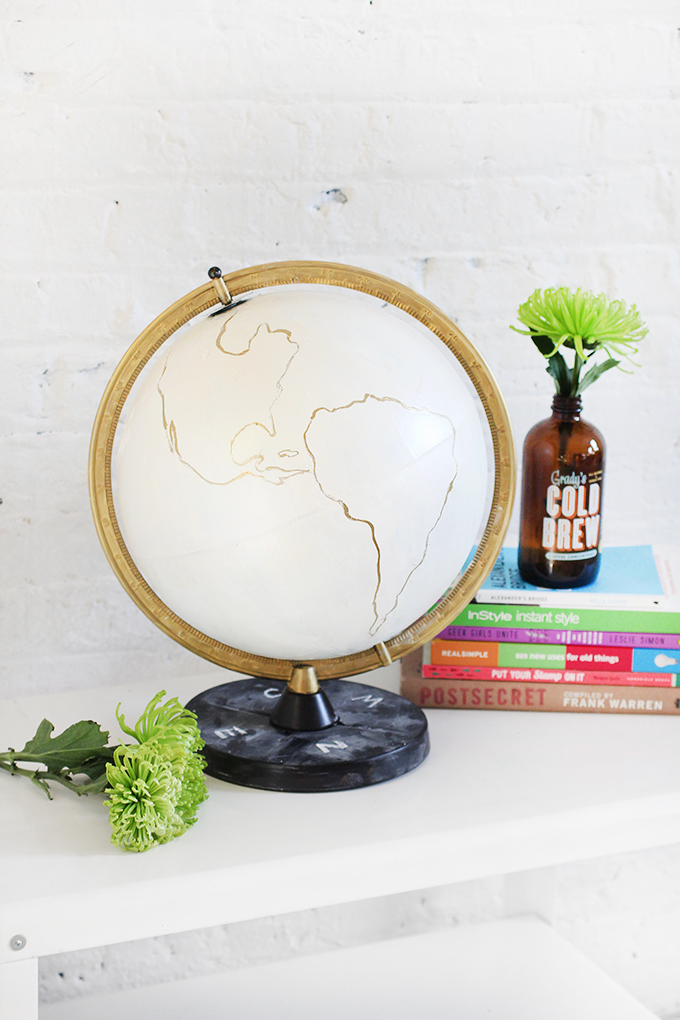
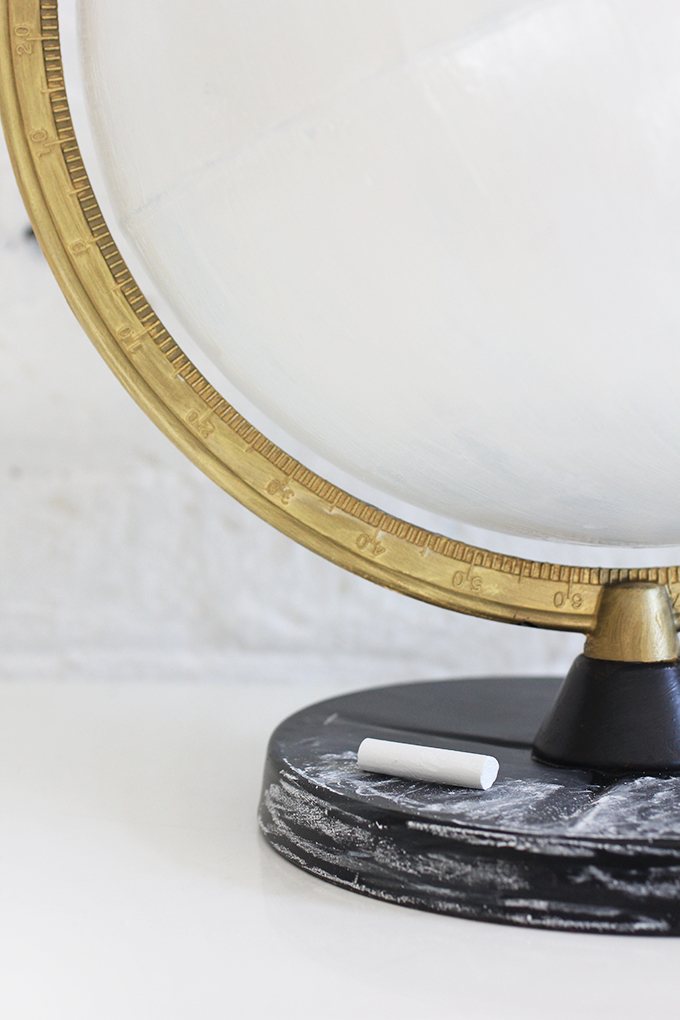
First, paint the bar around with a brighter gold.
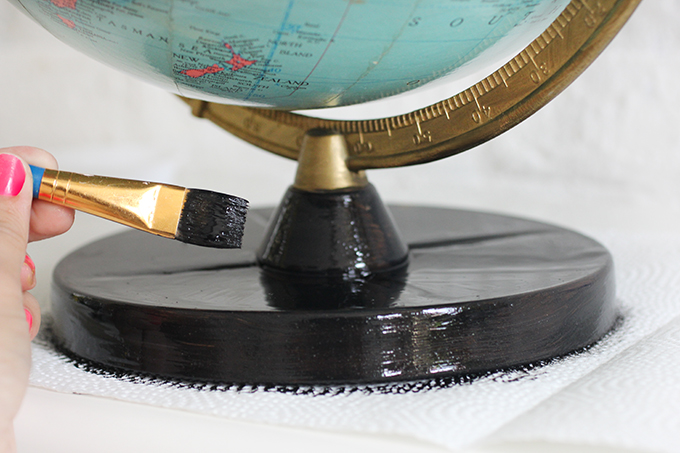
Then, paint the base with chalkboard paint
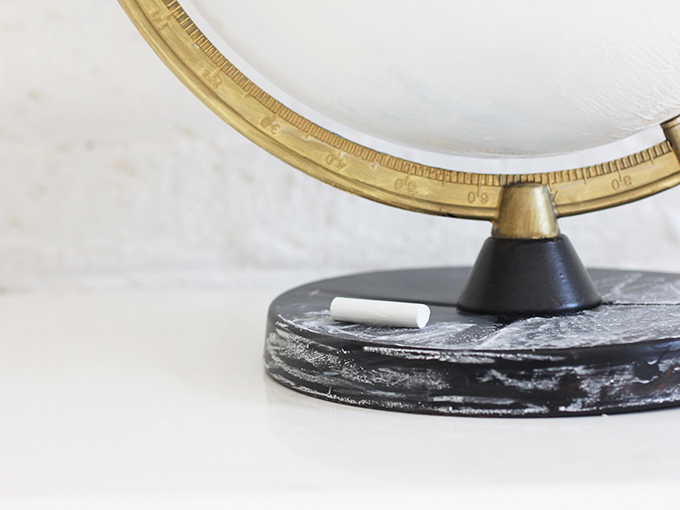
Next, I rubbed chalk on the base to give it a more wore in look.
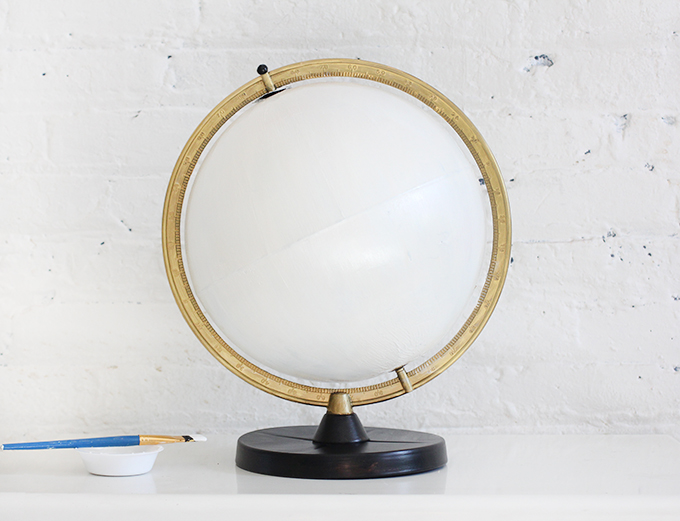
Then I painted the globe white, letting it dry between each of the layers. I would suggest tracing the continents with black Sharpie after the first coat of paint, it will show through so you can paint over with a gold pen later. Easier then free-handing!
After it completely dried I drew on the continents with a my gold pen. Done!
EXPLORE MORE: DIY PROJECT, Home DIY


