Vertical Garden makeover + DIY Herb Markers
DIY PROJECT, Home DIY
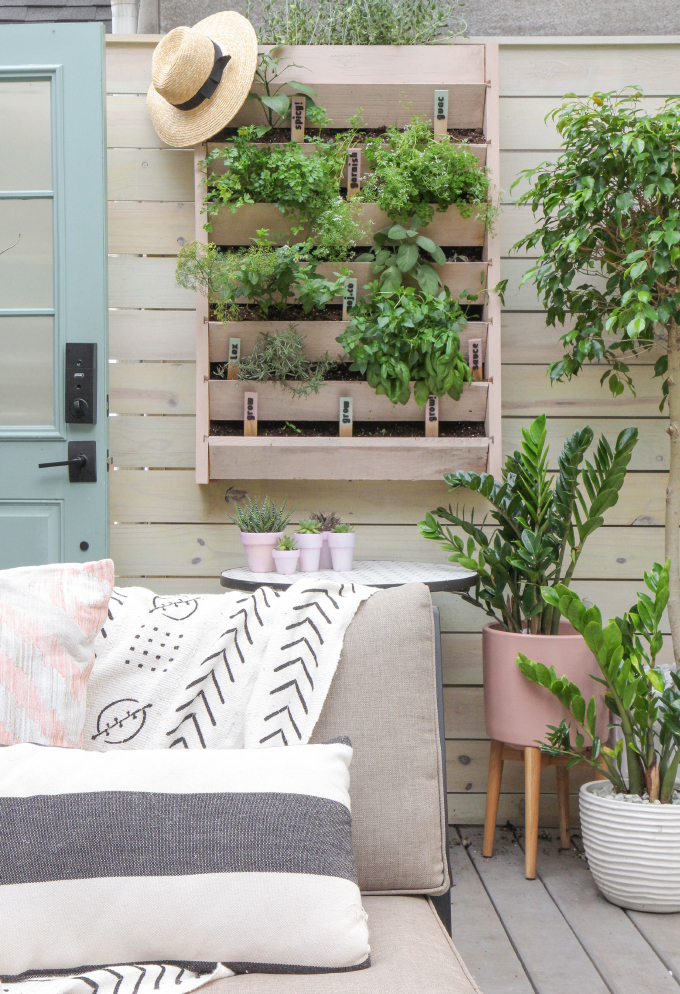
First up, thank you SO MUCH for all the love on my backyard makeover, we have been enjoying it every single day this Summer! I received a bunch of questions on the herb garden hanging on the wall, which has been one of favorite parts of the outdoor space. It’s been so fun to walk out my back door and grab the greens I need for guacamole or pasta sauce.
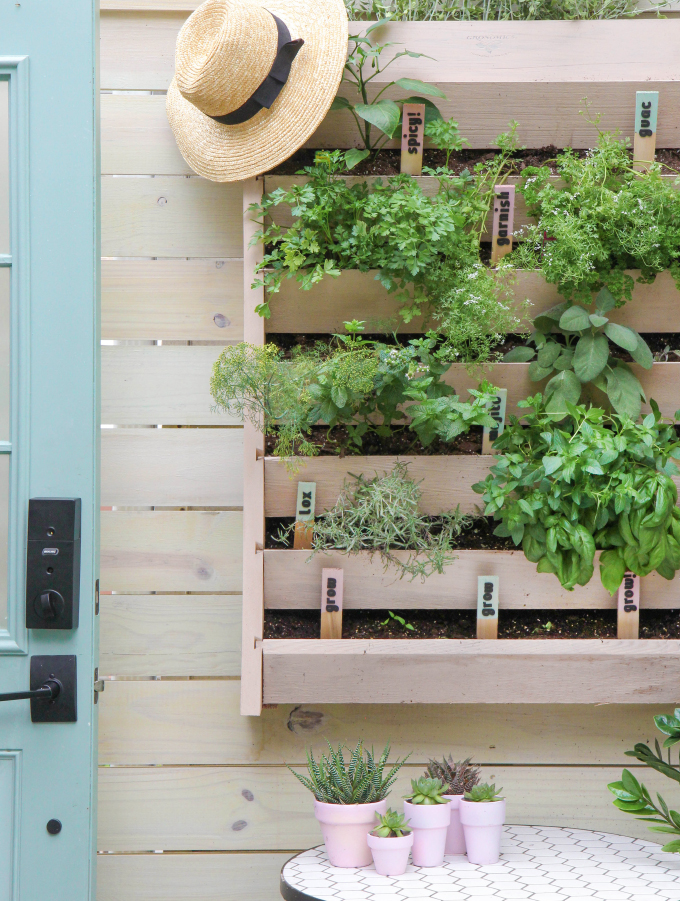
This vertical garden started off cedar, which did not match the grey deck and white washed fence, so I used Mixwax’s white water-base and had the lovely people at the paint counters at Lowe’s tint it Natural Linen. It’s the perfect muted peach/pink that went perfectly with the color palette. Plus, the garden is pretty big, so the lighter color kept it from looking too overwhelming on the fence.
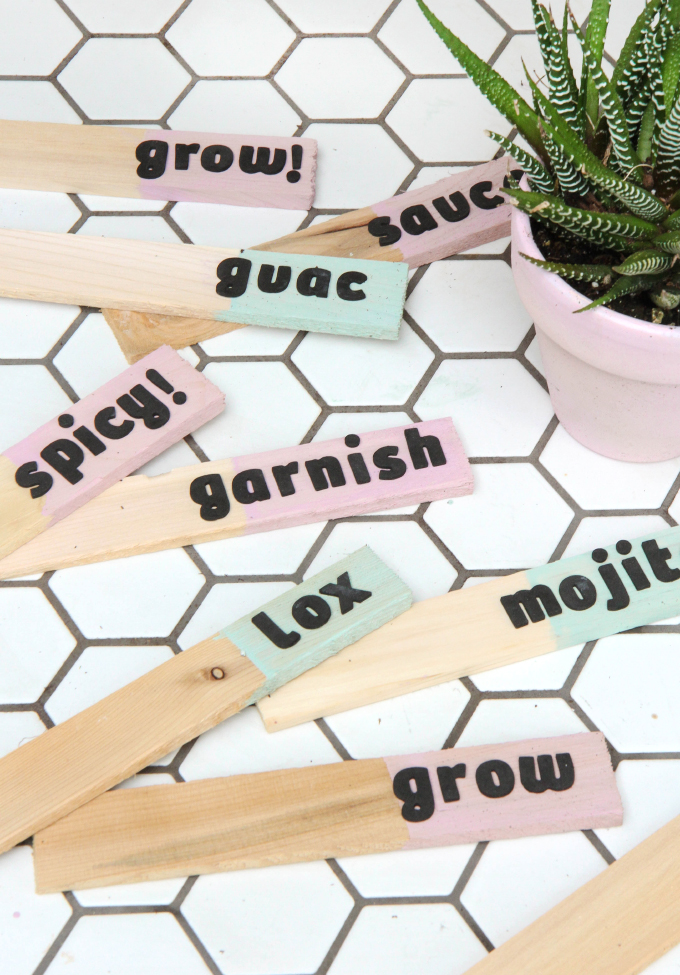
Next up, creating makers for the herbs: Instead of using their names, my family and I decided to have a little fun and brainstorm what we use each for and mark them that way, Spicy! = Jalapeños!
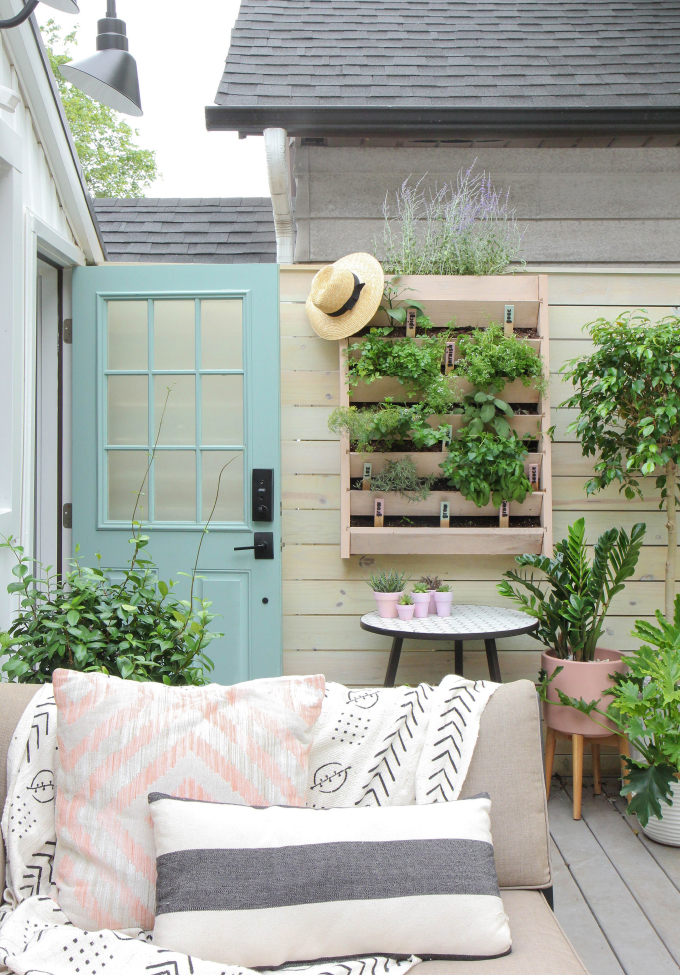
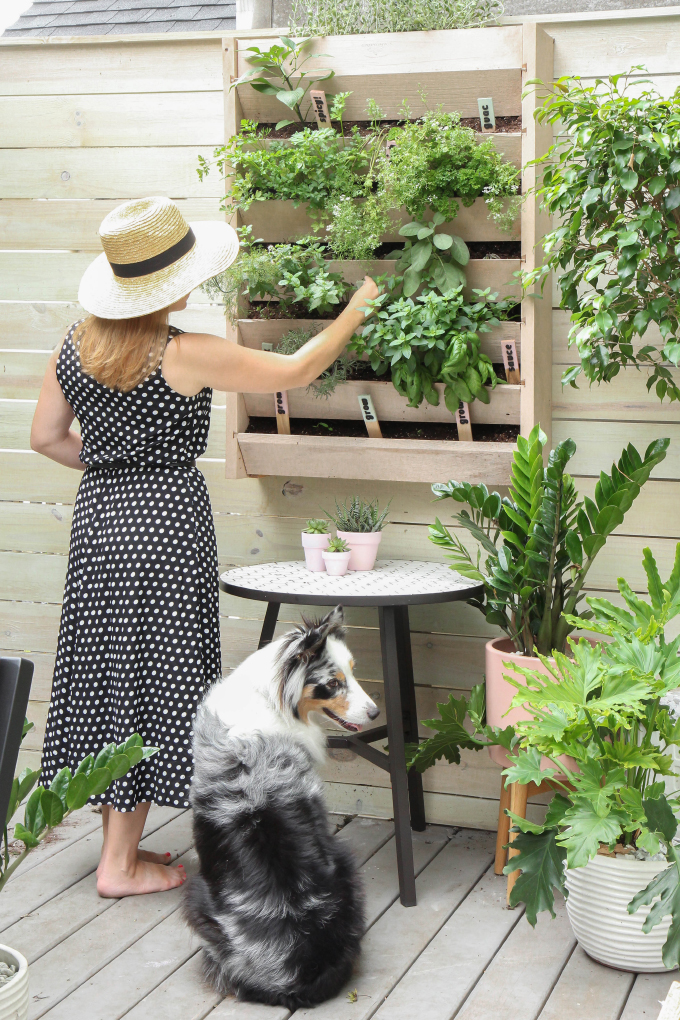
This whole backyard project has been so wonderful because my Sister and her husband moved in for the Summer and have helped me every step of the way. Now we get to sit back and enjoy it every day. The herb garden has been extra special, because my little Sister is a fantastic cook, and she had been teaching me her ways so I will keep up cooking after they move to Europe. It’s been so fun brainstorming recipes to use our fresh herbs in meals…and cocktails! #sisterbondingFTW
All the steps and supplies for the Herb garden and markers after the break!
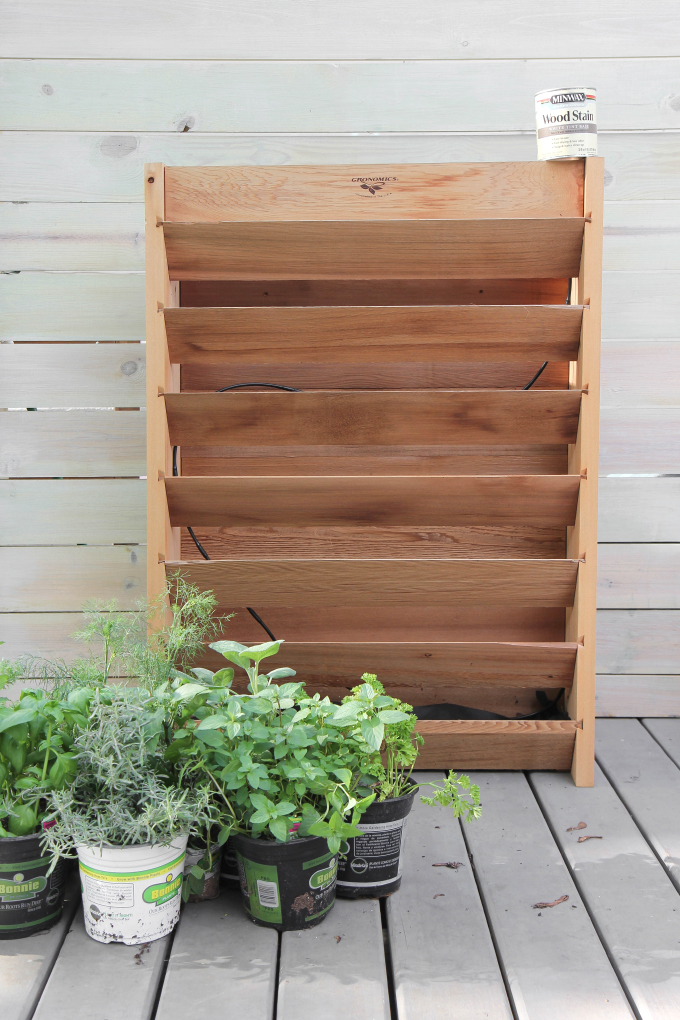
Start with this Unfinished Red Cedar Vertical Garden (Buy it here!) and paint on Minwax’s Water Based Pre-Stain Wood Conditioner.
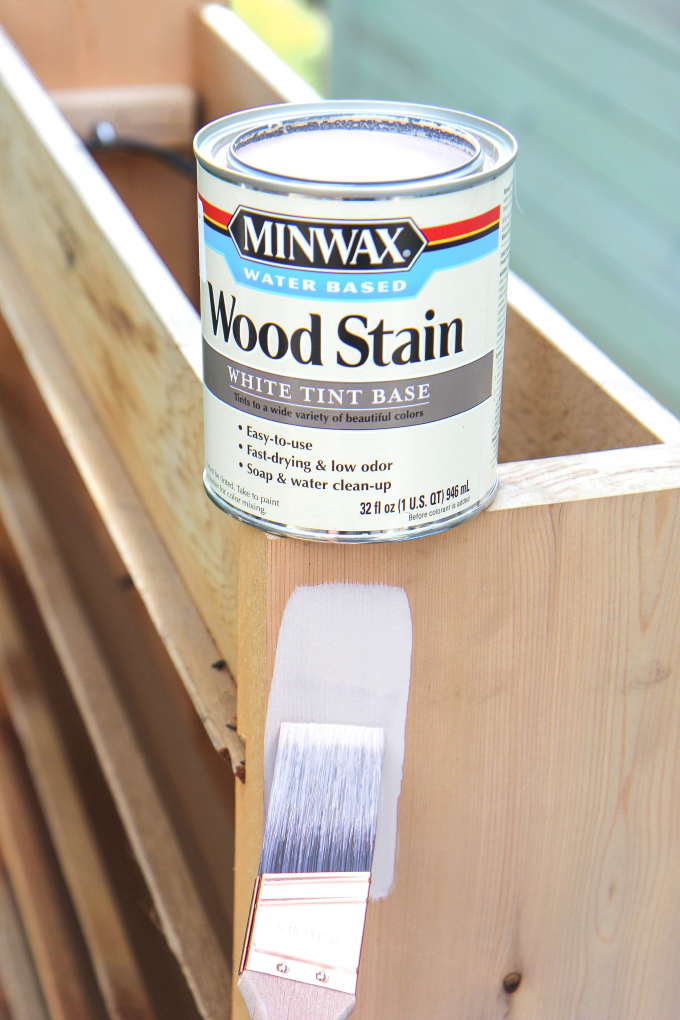
Stain with two coats of Minwax Water-Based White Tint Base – Natural Linen. Then finish with Minwax Water Based Helmsman® Spar Urethane to protect the wood from the elements and make sure that your vertical garden stays beautiful!
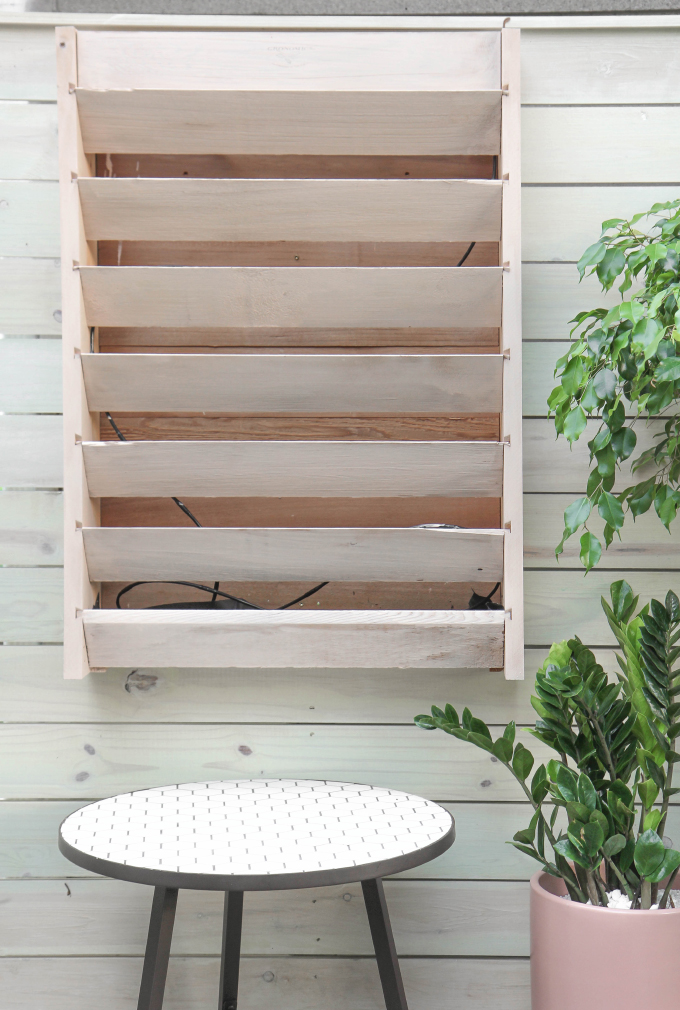
After it dried, I secure the backboards by drilling deck screws through the back into the frame, then I hung the garden by screwing the backboards into one of the supports on the fence. Make sure you are screwing into something that can support the weight of all the dirt. 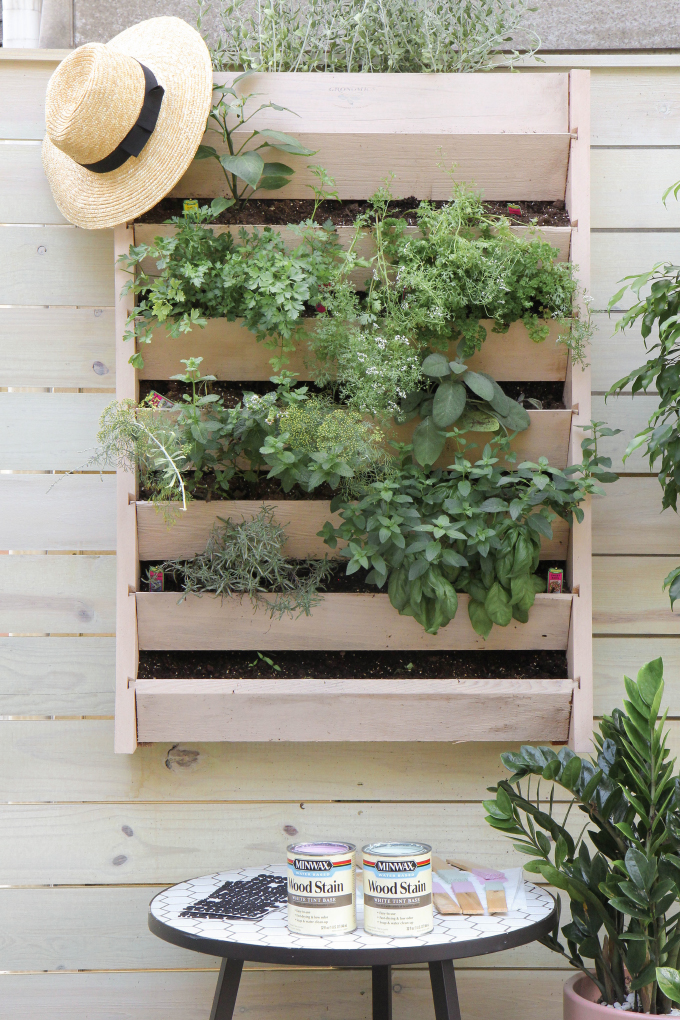
Now plant the herbs! I poured potting soil into the open top, and then dug out space on each level for the herbs. Then watered once everything was planted.
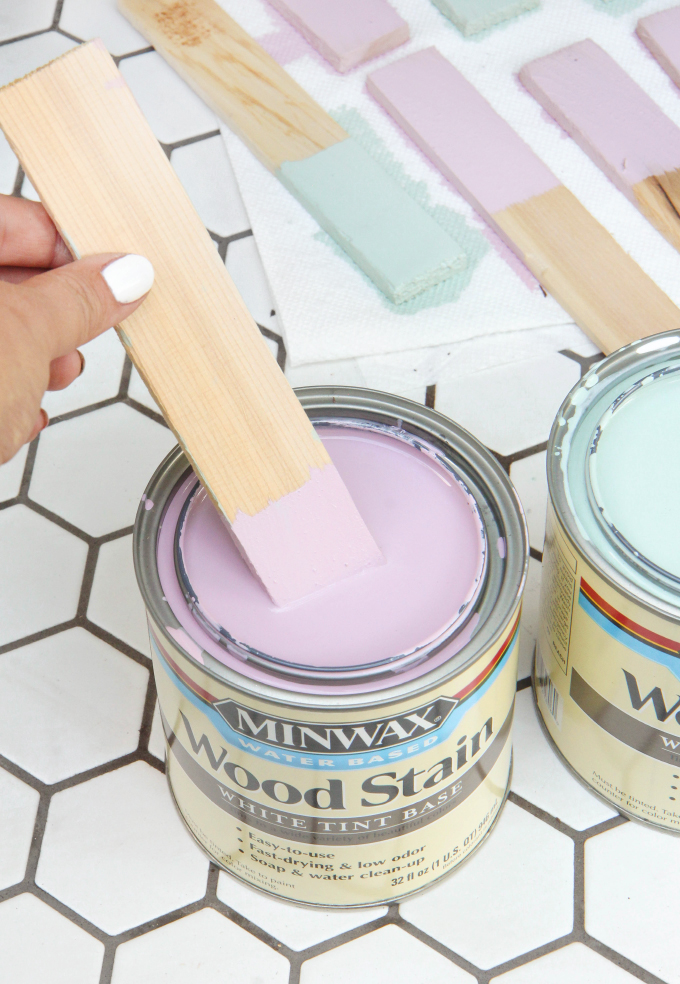
To make the markers, I bought inexpensive 8″ cedar shims and dipped them into Water-Based White Tint Base – Woodrose and Driftwood (Prettiest colors ever!).
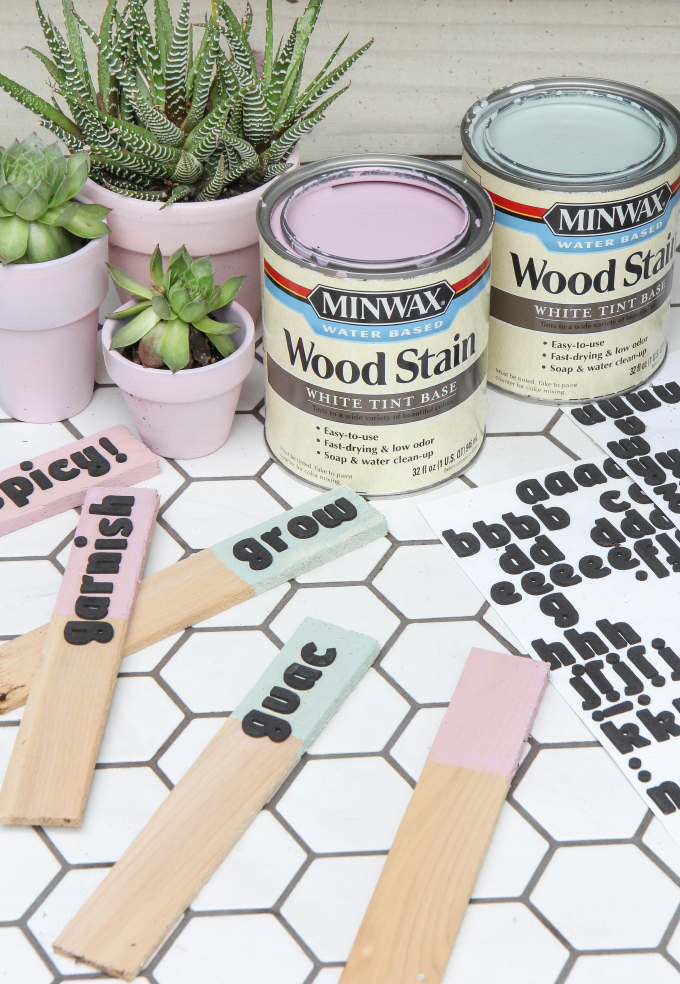
I wiped off any excess stain with a paper towel, and once they were dry I added letter stickers. Add the herb name or what you use each for!
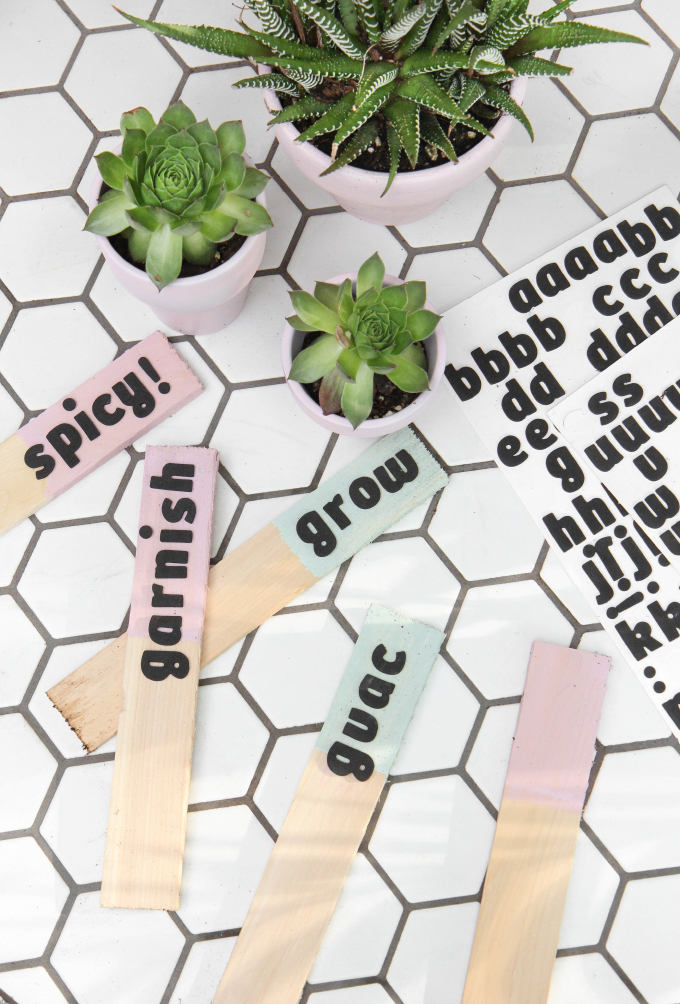
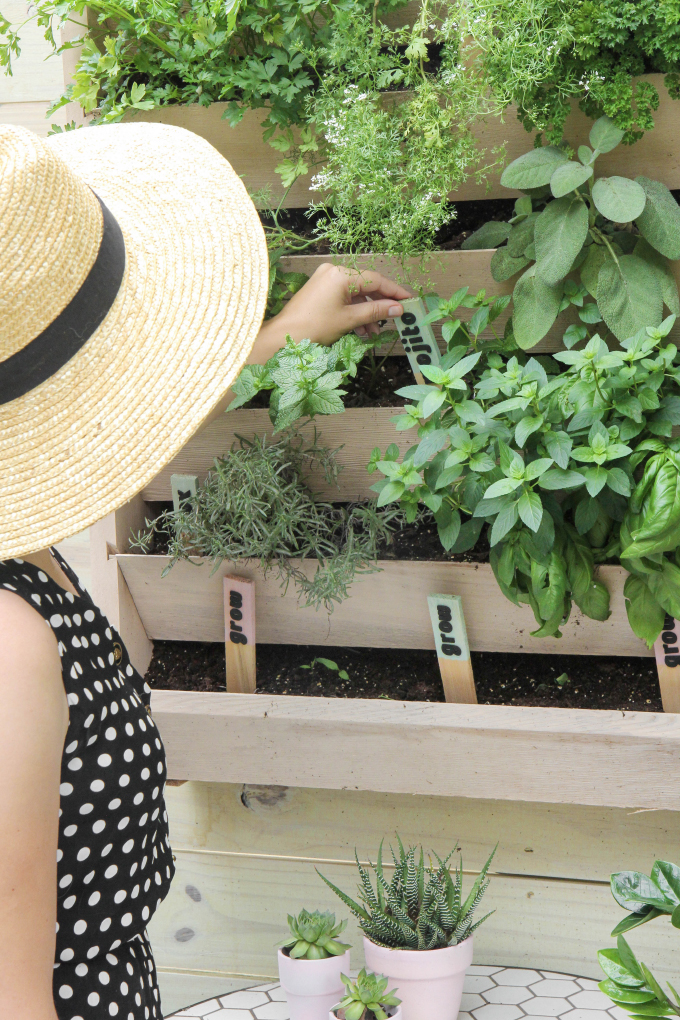
Add your markers to the herb garden! 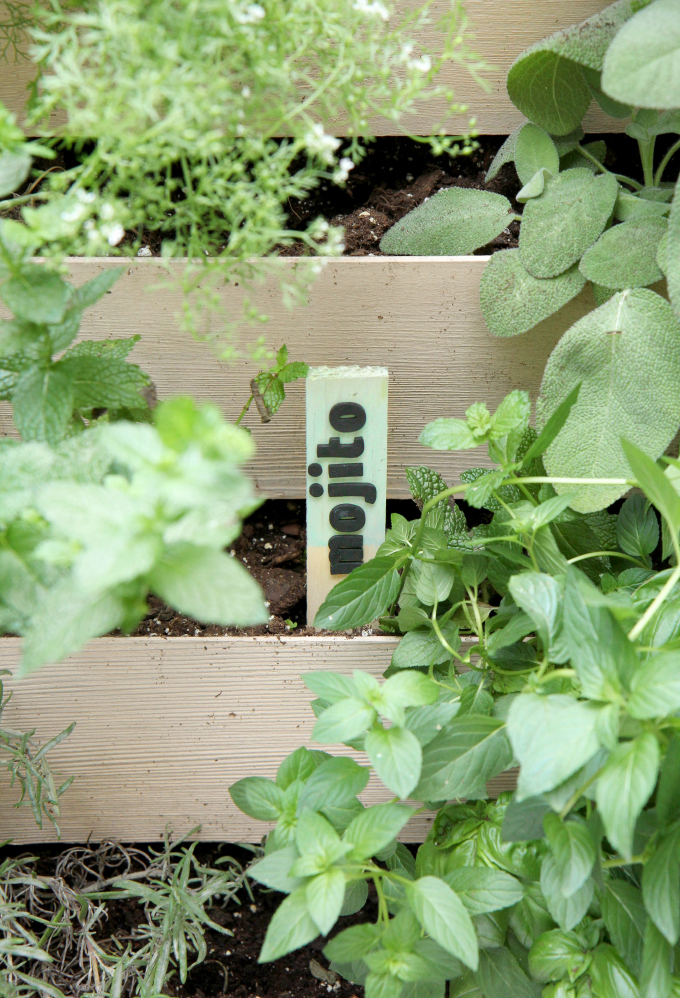
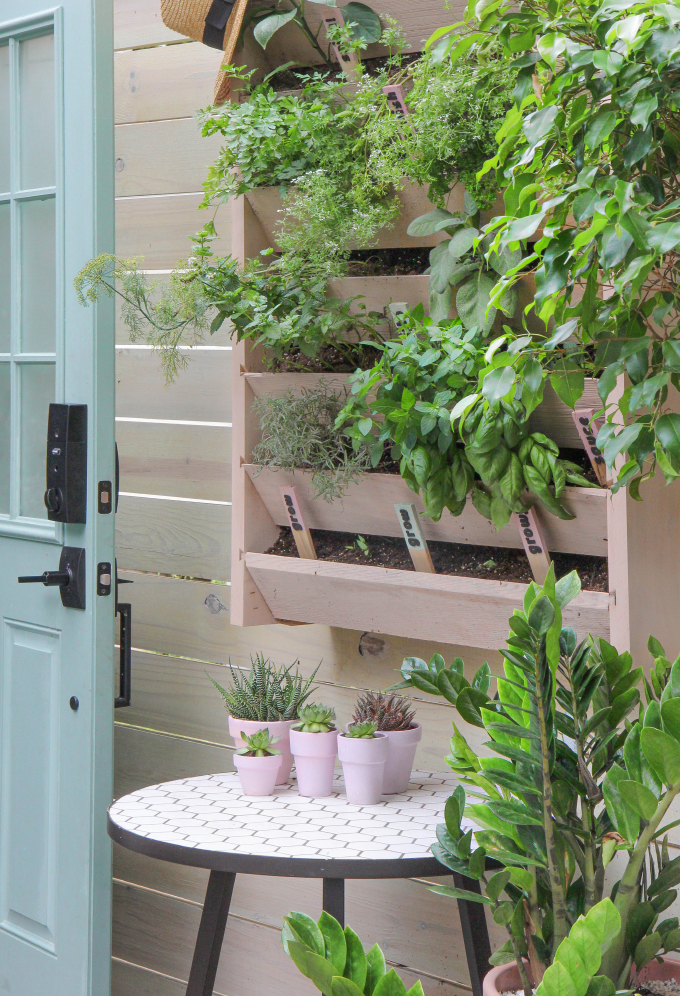 Thanks to my amazing sponsor, Minwax, for partnering with me on this project. For more ideas head over to Minwax’s Made with Love page!
EXPLORE MORE: DIY PROJECT, Home DIY


Oh my gosh it turned out so cute. I love it!!Those plant labelers are just so cute, and really add to the cuteness of the wall garden.
http://sugarcoatedbears.blogspot.com/
This is such a lovely DIY! X
http://www.thoughtsinstyle.com/
It looks so cool! And I love those markers, I need to do them for my herbs too!
https://www.makeandmess.com/
This is such a cool idea. I’m definitely bookmarking for my future apartment. I love the labels.
Sarah | http://sundaysmitten.com
This is such a cool idea, I love it. Our herb garden got totally lost in our normal garden but I didn’t want to have little pots all over so we stopped growing herbs lol. I might give this a shot. 🙂
– Stephanie | domesticish.com