Tiled Tray with Hand-Painted Tiles DIY | As Seen on Makeover by Monday
As Seen In, Before & After, DIY PROJECT, Home DIY, Makeover by Monday
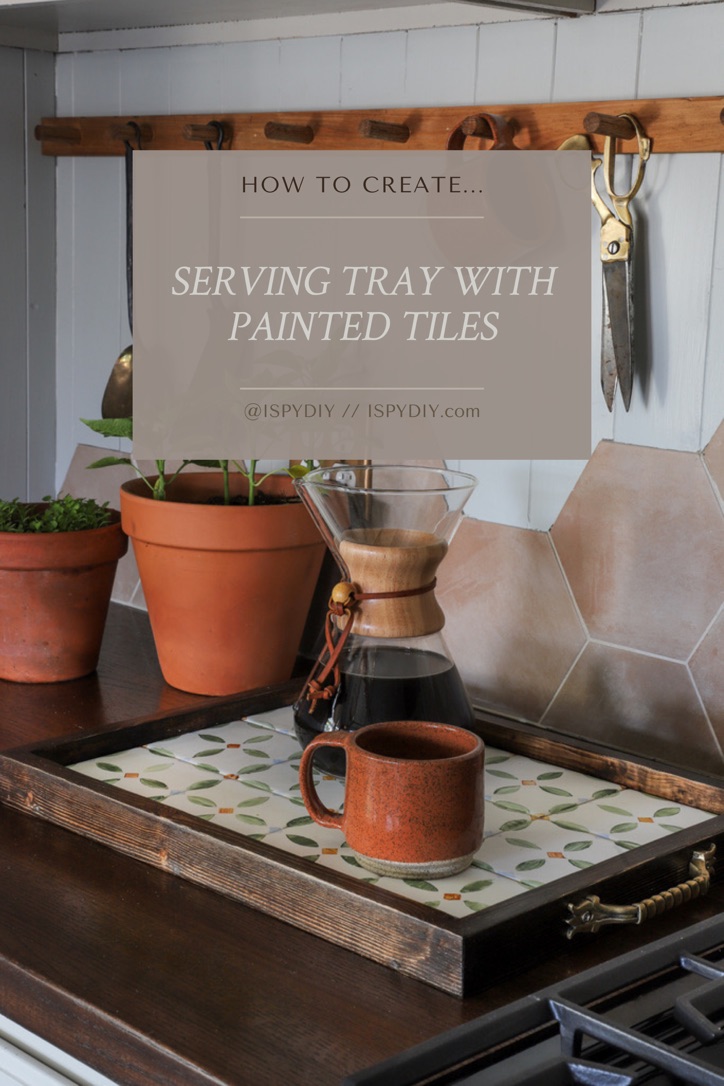
When designing Armando’s kitchen, I pulled a lot of inspiration from his Venezuelan roots. I thought a hand painted tile would be a great project! I know how much Armando loves to host, so I came up with the idea of creating a custom serving tray he can use for years to come.
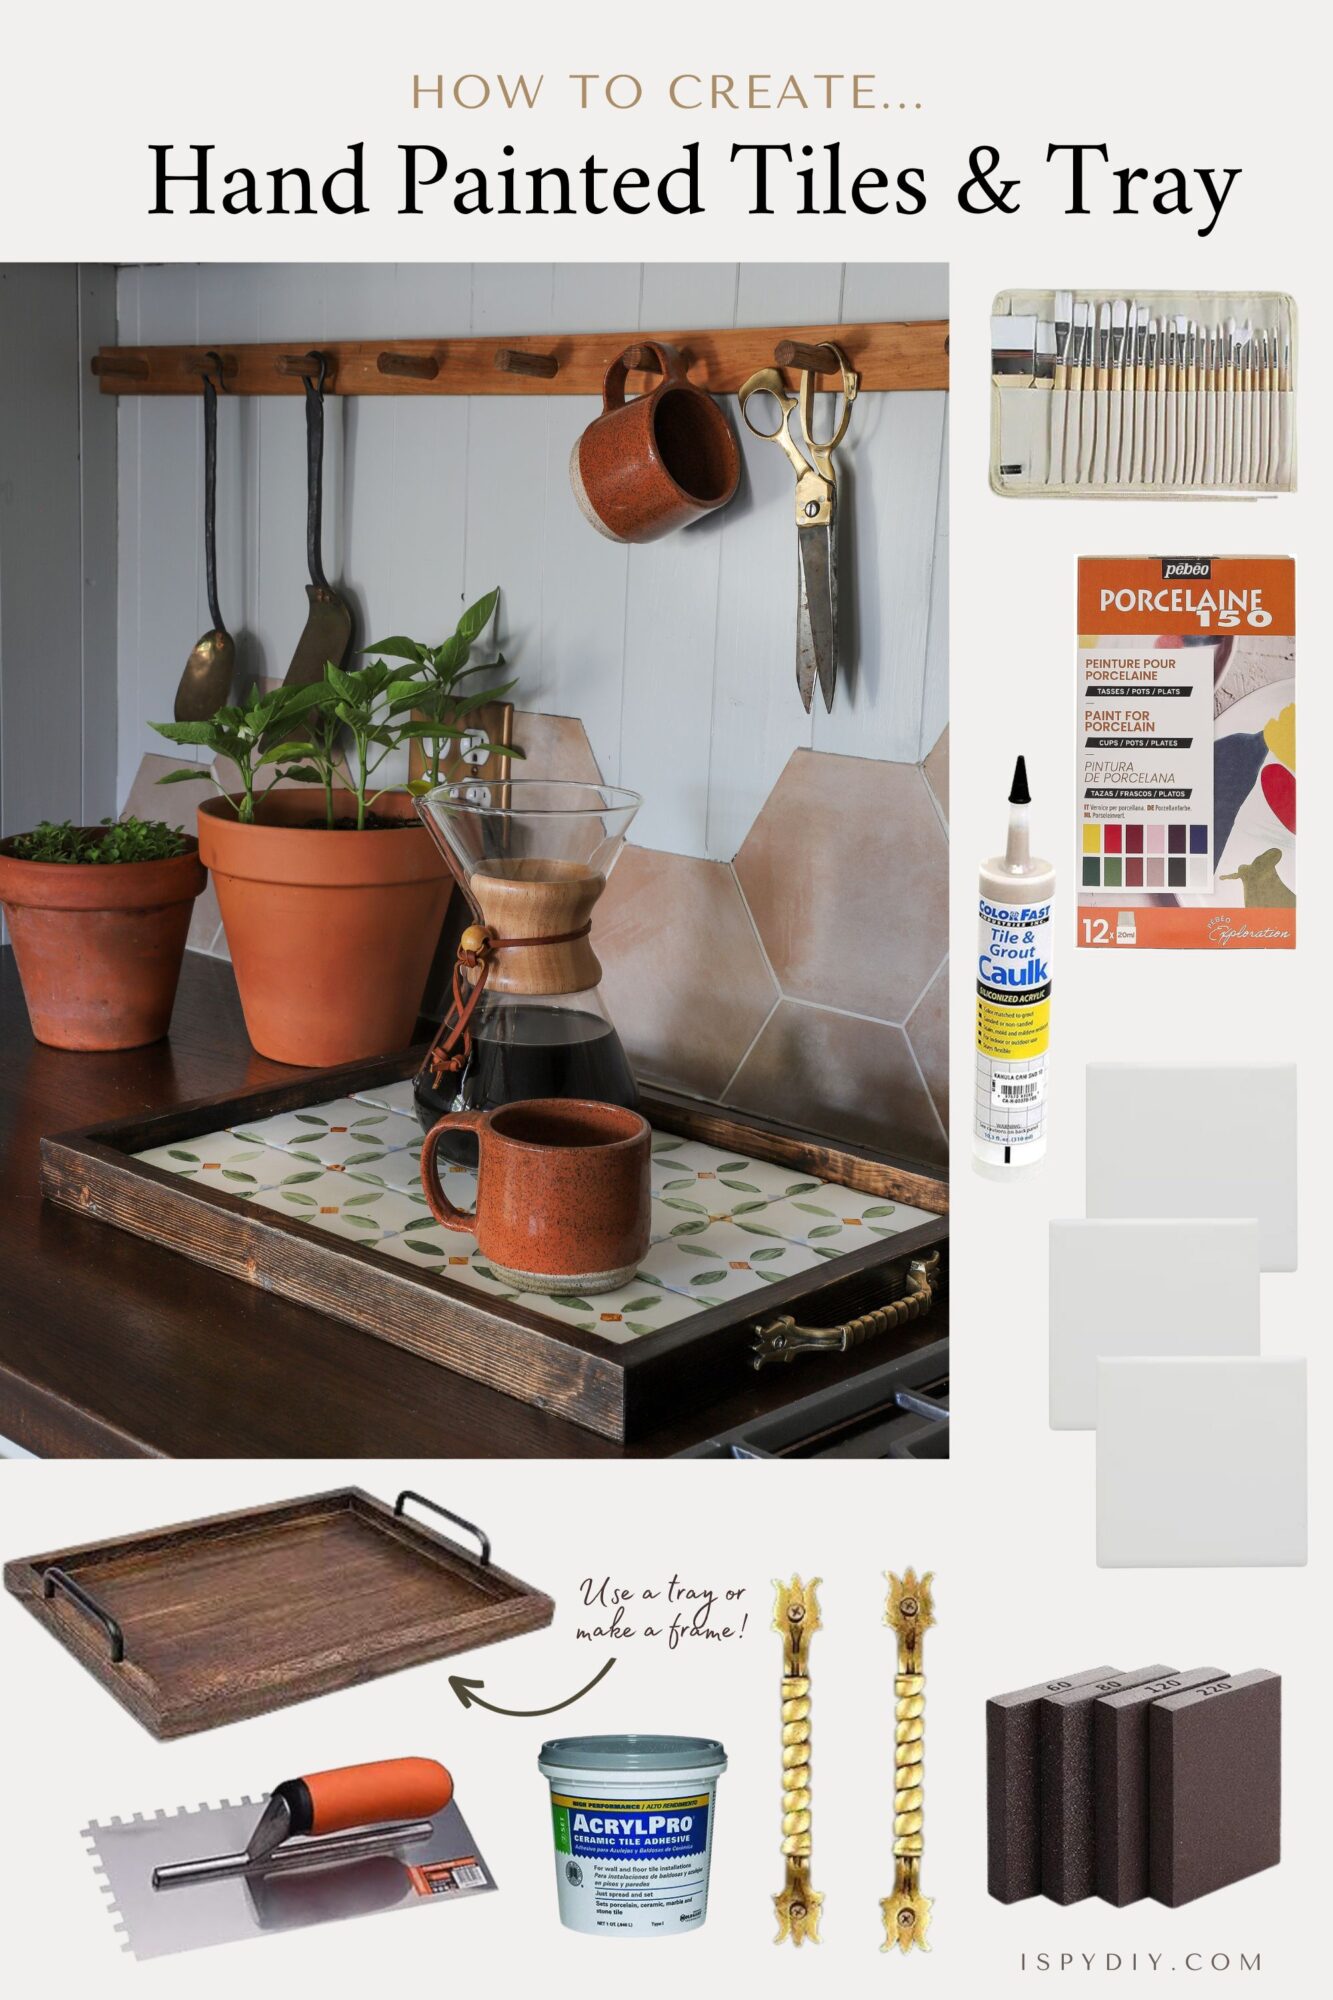
Supplies
- Porcelain/Ceramic Tiles
- Sanding Block
- Porcelain Paint
- Artists Brushes
- Adhesive Stencil (if using a pattern)
- Baking Sheet
- Wooden Tray (see instructions for tips)
- Mastic
- Trowel
- Grout Caulk
- Handles
- Clear Matte Floor Coat
Step-by-Step
1. Start by designing your tiles. You can design and create a patterned stencil, if desired. I created an adhesive stencil using a die cut machine. This helped keep the pattern consistent from tile to tile. However, you could also freehand paint a pattern on the tiles and not use a stencil. Freeform would be just as gorgeous. Remember, this is where your creativity can shine.
2. Use the sanding block to lightly scuff up the tile. This helps the paint adhere better.
3. Paint your design using porcelain paint. If you’re using a stencil, lay that first and paint within the stencil. Pro tip: Paint in the same direction. Porcelain paint is semi-transparent. It gives a more sophisticated look when the brush lines are all in one direction.
4. Allow the paint to dry thoroughly. You may need to do two coats of color. Once dried completely, then lay the tiles on a baking sheet and bake to cure the paint. Bake for 35 minutes at 300 degrees Fahrenheit.
5. Now prepare the tray. We built the tray out of plywood and 1x2s cut into a frame. We then stained and varnished the tray. This helped us customize the size and color. Another option would be to buy a serving tray that is already complete, and change out the hardware. This tray could be primed and painted if you don’t like the stain color. The other option is to buy a wooden frame, remove the cardboard backing and screw in a piece of plywood. This gives the tray stability. Any of these options work. Tiles are heavier, so it is important to ensure the tray can hold the weight.
6. Once the tray is ready, it’s time to adhere the tiles. Apply tile adhesive, mastic, using the trowel, to the back of each painted and cured tile and press them onto the tray. Allow the adhesive to set for the recommended time.
7. Now it’s time to grout the tiles. Because the spacing in between tiles is minimal, I found grout caulk to be significantly easier than mixing grout and making a larger mess. Pipe the grout into the spaces, wipe off excess grout from the tile surfaces using a damp cloth. Then let the grout cure.
8. Once the grout is fully set, mark the positions for your cabinet handles on the tray. Drill holes where you marked and attach the handles using a screwdriver.
9. For the final touch, I added a clear coat of Rustoleum Floor Coat with matte finish over the top of the tiles. This step isn’t necessary, but I highly recommend it. This just helps add some more durability to the tiles.
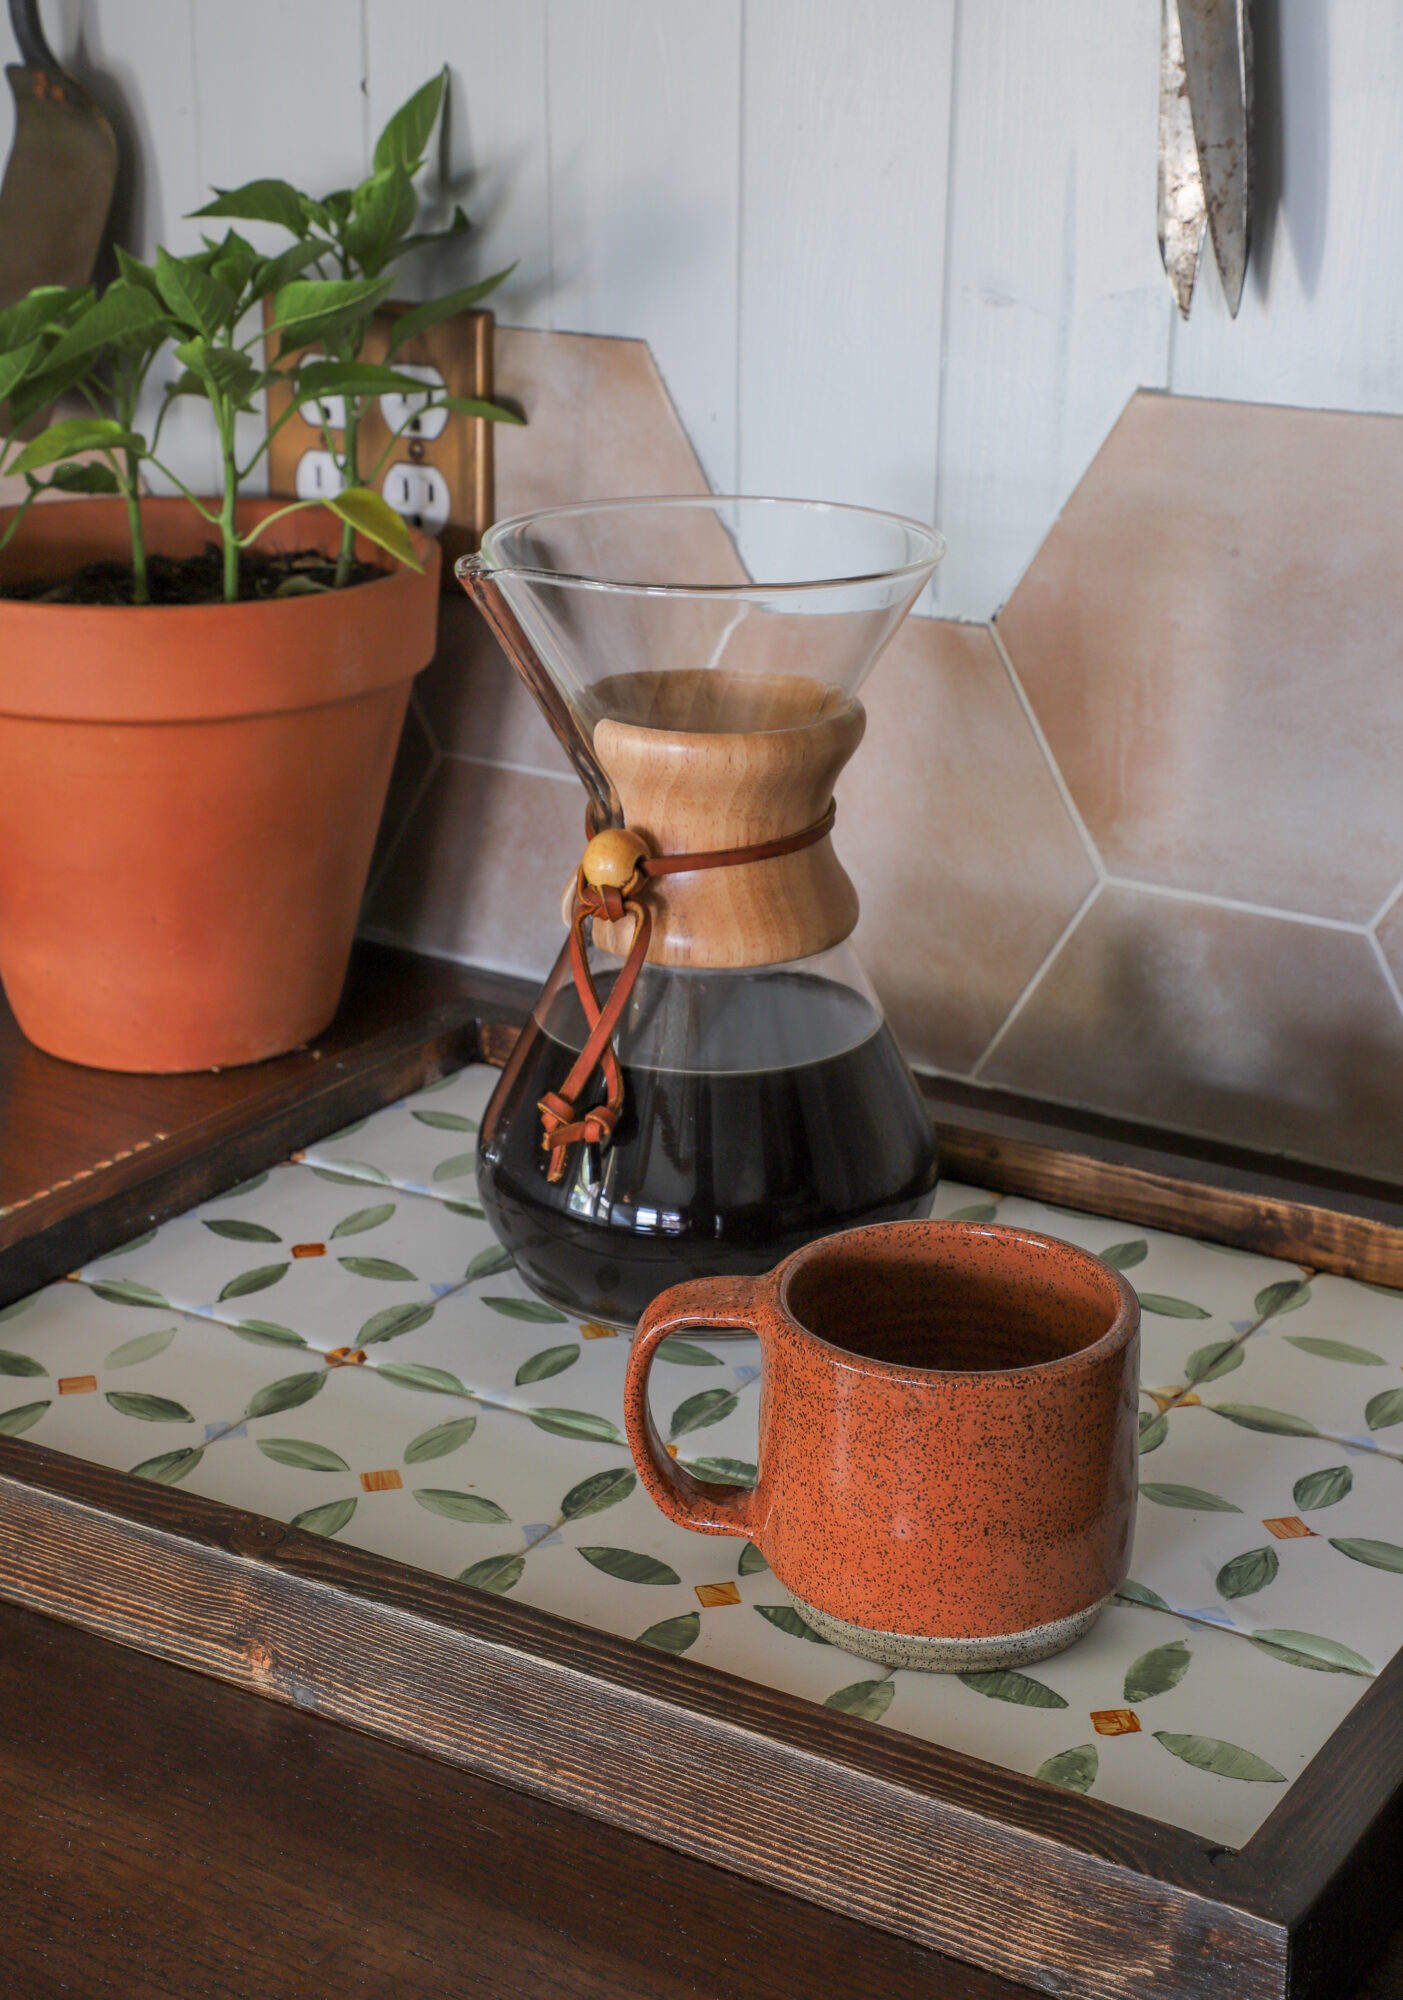
This DIY project not only added a personal touch to Armando’s kitchen, but also serves as a functional piece of decor (Read about the full room makeover here).
This DIY is especially fun because you can experiment with different paint colors, designs, and tray shapes and styles. The possibilities are endless!
For more DIY ideas, watch Season 2 of ‘Makeover By Monday’ Saturdays at 1p/12p c on the Magnolia Network on TV! Or stream anytime on Max and Discovery+!
EXPLORE MORE: As Seen In, Before & After, DIY PROJECT, Home DIY, Makeover by Monday


I love this project and the tile design is simply lovely. Great inspiration!