The Loft | Faux Fluted Butcher-Block Banquette
Uncategorised
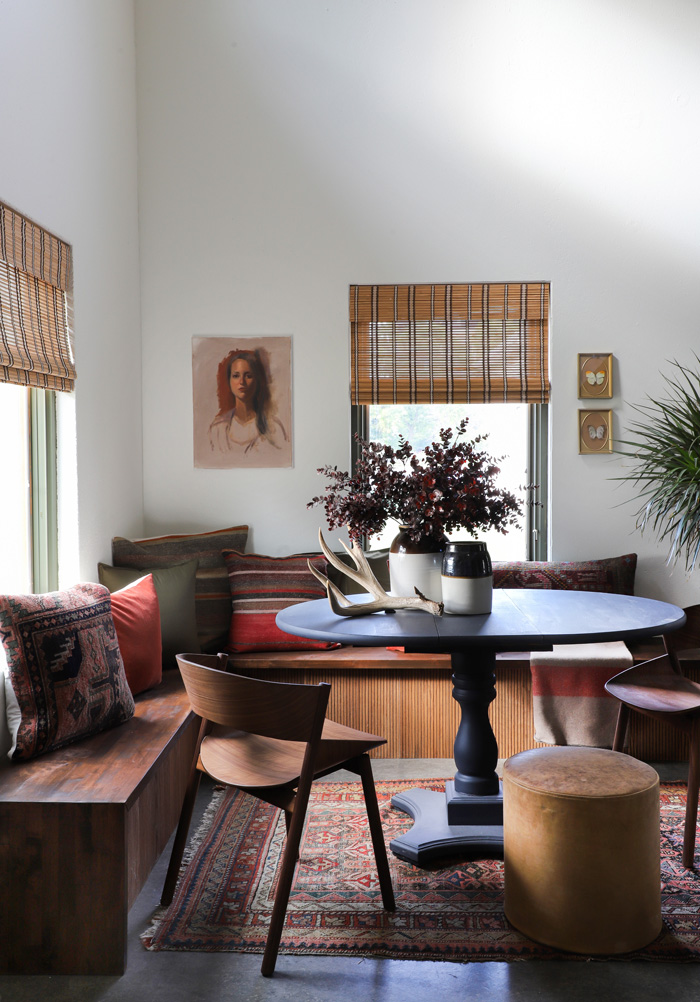
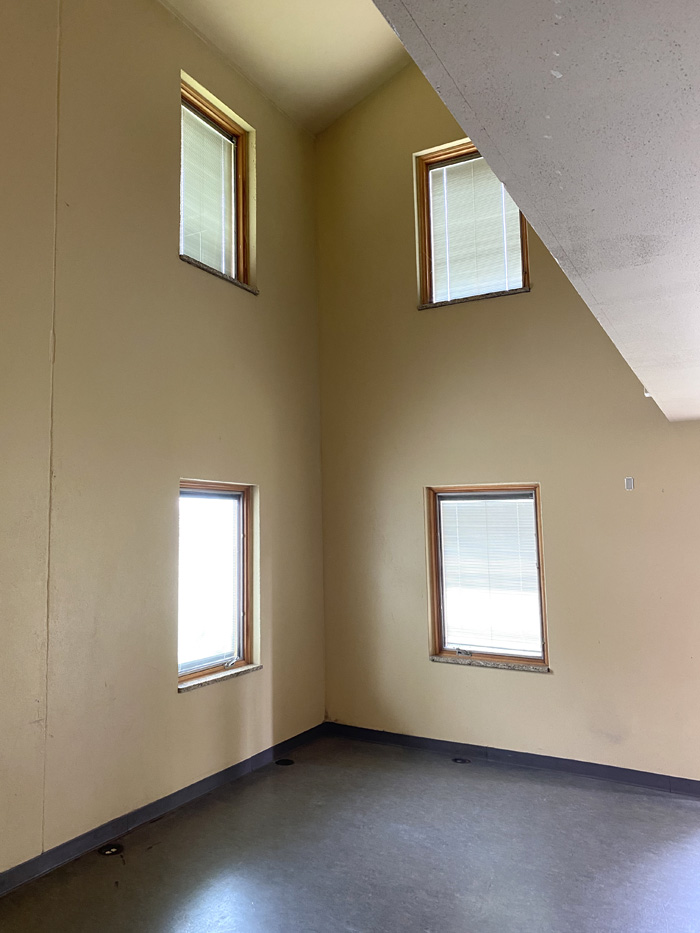
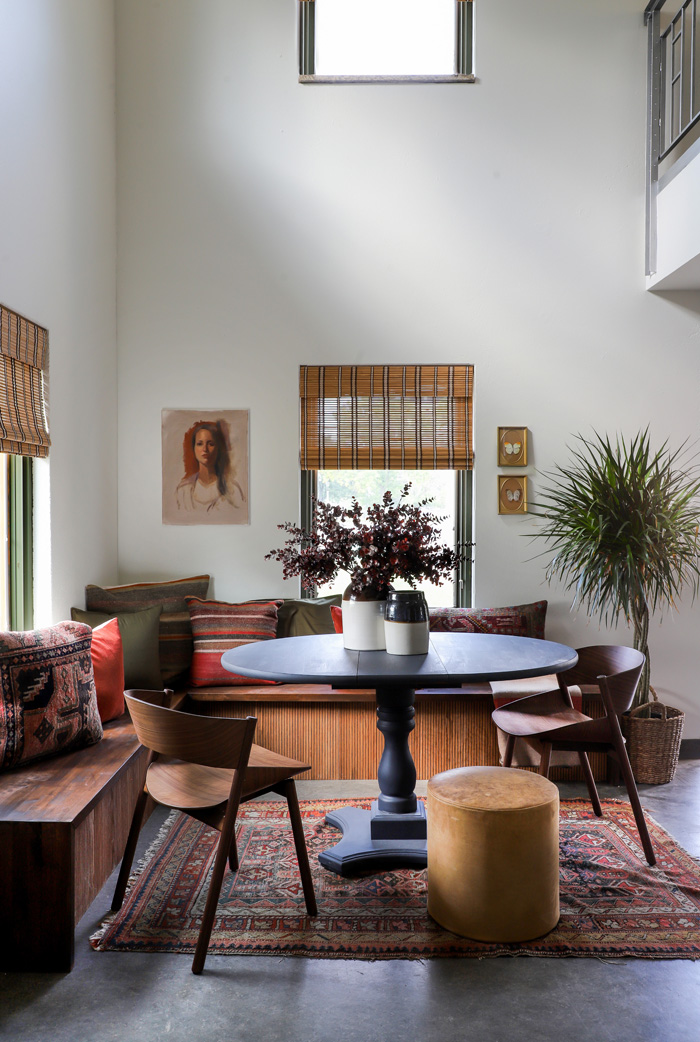
I’m so stoked to share with you the first glimpse at a finished space in the Loft!! This is the first space that I styled up and am calling complete, even though I am still waiting on a few finishing touches like a bench cushion and brass bars to hang back cushions. But I am all about cheering on progress! To celebrate this achievement let’s go step-by-step through how we built the bench (because I am beyond happy with how it turned out).


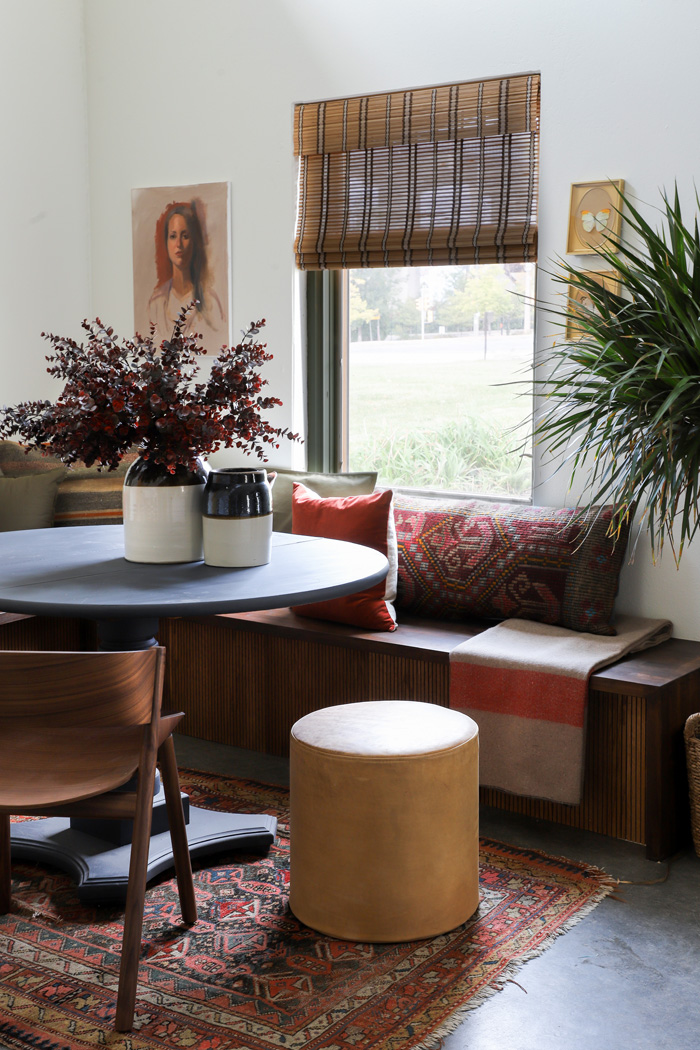
This seating area was our first design project together in this house. We talked a lot about how the space would function, durability, and of course, something that would look really unique. I loved the idea of using butcher-block for the top because I wanted it to stand up to frequent use. Butcher block just feels indestructible, easy to clean and touch up. We thought the waterfall detail was a fun way to cap off the ends (and also protect the sides). I’ve been wanting to try this material called Pole Wrap (used to wrap your basement poles) to create a fluted look. Mr. Yolo came up with the idea to recess it a few inches to protect it from getting kicked by heels. I’ll be sure to do a follow up next year to see how everything holds up!
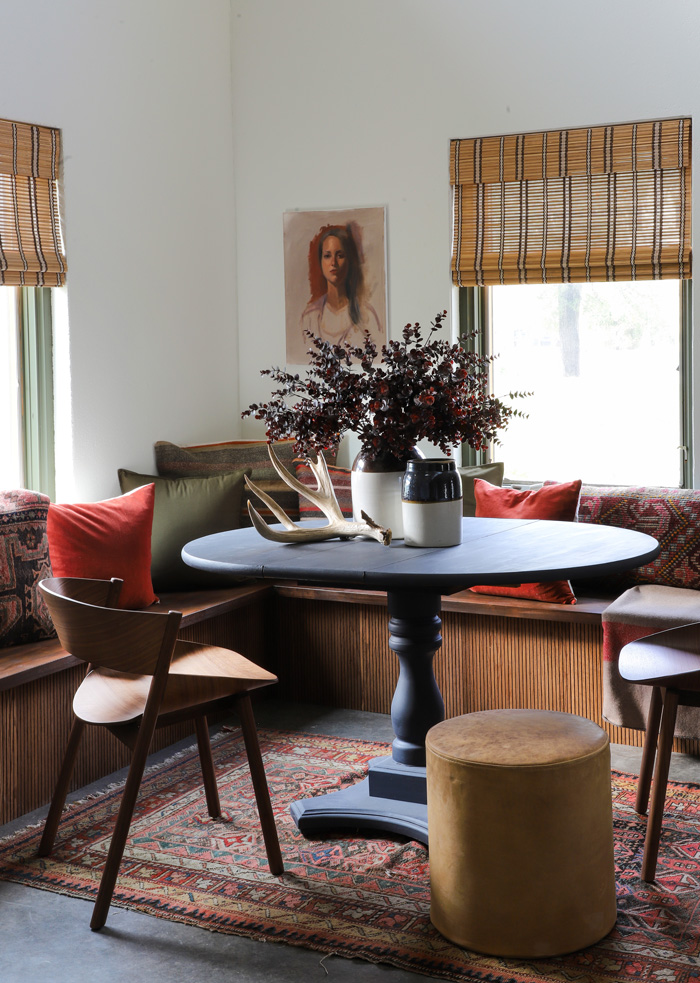
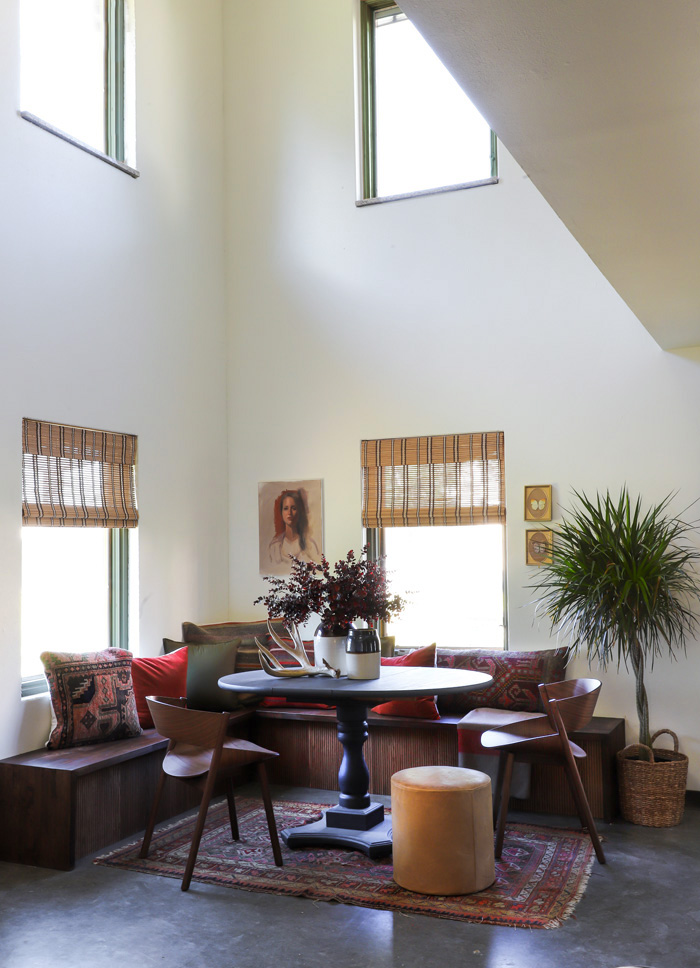
I’m so happy with how the walnut stained wood warms up this corner. Painting the window frames green was a nice pop of color. Decorating this area was an absolute thrill! Everything fell in to place. The $20 thrifted table that I painted black played perfectly with these beautiful new Port dining chairs. I love mixing high and low seating for more interest.
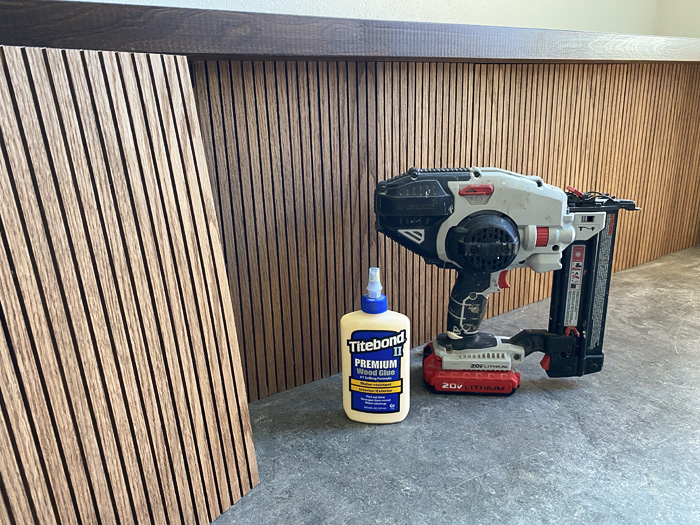
Supplies:
2x4s
Nails
Pywood
Butcher Block
Pole Wrap
Dark Walnut Stain
Brad Nailer
Sponge Brush
Wood Glue
Wood filler
Framing the Seat
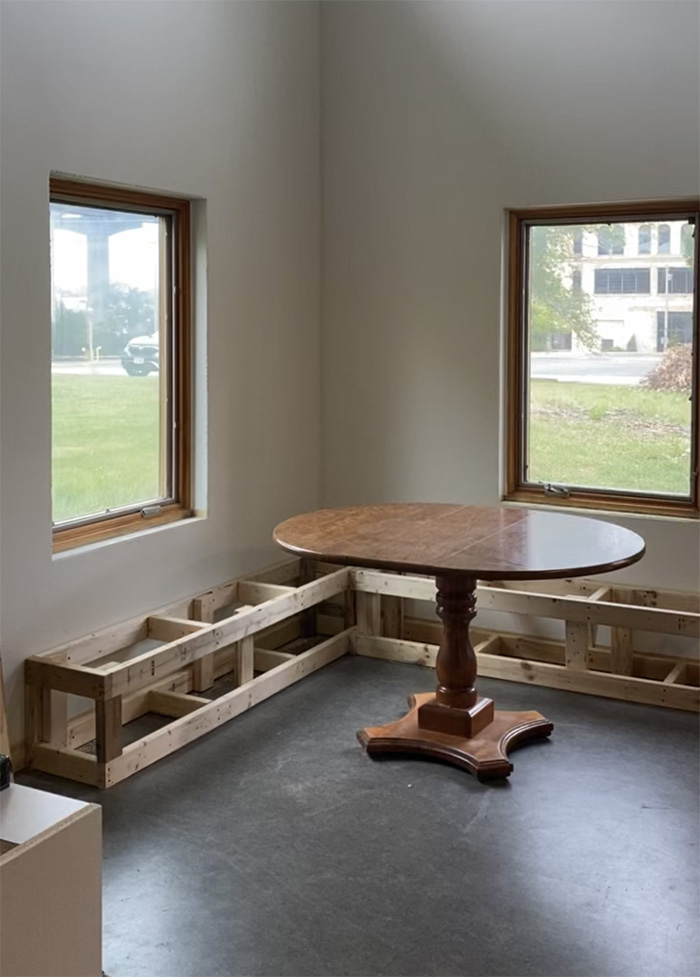
Mr Yolo chiming in here: The first thing we figured out was how far the banquet would go in each direction. Next we researched how tall and deep a banquet seat ought to be. With the length, width, and height set, we worked backwards to establish the 2×4 dimensions. Jenni wanted to have a cushion on top of the butcher block. I figured a 3″ cushion would compress to 1″ when sat upon. Subtract another 1.5″ for the butcher block and I came up with the height for the framing. I ran the horizontal components OUTSIDE of the vertical (see photo bellow for what I mean). This was to give a solid substrate for the plywood face that would then receive the pole wrap.
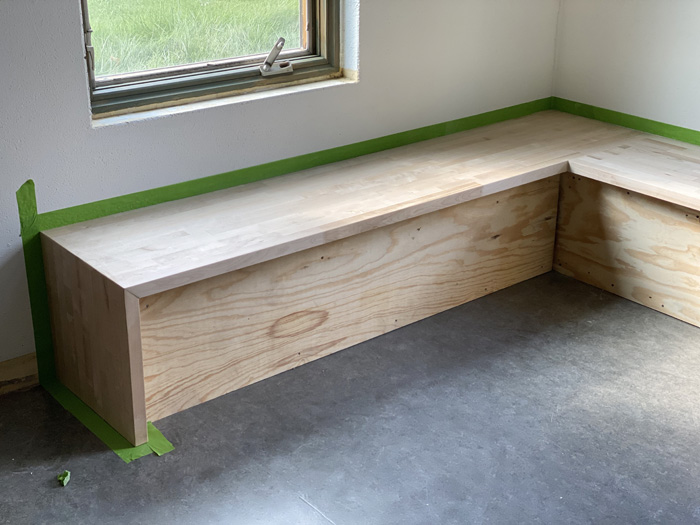
Butcher-block Top with Waterfall Edge
More from Mr Yolo: Once it was framed, I used a circular saw and a clamped straight edge to cut the butcher block to size. We ran the butcher block 3″ past the front of the framing to recess the pole wrap and allow room for people’s feet. Doing the mitered edge was a bit of trial and error to get it to fit (nothing is square in life). Once I got the fit I liked, it still wasn’t perfect, so I ran the shaft of a screw driver over the miter to bend the sharp corners into the gap. Then followed up with wood filler and sand paper. The seam where the two top pieces met was not perfect either, so I messed around with shim positioning until it fit. Tip: The butcher block needs to be fastened from underneath. The plywood face gets fastened from the outside. This means there is an obvious order of how things should be installed, which I figured out the hard way.
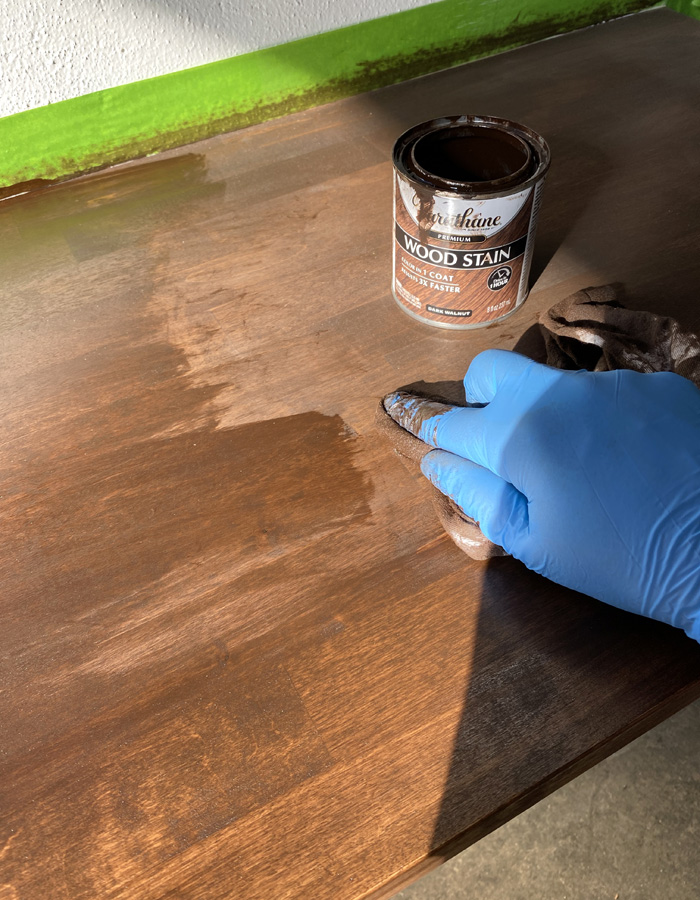
Staining the Butcher-block Top
Once Mr Yolo had the seat built, it was time to stain the butcher-block top. Tip: Make sure to use a Pre-Stain Conditioner before staining butcher-block. I skipped this step, and I definitely had some uneven stain marks and streaks. I tried to sand them out, but that only made it look more uneven…so I rubbed on a second coat with a rag, which helped a bit, and the cushion will cover the other marks. Lesson learned, never skip the wood conditioning step!!
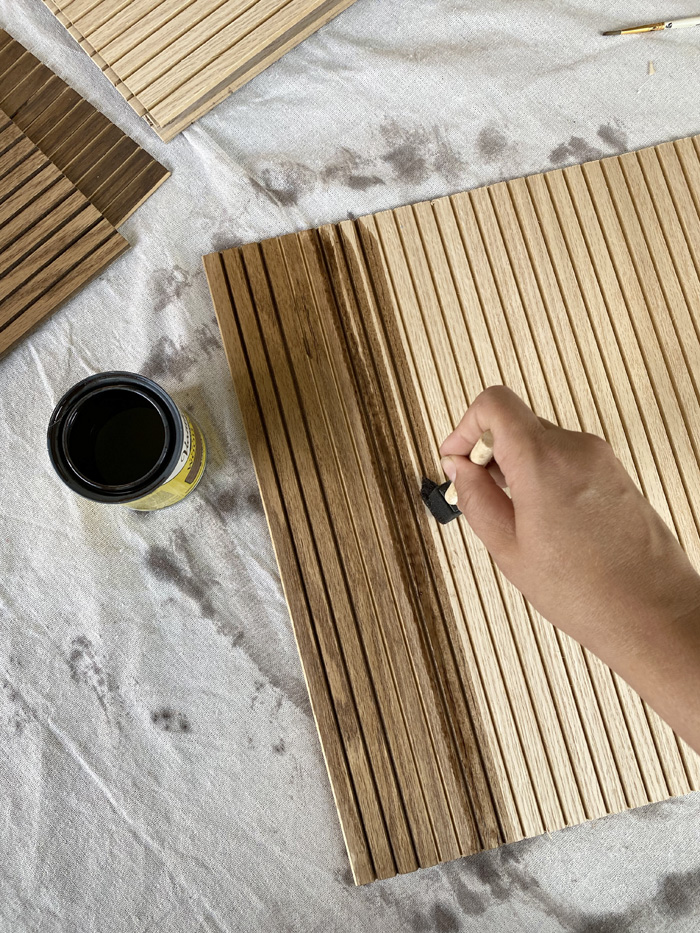
Cutting and Staining the Pole Wrap
Now, onto the pole wrap! I have really been wanting to use the product in a project. I though it would look so beautiful stained, and on the front of the seating. The first step was to cut it. It comes in long sheets, and we found the best way to cut it is to measure and mark the cut, wrap painters tape around the cut line, then re-mark the cut line on the painters tape. This keeps the wood from splintering. I used a miter saw, so needed to fold the pole wrap in half to fit it under the blade. Use a fine tooth blade. We cut two sheets into 9 pieces to cover the front of the seating.
For staining, I tried a couple different techniques and what worked best was to use a sponge brush (1 or 2 inches) and run it along the nook, making sure you are staining inside it. After you do 5 or 6 nooks, wipe with your rag, and the excess should stain the flat part. It’s very important to get in the nooks, it gives the wood more dimension, and the paneling really pops!

Most panels only needed one coat, and I did notice some color variation from panel to panel. If you just do one coat before attaching, you can do a second coat to blend and touch up once the panels are attached.
Attaching the Pole Wrap
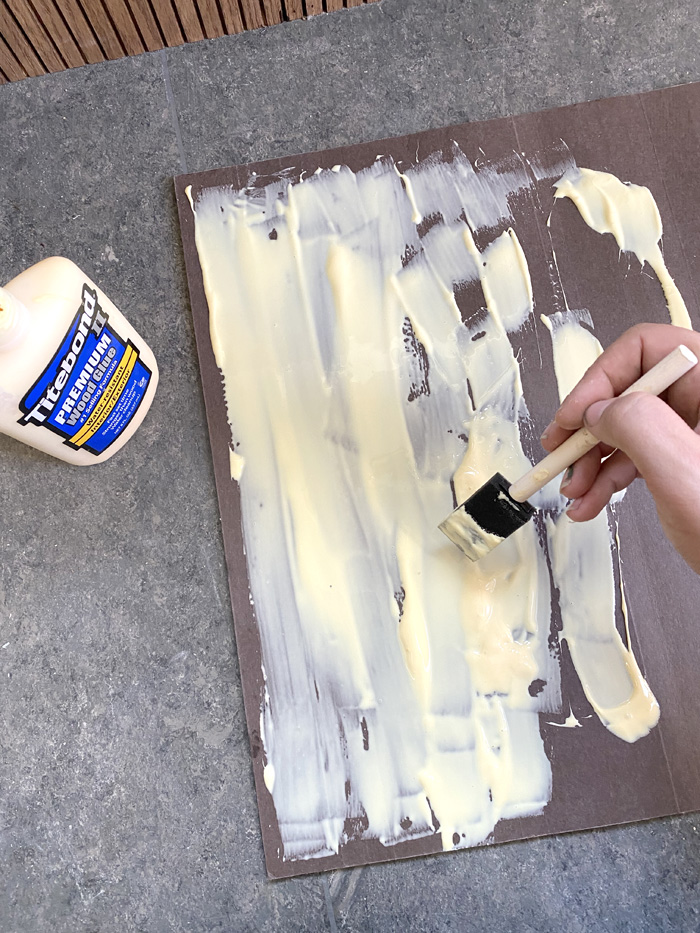
I started by dry fitting all the panels. Once I liked the placement, I used glue and a brad nailer to attach them. I put a healthy amount of wood glue on the back of each panel. Try not to get too close to the edges because you don’t want to squeeze glue out the sides/bottom. Since the pieces are already stained, you want to avoid wiping glue off them.
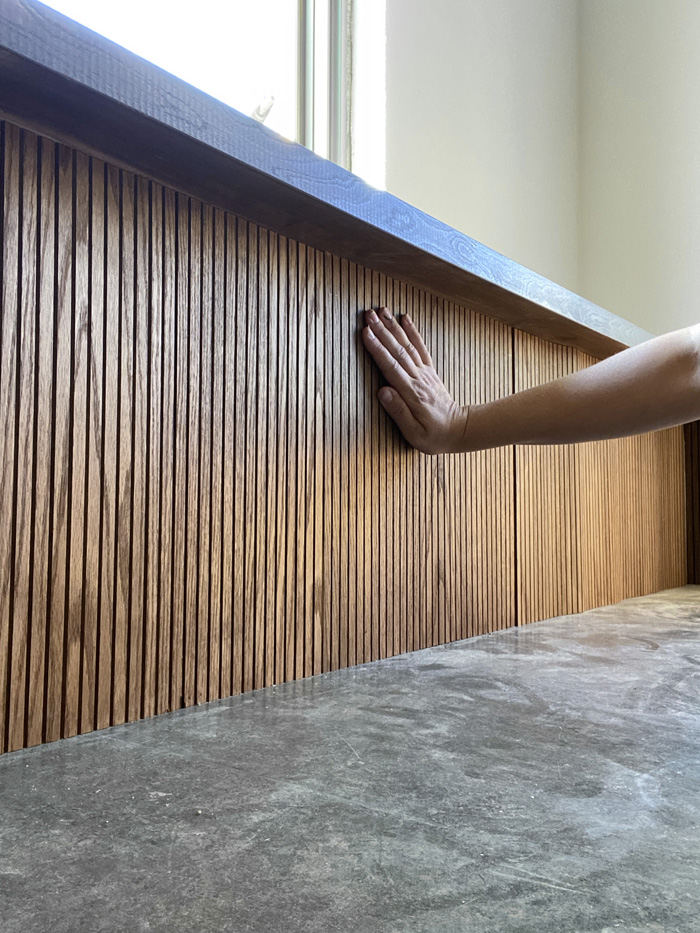
I put up the panel, making sure it’s snug to the one next to it. Then I pressed to make sure the glue on the back was adhering to the plywood. While holding it down, and used my brad nailer to secure any areas that stuck up.
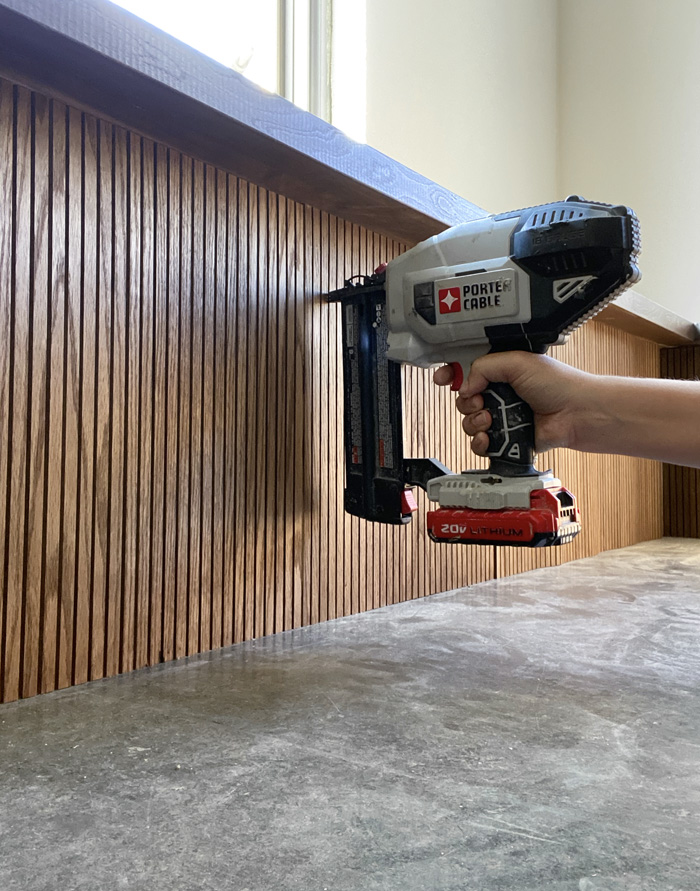
I tried to only use the brad nailer in the nooks, so I would not have to fill a ton of visible holes. There were a couple uneven surfaces that I needed to nail through the flat part of the panel to secure it. I’ll touch up those spots with some wood filler and stain.
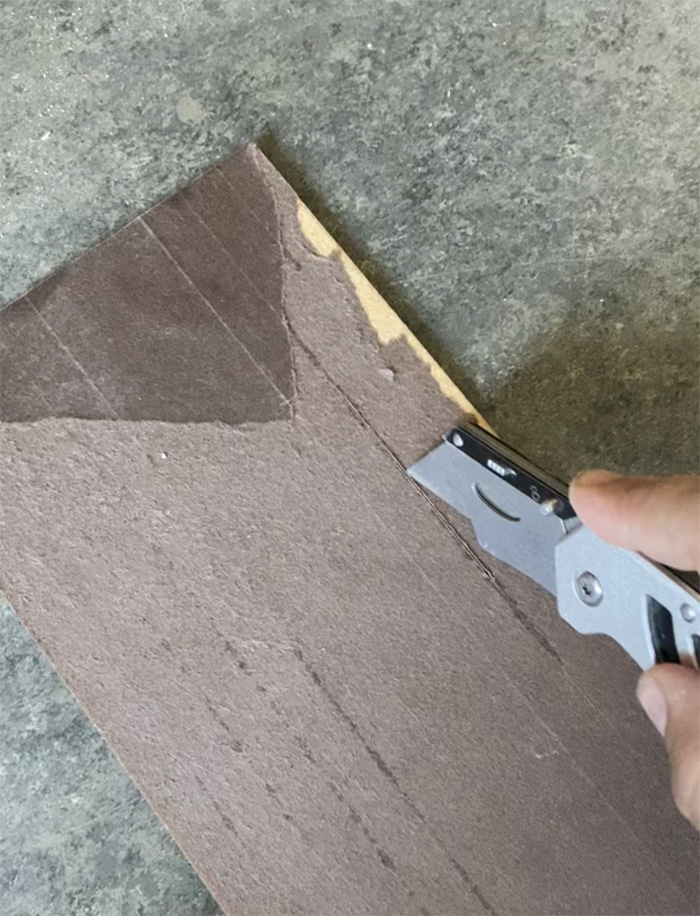
Cutting the Pole Wrap to fit
If you need to cut your pole wrap vertically to fit, you can just cut the paper backing with a sharp edge. At this stage if you’re anything like me you’ll be so excited it’s all coming together! Even though the rest of the Loft is still under renovation, I was so pleased to. decorate this little space. My imagination is moving faster day by day.
Shopping Links
Vintage Rug
Vintage Art
Vintage crocks
Faux Eucalyptus
Pillows from Etsy
Port Dining Chairs
Leather Ottoman in Camel Leather
Bamboo Blinds
Window Trim painted PPG Evergreen
Goodwill Table painted Behr Poppy Seed
Let me know if you have any additional questions in the comments !
EXPLORE MORE: Uncategorised


Beautiful! Where are your chairs from ? Thanks!
Absolutely love it! You guys are brilliant
I’m just now finding your website and I love everything! We have really similar homes. Our exterior is also red but it looks more like your “before” photo. Any chance you can share the color you used to spruce your red up? And did you paint red on top of red? Your use of color is so inspiring! Love it! Thanks for sharing and I’ll keep hunting for that red. Didn’t see it in your paint color post.