My Oil Painting Starter Kit
ETC
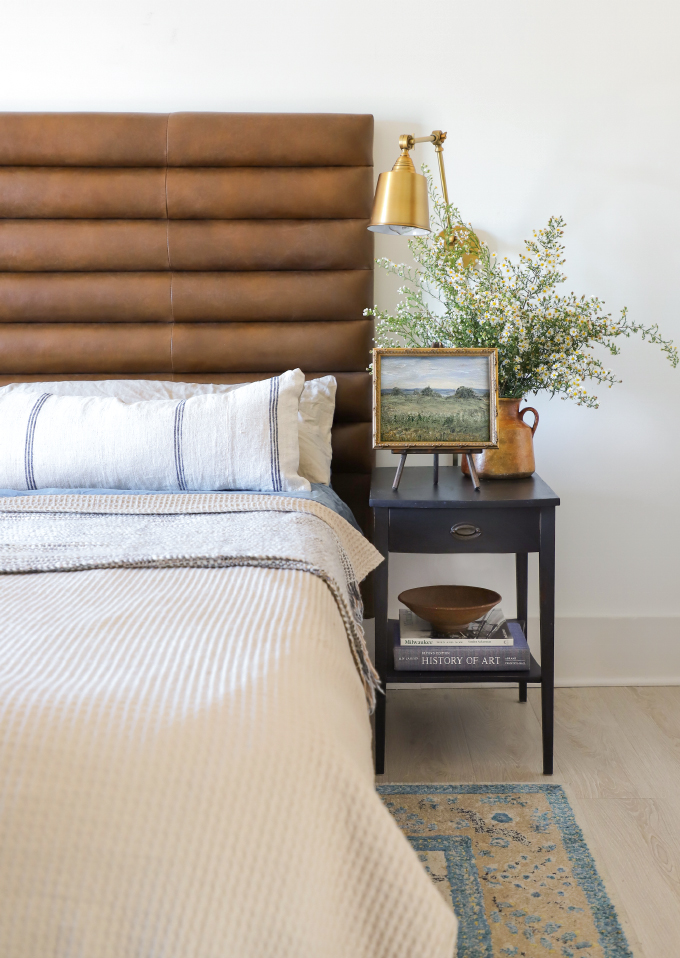
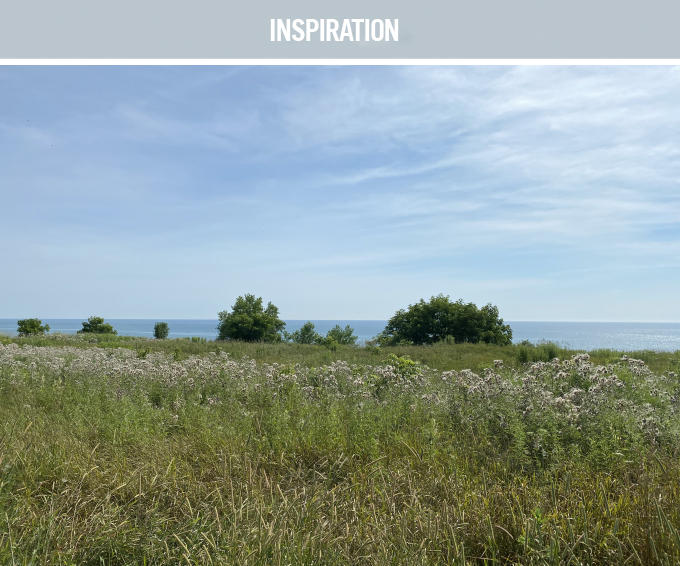
After my Sister watched every Boss Ross episode, she convinced me to give painting a try! So lets start this post by saying I am not an expert at my new hobby, but am having so much fun, so I am sharing my Oil Painting Starter Kit!! My only training is by the great Mr. Ross. Then I evolved my style a bit to fit my style, and now I love taking pictures on hikes, then attempting to paint them! For those who don’t think you can paint, I promise, you can! My Sister agreed that creativity is not her strong suit, but following Bob’s tutorials gave her a ton of confidence, and yielded some great paintings.

After posting about my new painting hobby over on Instagram this week, a lot of you have been asking about my painting basics, so let me share where I am starting…and I’ll probably upgrade once I reach Picasso status. But for now I am looking for low cost, low commitment.
Paint Colors
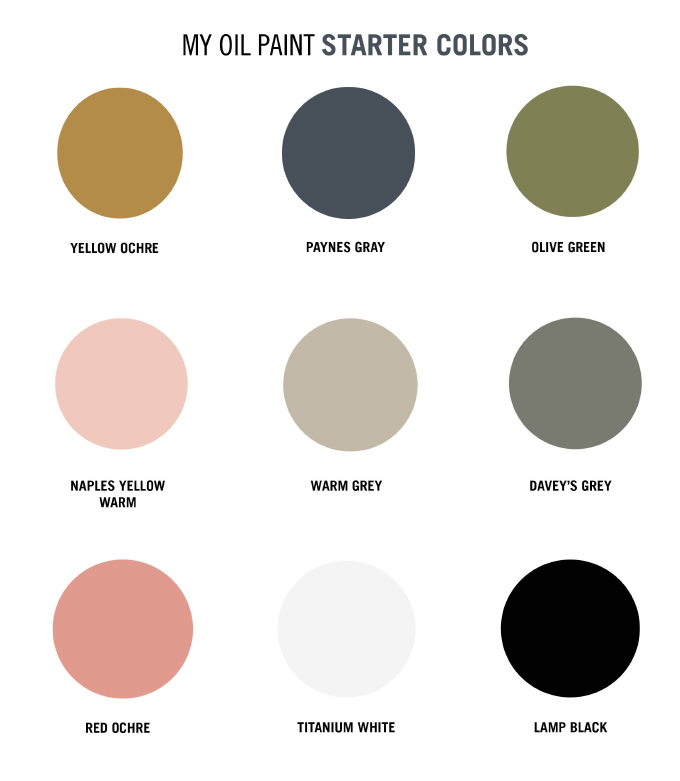
I started with these colors to get a vintage vibe in my painting, and I chose oil paints because of their flexibility and depth of color. The colors I bought are Paynes Gray, Yellow Ochre, Naples Yellow, Warm Gray, Red Ochre, Davey’s Grey and Olive Green, plus a White and Black!
Brushes
I decided to start with a pack of brushes, so that I could have a wide variety of options when painting. This one from Amazon was the perfect starting kit! The different widths, thicknesses, and types of brushes are perfect for oil painting.
I just got this Brush cleaner, because it’s cute, compact, and has great reviews. You can also use Mineral Spirits, but this felt more eco-friendly.
Canvas Boards
For canvases, I think it’s most cost-efficient and helpful to buy in bulk. I bought this set of 12 8×10 canvas boards to begin my painting journey. This way, you’re free to make some mistakes. Plus they are easy to store. Eventually I will upgrade to canvases, but starting off, these have been perfect!
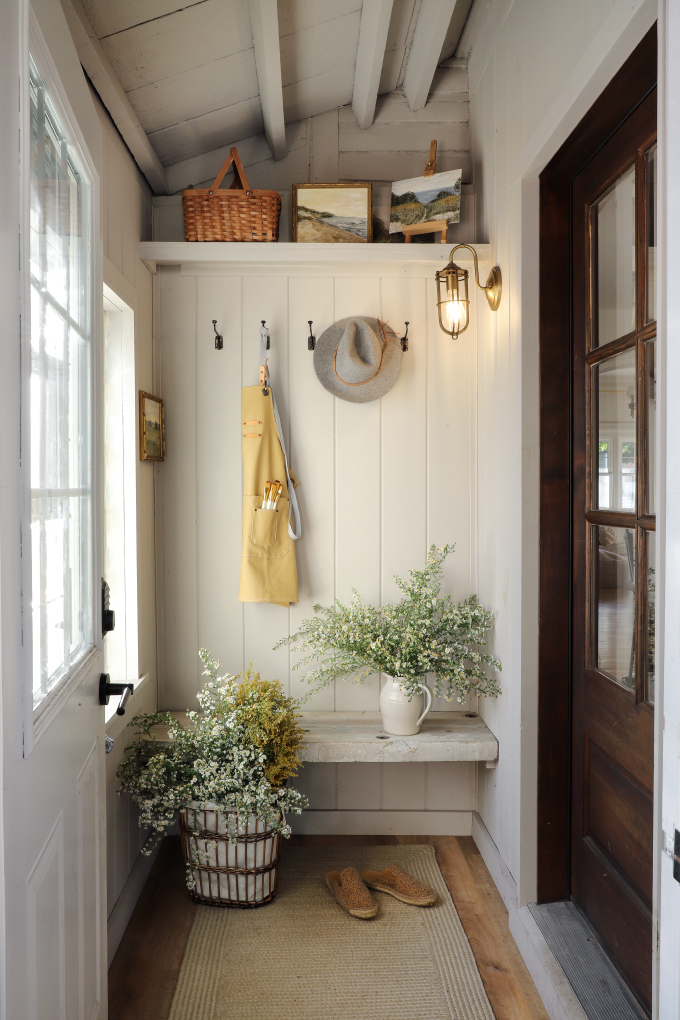
It’s important to look cute while painting, so I got a couple aprons, in Green & Yellow!

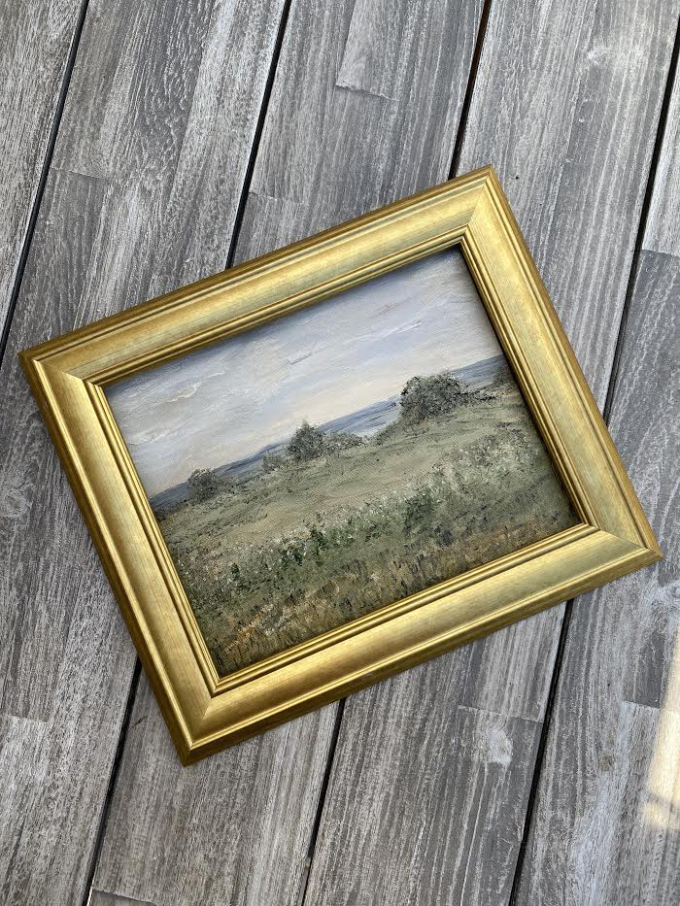
Frames
Lastly, if you’re ready to frame your artwork, I love all three of these options! And especially if you’re going for a vintage look, these are great affordable options.
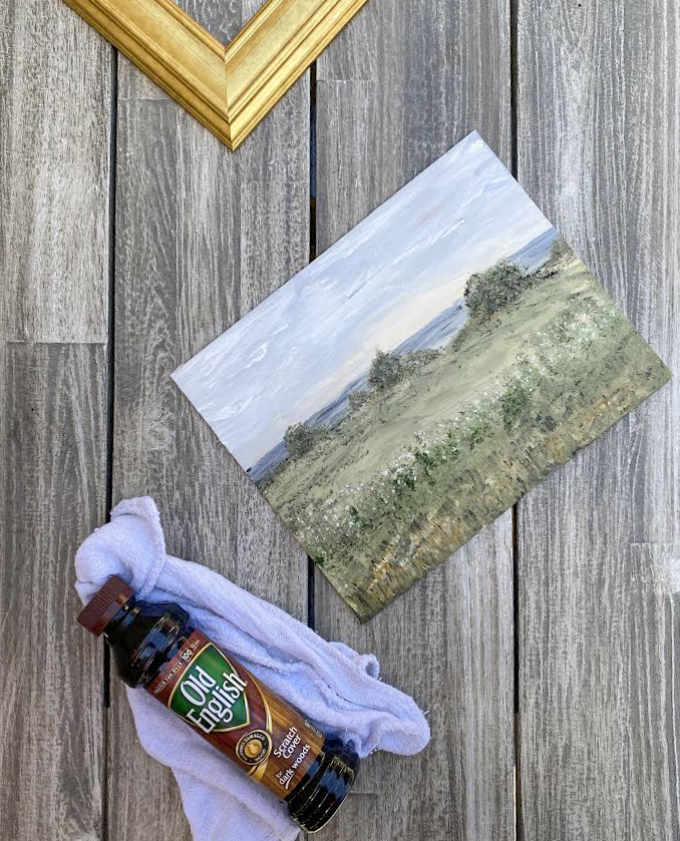
Last tip that I am sure will make a true painter cringe (ha!): One of my readers suggested rubbing furniture polish on my dried painting to give it an aged look. And it worked! I am pretty sure they have glazes meant for this, but this is the DIYer Guide to painting!


Most important! HAVE FUN!
EXPLORE MORE: ETC


I love it! You posted this on a day I tried a watercolor painting and an acrylic painting…both were really, well, unique. Ahem. Your painting is amazing.
Tried the link for the aprons but it didn’t work. Can you provide more information?