MY DIY | Wooden Bath Mat & Bathroom Styling
DIY PROJECT

I am back with another fun styling project! A month back I had the opportunity to check out the Kohler headquarters and put my styling spin on one of their bathrooms. Being a Wisconsin girl, I was absolutely on board with supporting such an amazing company, with such beautiful products. Plus, my prom was at the American Club in Kohler, so I got to take a little trip down memory lane…
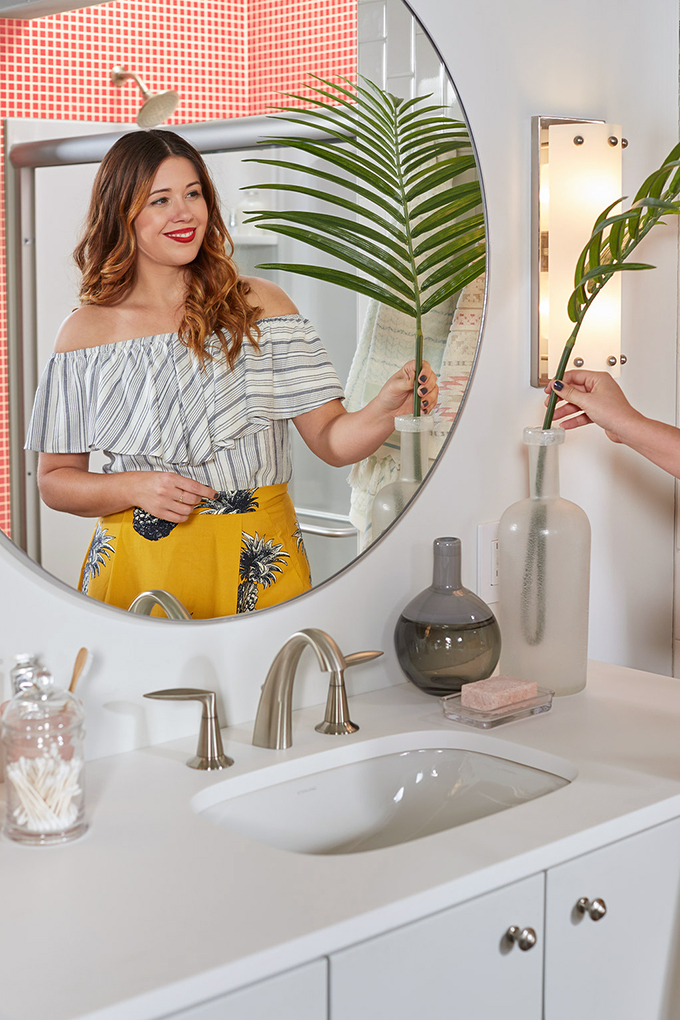
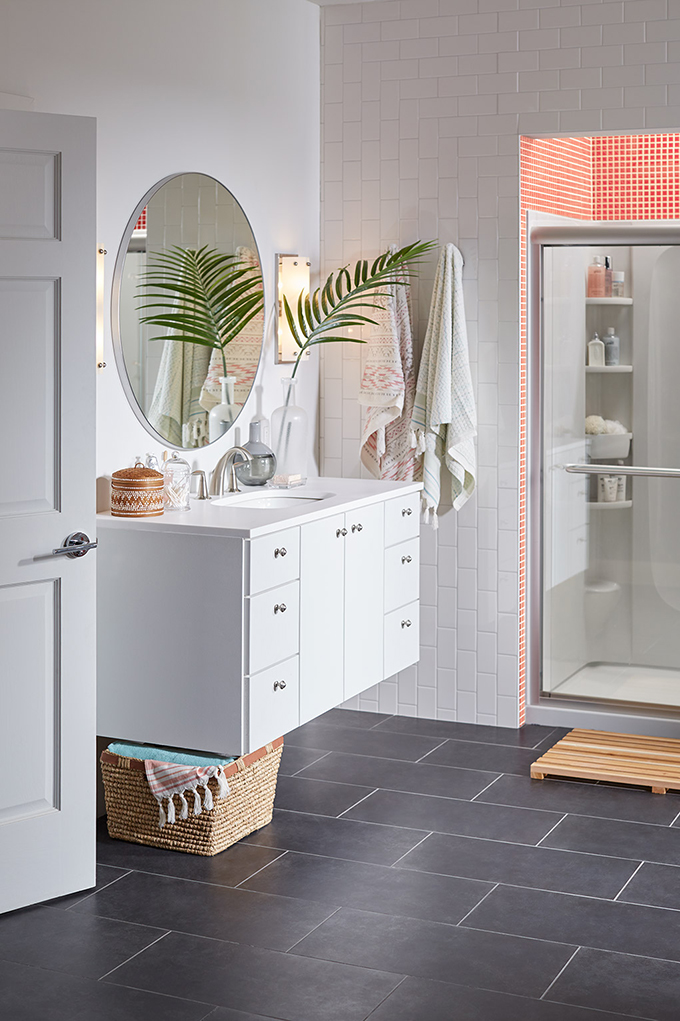
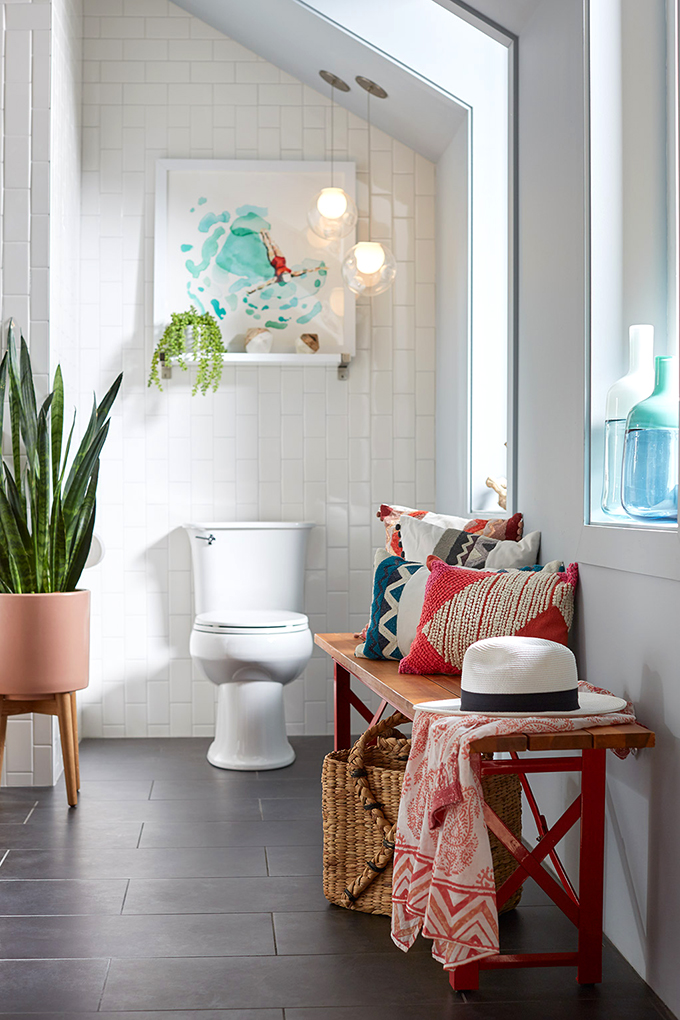
The project was to take an almost blank slate bathroom, that was decked out in Sterling Plumbing’s storage shower, and add some DIY and design elements. I wanted to bring a little more natural wood into the space, so started by heading to the hardware store to pick up some cedar to create a custom bath mat. After having the guys at the store cut down the wood to size, this project was super simple, and great for creating a mat that fits your room. Next, I wanted to play off the tile, and bring in some more reds, pinks and teal. Then, soften up the space with some wicker baskets and greenery. Done! Now, if only I could have a bathroom this size in real life #goals. 
GET THE LOOK | 1. Minted Float by by Betty Hatchett 2.West Elm Marble and Wood decor 3. West Elm Pillow 4. Red Beer Garden Dining Bench 5. Round White Dotted Bamboo Basket 6.Tall Bottle Vase + Bud Vase 7. Coral Riley Sculpted Bath Towel
Get the steps for the wooden mat after the break, and check out the steps for customizing your Sterling Plumbing STORE+™ Storage System Shower over on Pinterest!
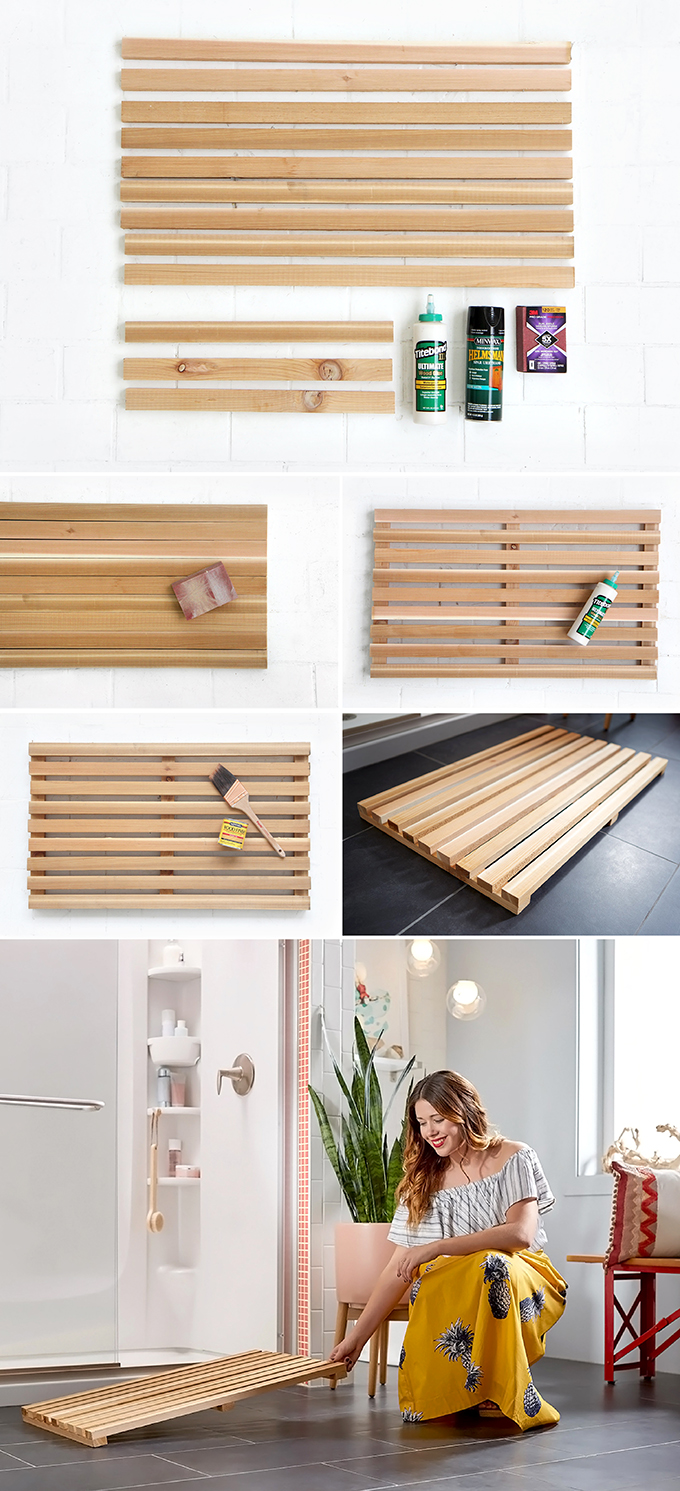
What you need:
2 in. x 4 in. x 8 ft. Prime Cedar Wood
Wood glue
Minwax Satin Water-Based Polyurethane
What to do:
Cut the pieces to fit your desired size: 9 long horizontal pieces, 3 vertical pieces (or have the nice people at the hardware store do it for you.)
Lay out your three vertical pieces, and then the 9 horizontal pieces on top, with a half an inch space between each.
Next, glue down each horizontal piece and let dry for an hour.
Paint with a water proof stain, and let completely dry overnight.
This post was made in collaboration with Sterling Plumbing. Thank you for supporting the amazing partners who make I SPY DIY possible!
EXPLORE MORE: DIY PROJECT


Loved the styling! That skirt though…. <3 <3 <3 I think I loved it even more!
This. Is. Incredible!! Dammit, I can’t believe how perfect the bathroom looks!
The tiling, the plants, the bench <3
http://saintsonaplane.com
That looks amazing! I love how you included so many plants, and the red details are just perfect!
https://www.makeandmess.com/
This is fab! Great color choices to play off the red tile (which I love!) and I adore how you brought in natural layers 🙂
This is so awesome! And your bathroom is stunning.
XO
Nicole | http://www.bynicolegeorge.com
If I had a bathroom like that, I think I’d spend all day there!
http://www.thebeautydojo.com
Looks great. So many beautiful colors. Love it.❤️???❤️
Hi there!
I found one of your projects at Pinterest and I can’t stop reading your blog! It’s so inspiring. First I think, I’ll tidy my apartment, haha 😀 I just love your bathroom.
I have my own DIY blog http://esikfloresik.blogspot.com you can visit it if you have a break from DIY projects 😀