MY DIY | Light Box Message Board
Home DIY
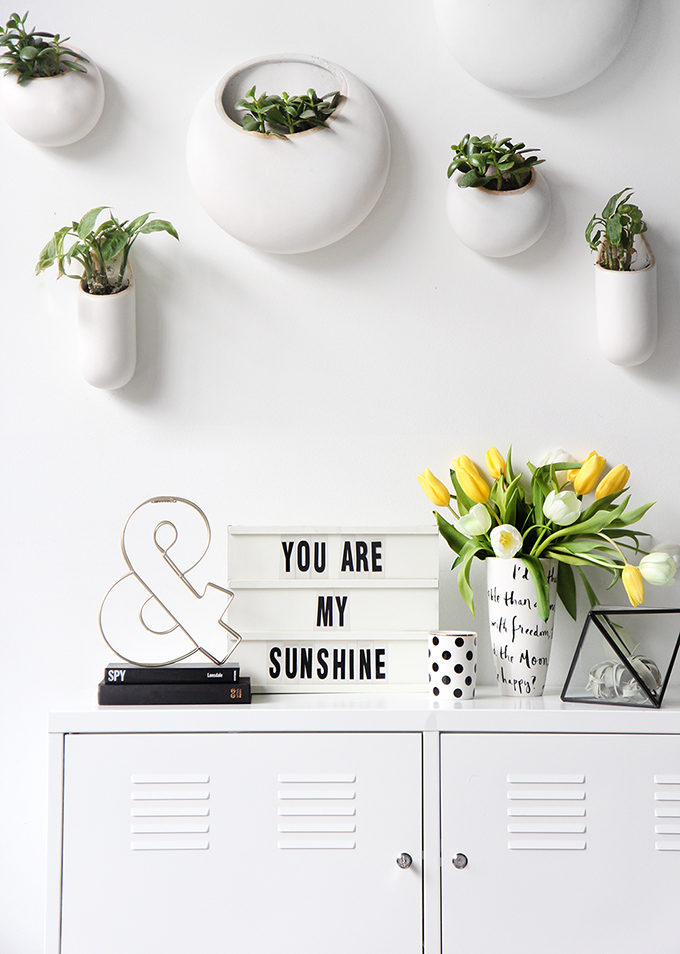
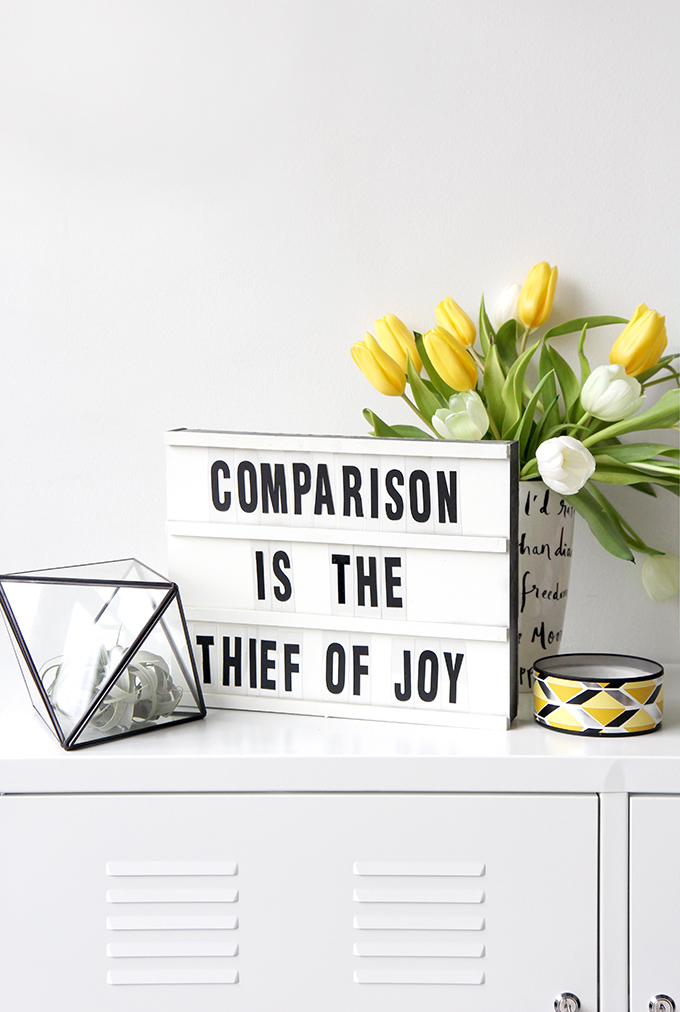
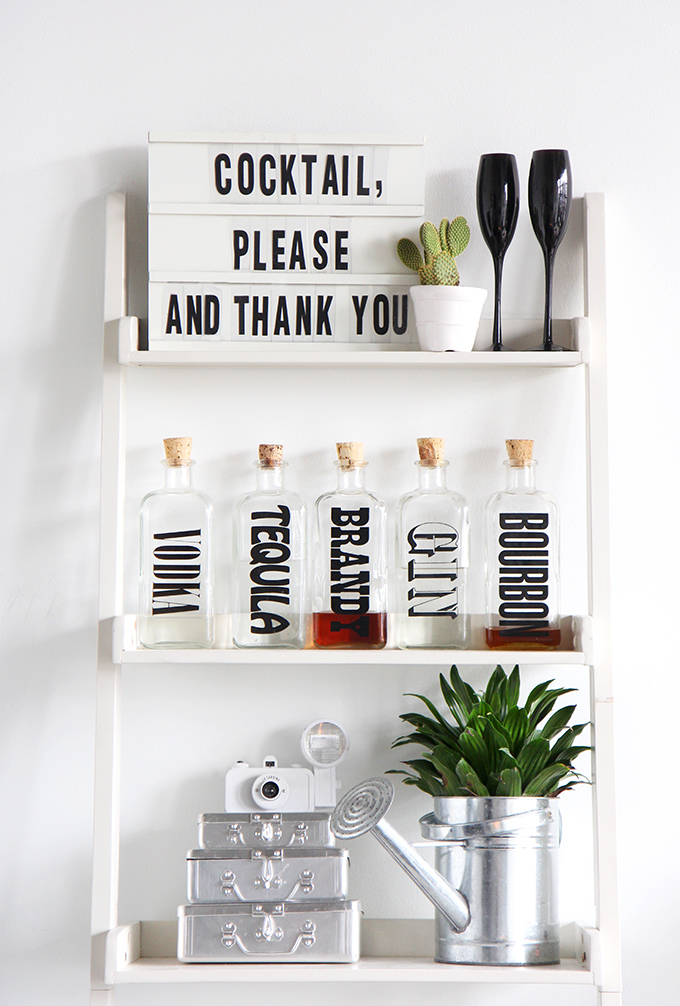
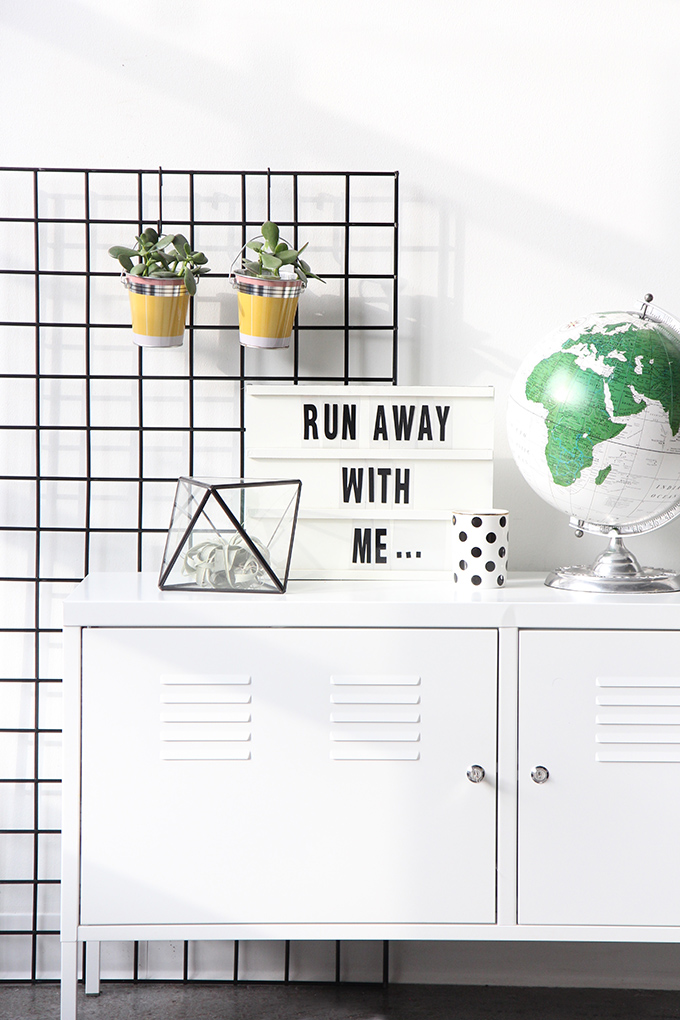
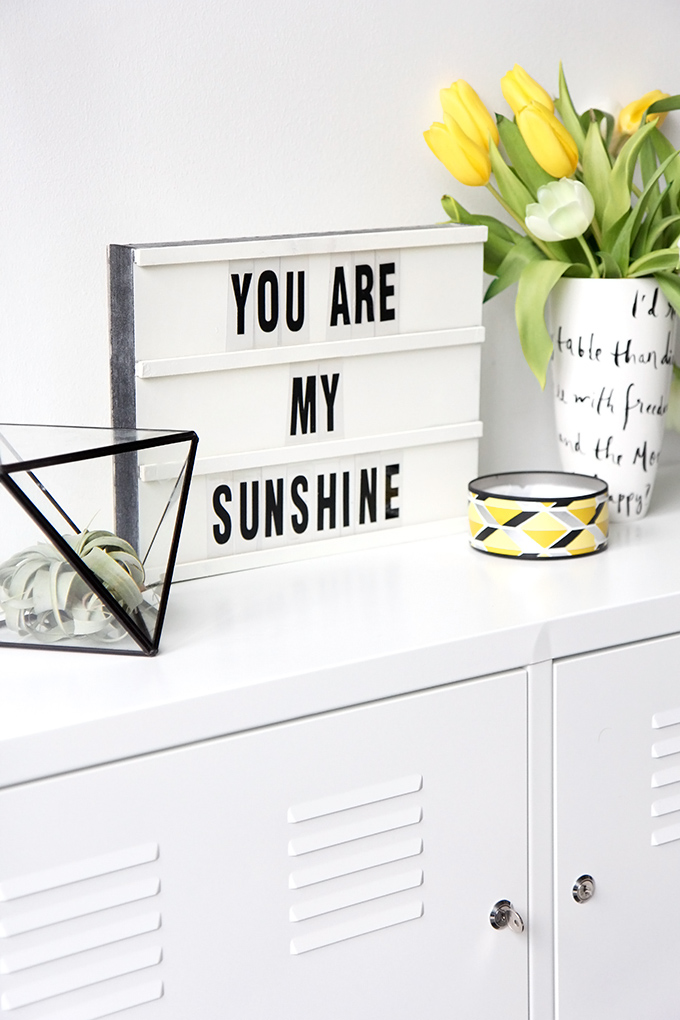
Ok, I am starting this off with a disclaimer: There was a learning curve with this project, and there are a few things I would do differently next time, and am planning on making another….BUT I promised I would show you the project today, and I had a fun time photographing a bunch of sayings around my apartment…so learn from my mistakes or just enjoy the messages! I think my next one is going to be even bigger, which is really where making your own saves you some big bucks. How lovely would it be to leave someone you love a little message to cheer them up?! Step and supplies after the break.

What you need & What to do:
2 White Translucent Acrylic sheets -I used 2 clear Plexiglass rectangles and spray painted them with frosted glass, but the acrylic sheets would work better and cut out the spray paint step.
Wood– For the frame I bought a pieces that are 2in wide and 1/8in thick, sprayed painted black, and cut it down to fit inside the perimeter of the plexi. Then I placed the plexiglass on a flat surface and glued the wood to the inside edge. Let dry. Then glue the second piece of plexiglass to the top. Let dry.
Note: I did not add a light to mine, but for the next one I am going to glue these to the inside of the frame, leaving the battery pack on the outside to be able to turn on and off.
Bass Wood – For the front slots I got bass wood from the craft store for the ledges. The key is to stack two pieces, one slightly smaller in width. Measure out where your ledges are going to be on the plexi, making sure your ledges are evenly spaced so the letters fit. Glue the smaller one to the top plexi, then the bigger one on top. Make sure it’s centered to create a ledge on the top and bottom for letter slots. Let dry.
Vinyl Letters – Stick the vinyl letters to transparency sheet, the cut out a rectangle around each letter so they will slide easily into each slot.
Create your message, and done!
EXPLORE MORE: Home DIY


Ohh,I love this and am totally going to have to make it! Thanks for sharing 🙂
Have a nice week,
Rosy ♥
i like this style!!!
http://www.facebook.come/chiaralosh1
http://www.instagram.com/loshgram
This is so cool, honestly. Great work, I would love to have one of these in my apartment!
https://www.makeandmess.com/
This board is so fun! What a great little DIY project 🙂
I love this so much, definitely want to try and make myself one! X
Love, Maia
http://www.maiacreed.com
very modern…nice job
Oh. I thought it would light up! Nice job with the framing, though – I’ll figure out how to do the rest!
Next one I make will light up, stay tuned 🙂
Very cool. This would make a neat “welcome visitors” sign for small offices too!
http://officemoversofflorida.com/
What a nice box. I will be making asap!!!!
How fun! I love it! Can’t wait to see your next project!
countryclassdiy.blogspot.com
This is such a fun project! It’s the perfect way to add a bit of cheer to a space. Thanks for sharing!
-Helen
http://www.sweethelengrace.com
Thanks for sharing, I’ve been waiting one of these but so tempted to try make my own, seems simple enough. =^-^=
Sam | Momentarily Dreaming
I like to know where you found glass & letter?
I made them!
That’s so pretty and creative!
http://www.lifewithalk.blogspot.com
Love this!! I’d also love to know where you got that black wire lattice that’s in the background of some of the shots–I’ve been on the hunt for one!
xx Hannah // http://www.HomemadeBanana.com
Look up Wall Grid on Amazon, tons of options!
Where did you find those bottles and how did you make them! I have a bar that is in need of some just like that 🙂
-Brittany
Found them on Etsy!
Loving the monochrome and pop of colour! Looks so simplistic and modern.
Sheena Sreekeessoon
http://afashionstudentsdiary.blogspot.co.uk/
Nice job, girl. Love the comments.