MY DIY | Dried Orange Ornaments & Garland
DIY PROJECT
Dried oranges are the hot holiday decor this year! So I thought I would give it a try because the plan is to not to buy any ornament from now on. One of my favorite things about our tree growing up, was all the homemade decorations, so I am starting the tradition this year to make a new ornament every Christmas at the Barnhouse, so the tree can be filled with memories!!
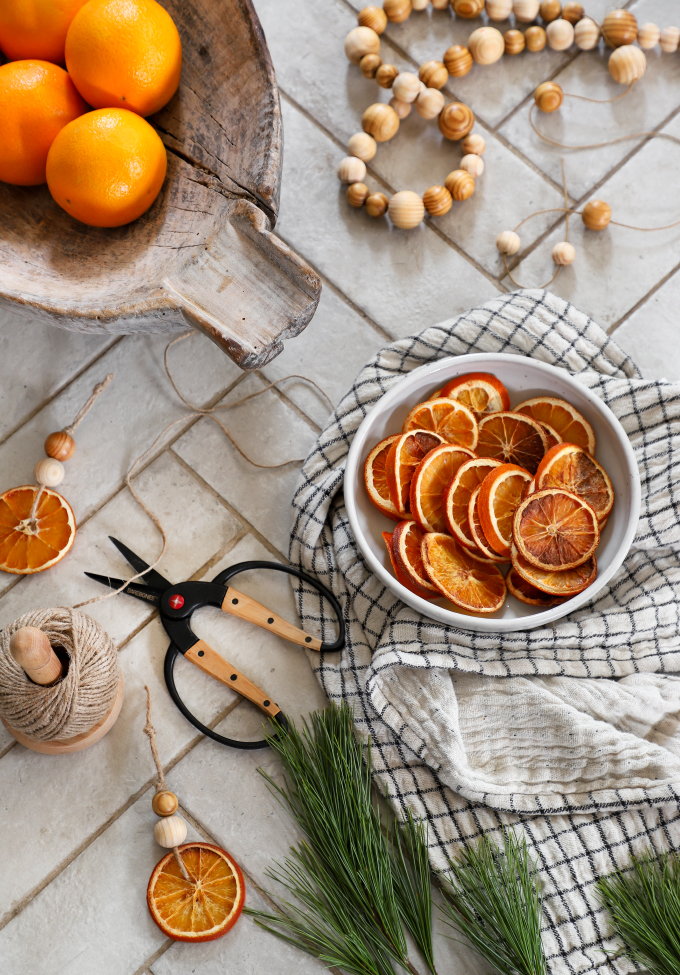
This year’s ornament was SUPER thrifty because I had leftover oranges from the Old Fashion cocktail bar at the hubs birthday, and the twine and wood beads were extra from last Christmas, so the cost was ZERO, score! I checked out tutorials from two of my favorite bloggers, A Daily Something and Francois Et Moi ,and tweaked them a bit to create the ornaments and garland!
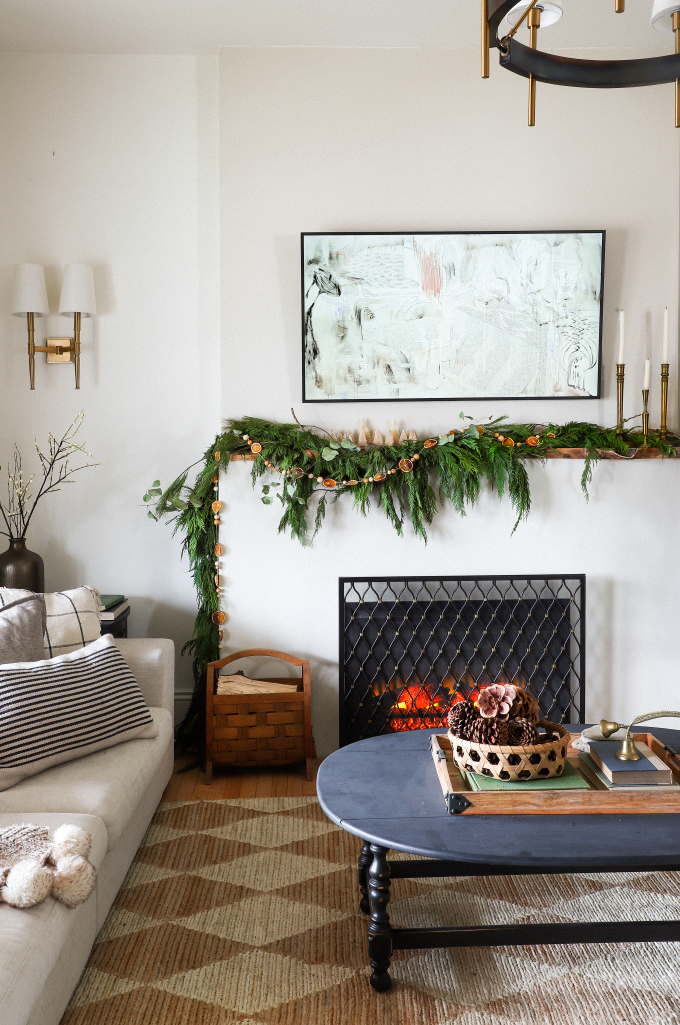
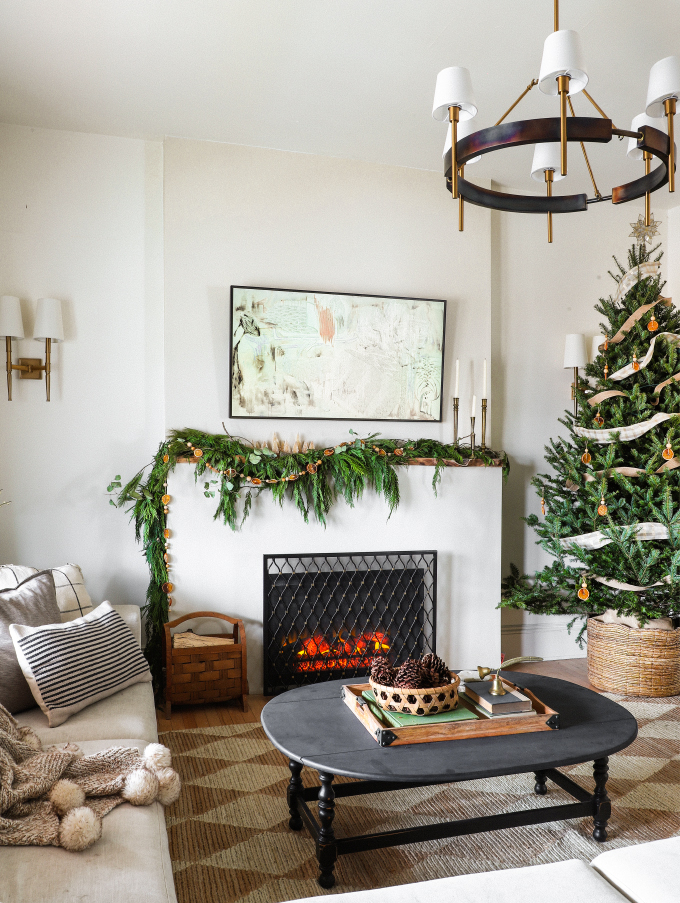 It was SO SIMPLE! All the steps are after the break, and I just love the pop of orange on the tree and mantle!
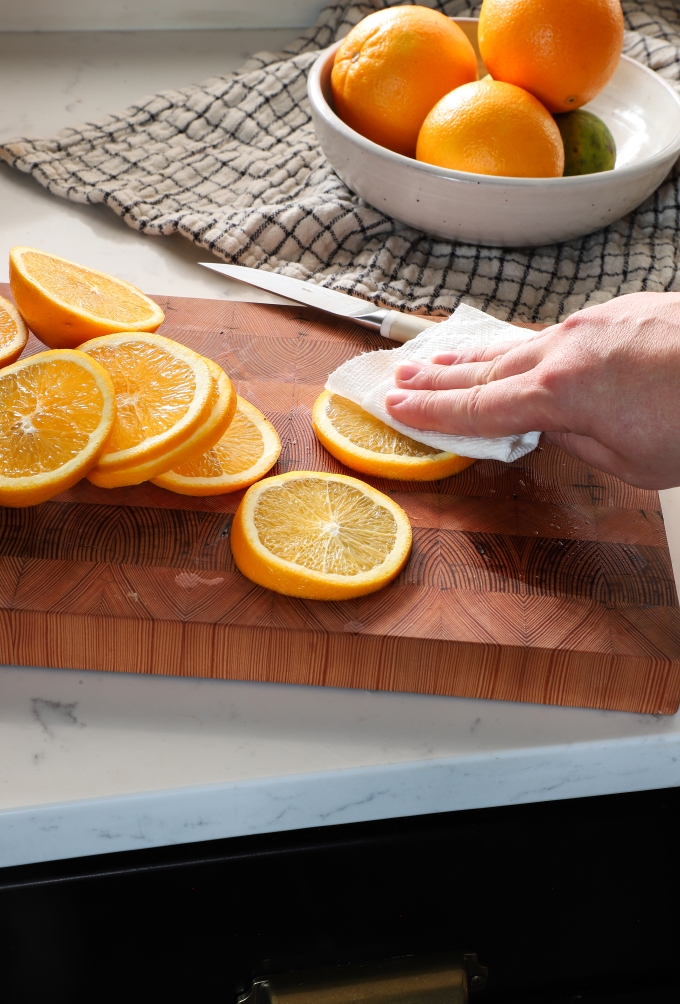
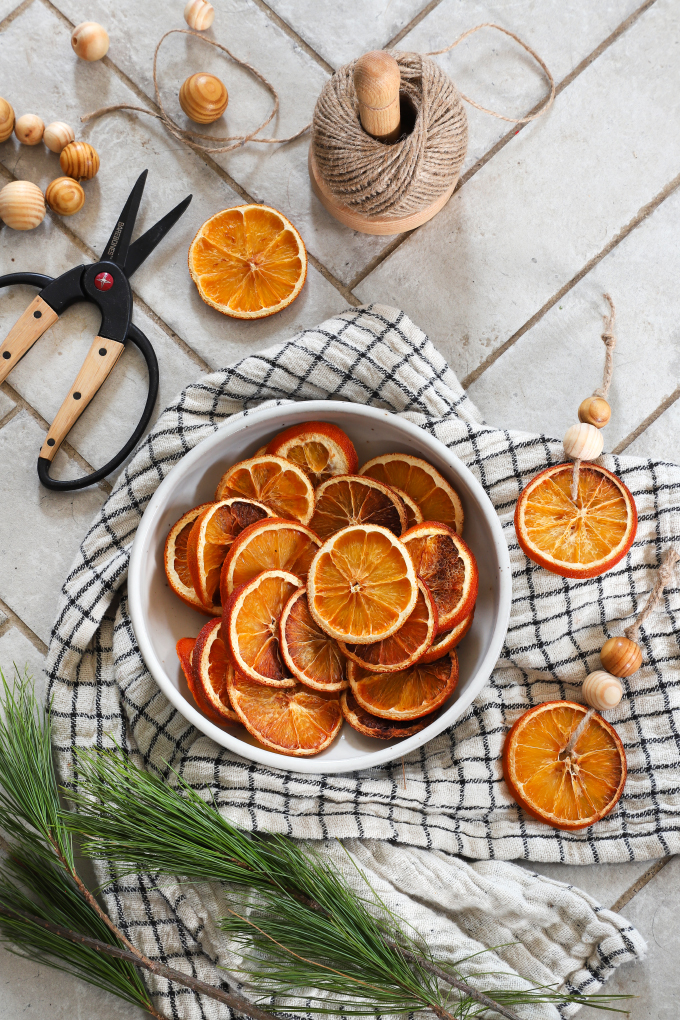
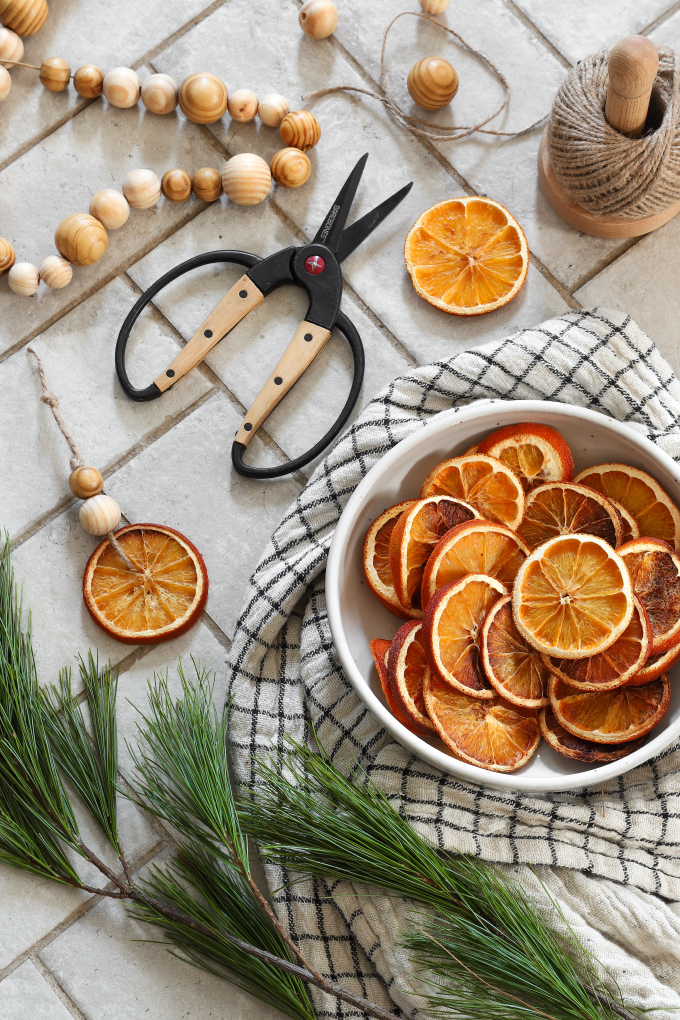
STEP 1: Cut the oranges in thin slices, about 1/4 in thick. I dried out everything including the ends. If you are making garland, the more you have the better!
STEP 2: Get as much moisture out of the orange slices as possible. I soaked up a lot of the juice with a paper towel and a rag. This helps them dry much faster. 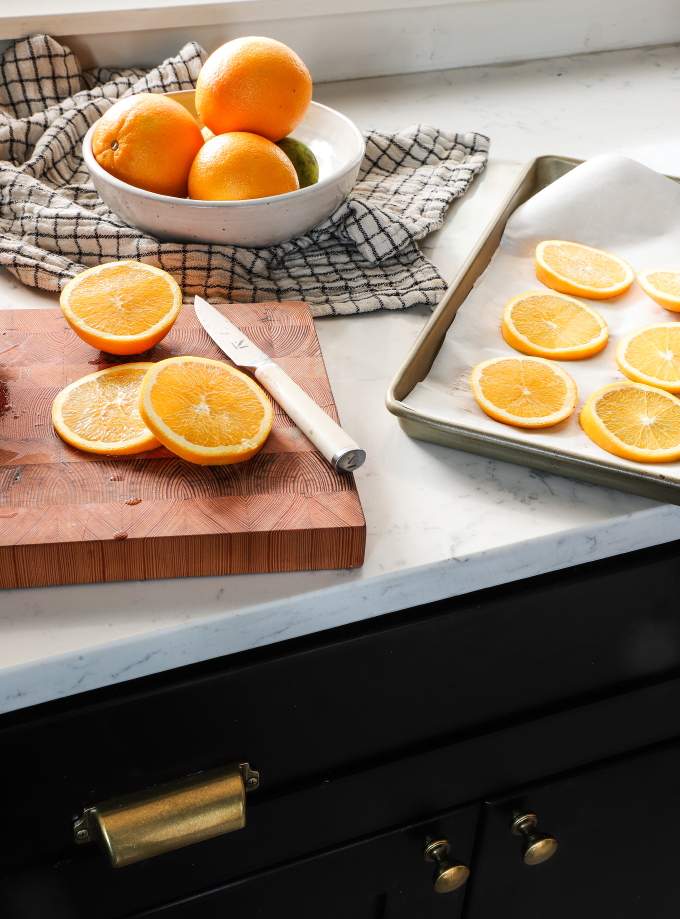
STEP 3: Once you pat out the moisture, place the slices on parchment paper on a baking sheet.
STEP 4: I try three batches, and I found what worked best was to heat my oven to 200 degrees, and bake on one side for 2 hours, then flip and bake for one more hour. Then keep checking on them each 30 min until they feel dry. If they are starting to brown but there is still a little moisture, take them out and let them sit overnight. Make sure they are completely dry before starting to create the ornaments and garland.
Note: Every tutorial I read had a different temp and time because oven cook times can differ, so make sure to check on them and find what works for you! I also found that mine on the lower rack starting burning sooner then the middle rack.
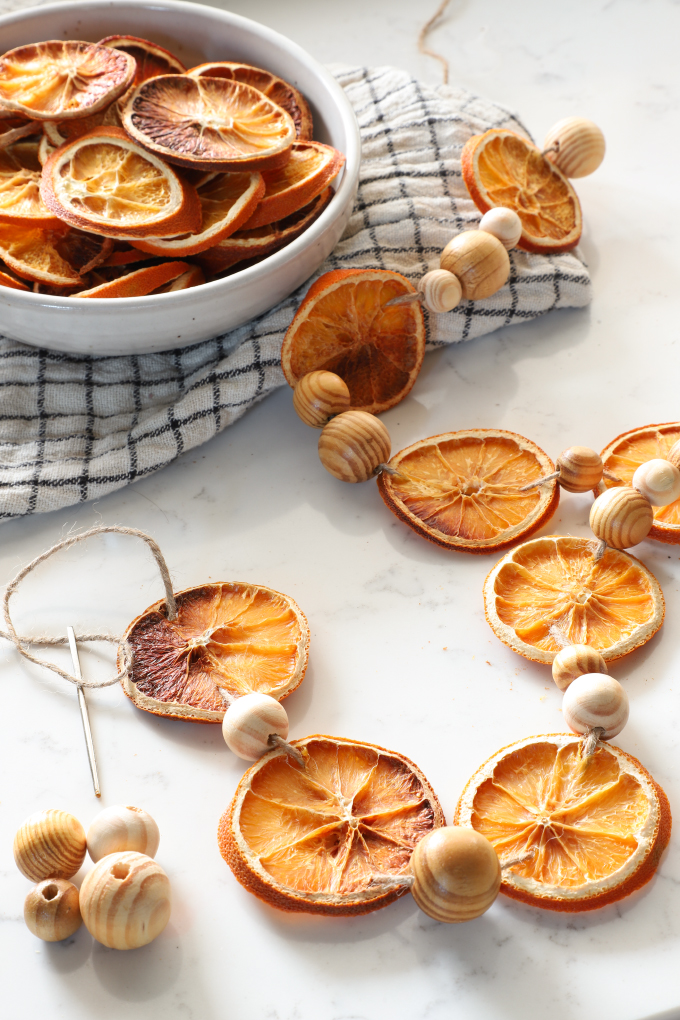
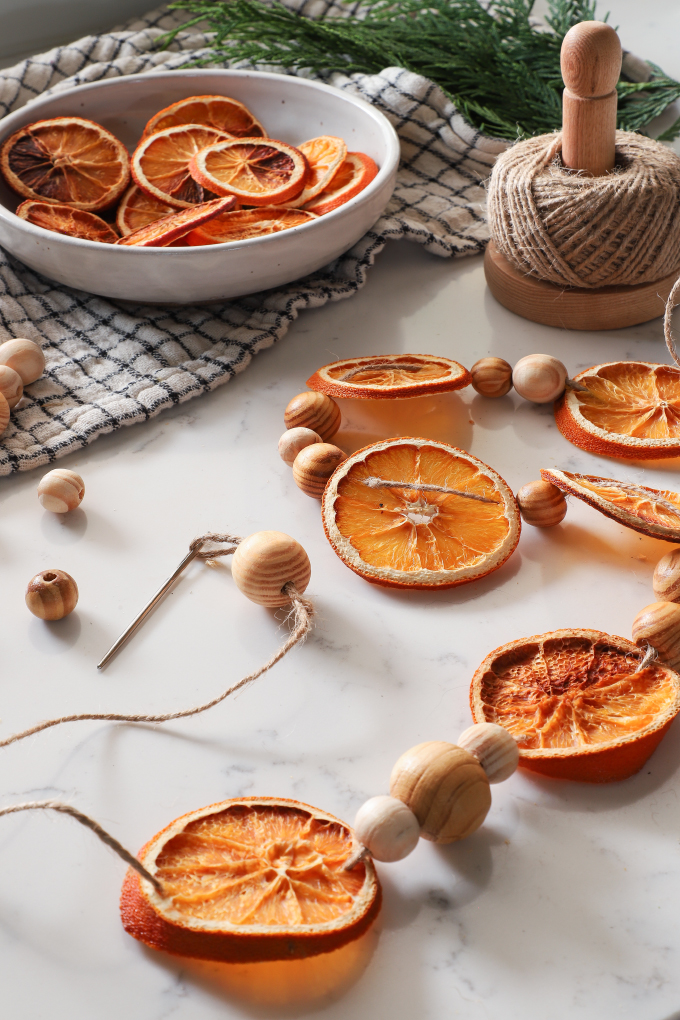
Get a large needle for your twine then string on the wood bead and the oranges to create the garland. I alternated between one orange, and 1-2 wood beads.
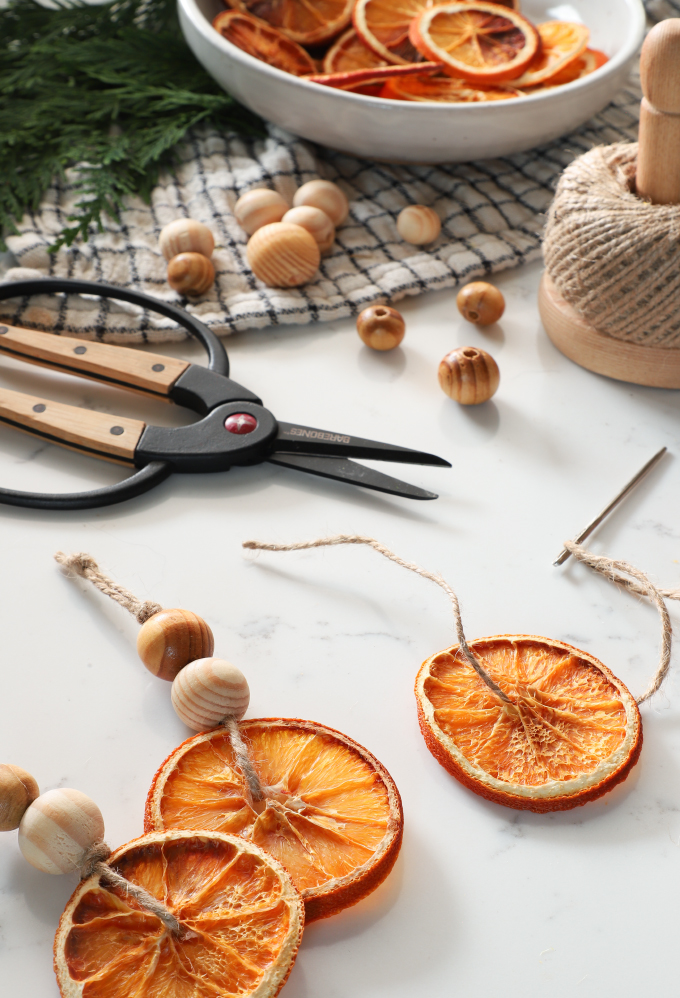
For the ornaments, thread the twine through the center of the dried orange, and knot the two pieces together. Then thread through two beads and knot again once at the top of the beads, and then an inch up to create a loop.
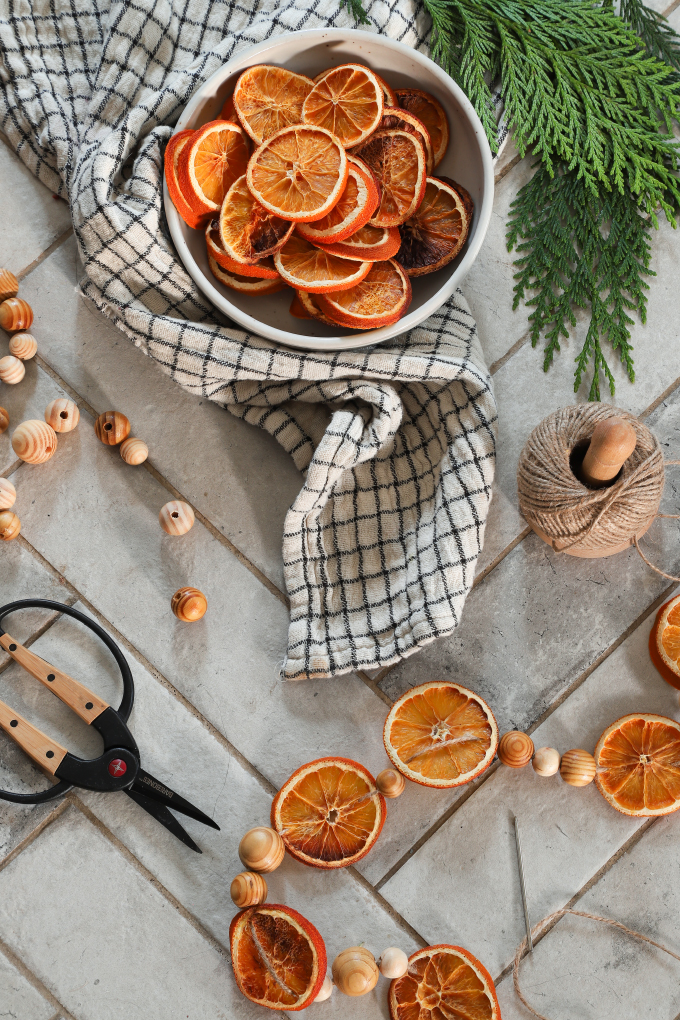
 One question I got a lot was “will they last longer than a year?” This is the first year I’ve made them, but as long as they are completely dry, they will last! If there is any moisture left they can mold, so it’s important they are dry!
EXPLORE MORE: DIY PROJECT


I’ve been wanting to make one of these for ages! I need to try this asap!
Paige
http://thehappyflammily.com
Your post is perfect timing for me. Last year I dehydrated orange slices and then ran out of time to make a garland. Today I took the box off the shelf and sat down at the computer to browse for good ideas, and lo, there was this post in my feed. The oranges will last perfectly if you fully dehydrate them.
Such a cute DIY!
https://www.thoughtsinstyle.com/
Such a nice DIY
Arrange slices on a microwave safe plate/dish, none overlapping. Put your microwave to 50% power or defrost and leave your slices in for 7 minutes at first. They should be still slightly flexible, not crispy, but not juicy. If not, put them in again for another 2-4 minutes and repeat until satisfactorily dry.