MY DIY | Colorblock Sunny Succulent Garden
DIY PROJECT, Home DIY
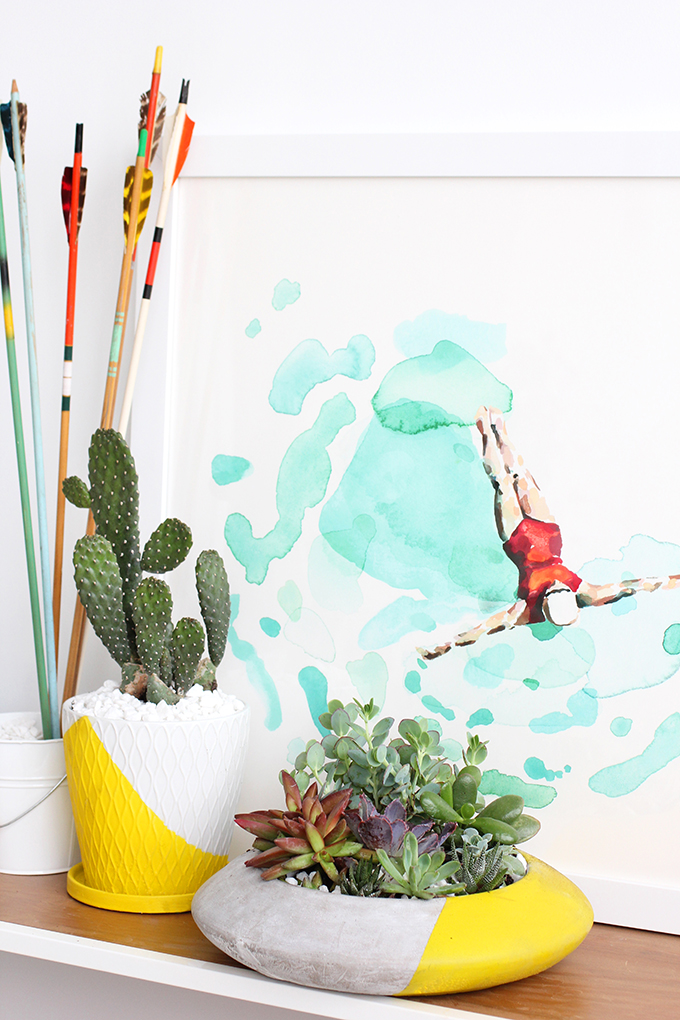
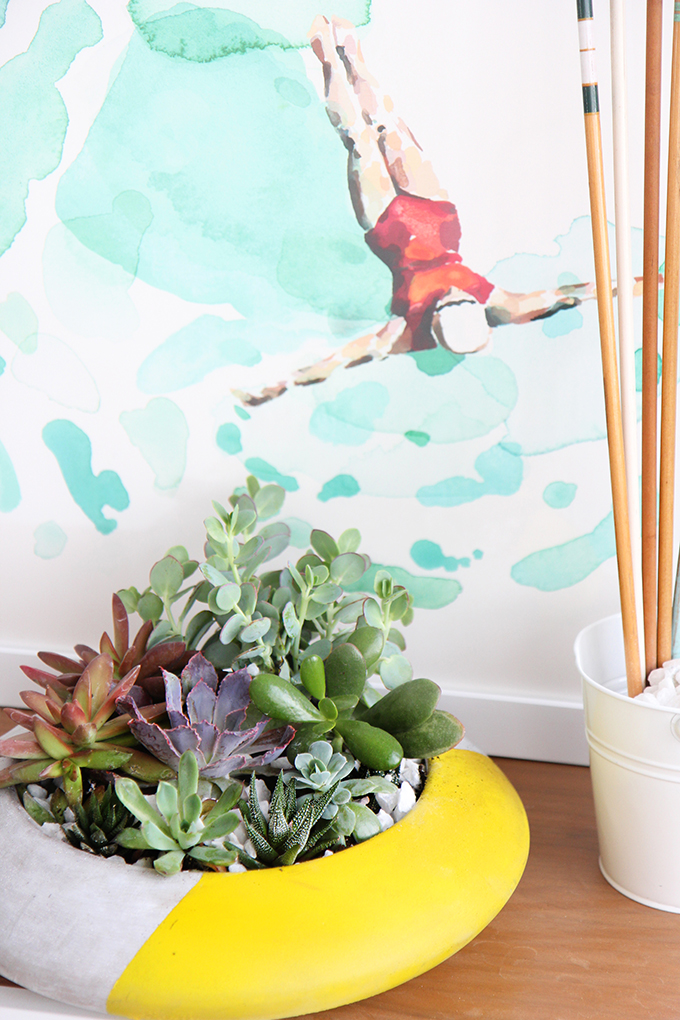
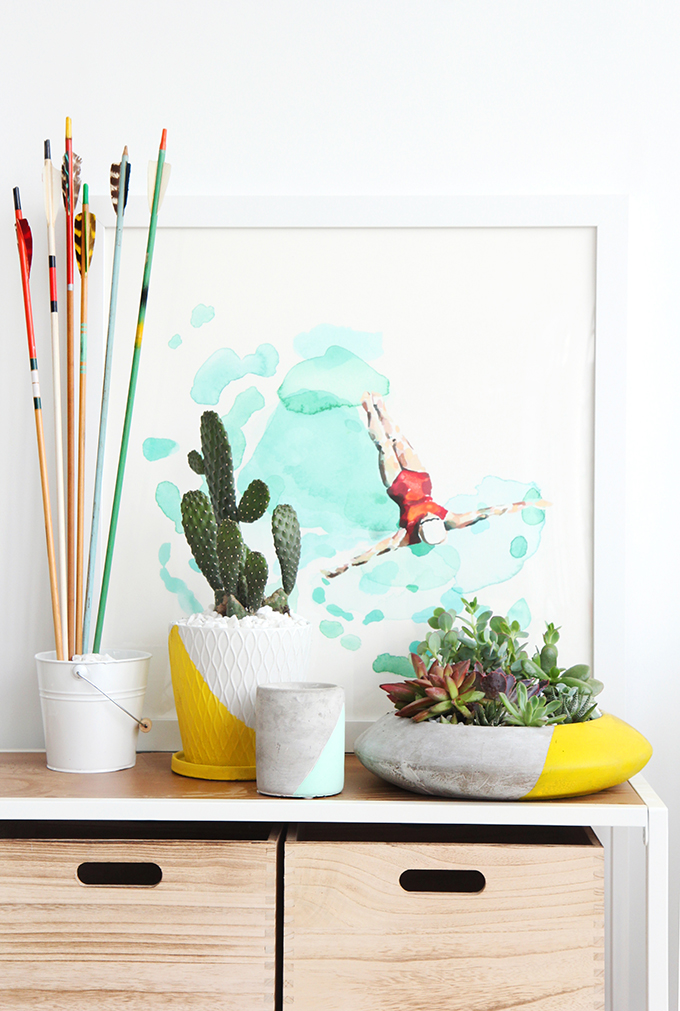
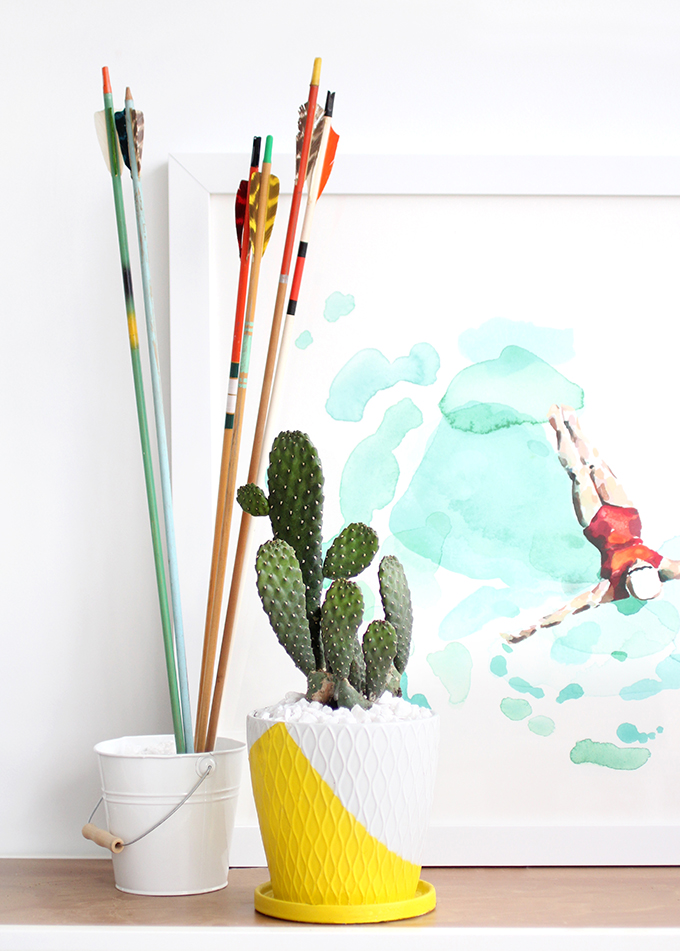
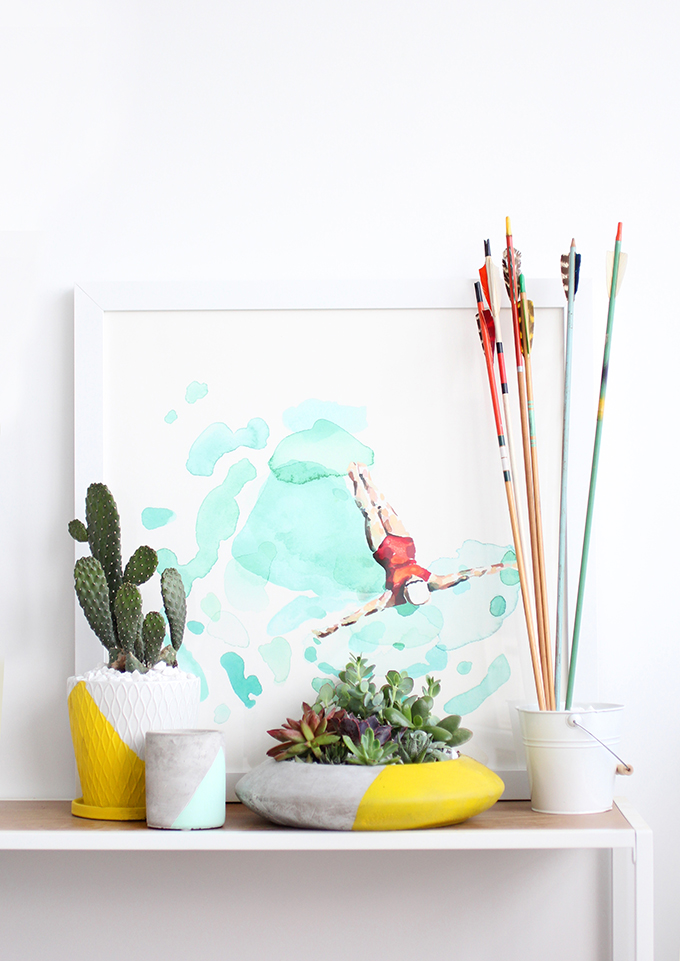
I have been on a bit of a plant buying extravaganza! My studio doesn’t have any outdoor space, so adding plants brings the outdoors in. They bring so much life to the studio, and are really helping to fill out the space New plants means I need places to put all of them, and instead of buying crazy expensive pots, I decided to give a few inexpensive ones a colorful makeover. If you are anything like me, each year you have a new color scheme, so I was beyond excited to try out Krylon®’s Spray ‘n Peel paint. No joke, you can spray all you pots one color this year, then easily peel off the paint to create a new color palette next year. Crazy right? And it works. I have been trying it on a bunch of different surfaces, and am super impressed with the coverage. It’s the perfect spray paint for the indecisive mind! Since you know I love my pops of yellow, I had to add some sunny accents to my pots before planting my succulent garden. If you do have outdoor space, these pots are the perfect addition to add color to your patio or backyard. Get all the steps for making your own after the break…
What you need:
Planter (Spray ‘n Peel works great on plastics, metal, glass, sealed wood and more)
Krylon® Spray ‘n Peel in Matte Sun Ray (coming soon to an Ace Hardware near you!)
Succulents
Succulent soil
Pebbles
Painter tape
What to do:
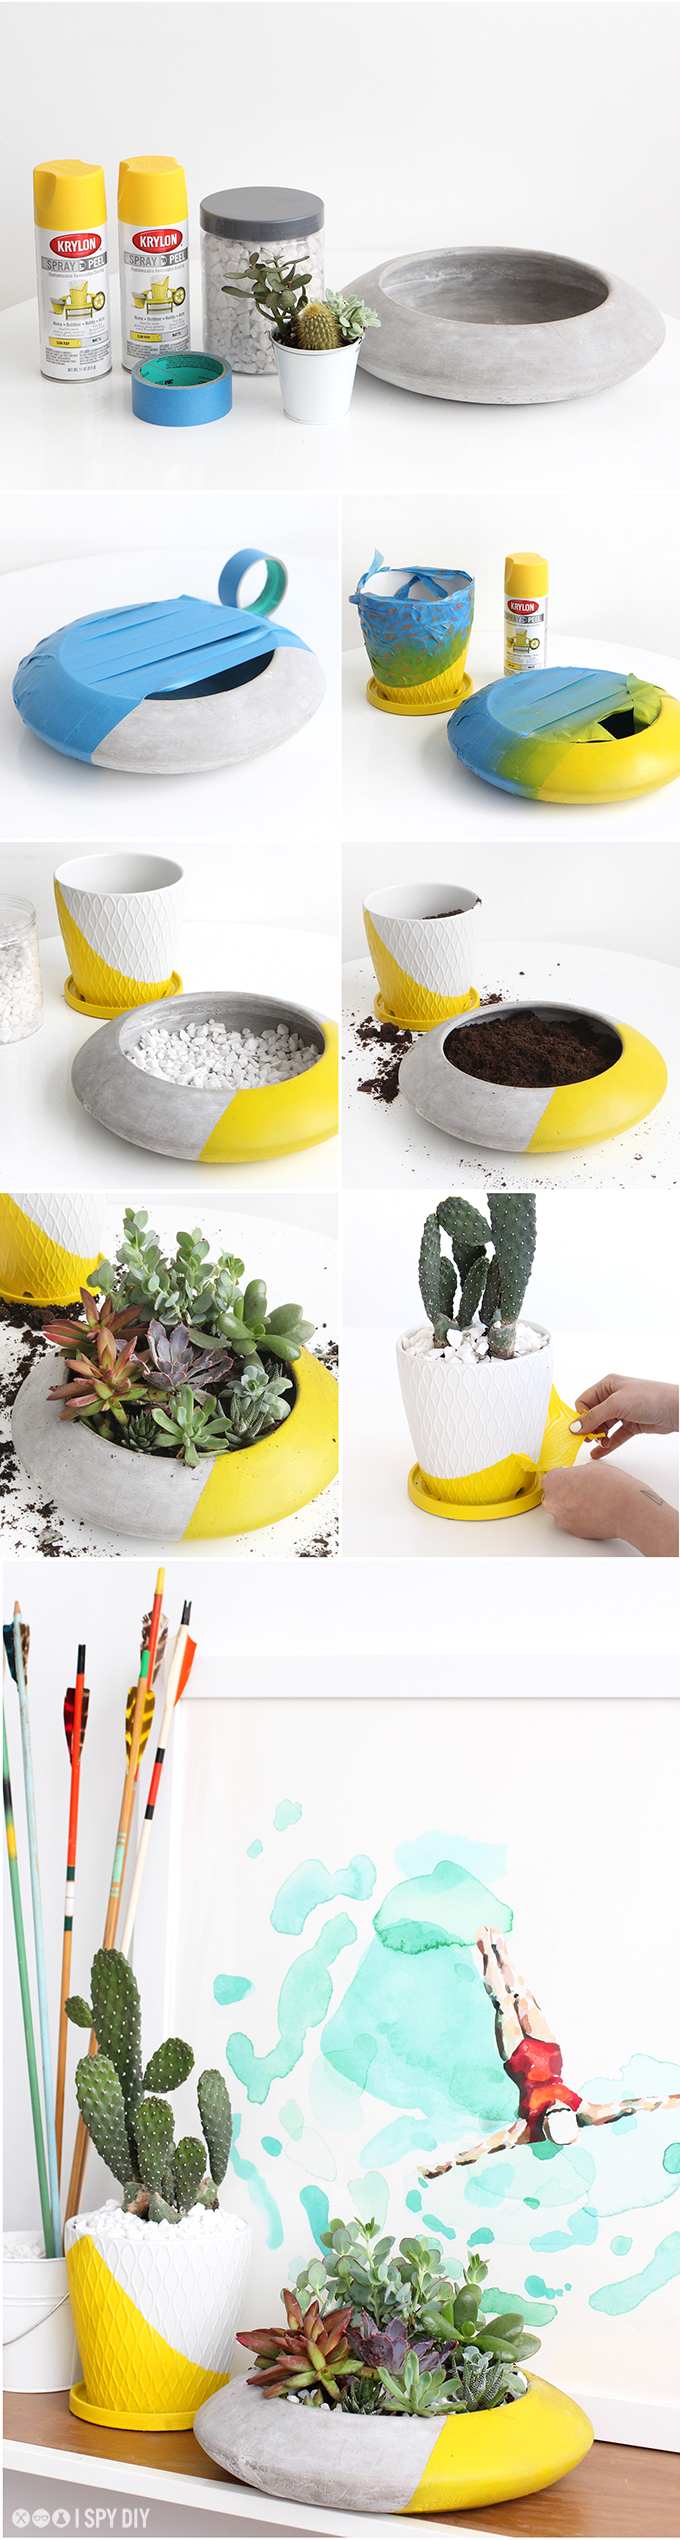
First add a little color to your pots:
Using the painter’s tape, cover the area that you do not want yellow. Make sure your tape has a tight seal to create a crisp line.
Following the directions on the can, spray the area not covered with tape. Repeat spraying multiple layers until the coverage is consistent.
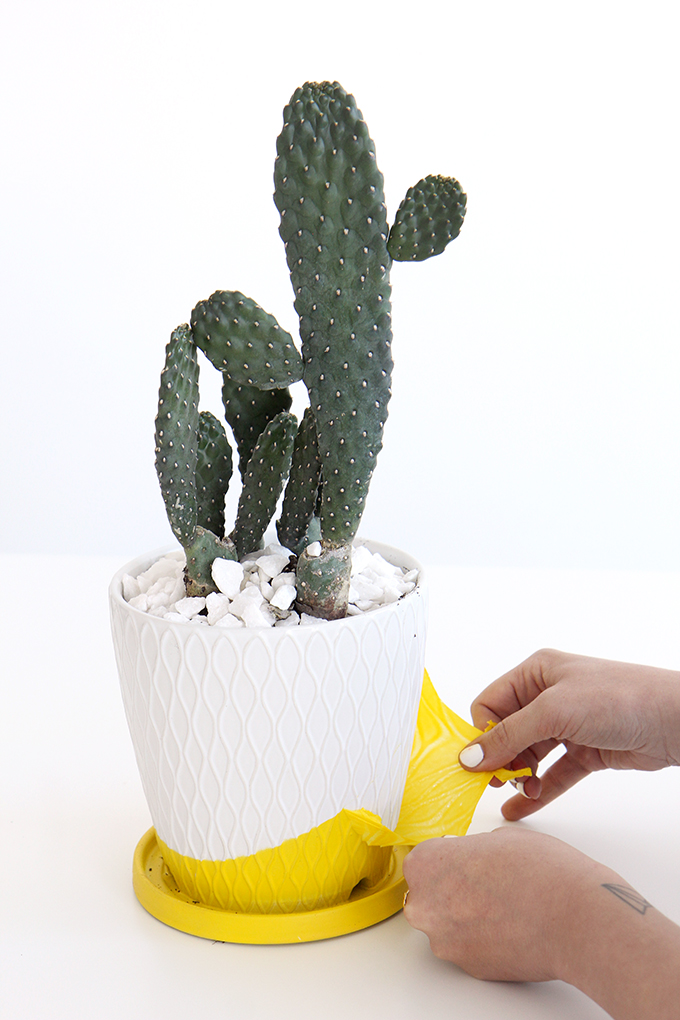
Let dry for an hour and then peel off the tape.
—
Now, time to create your succulent garden:
First, add rocks to the bottom of your container.
Then, add a layer of succulent soil.
Break up the roots of your succulents, and plant in the soil, so the roots are in the rocks (they like their roots dry!)
Once all your succulents are in place, fill in with soil, then add more pebbles on top.
Done!
EXPLORE MORE: DIY PROJECT, Home DIY


This looks like such an easy weekend project anyone could do! I personally prefer succulents over potted flowers, as I have an accidental tendency to forget about watering them, haha. So chic and cute 🙂
http://wanderlustgirl-kb.blogspot.ca
The yellow colour details are wonderful, a perfect contrast to the planters’ material!
https://www.makeandmess.com/
What? O gosh! How cool is this! I love it so so so much! The final results is great and it´s so good that you can actually take the color of, so, if you want to change it, you can totally do it!
Aria
https://pandaonavespa.wordpress.com/welcome/
What a great idea! Sophie x
https://stylestarsandsparkle.blogspot.co.uk/
Love these so much!
xo Jessica
My Style Vita
Cute idea. I love the idea of succulents and I’ve been toying with the idea of starting my own because stores are very overpriced. This is a good start. Thanks for sharing!
http://thequirklife.com/
What a great idea. I love plants so that works for me.
This looks nice! I’m definitely going to do this x
http://jessicawoods.fr/blog/
Wow! So creative, I love it <3
therenalexis.blogspot.com
I love the bright pop of yellow! I really love the art print behind the planters. Would you mind telling me where it came from?
It’s from Minted 🙂
Love this idea!
http://www.bluelabelsboutique.com
http://www.fashionnotfear.wordpress.com
It’s Monday morning and raining. I need to go out and buy some plants.