Milk Paint vs Chalk Painted Dresser
DIY PROJECT
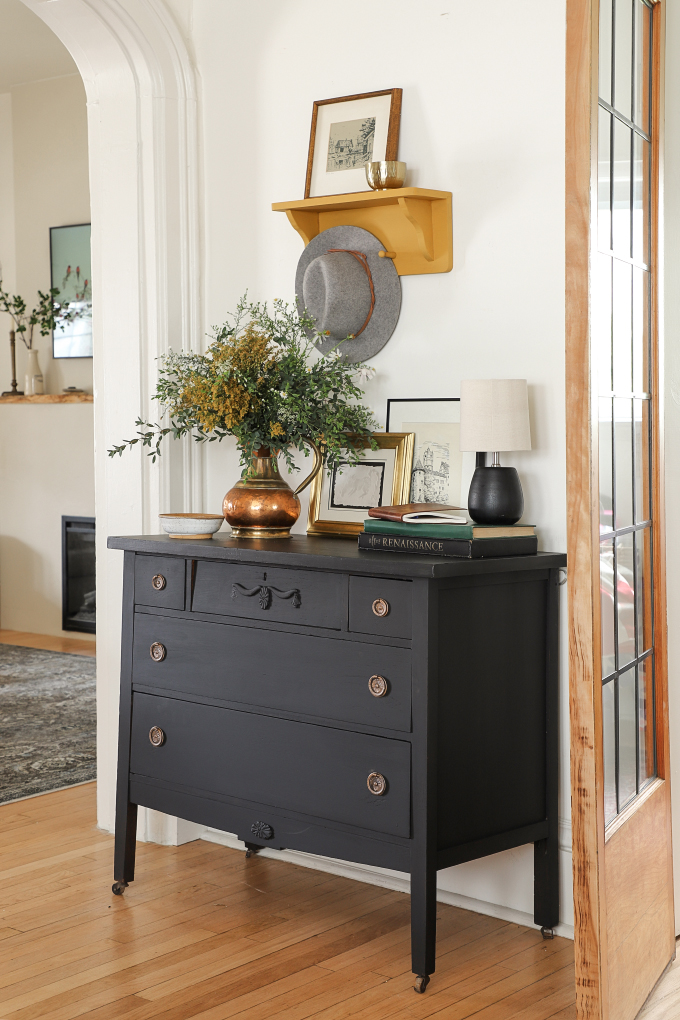
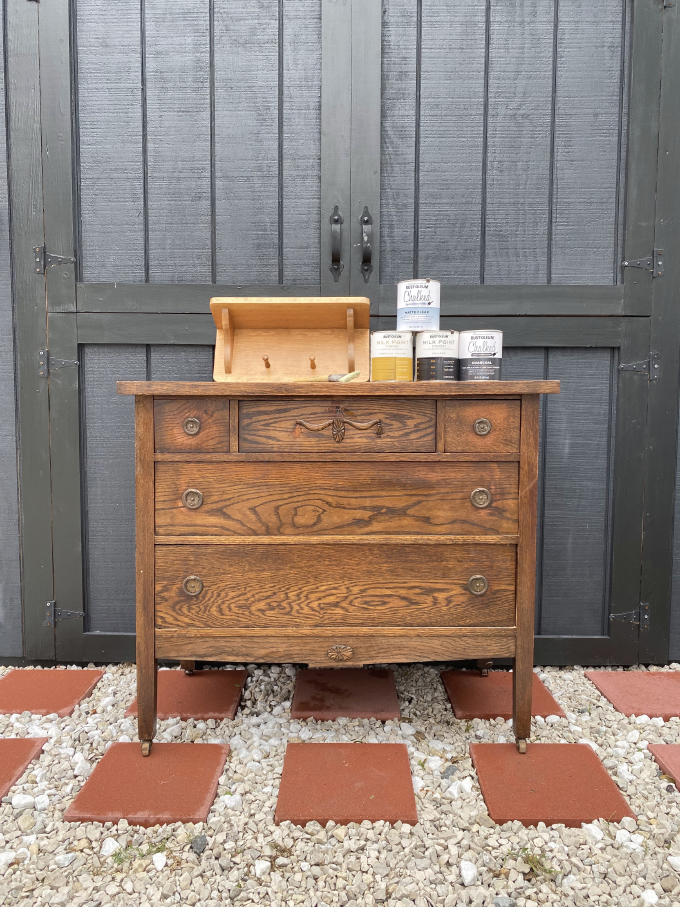
One of the projects we did for the Restaurant Refresh was a new host stand. I had been looking for the perfect vintage dresser for awhile, and finally found one with the EXACT dimensions I needed. For $15! It just needed a little TLC, and a new coat of paint to fit in at the restaurant.
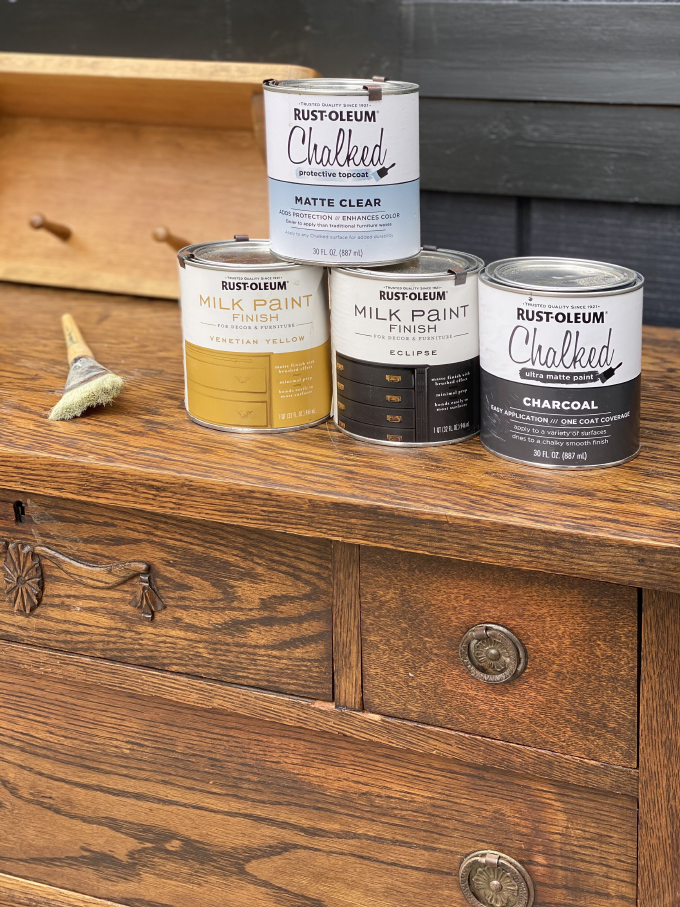
I have used Chalk Paint a few times, but when I saw Rust-Oleum had a Milk Paint, I wanted to try them both out to see the difference. I thought some of you may have the same question, so let’s break it down!
If you are looking for a video of the testing and painting process, check out the ‘Milk/Chalk Paint” Highlight on @ISPYDIY Instagram!
Milk Paint
When testing the Rust-Oleum Milk Paint (left). I found that one coat is more transparent than the Chalk Paint (right). And it has a more textured brushed effect. If you had a piece with a great grain that you wanted to peek through the paint, Milk paint would be your best choice. You can definitely build up coats, and two will give a semi-opaque finish. With two coats of paint the finish looks matte.

Chalk Paint
Chalk paint gives a more velvety, smooth finish. And it’s very matte. If you are going for full coverage, you will get there with one coat. It hides ALL the grain, and any imperfections on a wood surface.
Rust-Oleum has a great comparison chart here!
What surfaces can you apply Chalk and Milk Paint?
I have only painted wood with these paints, but it also works on glass, ceramic, metal, and laminate!
Prep
You do not need to sand or prime before painting, unless it’s a high gloss or lacquer surface. In that case, lightly sand and use a shellac base primer, like Zinsser® Cover-Stain, to stick to the glossy surface before painting!
Painting the Dresser
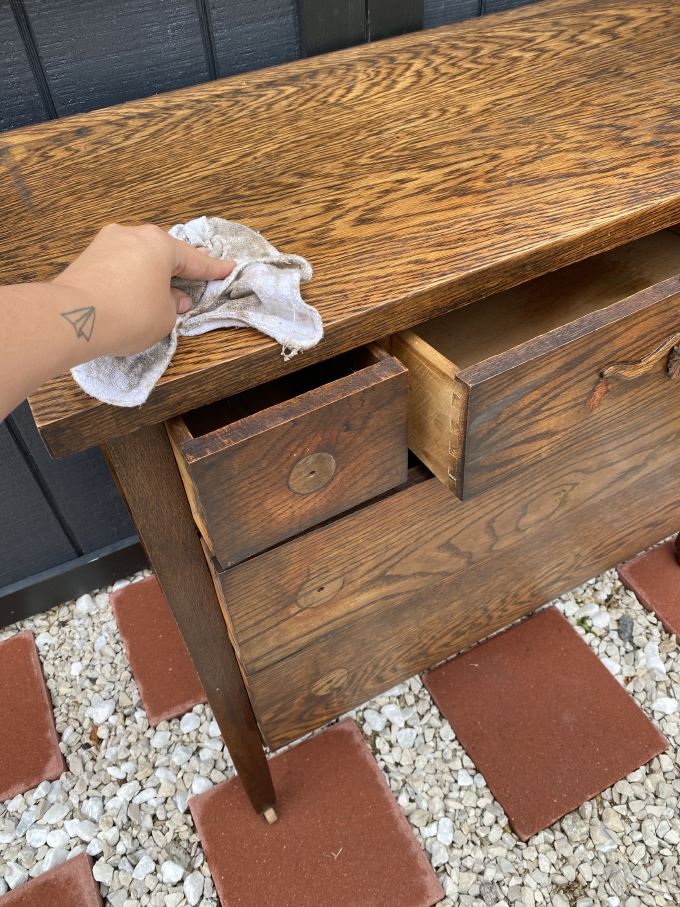
Since the surface was not glossy, I did not have to do much prep before painting. I removed the handles, then wiped it down with TSP (or a TSP Substitute), to degreases the surface. Thrift store finds can have some grit on them, so this just cleans the wood in in preparation for paint. After cleaning with TSP, wipe down with a damp rag.
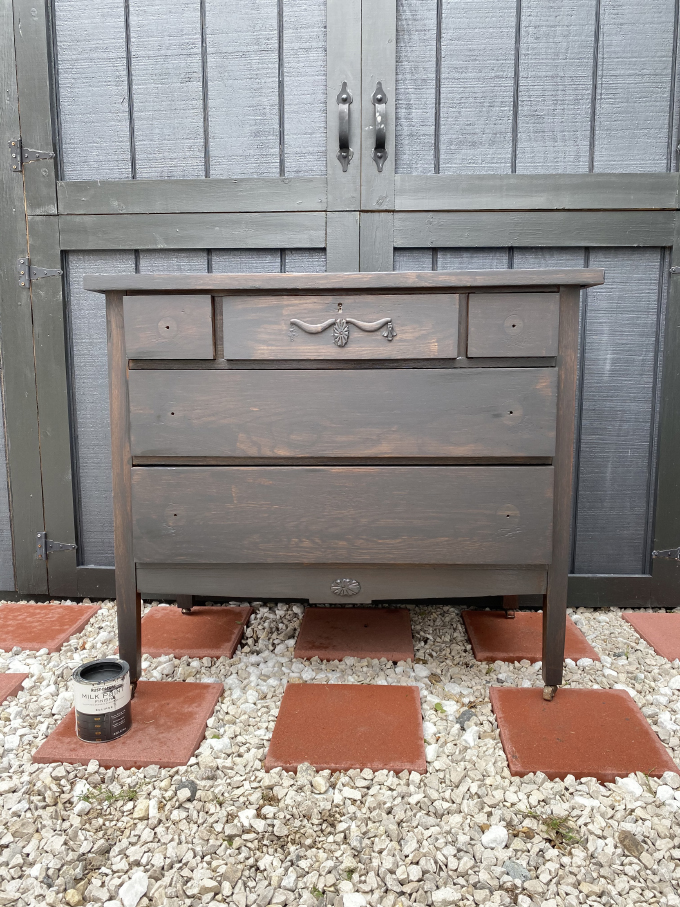
I decided to go with Milk paint, because I initially thought I wanted to see some of the grain. But as you will see, I ended up doing two coats, which gave it a more opaque finish. Not quite as opaque at the Chalk Paint, but most of the grain was covered up.
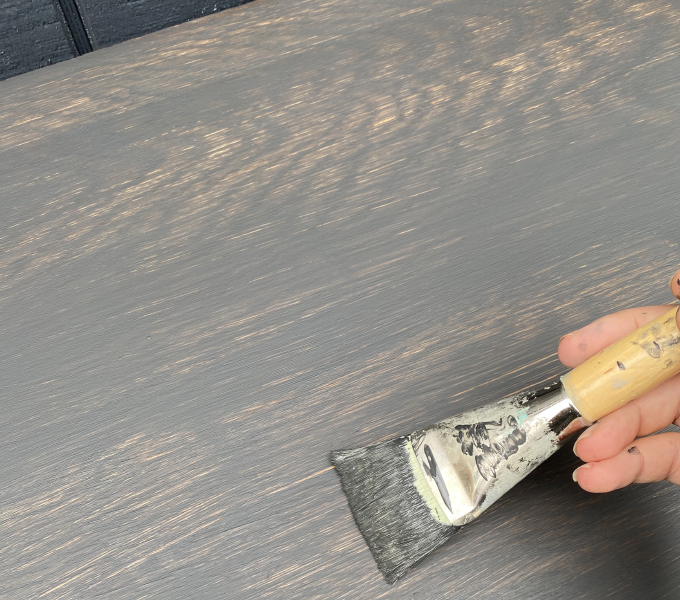
When brushing on the paint, I made sure to do long strokes across the entire top so there were not start and stop marks. Also, don’t overwork the paint by continually brushing it, stick with smooth single coats, let dry, then add another coat if desired.
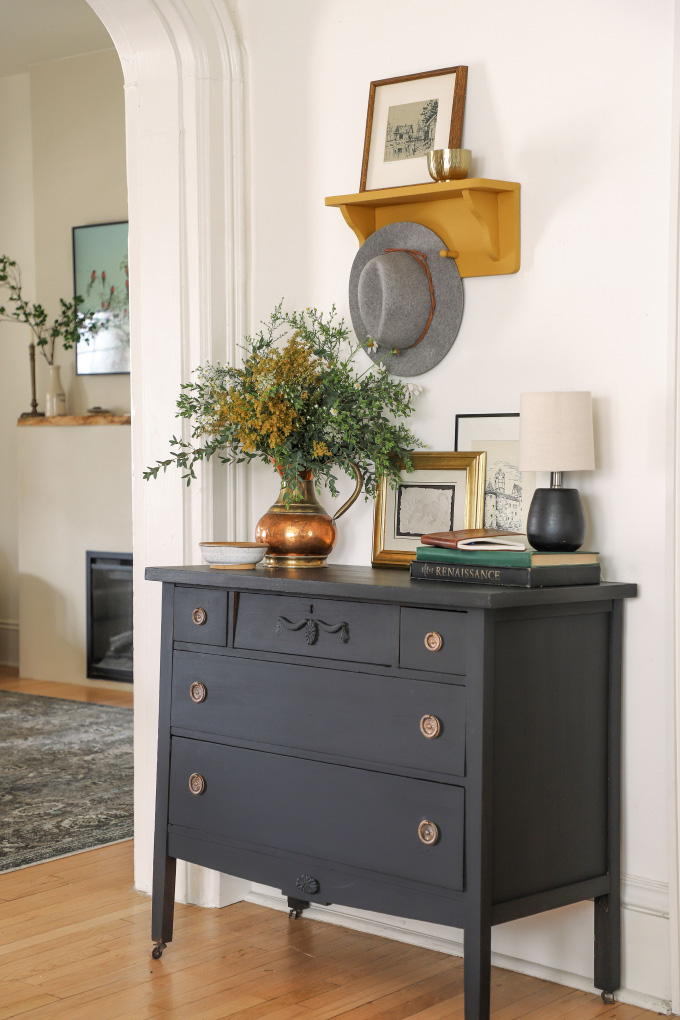
Since I had to paint around the decorative details on the front, I did not get the consistent paint look I was looking for, so I painted a second coat. And I think I would have gotten a more consistent look on the drawer fronts if I would have taken them out of the dresser and focused on a continual stroke from one side to the other. White-washing with Milk Paint would be SO pretty if you wanted the grain to shine through!
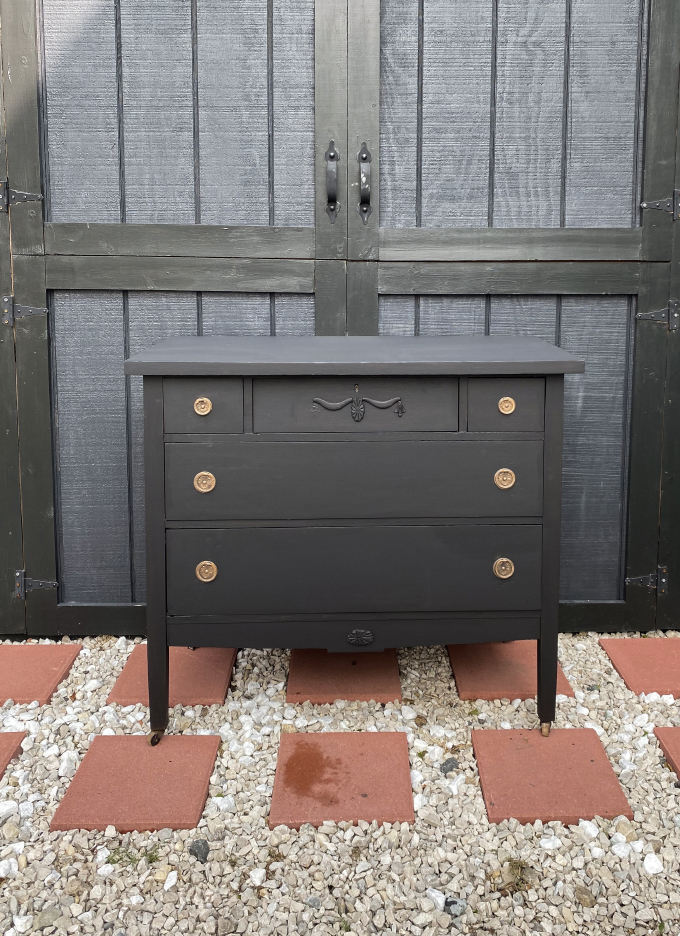
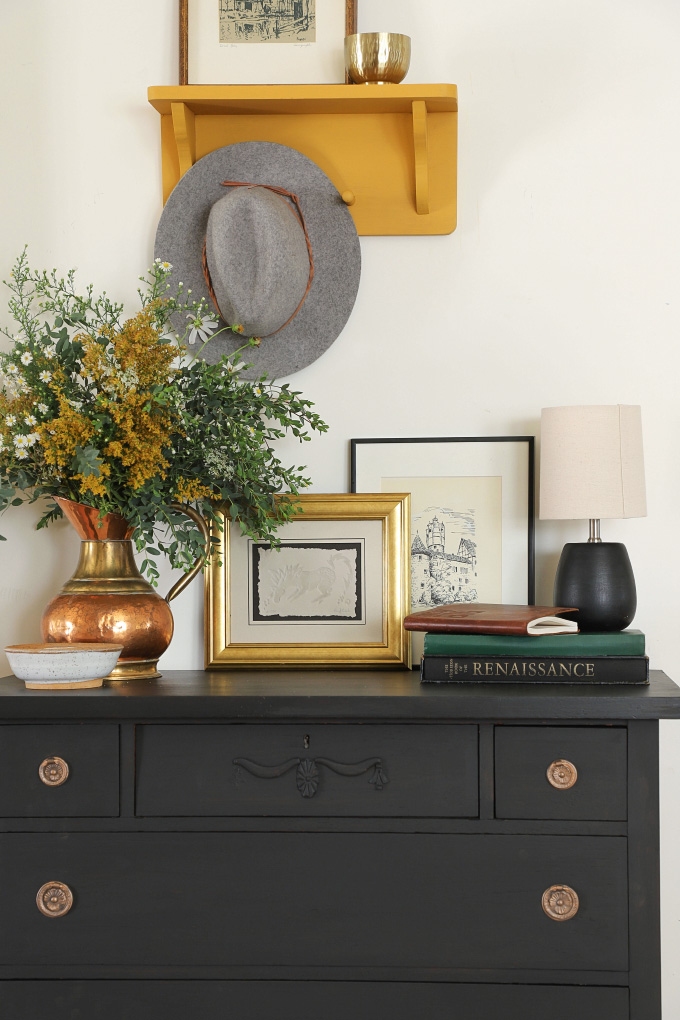
Second coat done! I love that you can see the brush strokes, it looks hand painted! I used Rub ‘n Buff on the handles to shine up the gold!
Top Coat
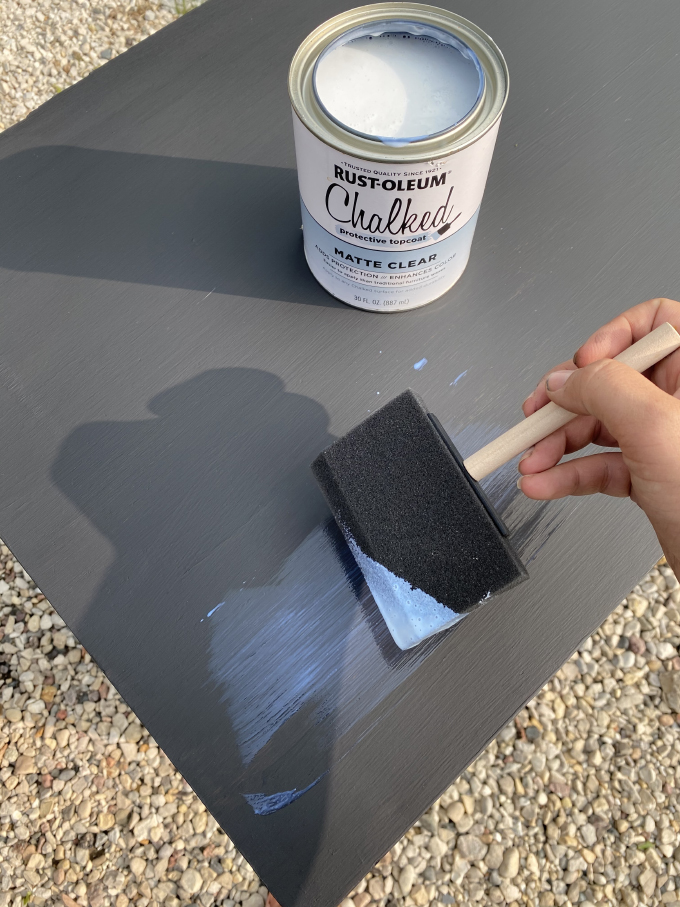
Whenever I use chalk paint I get a bunch of questions about top coats. For me, it depends on the project. I LOVE a super matte chalky finish, so if there is not going to be any drinking glasses set on the piece I skip the top coat. If you are painting something where drinking glasses will be set on, there is a good chance the water rings will leave marks and you should use a top coat. Rust-Oleum makes Ultra Matte Interior Chalked Clear Topcoat that is really good! I painted it just on the top of the Milk paint dresser, and noticed the slightest difference in color. I made sure to go right to the edge of the top so it would not be noticeable, and now it is protected!
Shelf

I wanted to try out the stunning Venetian Yellow Milk Paint, so I painted two coats on this little shelf I thrifted!
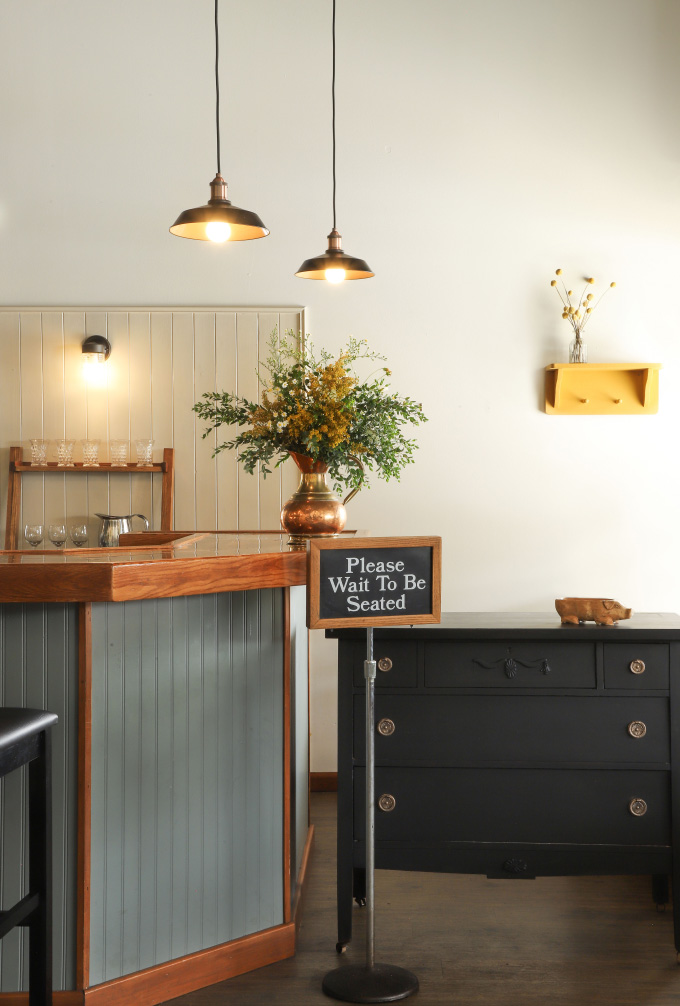
Here they both are in the Restaurant Refresh! Let me know if you have any other questions!
EXPLORE MORE: DIY PROJECT


What color rub n buff did you use on the hardware? I have some old brass(?) copper (?) not sure, hardware on my doors I’d like to spruce up a bit and was wondering if tub n buff would be the ticket. Thanks!
Beautiful projects! I’ve used Miss Mustard Seed milk paint that cones in the powder and you mix with water. How does this compare? Where is it sold?
Thanks
Looks great!!! Thank you for all the info. I have been wanting to paint my nightstands and dresser for awhile now and you have given me all the info I was looking for! Thank you!!!
It looks great. You have the right touch.
It looks awesome! I love it!
I would love to try this painting technique on my mother’s old dresser. However, my daughter painted it. Will I have to strip the dresser of paint before proceeding? (I’m new to DIY projects!) Thanks!
I’m sorry, maybe you would call me a purist. But after cleaning the chest of drawers to turn out a beautiful grained antique, why would you paint it and completely ruin a piece I’d pay $200. – 300. for.
It looks so pretty!
https://www.thoughtsinstyle.com/
I real happy to find this website on bing, just what I was searching for : D as well bookmarked.