Loft Bathroom (with Wet Room) Reveal!
Before & After, Room Makeovers, The Loft

The Loft Bathroom is finally done! This makeover definitely took awhile, but it was SO worth it! It feels like you are walking into a spa. This was our first time tackling a wet room, and when I posted the reveal reel on IG, you all had questions on how we did it. So lets start from the beginning…

Stumped and Seeking Inspiration
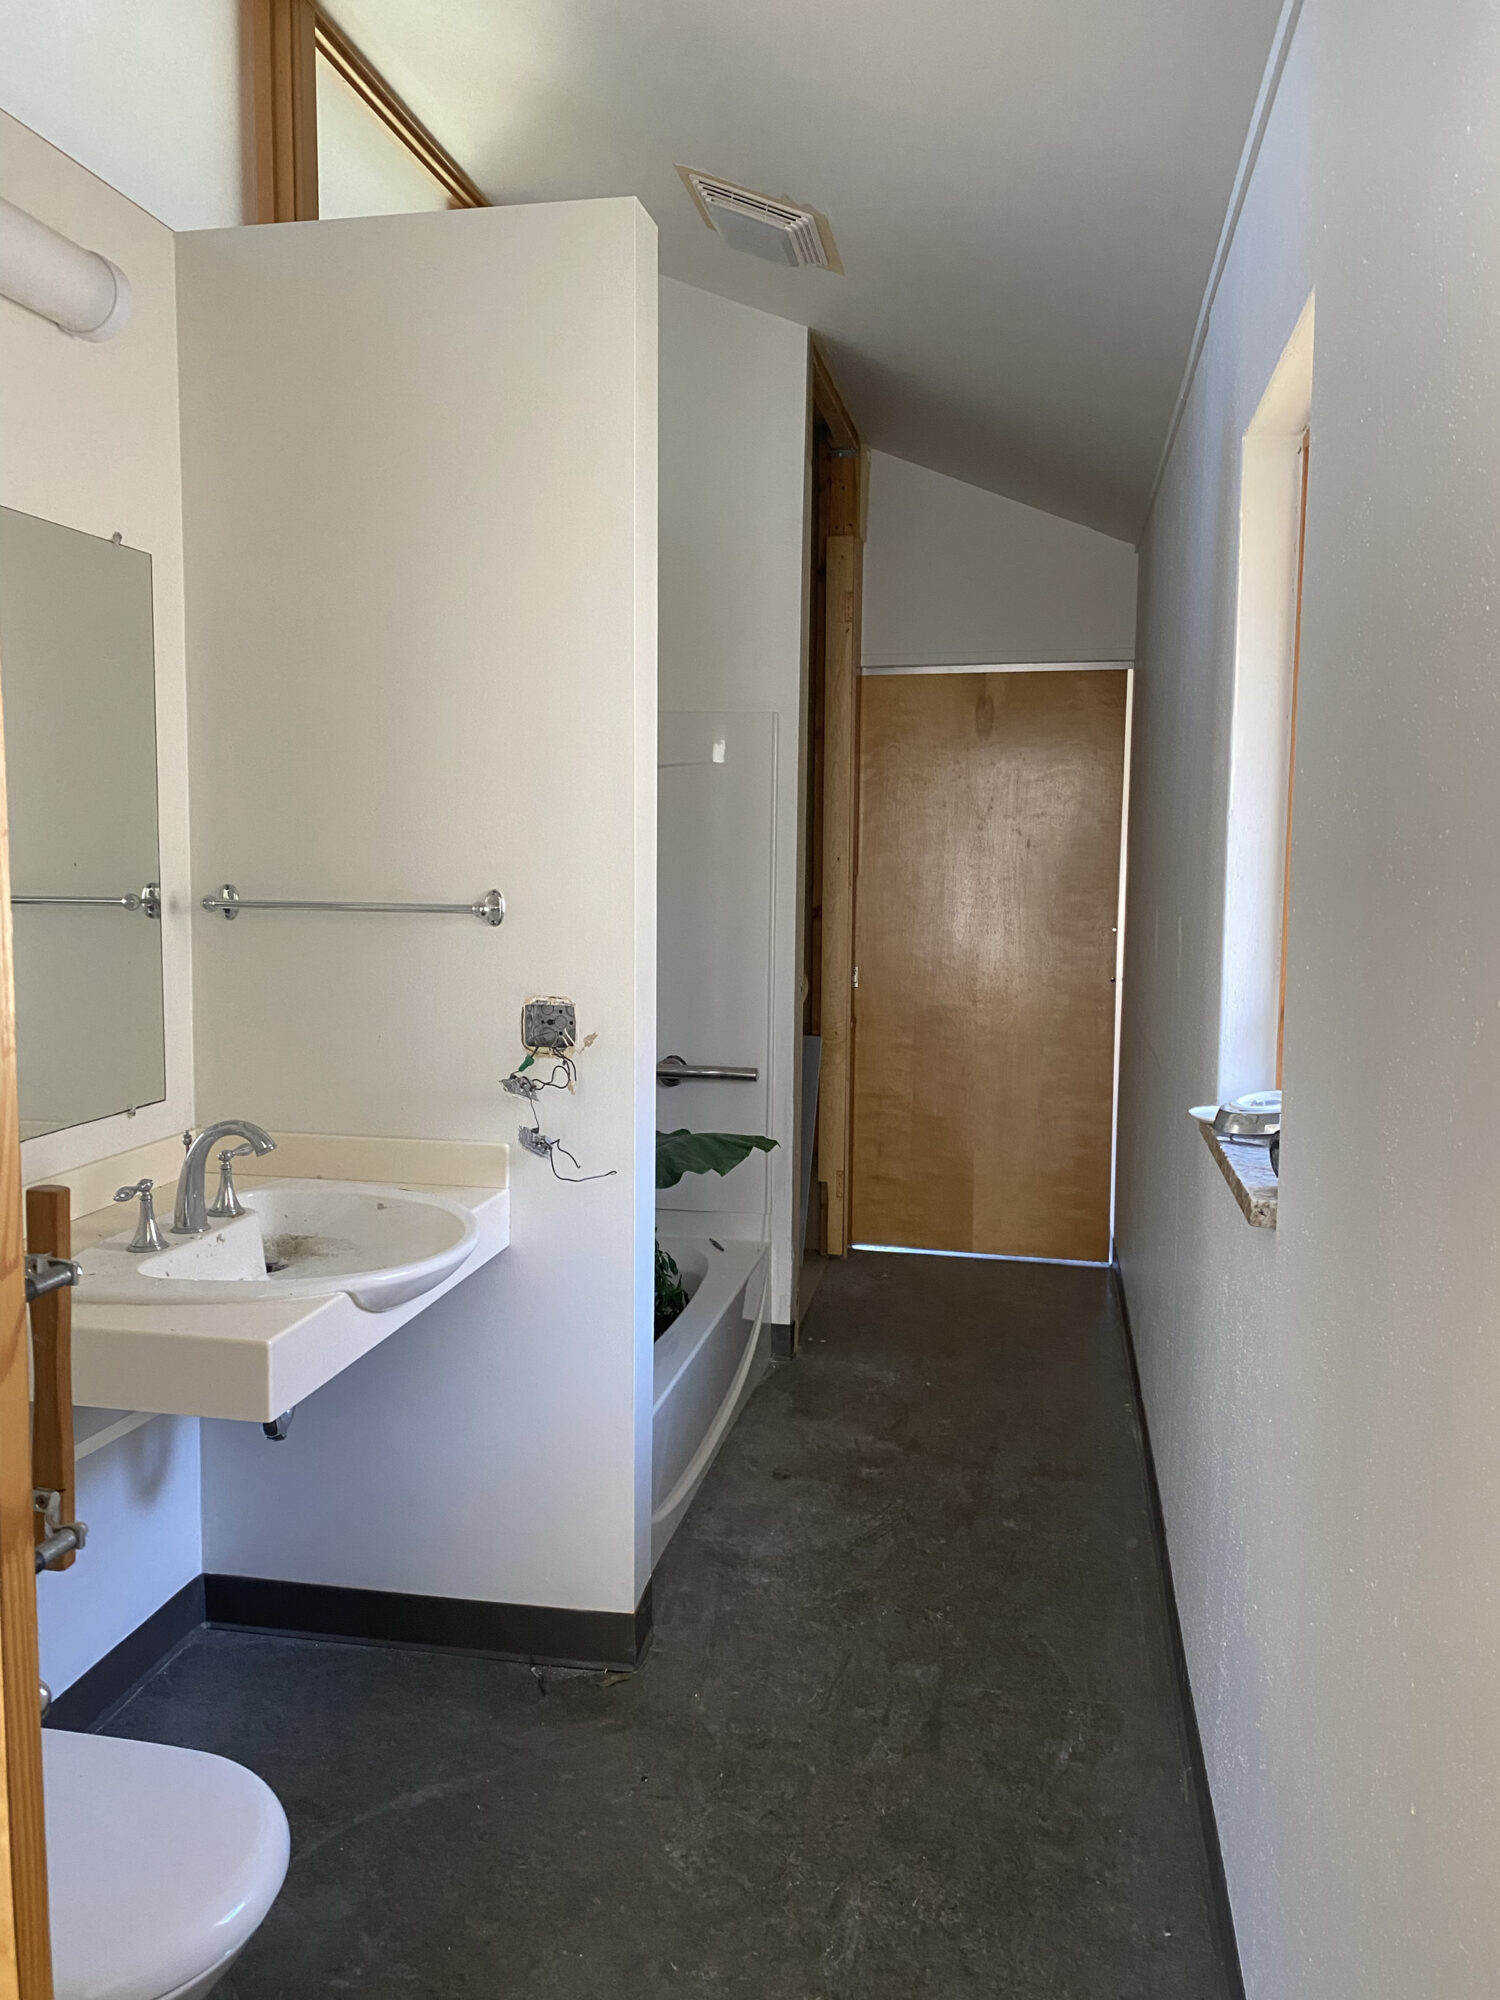
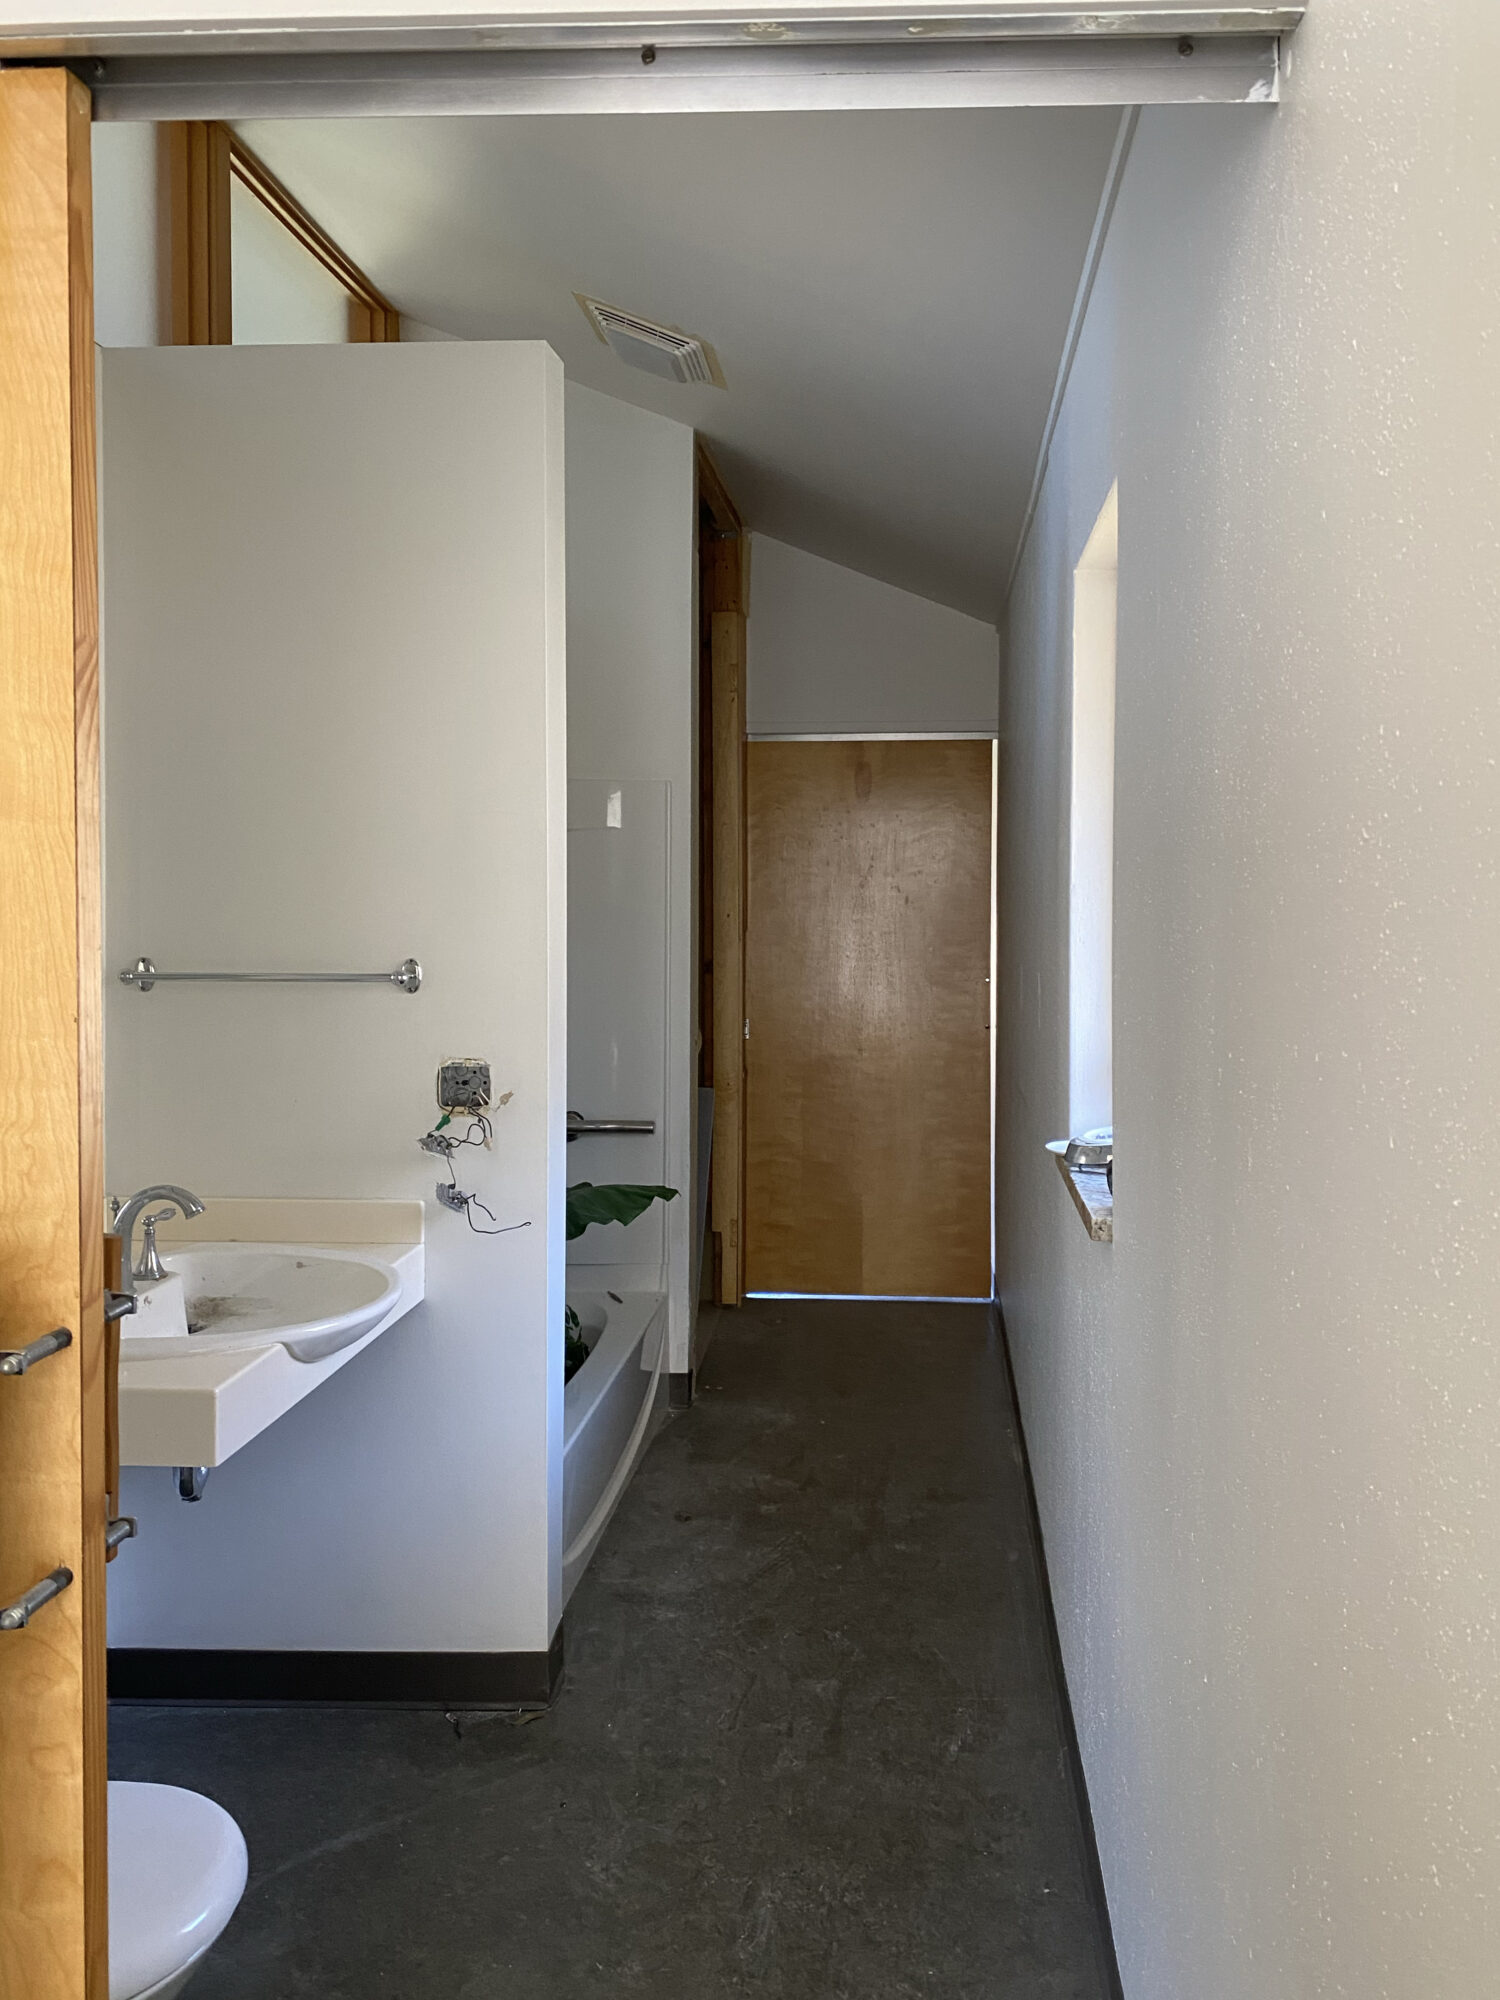
This is what the bathroom looked like when we started. There was access from both the bedroom and the open loft space sides with sliding pocket doors on both, so there was not much privacy. We were pretty stumped on what to do with this space. Then, my Father-in-law (who works on our Makeover by Monday Team) came up with a brilliant idea: close off the entry to the lofted area, rotate a freestanding tub against the new wall, and put in a separate shower stall!
Once I saw it in my mind, there was no other going back. By doing this it also created a closet in the loft room, and the main bedroom would now have a private bathroom. Plus, I get to keep up my streak of putting a freestanding tub in every home we renovate! Click here to see another one of my favorite bathroom renovations.
Creating a Bathroom Spa Oasis
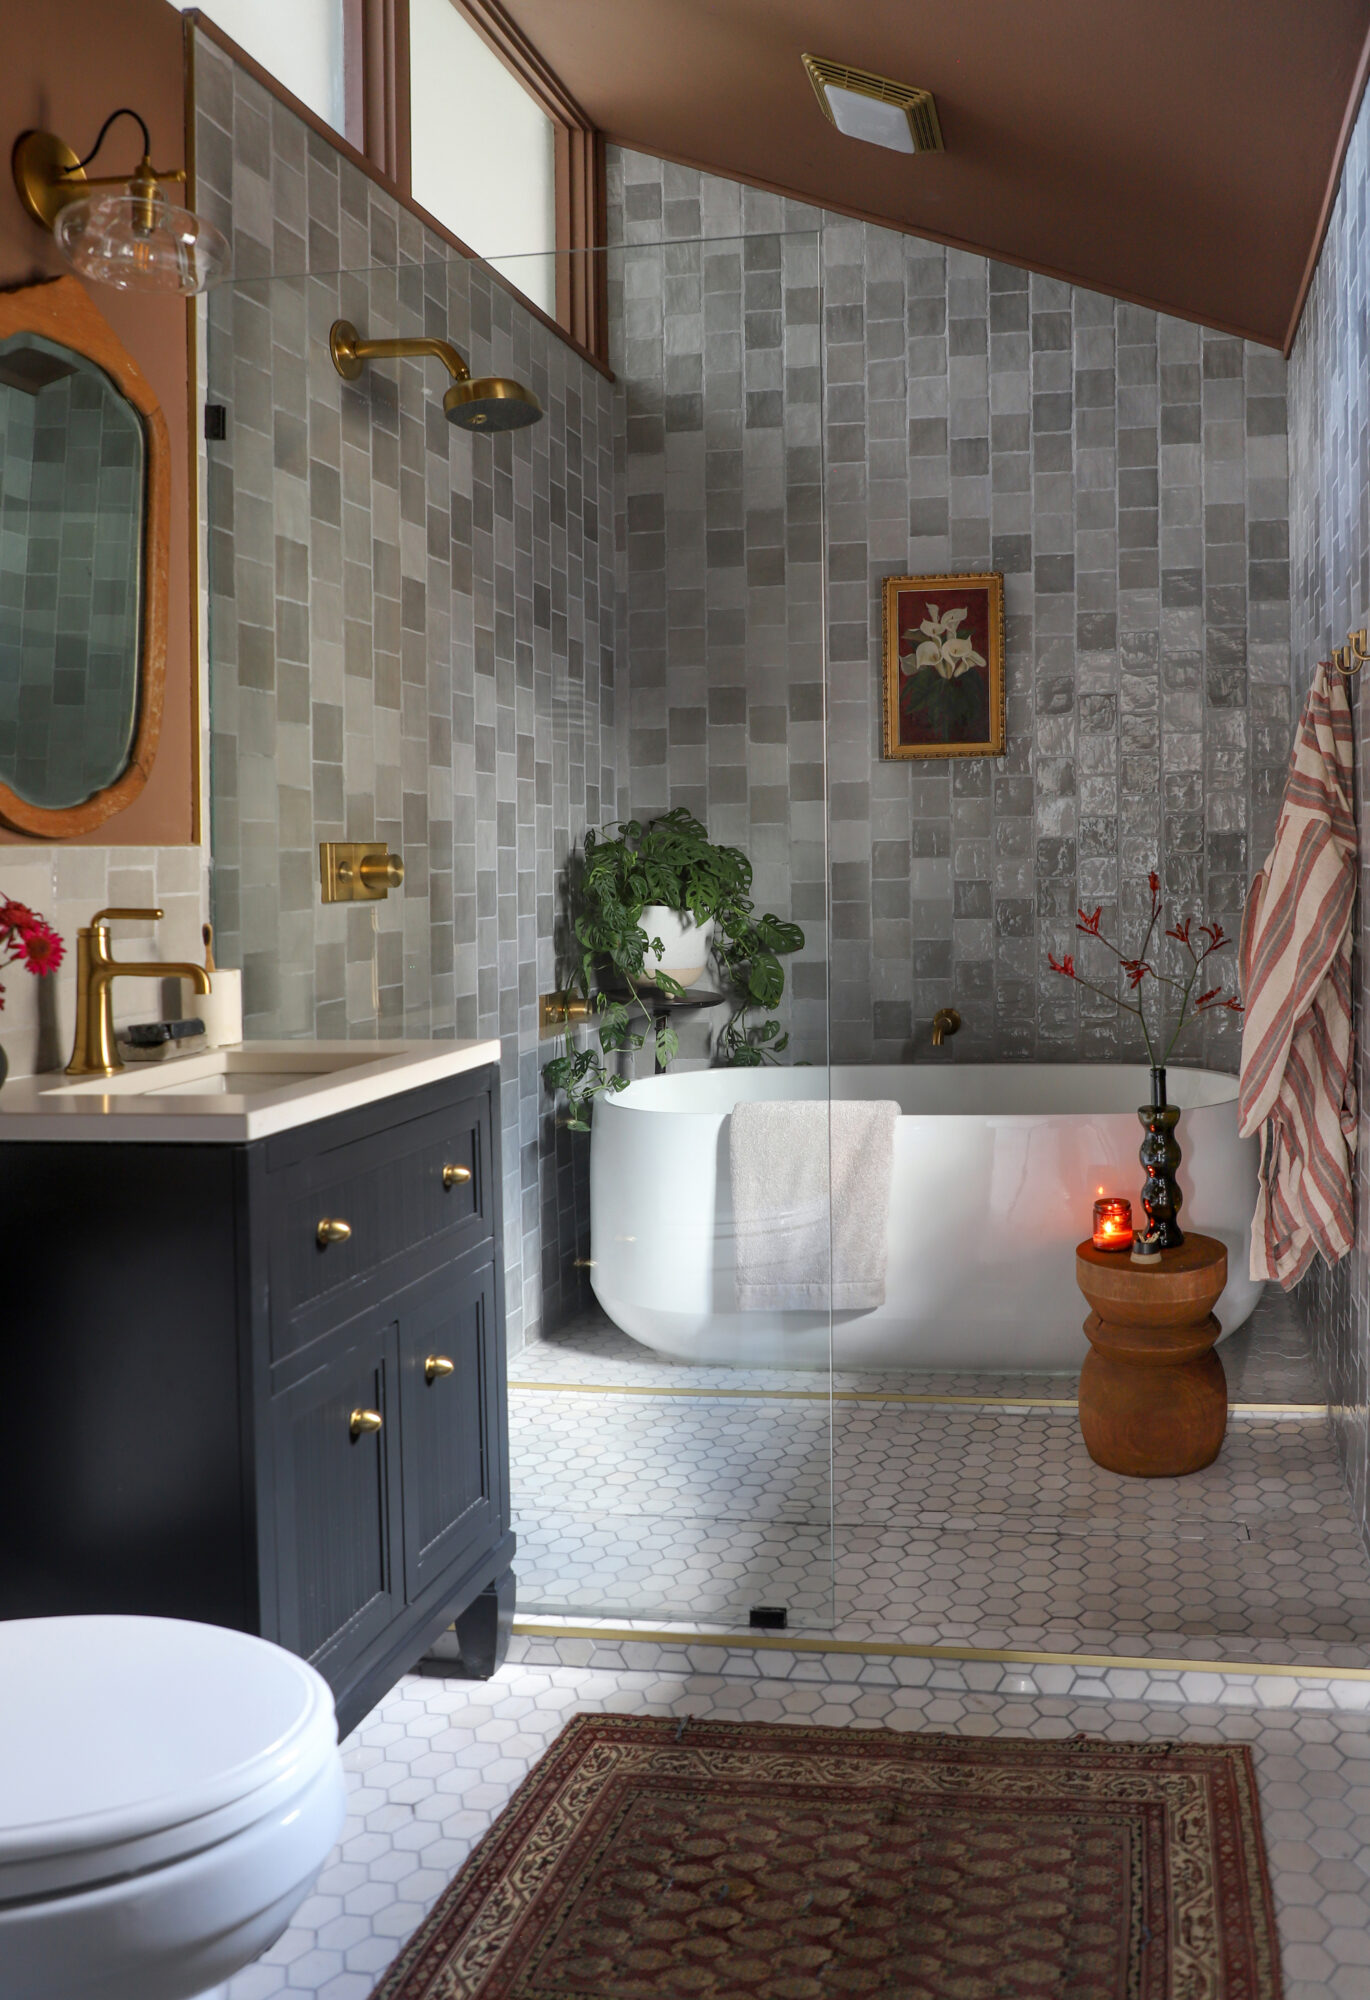
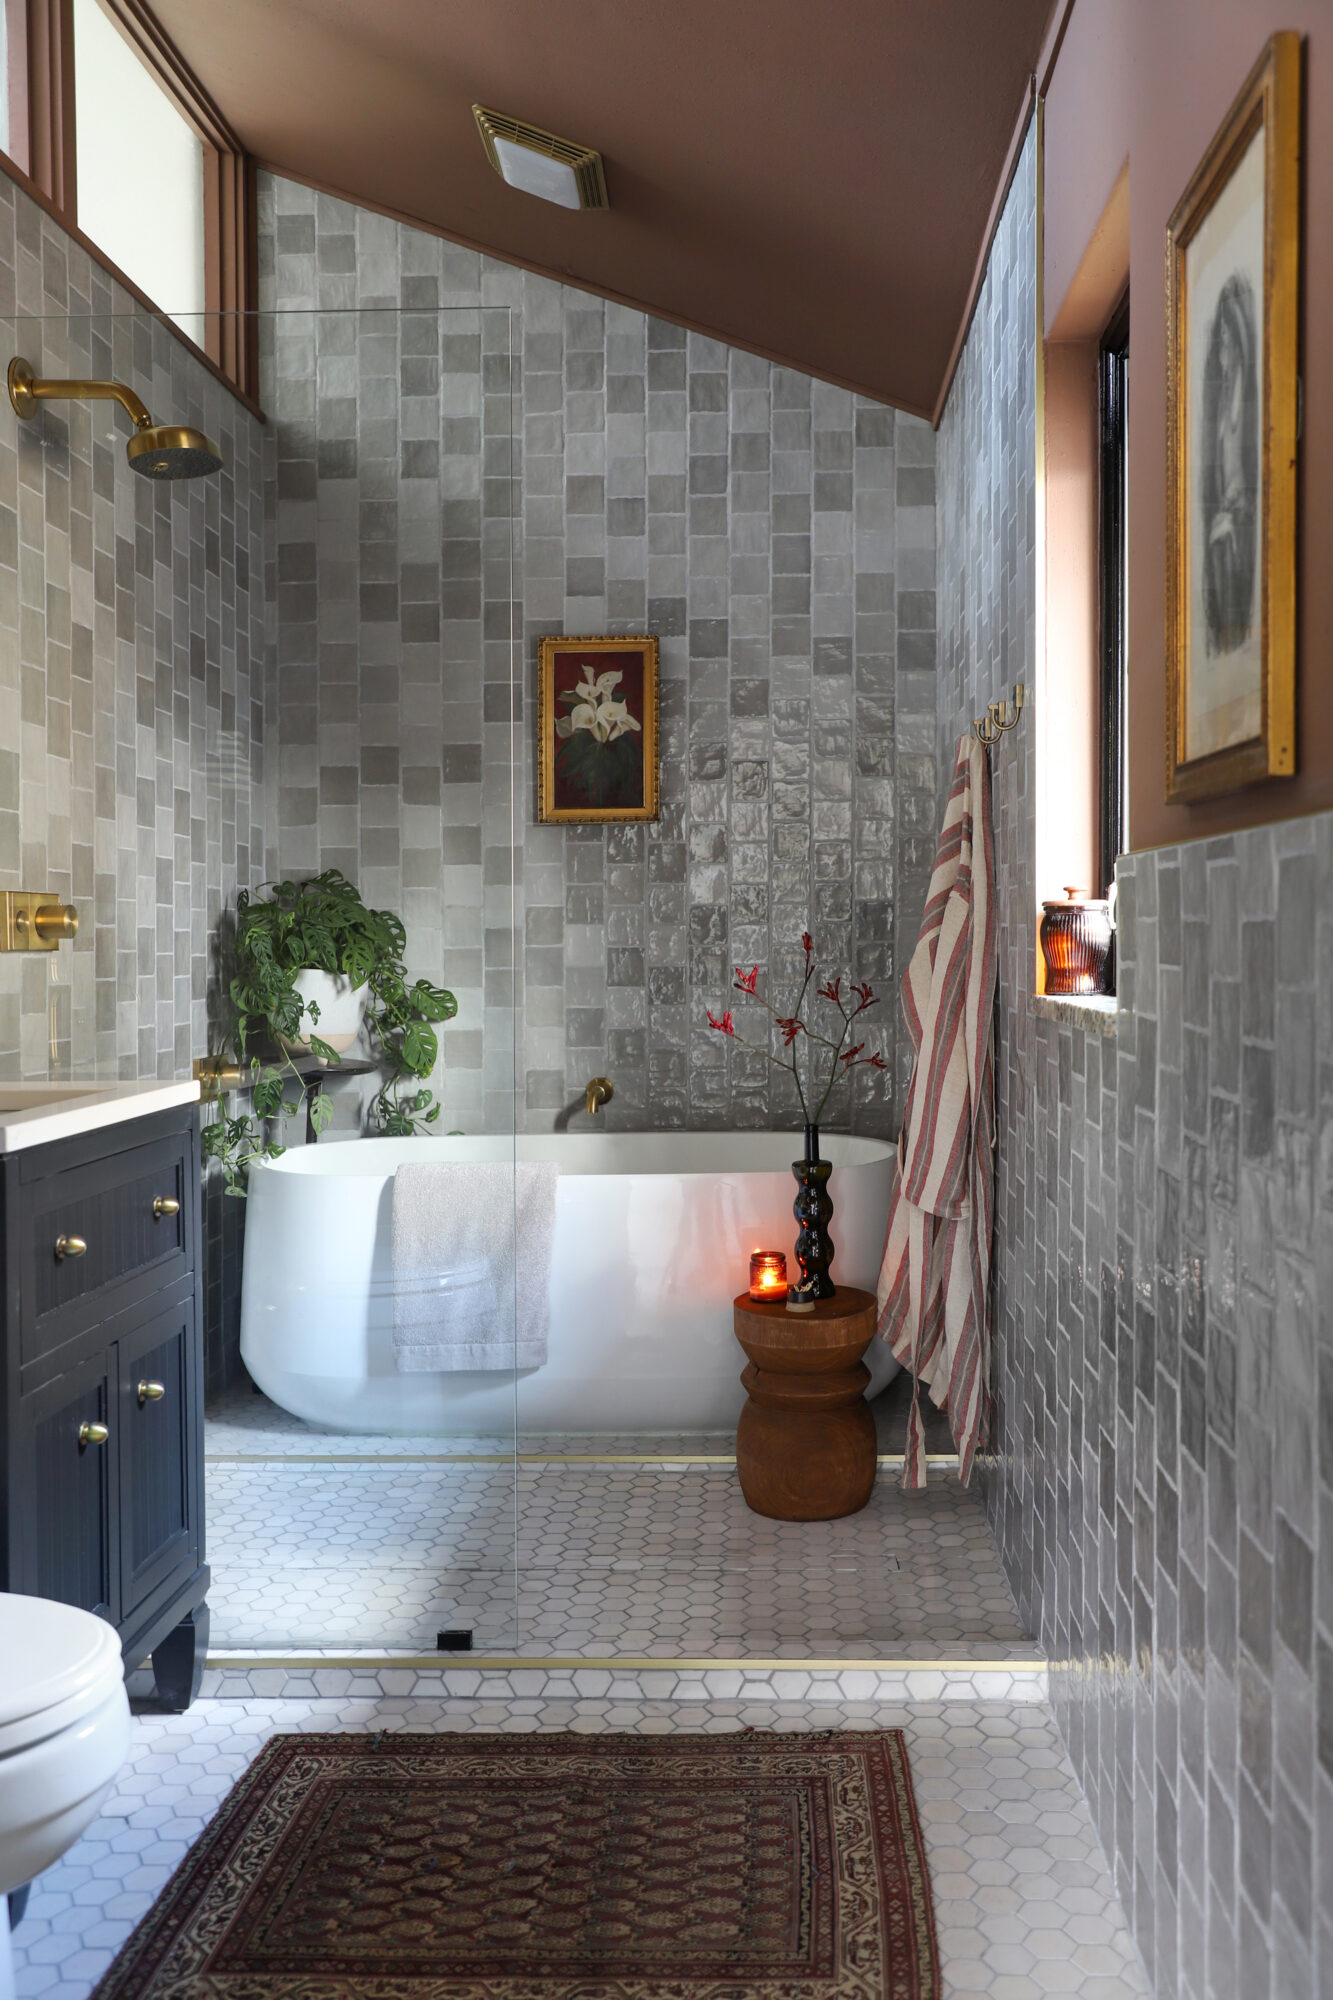
How magical is the bathroom?! There was A LOT of thought that went into this combined shower/bath area AKA “the wet room.” One challenge was making sure the shower area sloped so water would drain properly. The biggest question you all had on Instagram was “What are the dimensions?”
Room Dimensions:
Overall Bathroom: 126″ x 68″
Wet Room: 68″ x 68″
Tub platform: 32″ x 68″
Shower area: 36″ x 68″
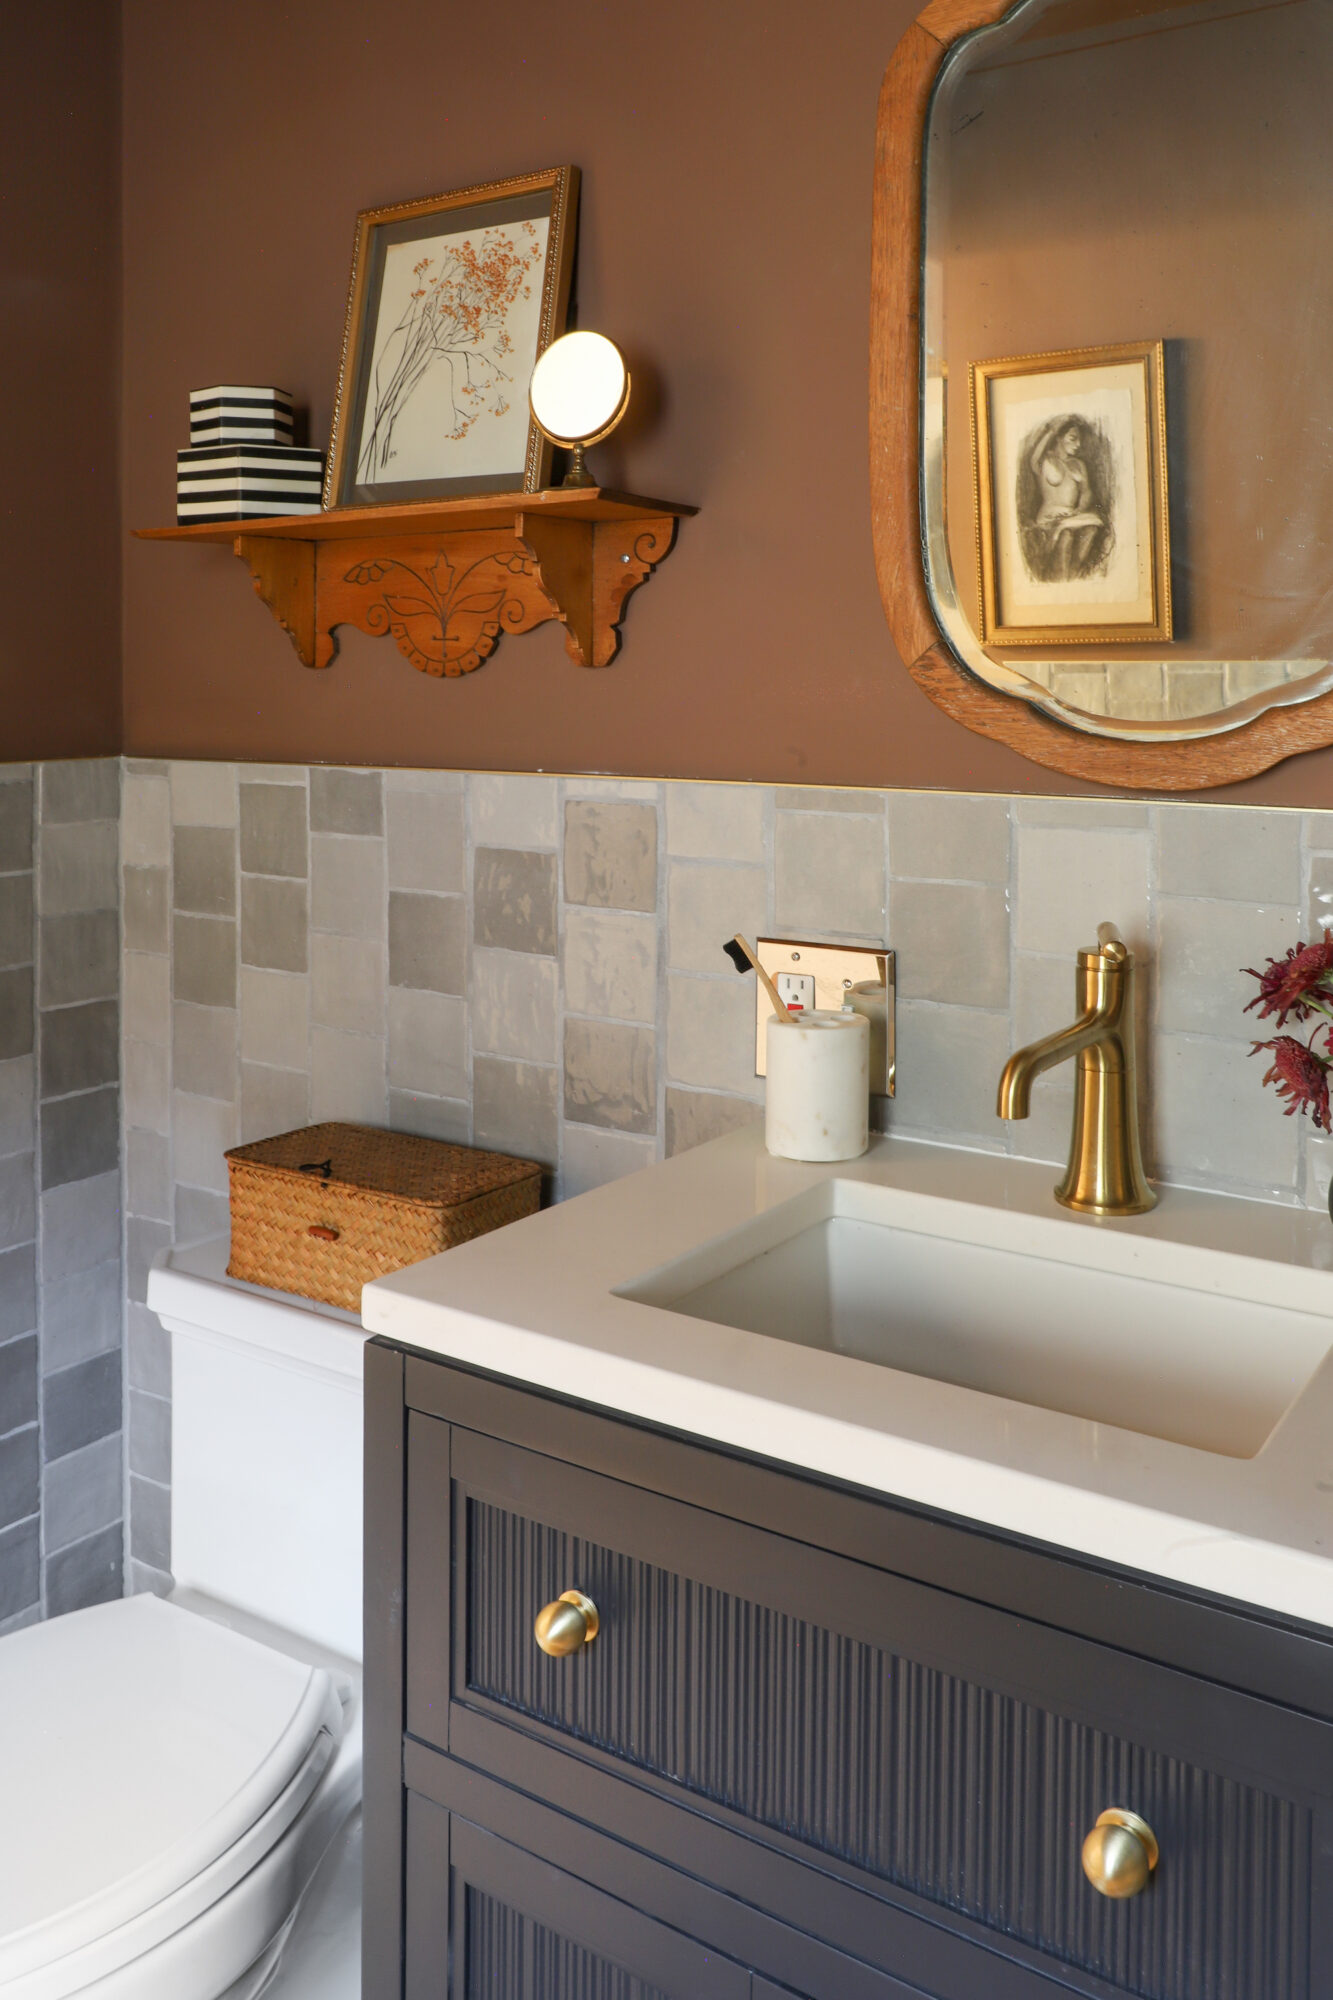
Vanity Width: 24″
The bathroom is not huge, so we ended up using more than half for the wet room. As a result we went with a small 24″. If we lived here full-time I think this vanity would be a tight fit for two people, but as a rental it works. We’ve begun to turn the space outside the bathroom into an additional vanity area for getting ready.
As far as the wet room goes, it feels spacious when showering (you shower standing outside the tub). I used the narrowest tub I could find, while still being comfortable to sit in. Overall, we are super happy with how this bathroom renovation turned out!

Tackling the Tile
Can we give a round of applause to Mr. Yolo for this tile work?! This was hands down the hardest tile job he has done, and wow, did he do a great job. Look at all those tiny cuts on the curb and the platform! That tiled drain is nearly invisible. I knew I wanted to carry the square tile we used in the kitchen into another part of the house. This time I used gray and offset it vertically instead of horizontally.
I tend to go more neutral with tile, and add the pizazz later, so we did a white marble hex on the floor. I wanted a small hex that could be carried into the wet room. We used silver grout on both the floor and walls. It’s A LOT of gray tile, so I knew I had to warm it up with the paint and decor. Enter Hot Cocoa paint! We even used it on the doors and I love it. Yes, it’s similar to the Modern Mocha I love, but no shame in finding something that works and using it again.

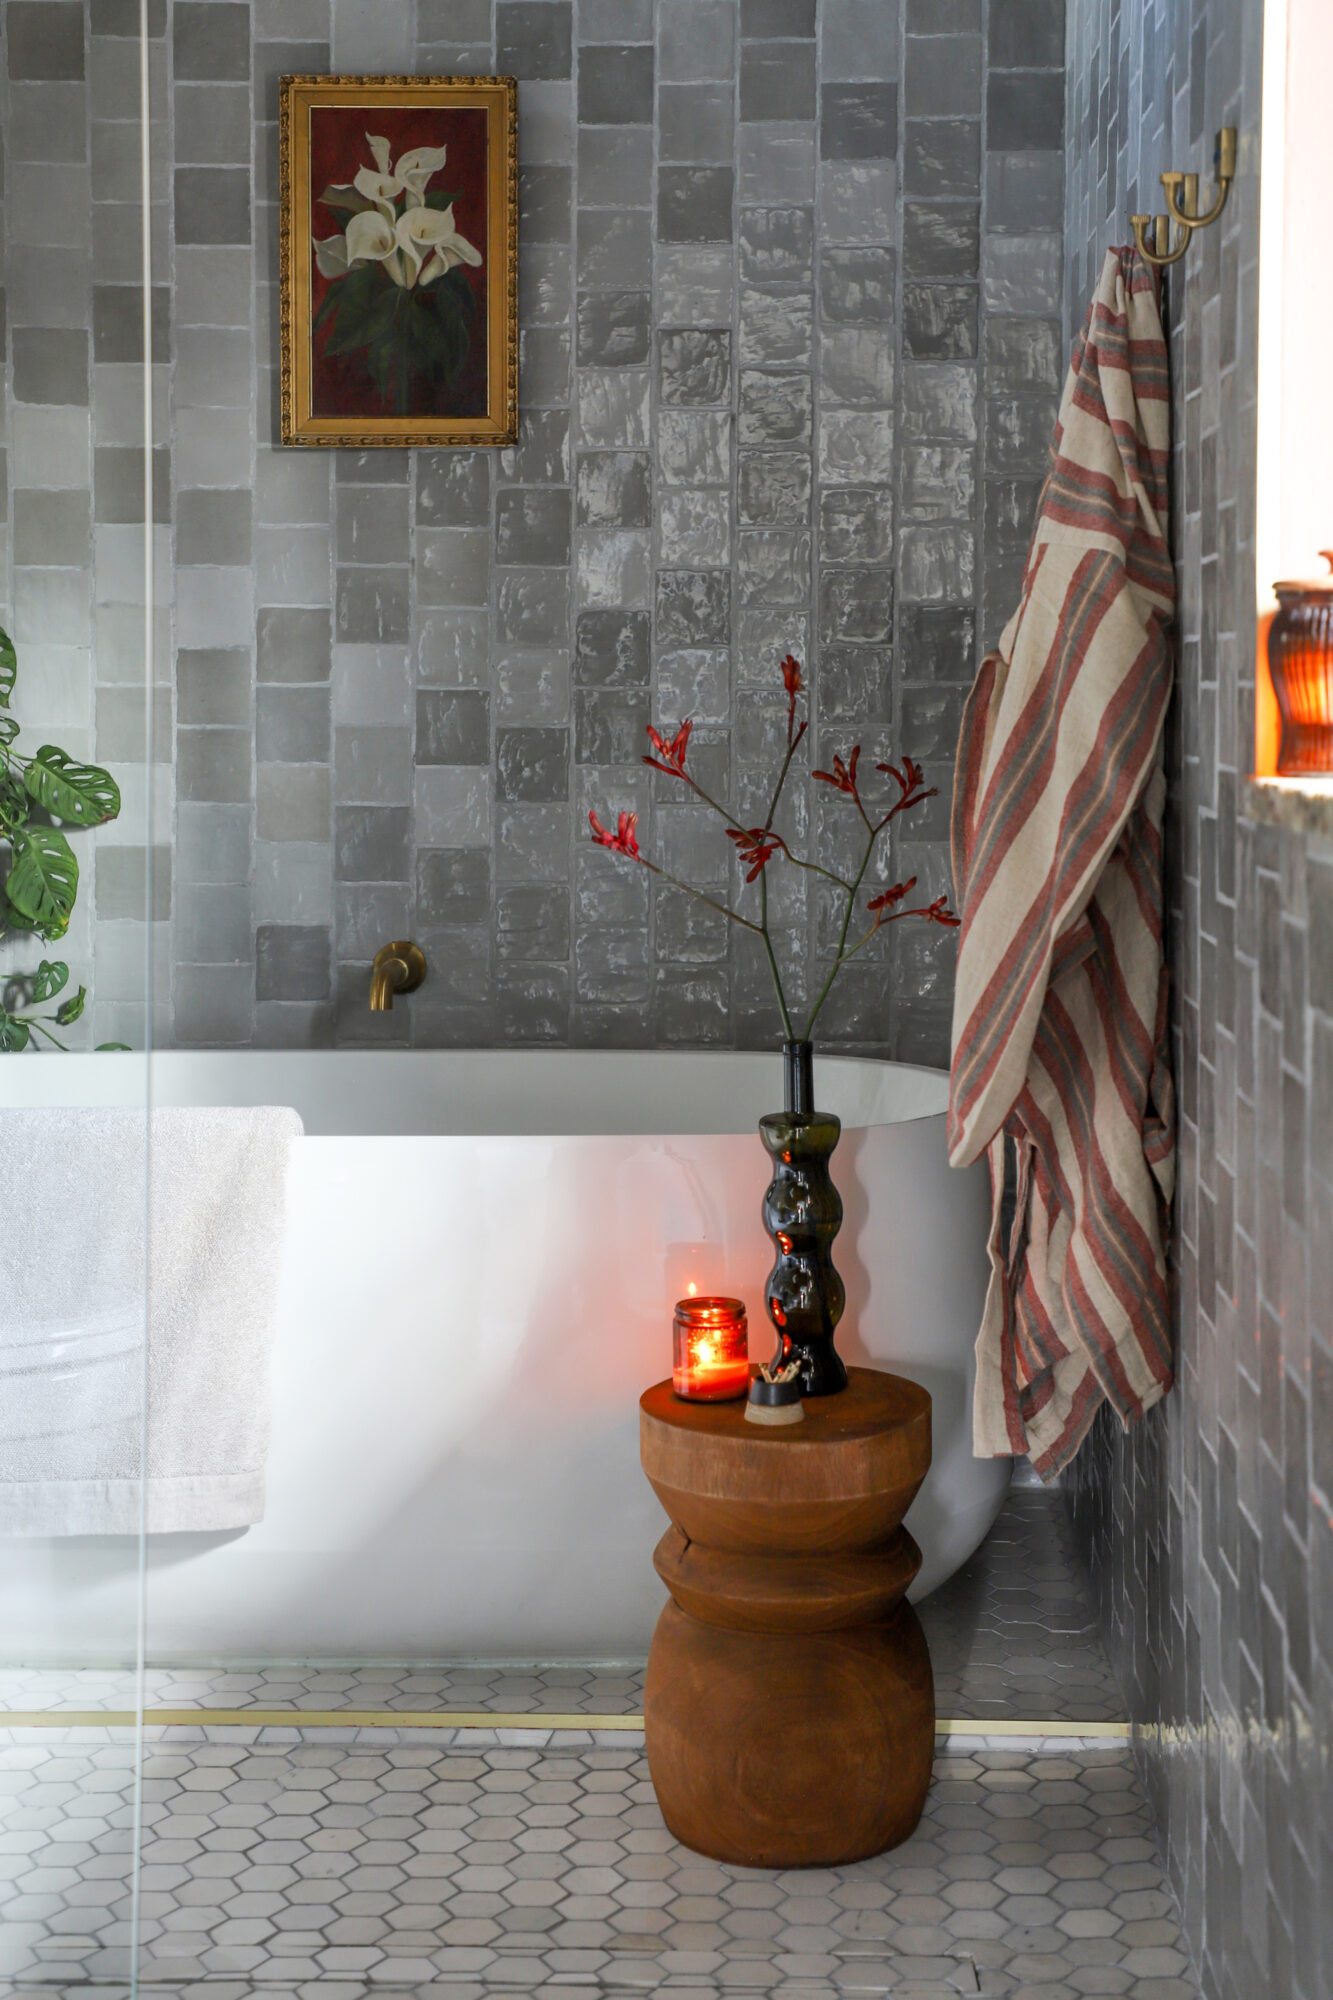
The gold strips are edging trim and I just love how they added a little bling to the floors. Bringing in wood accents really warmed up the bathroom.

Shopping Sources
Statement Oval Showerhead
Tone wall-mount spout
Kathryn Toilet
24″ Hearthaven Vanity with sink and Quartz top
Tone single handle faucet
Brass Knobs
Lacemaker Light fixture
Stool (similar)
Raid Ceramic Square Tile
Marble 2″ Hexagon Floor Tile
Ceric Freestanding Tub
Anthem control panel
Linear Drain
Paint Color: Sherwin Williams Hot Cocoa
Vintage: Rug, Art, Vase, Mirror
EXPLORE MORE: Before & After, Room Makeovers, The Loft


