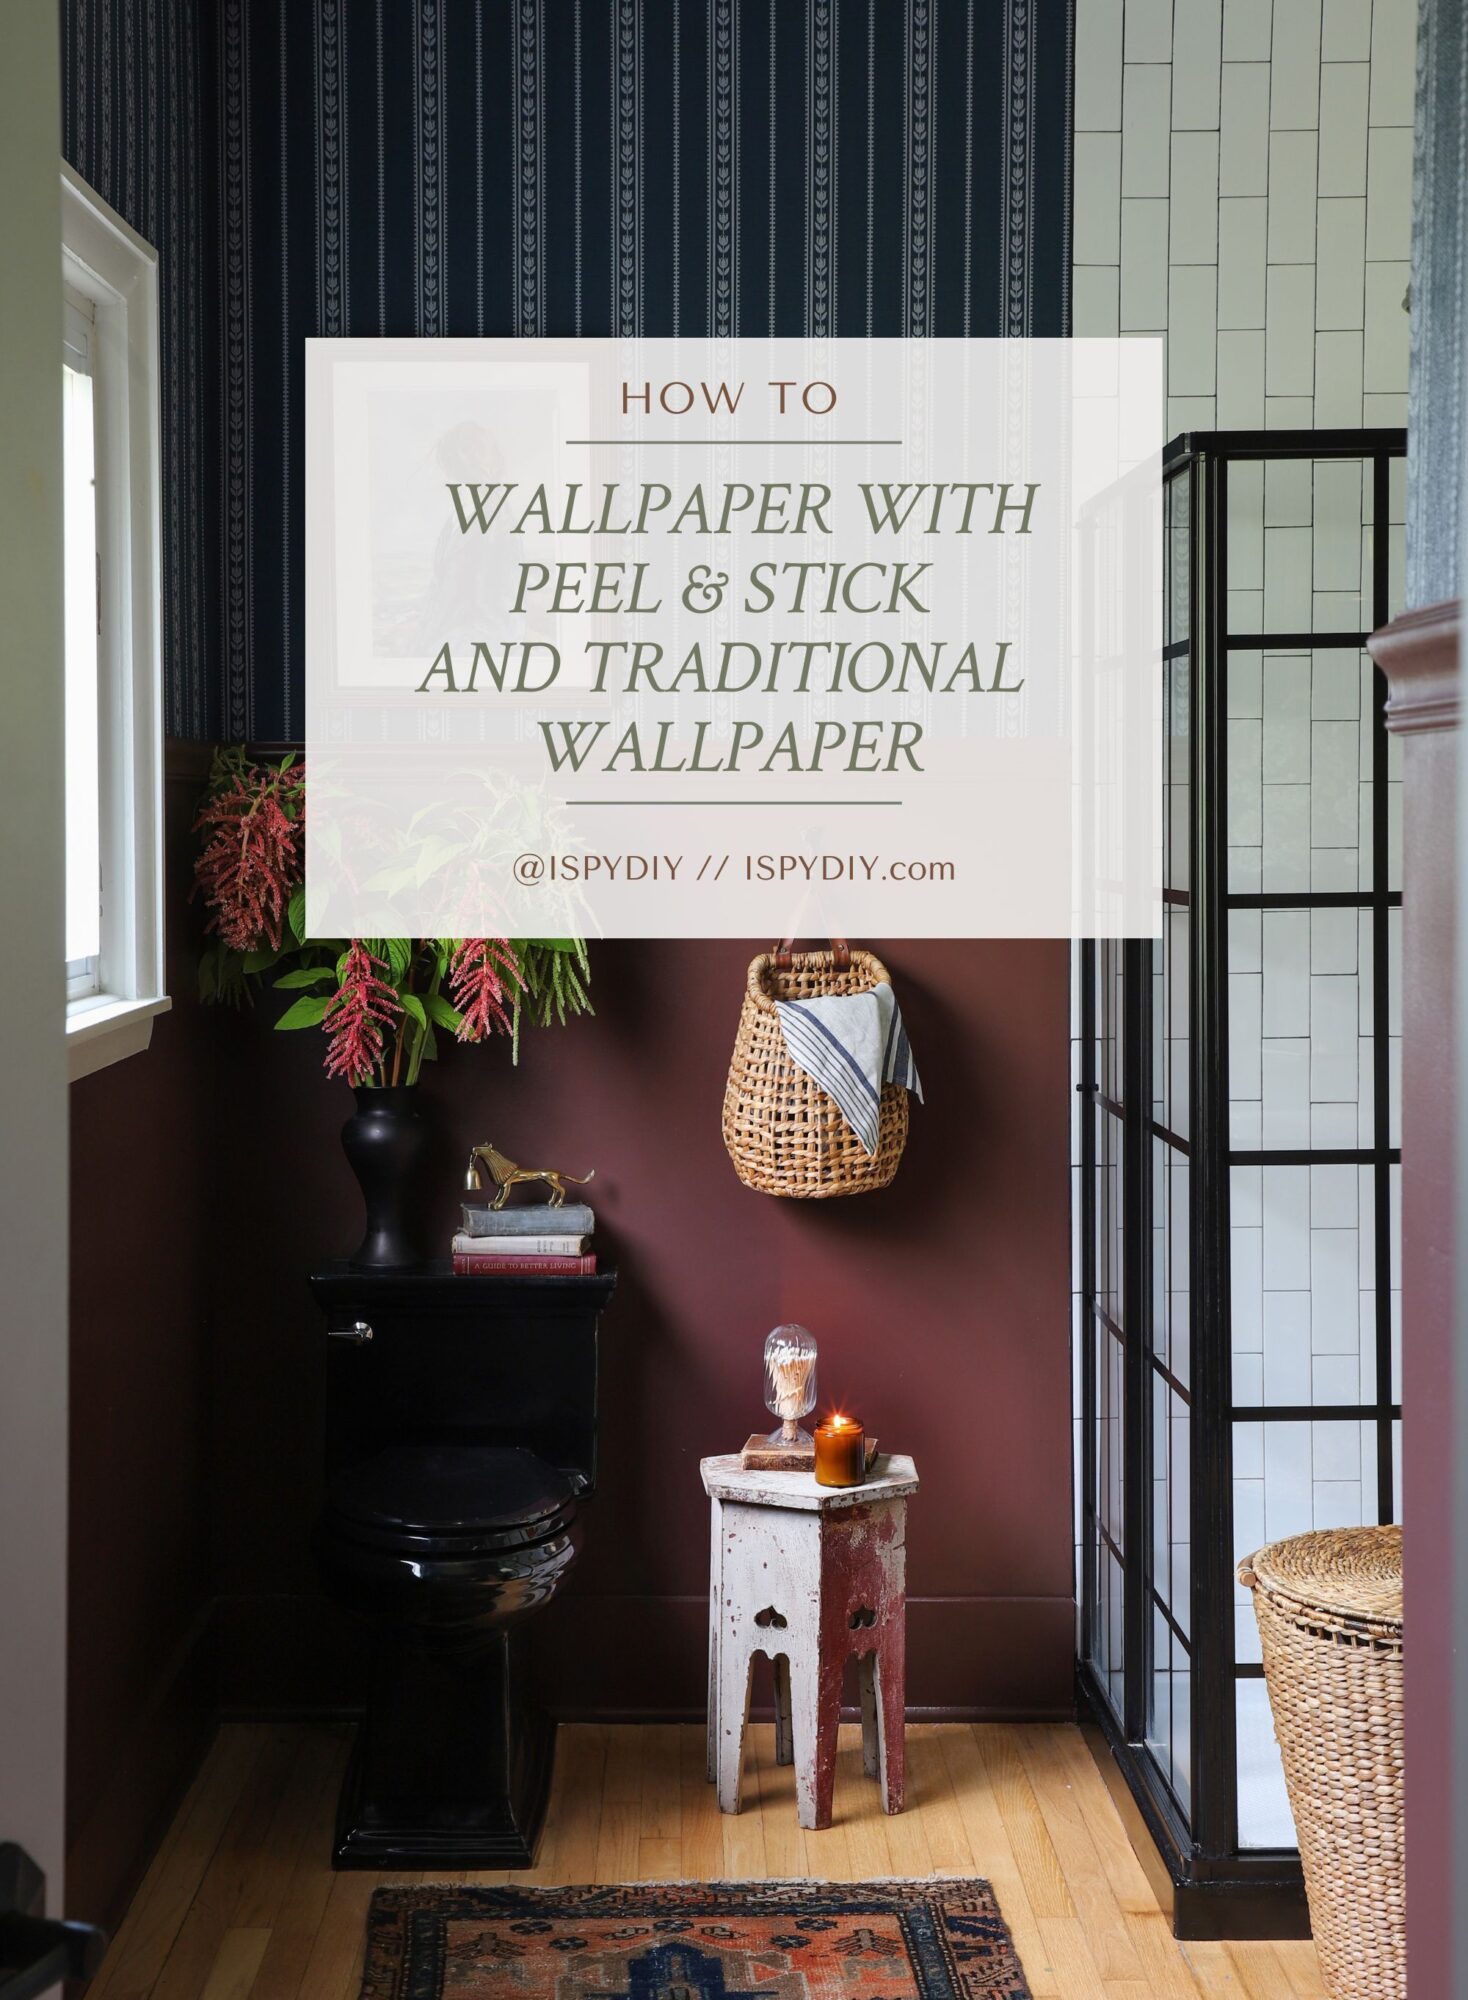
How-To Wallpaper with Peel & Stick, Traditional and Vinyl Wallpaper
DIY PROJECT, SHOP, Wallpaper Collection
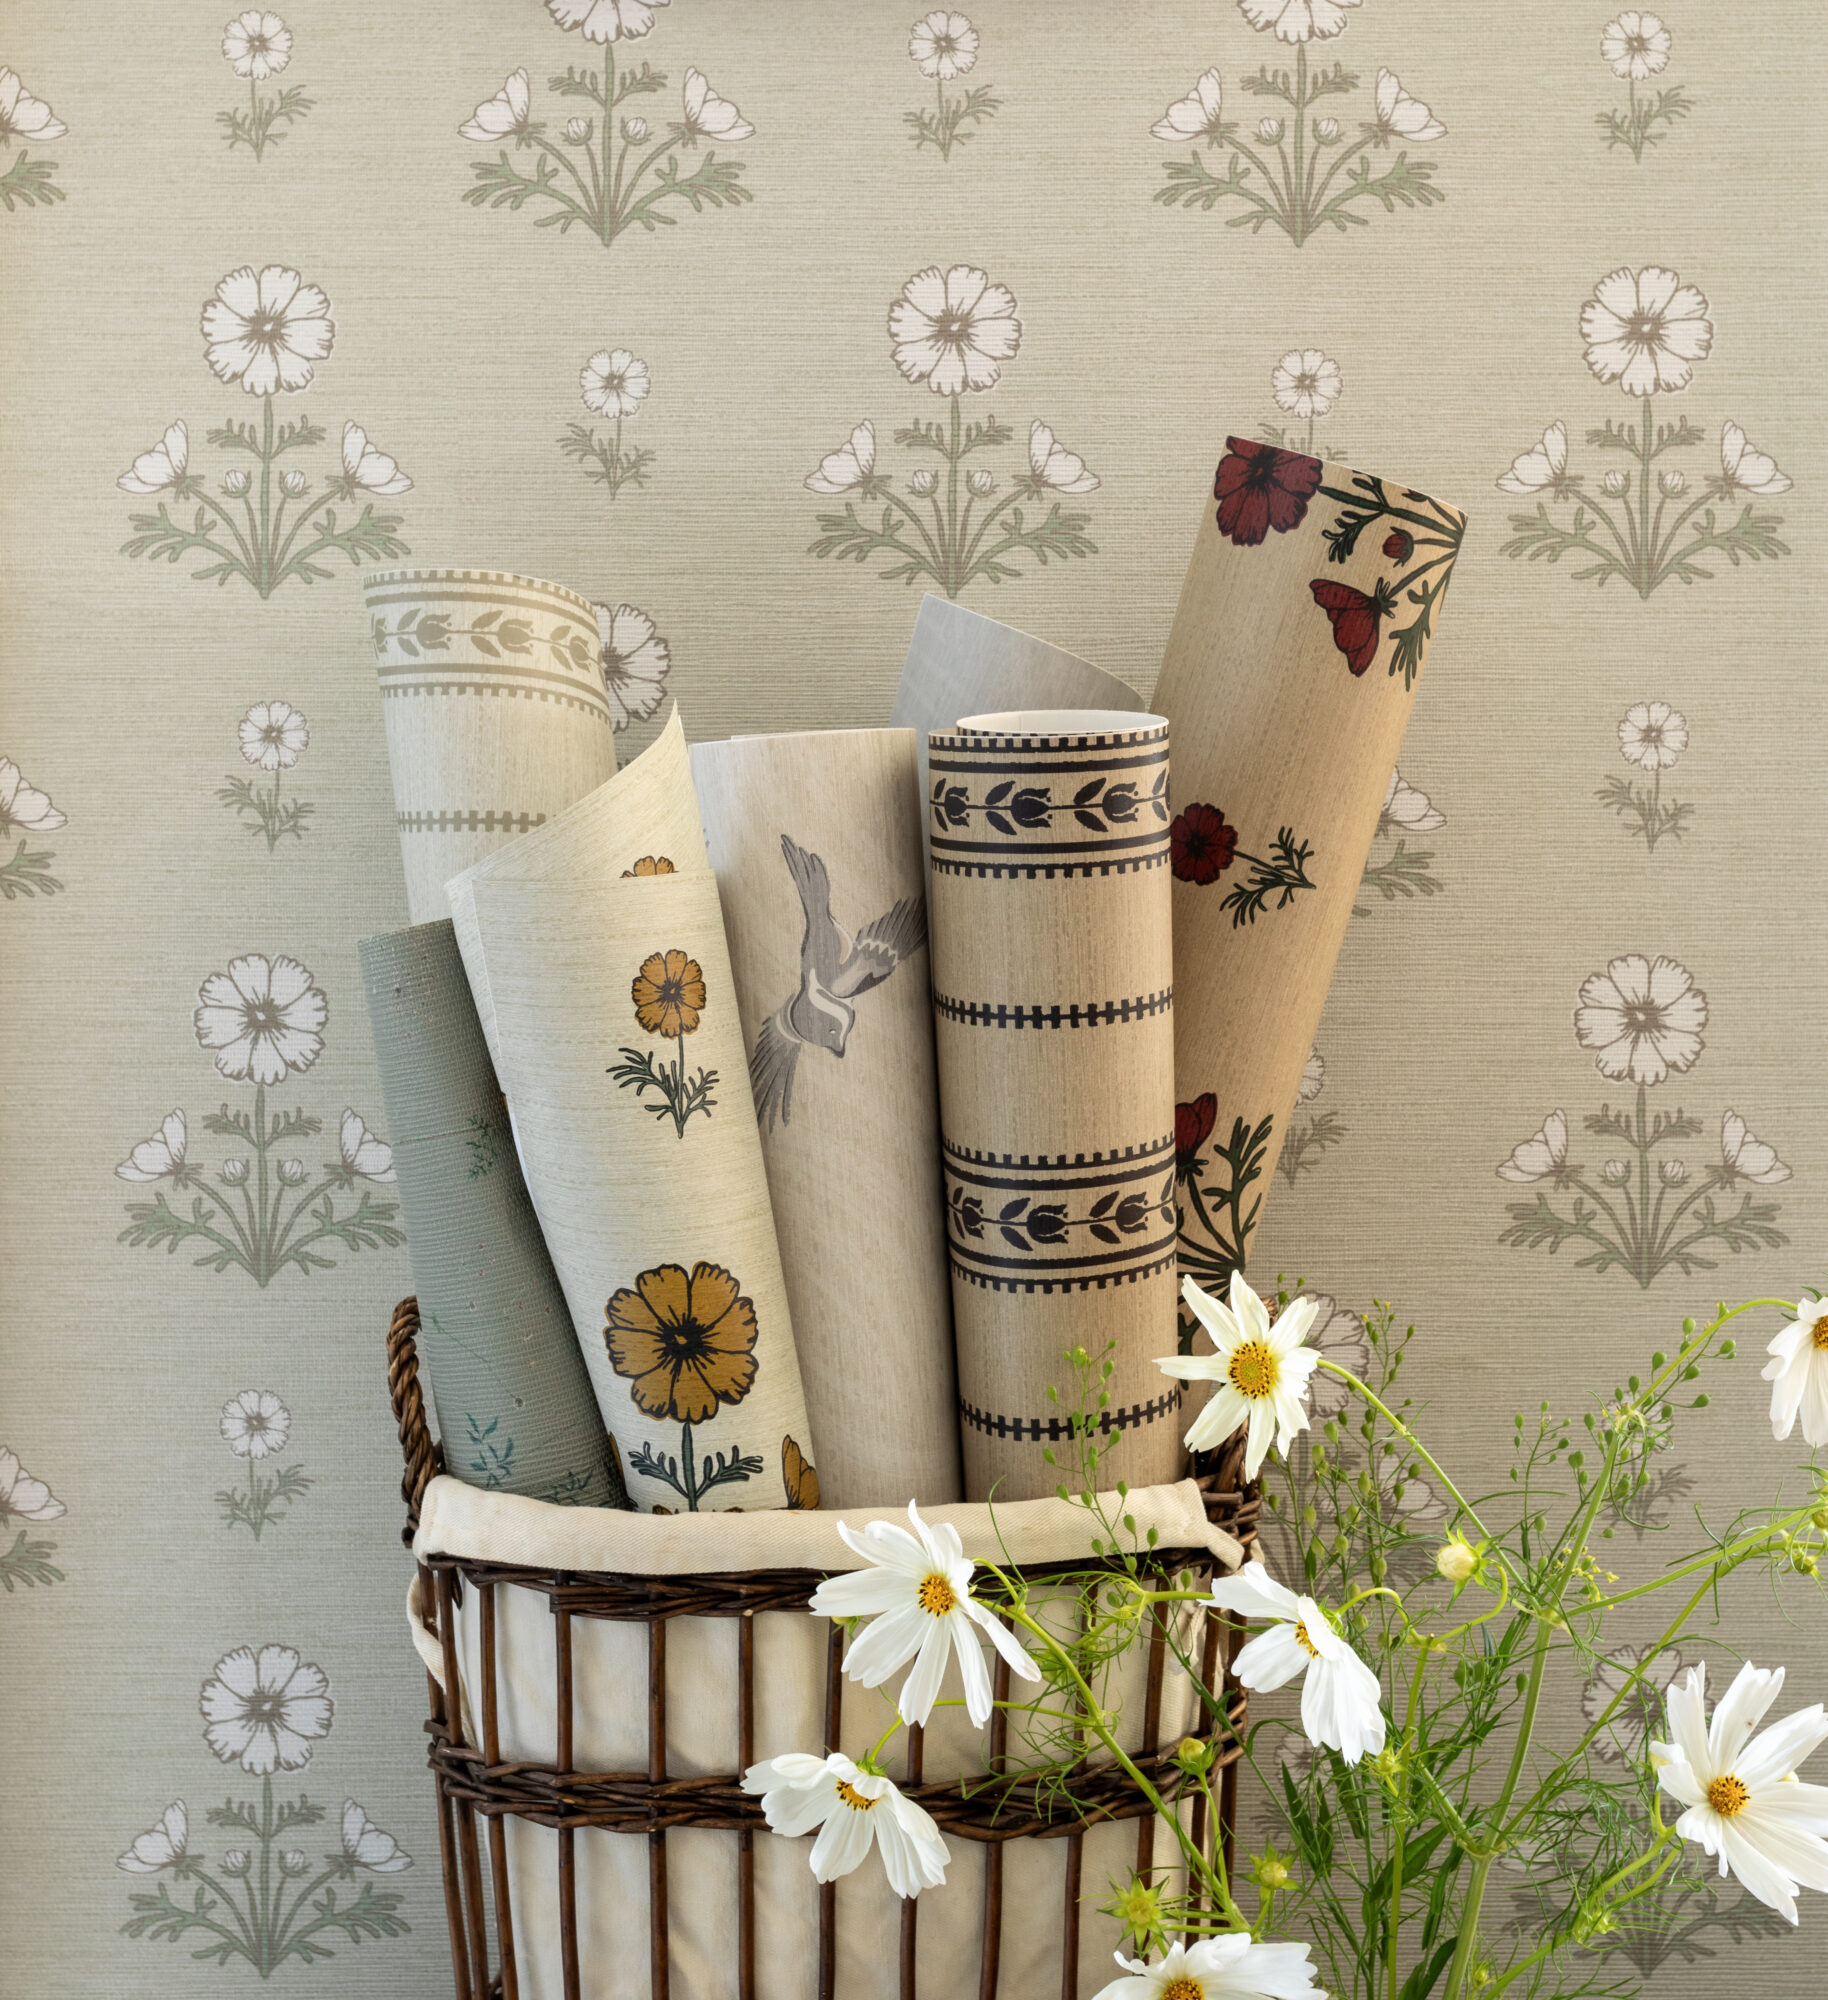
Thank you for all the excitement about my new wallpaper collection with Chasing Paper! It is exciting to see you all brainstorming what room to put it in! One question I keep getting is: What wallpaper is best for my room Peel & Stick or Traditional? So this post is going to go through the different types of wallpaper each print comes in AND a tutorial on how to install both Peel & Stick, Traditional wallpaper and the new Faux Vinyl Grass Cloth Wallpaper! (See all the new patterns here!)
Chasing Paper offers a couple of different wallpaper options; let’s go through each one: Peel & Stick, Traditional, and Faux Vinyl Grass Cloth.
Peel & Stick Wallpaper: Peel & Stick wallpaper is great for a DIYer, I have installed it in a bunch of rooms and Chasing Paper’s is such an amazing product! It’s super user-friendly and can be peeled off with little to no harm to your wall, so it’s great if you are looking for a more temporary transformation. It’s perfect for renters or people (like me!) who like to change up their decor often. All you need is a clean, smooth surface (Peel & Stick will not work on walls with texture). You just peel off the backing and stick it right on the wall. No glues or paste required! It’s not as durable as traditional wallpaper, and is not recommended in bathrooms with showers. Peel & Stick is best used in dry spaces, such as bedrooms and living rooms.
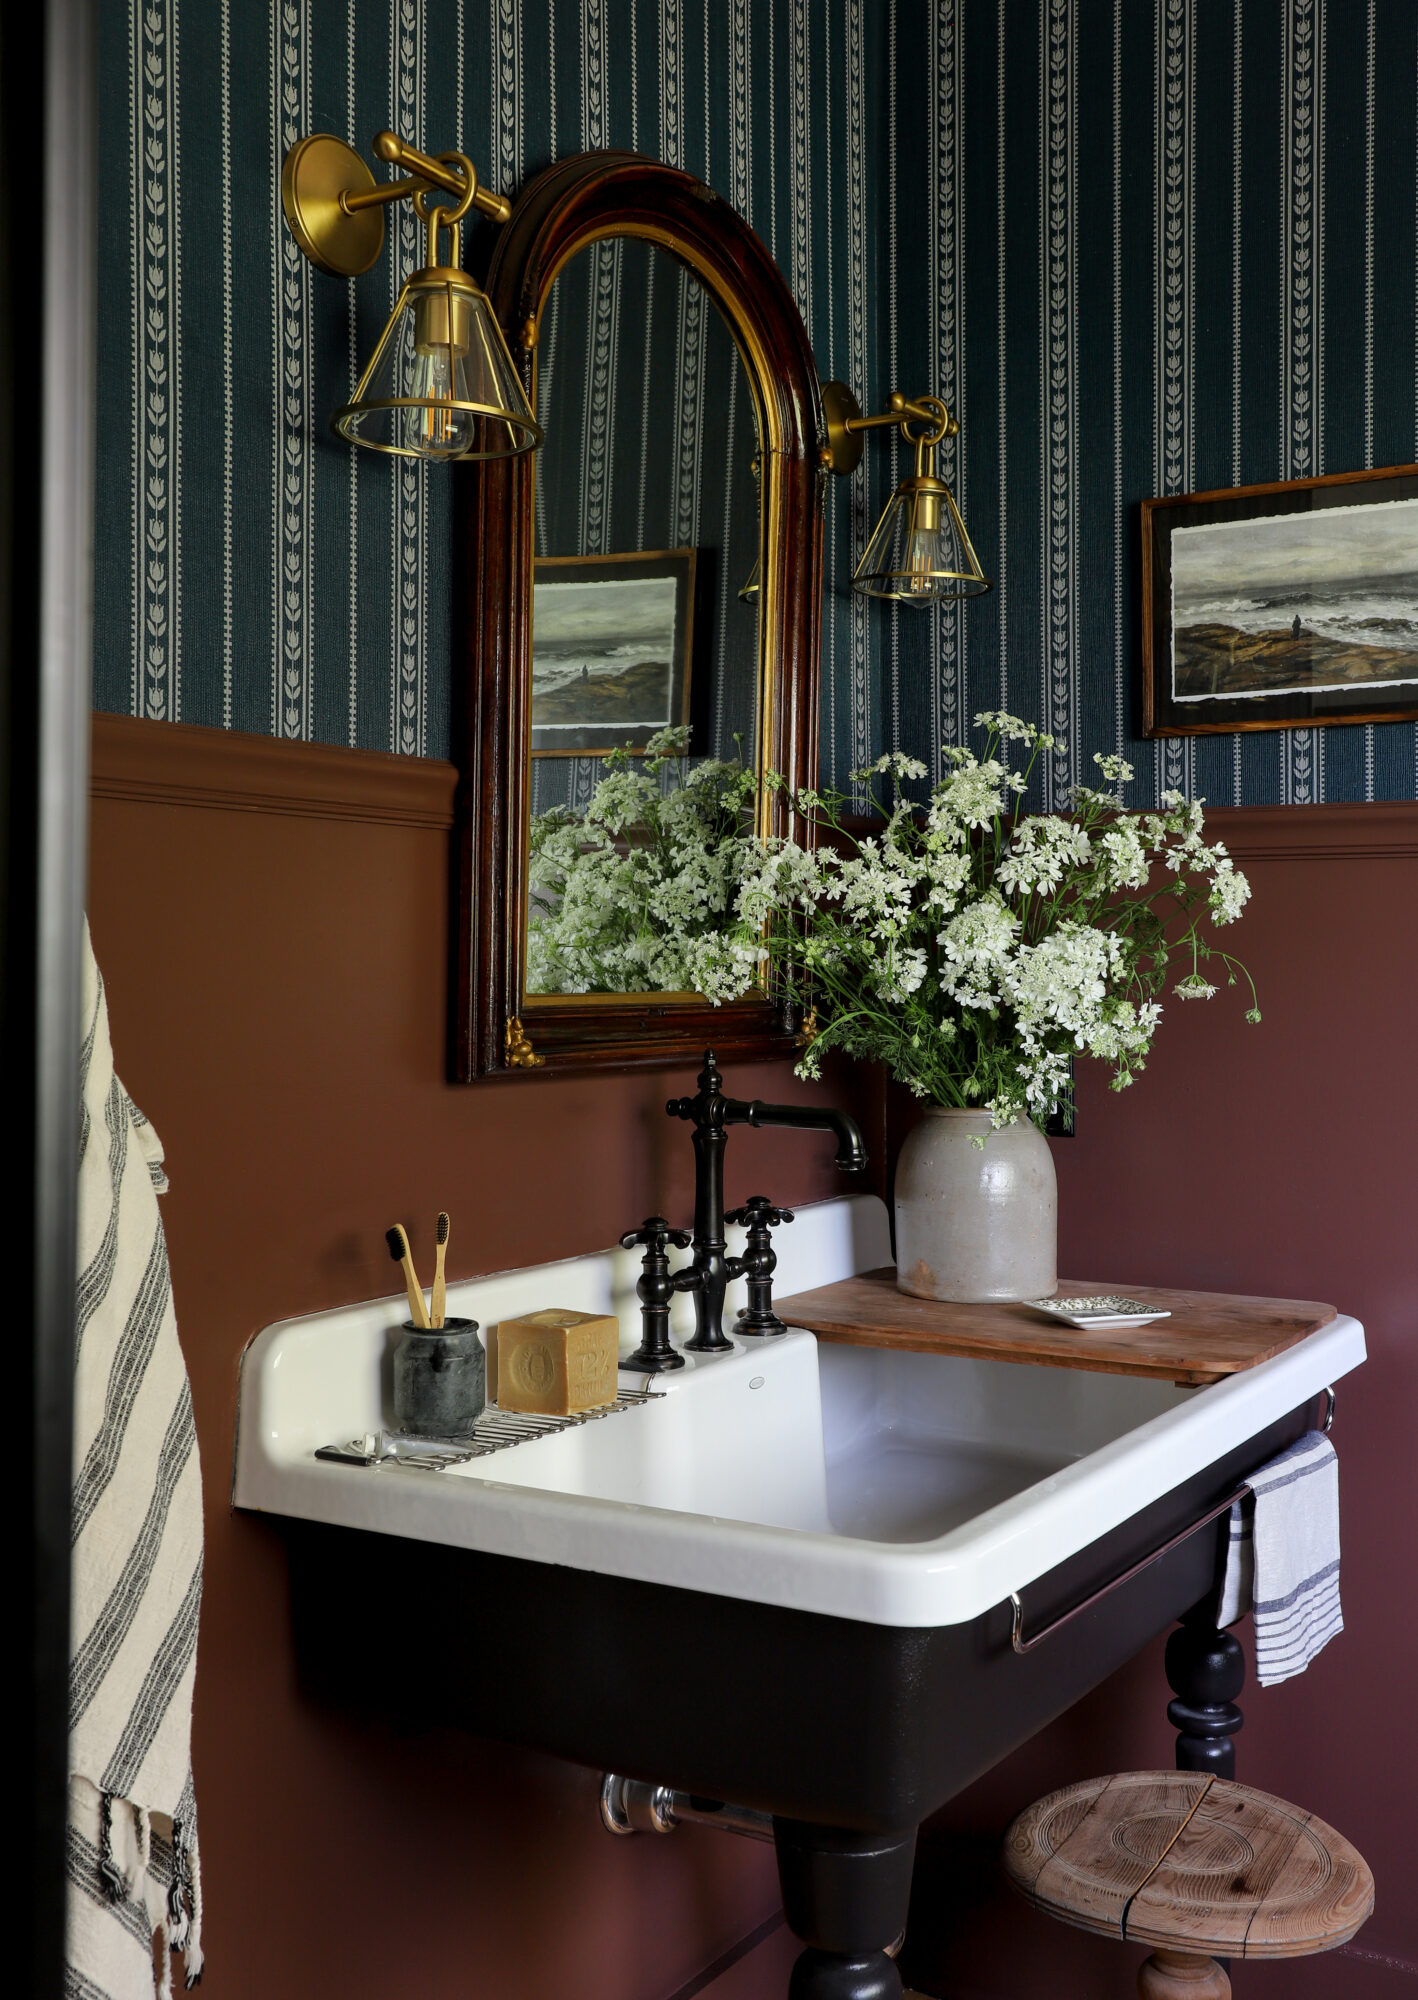
Traditional Wallpaper: Traditional wallpaper is a classic choice for a reason! It more durable than Peel & Stick and can last for many years. It’s a great option for all spaces, including bathroom and kitchen. And if you are looking to wallpaper your ceiling, go with traditional wallpaper. Installing traditional wallpaper might be a little intimidating, but once you put the paste on, you have a lot more flexibility with moving paper around to line it up. Peel & Stick can stretch if you pull it off the wall too many times, making it difficult to get the pattern to match. Removing traditional wallpaper can be a bit more tricky, but using a wallpaper primer before hanging can help with the removal process. And it’s not like old-school wallpaper that comes off in tiny pieces.
Faux Vinyl Grass Cloth Wallpaper: Faux vinyl grass cloth wallpaper is a fantastic option for adding texture to your walls. We LOVE this product!! It mimics the look of real grass cloth but with added durability. It’s moisture-resistant, making it a great option for bathrooms, kitchens, and mudrooms. And it’s wipeable! So great for high-traffic rooms. Vinyl wallpaper is thicker, which makes it easier to hang because it isn’t easily damaged or crinkled.
The choice between Peel & Stick, traditional, and faux vinyl grass cloth wallpaper depends on your personal style, the level of DIY expertise you have, and the specific needs of your space. Let me know if you have a question on which to use; I am happy to help!
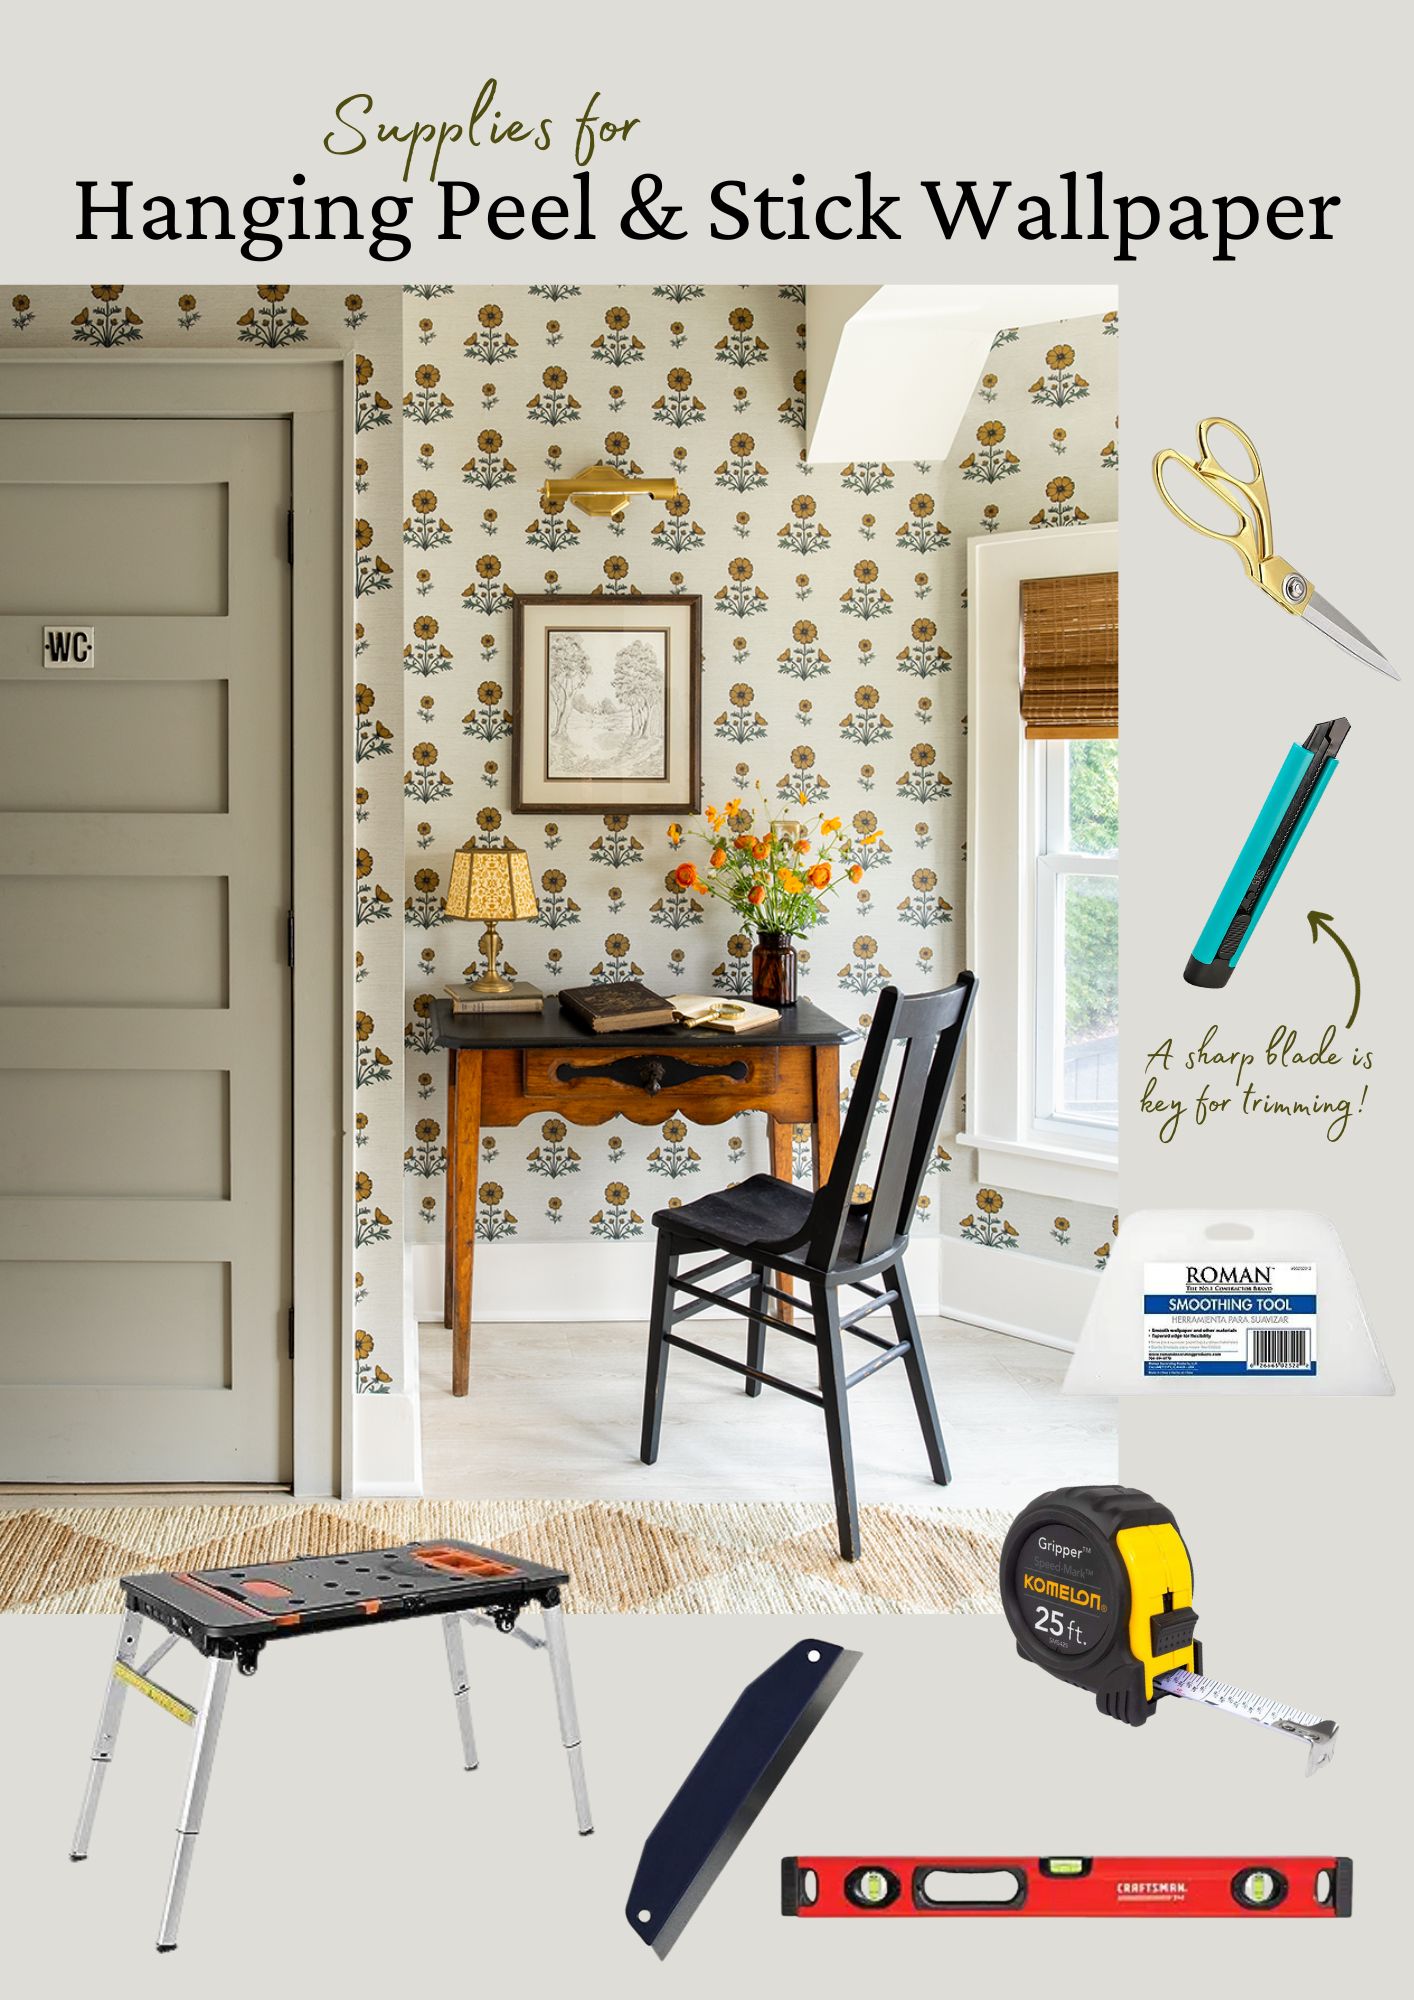
Tools and Materials You’ll Need:
- Chasing Paper Peel & Stick Wallpaper
- Utility Knife
- Scissors
- Measuring Tape
- Pencil
- Level
- Straight Edge
- Wallpaper Smoother
- Step Ladder or Adjustable Height Platform
Click for Supplies!
Step 1: Prepare The Room
Remove any existing wallpaper, and ensure the walls are clean, smooth, and free from dust or debris. Sand down any rough spots and repair any imperfections in the wall. It’s essential to start with a smooth canvas. Peel & Stick only works on walls with NO texture. If your wall have any texture, the wallpaper will not stick.
Step 2: Measure and Determine Layout
Now it’s time to measure your wall and cut your wallpaper accordingly. Use the tape measure to measure the width of your walls first. Chasing Paper wallpaper comes in 2ft wide strips. Layout the pattern to determine where to start papering in order to make the least amount of cuts and have the most pattern displayed.
Also make sure to start at the highest point of your wall (we often work in very crocked homes). It’s better to trim the paper, than come up short!
If you need to trim a lot of excess wallpaper on a sheet, use the pencil, straight edge and scissors to trim the wallpaper sheet slightly longer than needed. You’ll use the straight edge and utility knife to trim the rest in place. Trimming over excess before hanging makes the hanging process easier.
Step 3: Hang the Wallpaper
Peel a few inches of the backing from the top of your wallpaper sheet and align it with the top of your wall. Use a level to ensure it’s straight, and then slowly press the adhesive side onto the wall, working your way down the center first, then smooth it out to the sides so air bubble do not get under the paper. If you do get air bubbles, move them towards the edge with your smoothing tool. If you can’t get a bubble out, make a small slice in it with your utility knife, release the air, then smooth.
Next line up the pattern on the side of the second sheet with the first sheet. Slowly start adhering to the wall, working your way from one side to the other, smoothing it out with your tool.
Step 4: Trim the Excess
Continue applying each wallpaper sheet, aligning the pattern as you go. Trim any excess paper at the bottom and top edges as needed by holding your straight edge where you want to cut, then trimming it with the utility knife. (Pro Tip: The sharper the blade, the easier it is to get precise cuts. Don’t rush this part.)
For outlets, turn off the power, remove the cover, apply the wallpaper, and then cut an X shape over the outlet, folding the flaps behind the plate.
Step 5: Finishing Touches
Once your wallpaper is all in place, give it one final smoothing over to ensure a secure bond. Check for any remaining air bubbles and gently press them out using a utility knife and wallpaper smoothing tool.
Hanging Tradition or Vinyl Wallpaper
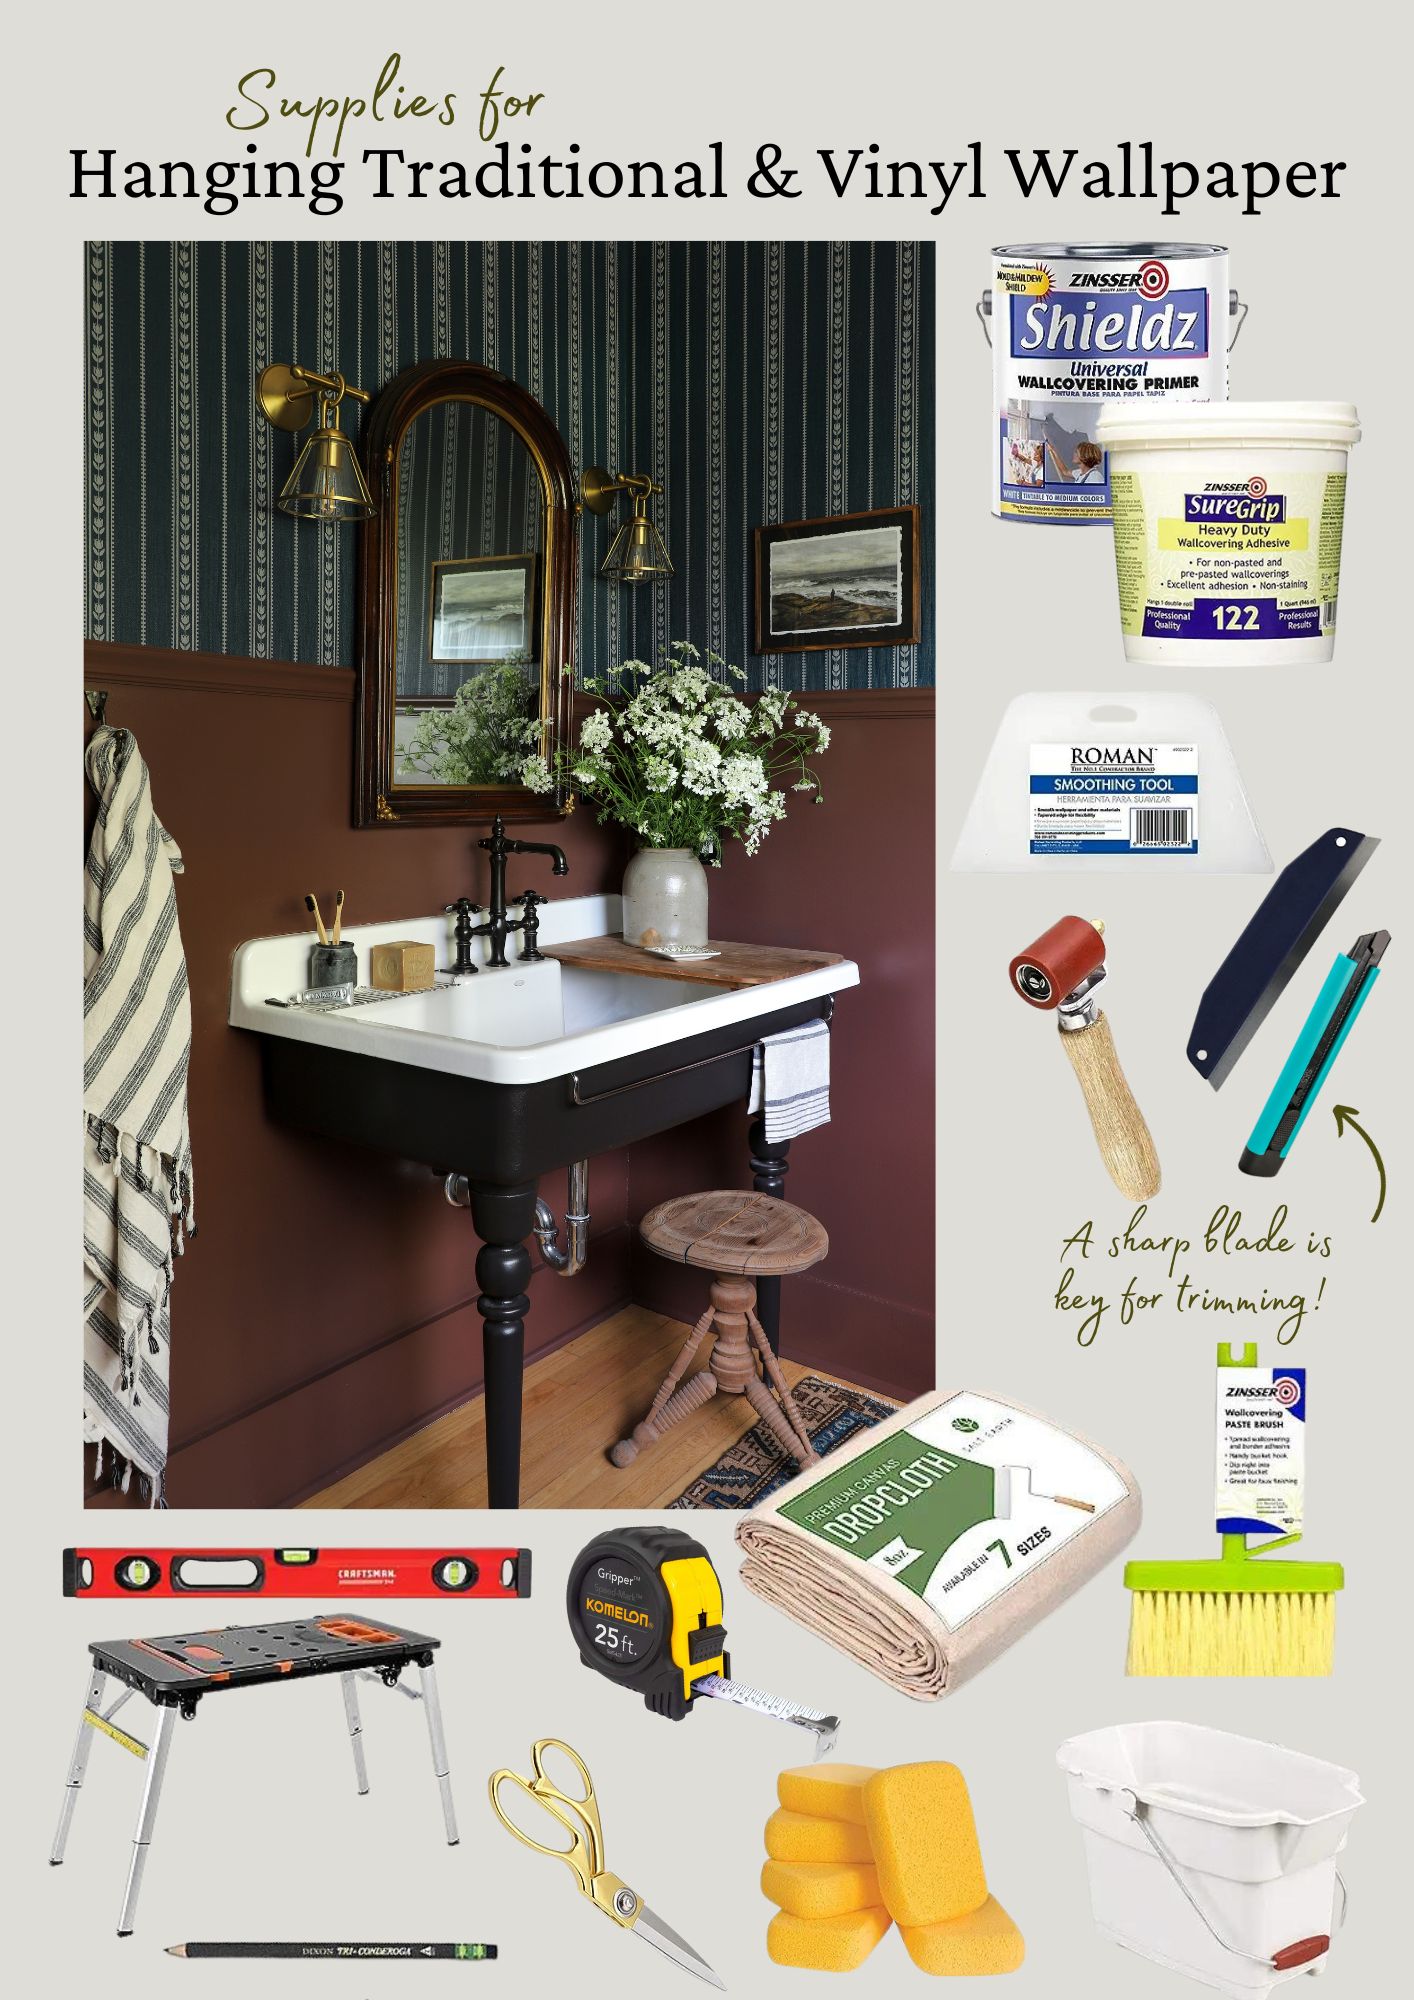
Tools and Materials You’ll Need:
- Chasing Paper Traditional or Faux Grasscloth Vinyl Wallpaper
- Universal Wallpaper Primer
- Paint Roller
- Paint Tray
- Wallpaper Adhesive
- Wallpaper Pasting Brush and Prep Tray
- Utility Knife
- Scissors
- Measuring Tape
- Straight Edge
- Level
- Pencil
- Step Ladder or Adjustable Height Platform
- Wallpaper Smoother
- Wallpaper Seam RollerSponge and Bucket of Water
- Prep Table or Bench
- Two Drop Cloths
- Line Laser Level (*Helpful but not necessary)
Click for Supplies
Step 1: Prepare the Room
Remove any existing wallpaper, and ensure the walls are clean, smooth, and free from dust or debris. Sand down any rough spots and repair any imperfections in the wall.
Use the paint tray and roller to prep the walls using the Universal Wallpaper Primer. This needs to be done 1 to 24 hours before wallpapering. The primer will dry semi-translucent. The walls will also stay a bit tacky from the primer, so don’t wait more than 24 hours to wallpaper after priming to wallpaper. The primer’s job is to help the adhesive adhere the wallpaper to the wall, while still making it easily removable without ruining the walls at a later time.
Step 2: Measure and Determine Layout
Use the tape measure to measure the width of your walls. Chasing Paper wallpaper comes in 2ft wide strips. Layout the pattern to determine where to start papering in order to make the least amount of cuts and have the most pattern displayed. Use the pencil to mark the paper for easier layout while hanging.
Make sure to start at the highest point of your wall (we often work in very crocked homes). It’s better to trim the paper, than come up short!
If you need to trim a lot of excess wallpaper on a sheet, use the pencil, straight edge and scissors to trim the wallpaper sheet slightly longer than needed. You’ll use the straight edge and utility knife to trim the rest in place. Trimming over excess before hanging makes the hanging process easier.
Step 3: Prepare the Wallpaper for Hanging
Use the prep table or bench to lay your first strip of wallpaper facedown, which is now cut and marked for the layout. Fill the prep tray with adhesive. Use the pasting brush to brush on adhesive to the back of the wallpaper sheet. Make sure you have a drop cloth underneath your prep table or bench to catch any possible drips.
Lay a second drop cloth under the area you are papering. After the back of the wallpaper sheet is pasted, lightly coat the wall with adhesive, just where you are going to hang your first wallpaper sheet. (Pro Tip: It’s helpful to mark the wall with pencil matching your layout to help with pasting.)
Step 4: Hang the Wallpaper
Starting at one end of the wall, align the top of the wallpaper strip with the ceiling or crown molding. Use a level to ensure it’s straight (Pro Tip: This is where a laser level can come in handy, though it is not necessary). Make sure you are following the layout you pre-determined.
Carefully press the wallpaper onto the wall, working from the top down. Use the wallpaper smoother to remove air bubbles and wrinkles as you work your way down the sheet. (*Pro Tip: I have found Faux Grasscloth Vinyl Wallpaper is extremely forgiving while hanging. The thickness of the paper allows for easy movability. Vinyl wallpaper is known for its durability and ease of maintenance).
Step 5: Trim Excess
Once the wallpaper is in place, use a utility knife and a straight edge tool to trim any excess at the top and bottom of the wall. (Pro Tip: The sharper the blade, the easier it is to get precise cuts. Don’t rush this part.)
Use the wallpaper smoother one more time to ensure all adhesive bubbles have been removed. Fill a bucket with warm water. Get a sponge wet and ring it out. Use the damp sponge to wipe the wallpaper, trim, ceiling, etc. Do not leave adhesive on any exposed surfaces.
Step 6: Repeat Steps 3 – 5
Continue applying adhesive onto the back of the wallpaper sheet and the wall, and hanging strips of wallpaper, aligning the pattern as you go. Be sure to overlap the edges slightly to create a seamless look. Use the seam roller to push out adhesive bubbles and create a flat seam.
Step 7: Finishing Touches
After all the wallpaper is hung, check for adhesive bubbles, use the seam roller as necessary and then use a damp sponge to wipe any excess adhesive from the wallpaper and surrounding surfaces. Allow the wallpaper to dry completely, using this takes 24 hours.
Maintenance Tips for Traditional and Vinyl Wallpaper:
– Chasing Paper’s traditional wallpaper is easy to clean with a damp cloth. Do not over soak, as this wallpaper does have more of a paper texture and this may affect the color.
-Chasing Paper’s faux vinyl grasscloth is extremely durable and easy to clean. It is great paper to use in high traffic areas as well as areas with more moisture like kitchens and bathrooms. Use warm water and soap to wipe down.
– If you ever want to remove it either type of wallpaper, start at a corner and peel it off slowly. It should come off cleanly with minimal to no damage to your walls, as long as they were primed with wallpaper primer prior to hanging.
That’s it! Let me know if you have any questions!
Shop My New Wallpaper Collection Here
EXPLORE MORE: DIY PROJECT, SHOP, Wallpaper Collection


