DIY HAIR | Loose Waves
DIY PROJECT, Hair DIY
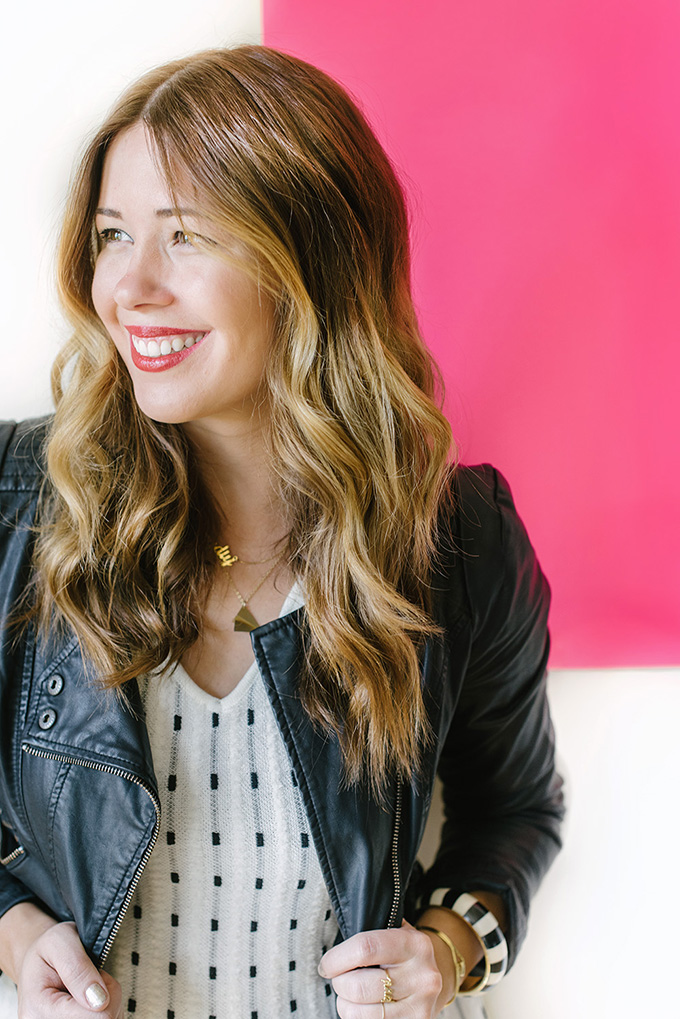
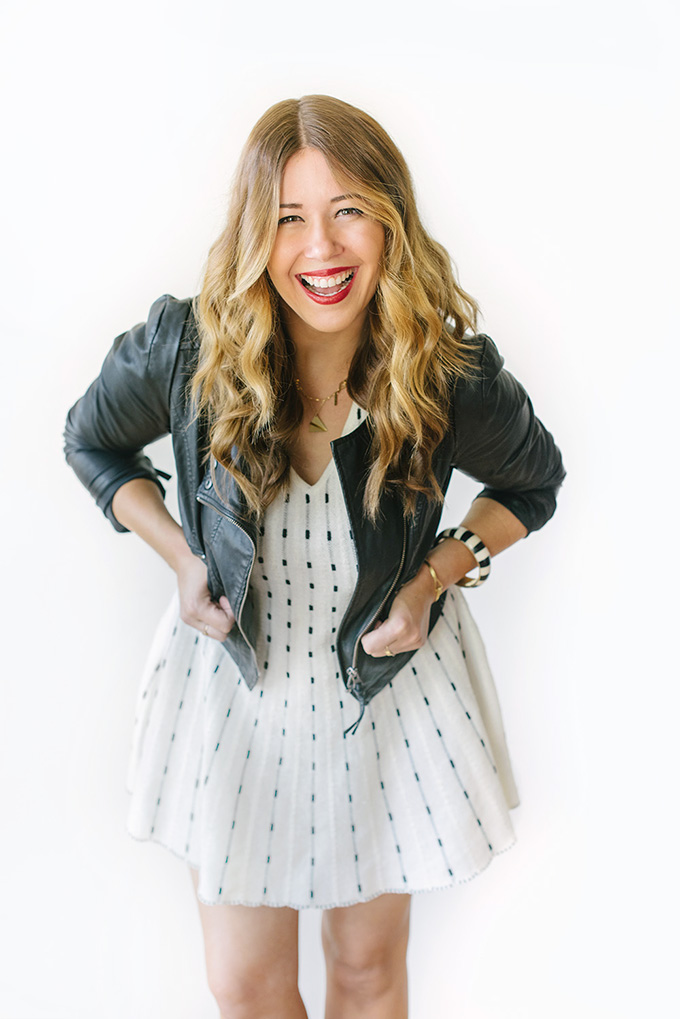
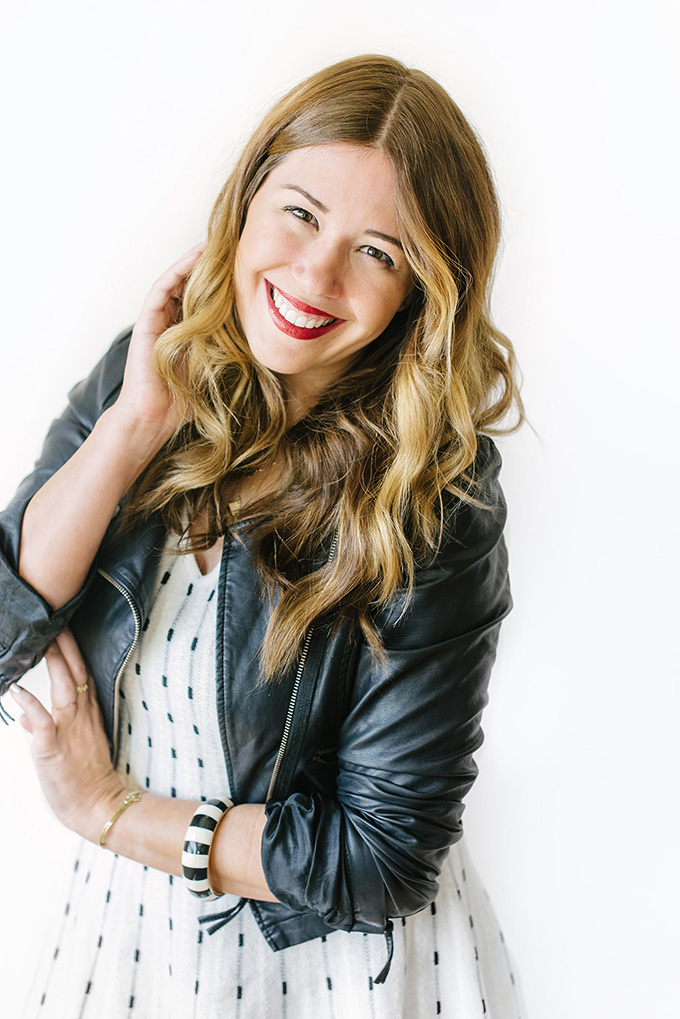
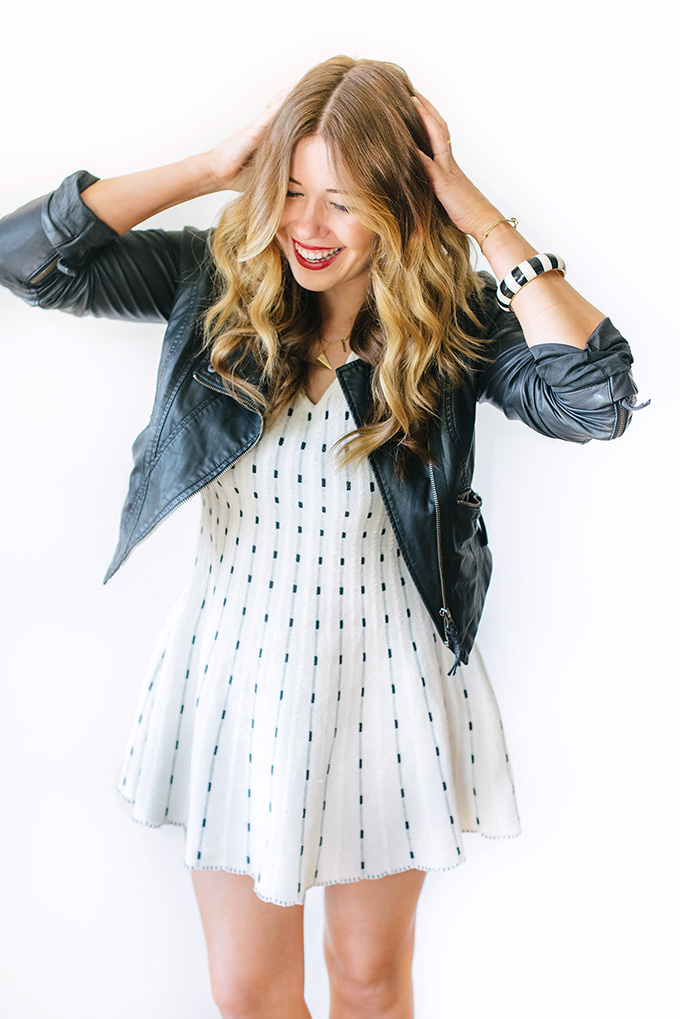
Hey All, and Happy Friday! It’s been a couple of weeks since I colored my hair lighter, going from ombre to all over color, and I was so stoked with the results that I am thinking of going a shade blonder during my next at-home touch up. Since my hair grows at warp speed, it’s been amazing (and time and money saving) to find the perfect at-home color. In my last hair DIY post I used Vidal Sassoon Salonist in the color 7/0 Dark Neutral Blonde to lift my dark base, and keep the color from falling flat. Recently, I have been getting some questions on ISPYDIY Snapchat about how I get my loose waves, so thought I would share my steps! This style is perfect to show off all the rich tones in my lightened hair. I also love this look, because it’s so simple, and gives my hair some movement, revealing the dimension in my hair color thanks to Salonist. I always thought I could only achieve the highly sought after beachy waves at the salon, but here are two simple tips that helped me achieve the look:
#2 Curl from the top! Leaving the bottom inch loose and then giving it a little tug after you release your curl will create the wave effect.
Now, I have my at-home color and at-home styling set! Now, I just have to master cooking…
Steps after the break!
Vidal Sassoon ColorFinity Hair Spray (Bonus: protects my hair color and against UV rays)
1″ Curling wand
Brush
Step 1: Start with a 1” section of hair on the top of your head and spray it with hair spray.
Step 2: Wrap this section around the curling wand, away from the face, leaving the end inch uncurled, and hold for 15 seconds.
Step 3: After you unravel each, tug on the end a couple times to loosen up the hair creating less of a curl and more of a wave.
Step 4: Continue these two steps around the top of your head and then underneath.
Step 5: Tousle your curls for added volume.
Step 6: Spray the top with hairspray and lightly brush to avoid any poufiness or fly-aways.
EXPLORE MORE: DIY PROJECT, Hair DIY


