HAIR DIY | Lighten Ombre Hair
DIY PROJECT, Hair DIY

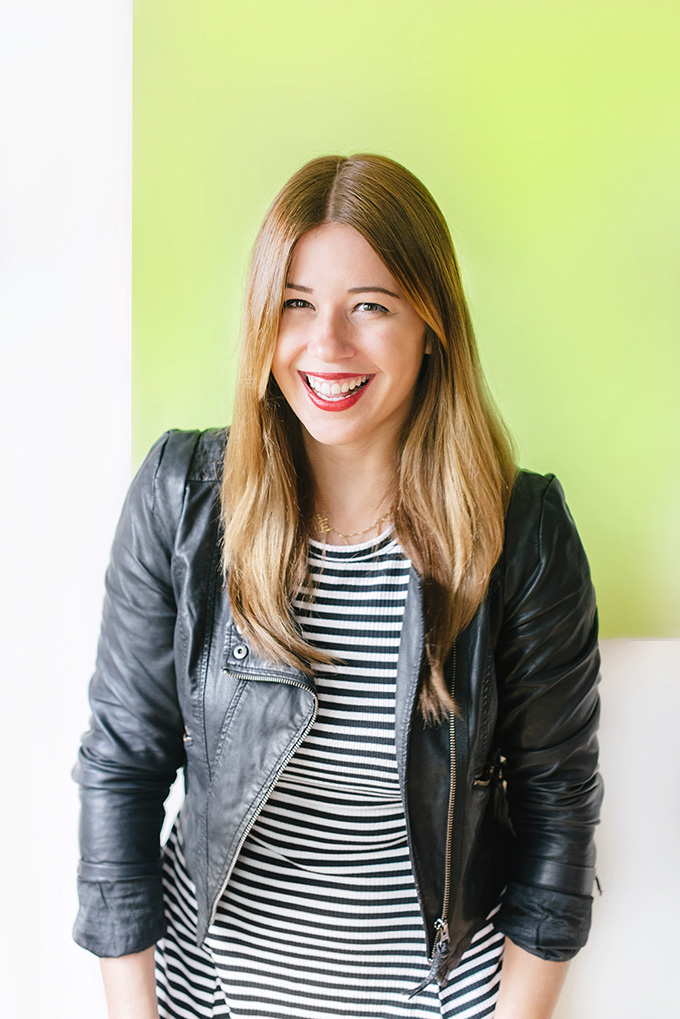
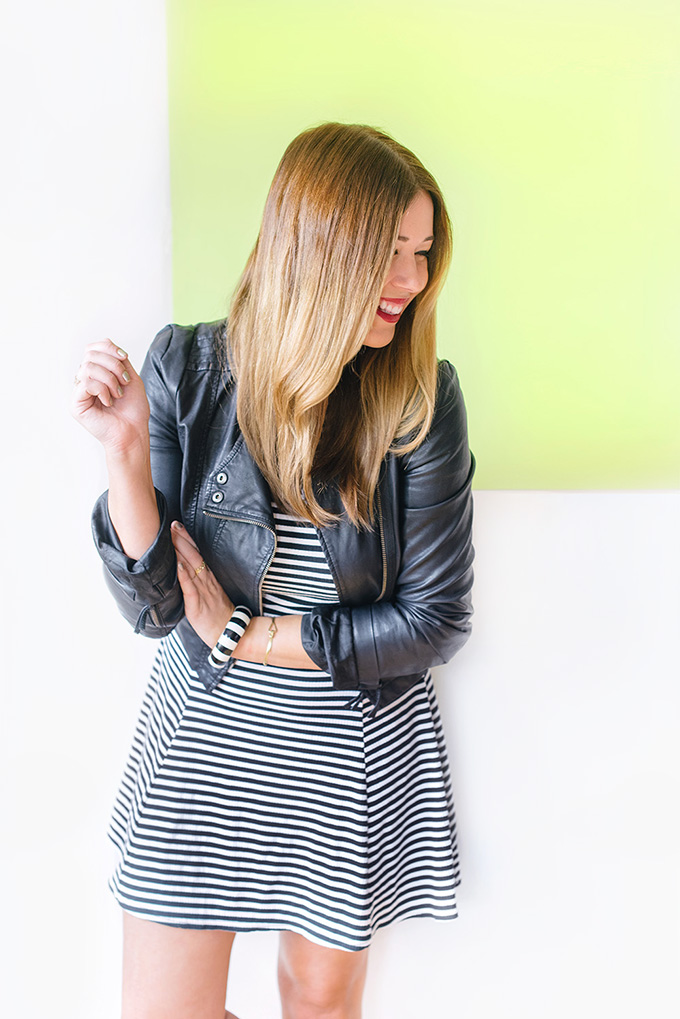
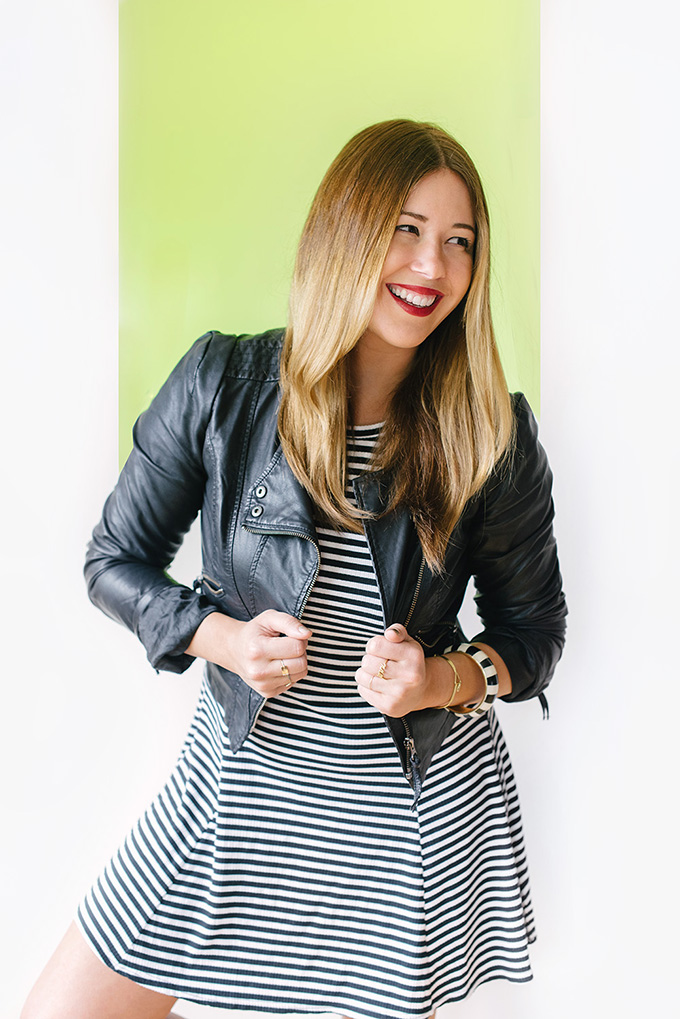
I must admit, I love getting compliments on my hair color, because I get to tell people how I do DIY dye jobs, and it always starts up a fun conversation. A lot of ladies are afraid to take the at-home coloring plunge because of the due to dull/flat results that usually come along with DIY kits, but as someone who has been experimenting with hair dye since middle school, it’s so easy and can look as great as professionally colored hair (not to mention more cost efficient). A few months ago I transitioned back to ombre after a bout with red hair because it’s my go-to Summer hair style. I love it because it lightens up my dark hair, but is still so easy to maintain. Now that we are inching closer to sunny days, I wanted to lighten up the entire look (plus I needed to cover up a few obvious greys on my dark roots). I decided to try Vidal Sassoon Salonist Permanent At-Home Colour in Dark Neutral Blonde (7/0) so it would to lift my base and also tone down some of the orangey highlights. I was super impressed that the easy to follow, two-step process in one box was able to lighten in all the right places, while still keeping the dimension of my ombre style. The brush gave me a really precise application at the root, and the bowl was key to making sure I used the right amount of formula for each step. The dreaded orange areas were neutralized to a cooler shade of blonde, which I love! If you are looking to lighten up with at-home color, check out the steps and supplies after the break…
PHOTOS BY | Jenna Kutcher

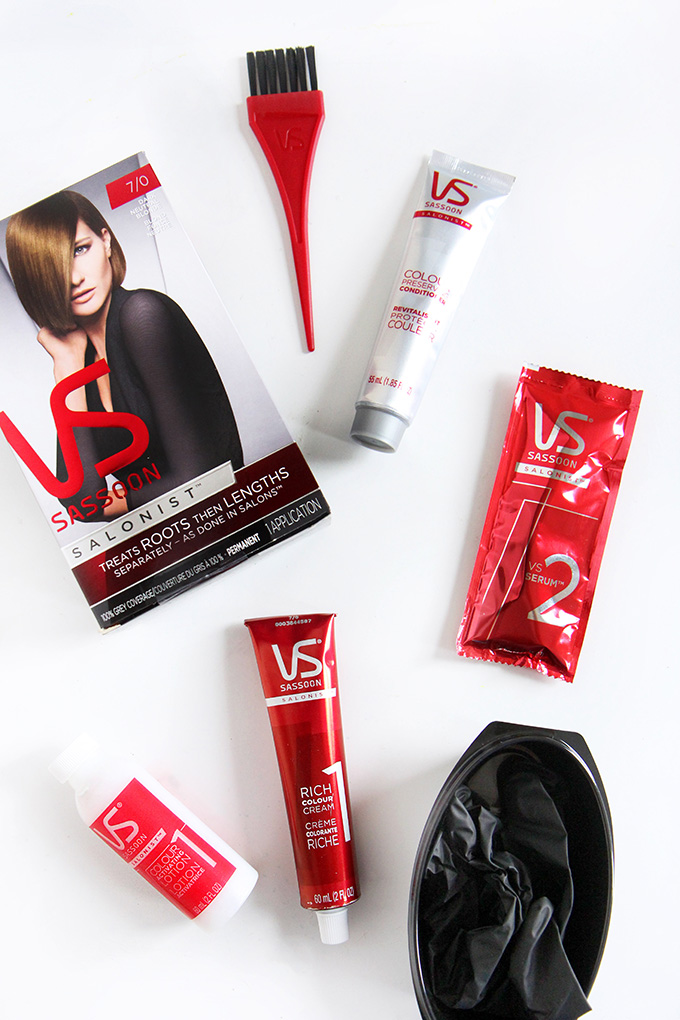
What you need:
Vidal Sassoon Salonist Hair Color – 7/0 Dark Neutral Blonde
What you do:
Start off by doing a strand test on a piece of hair with both your light and dark color, if you get the desired color, keep on reading… Make sure to use the gloves provided before you begin the test strand as well as the dye process.
Start by mixing the Color Activating Lotion and the Color Cream in the bowl provided.
Only brush 3/4 of the mixture on to your roots, along your hairline, and down your part. Continue massaging it into your scalp for all over coverage.
Let the mixture sit for 20 minutes depending on your desired shade.
Once the time is up, mix the VS Serum with the remaining color cream in the same bowl until it is smooth. The VS Serum is truly magic — it adjusts the formula to give your lengths the correct amount of dye, making sure to not oversaturate strands.
Separate out your blondest pieces, and leave those un-dyed.
Use your hands to pull the formula through your lengths.
Wait 10 minutes before rinsing your hair with the Vidal Sassoon Color Preserving Conditioner for the perfect summer style.
This post was created in partnership with Vidal Sassoon, Thank you so much for supporting my amazing sponsors who make I SPY DIY possible!
EXPLORE MORE: DIY PROJECT, Hair DIY


