DIY German Schmear | As Seen on Makeover by Monday
As Seen In, Before & After, DIY PROJECT, Makeover by Monday
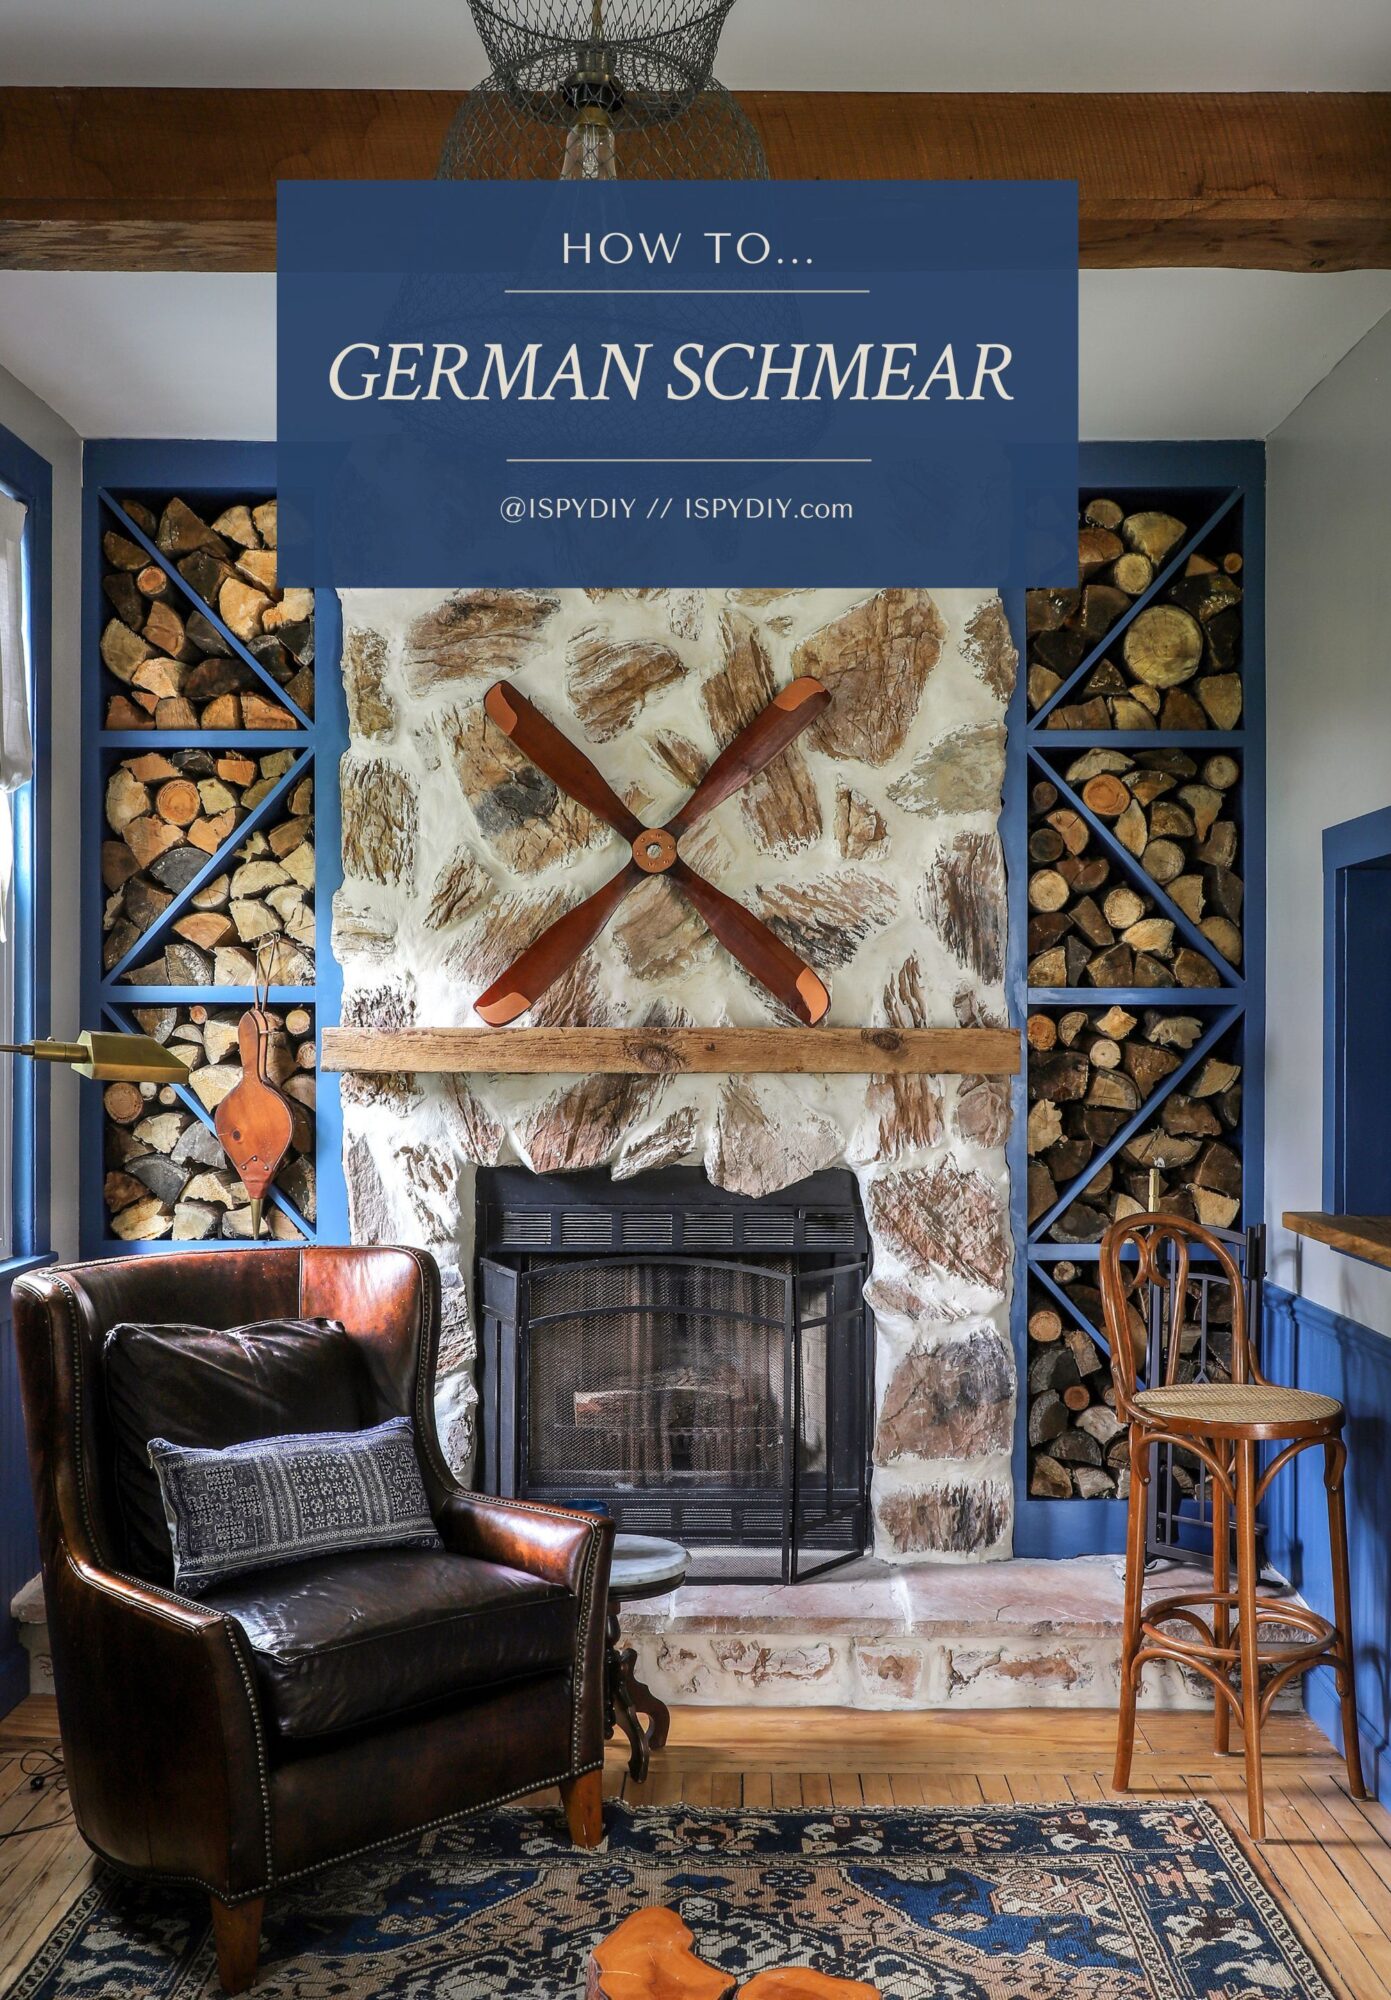
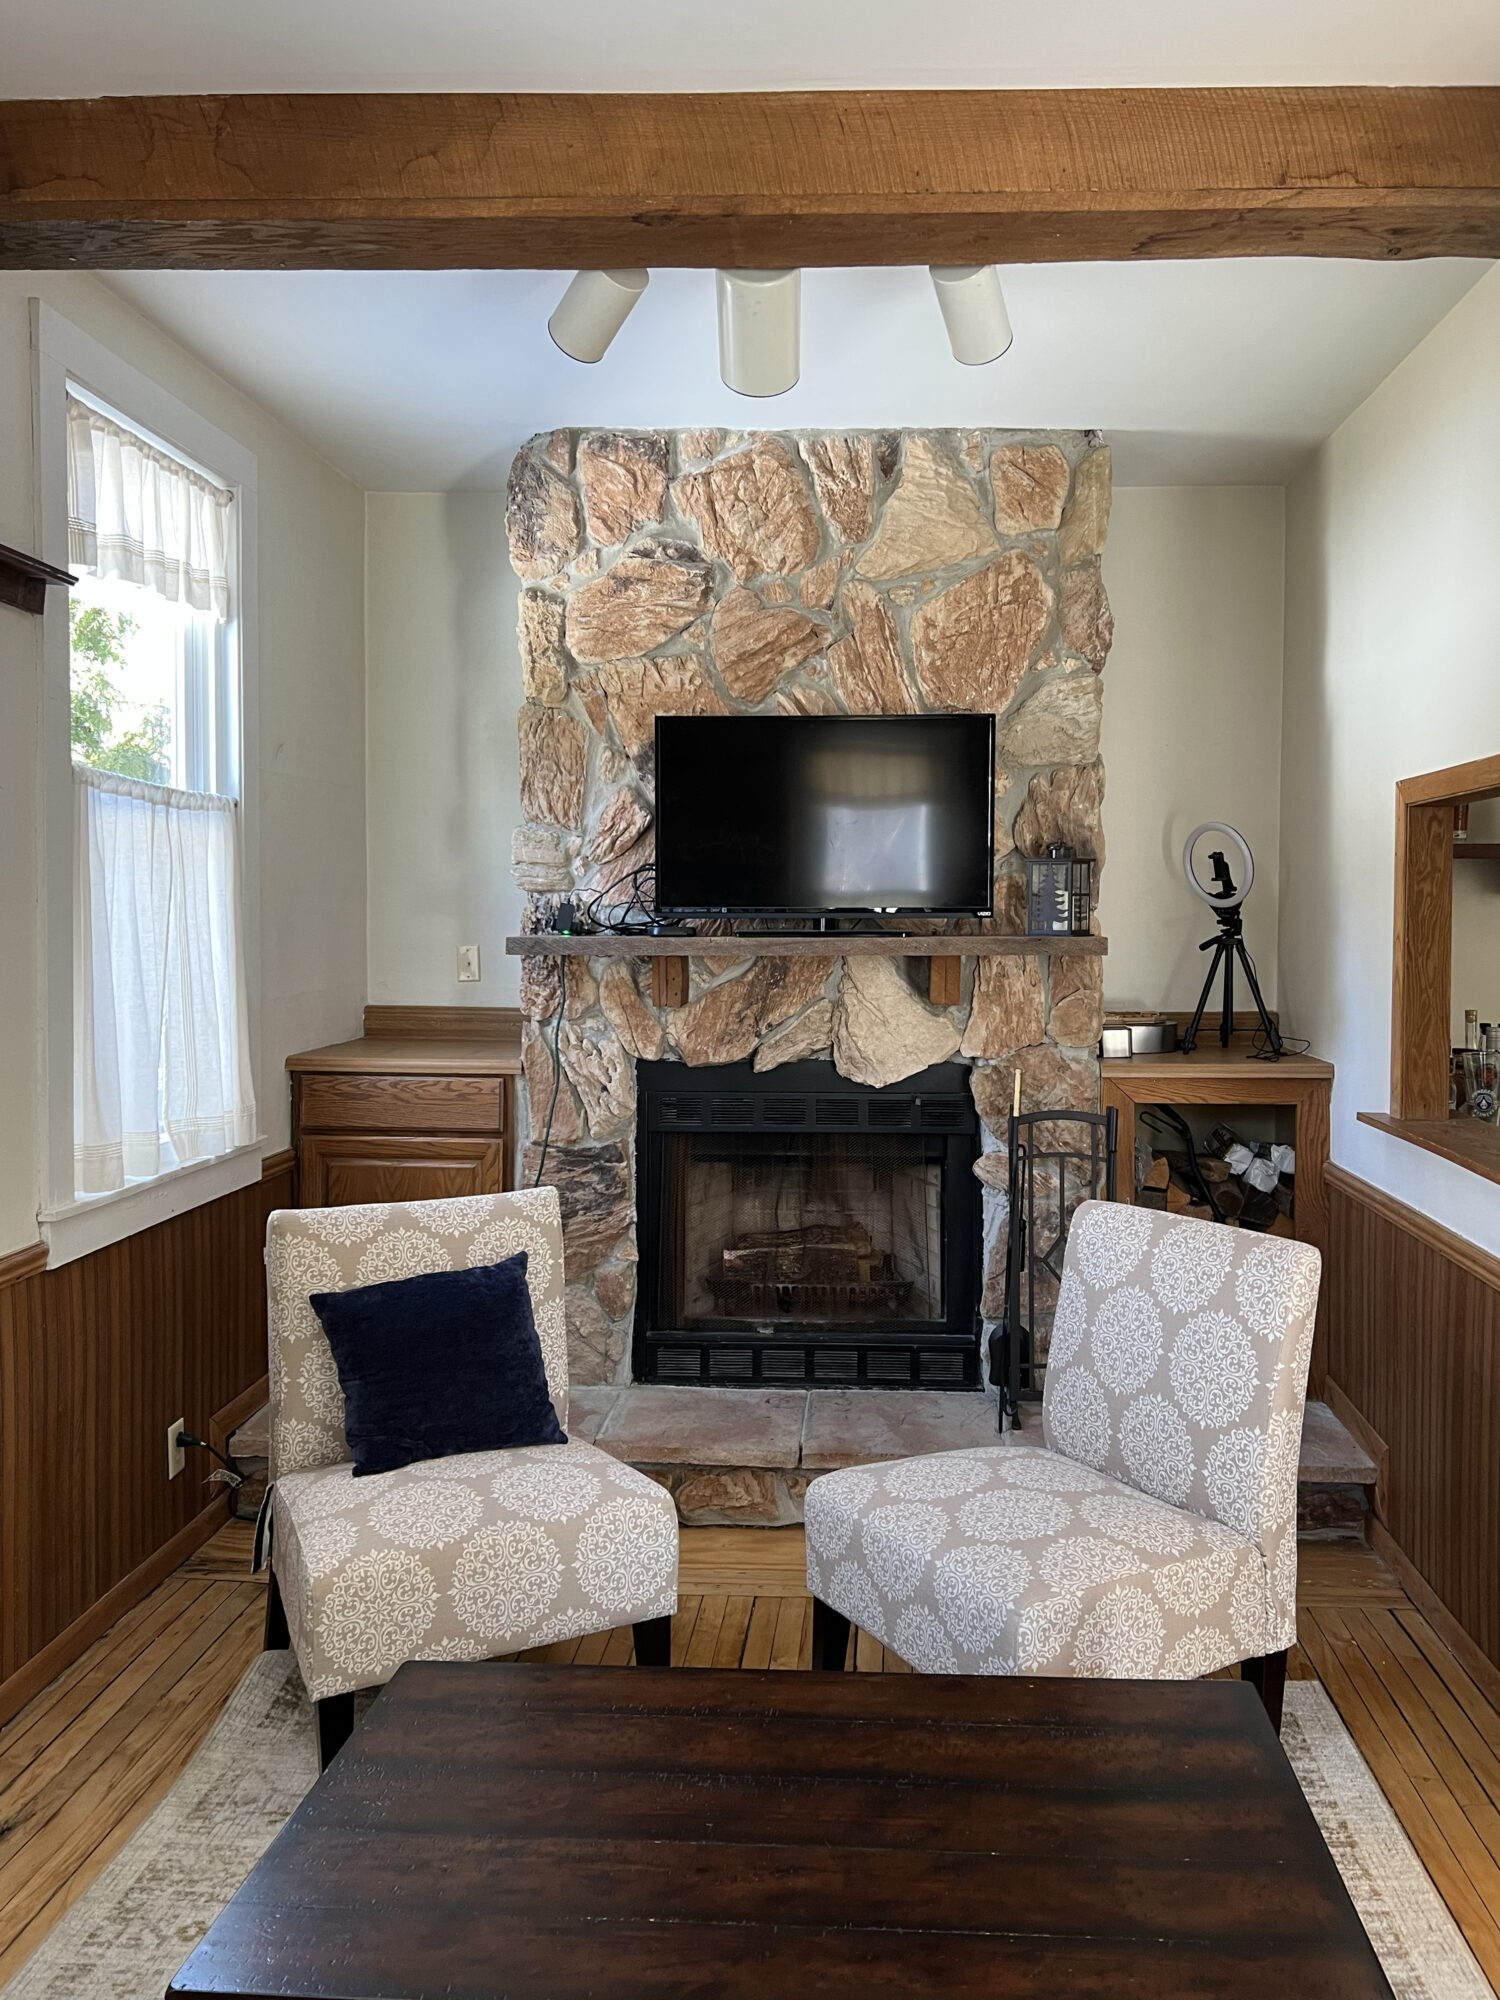
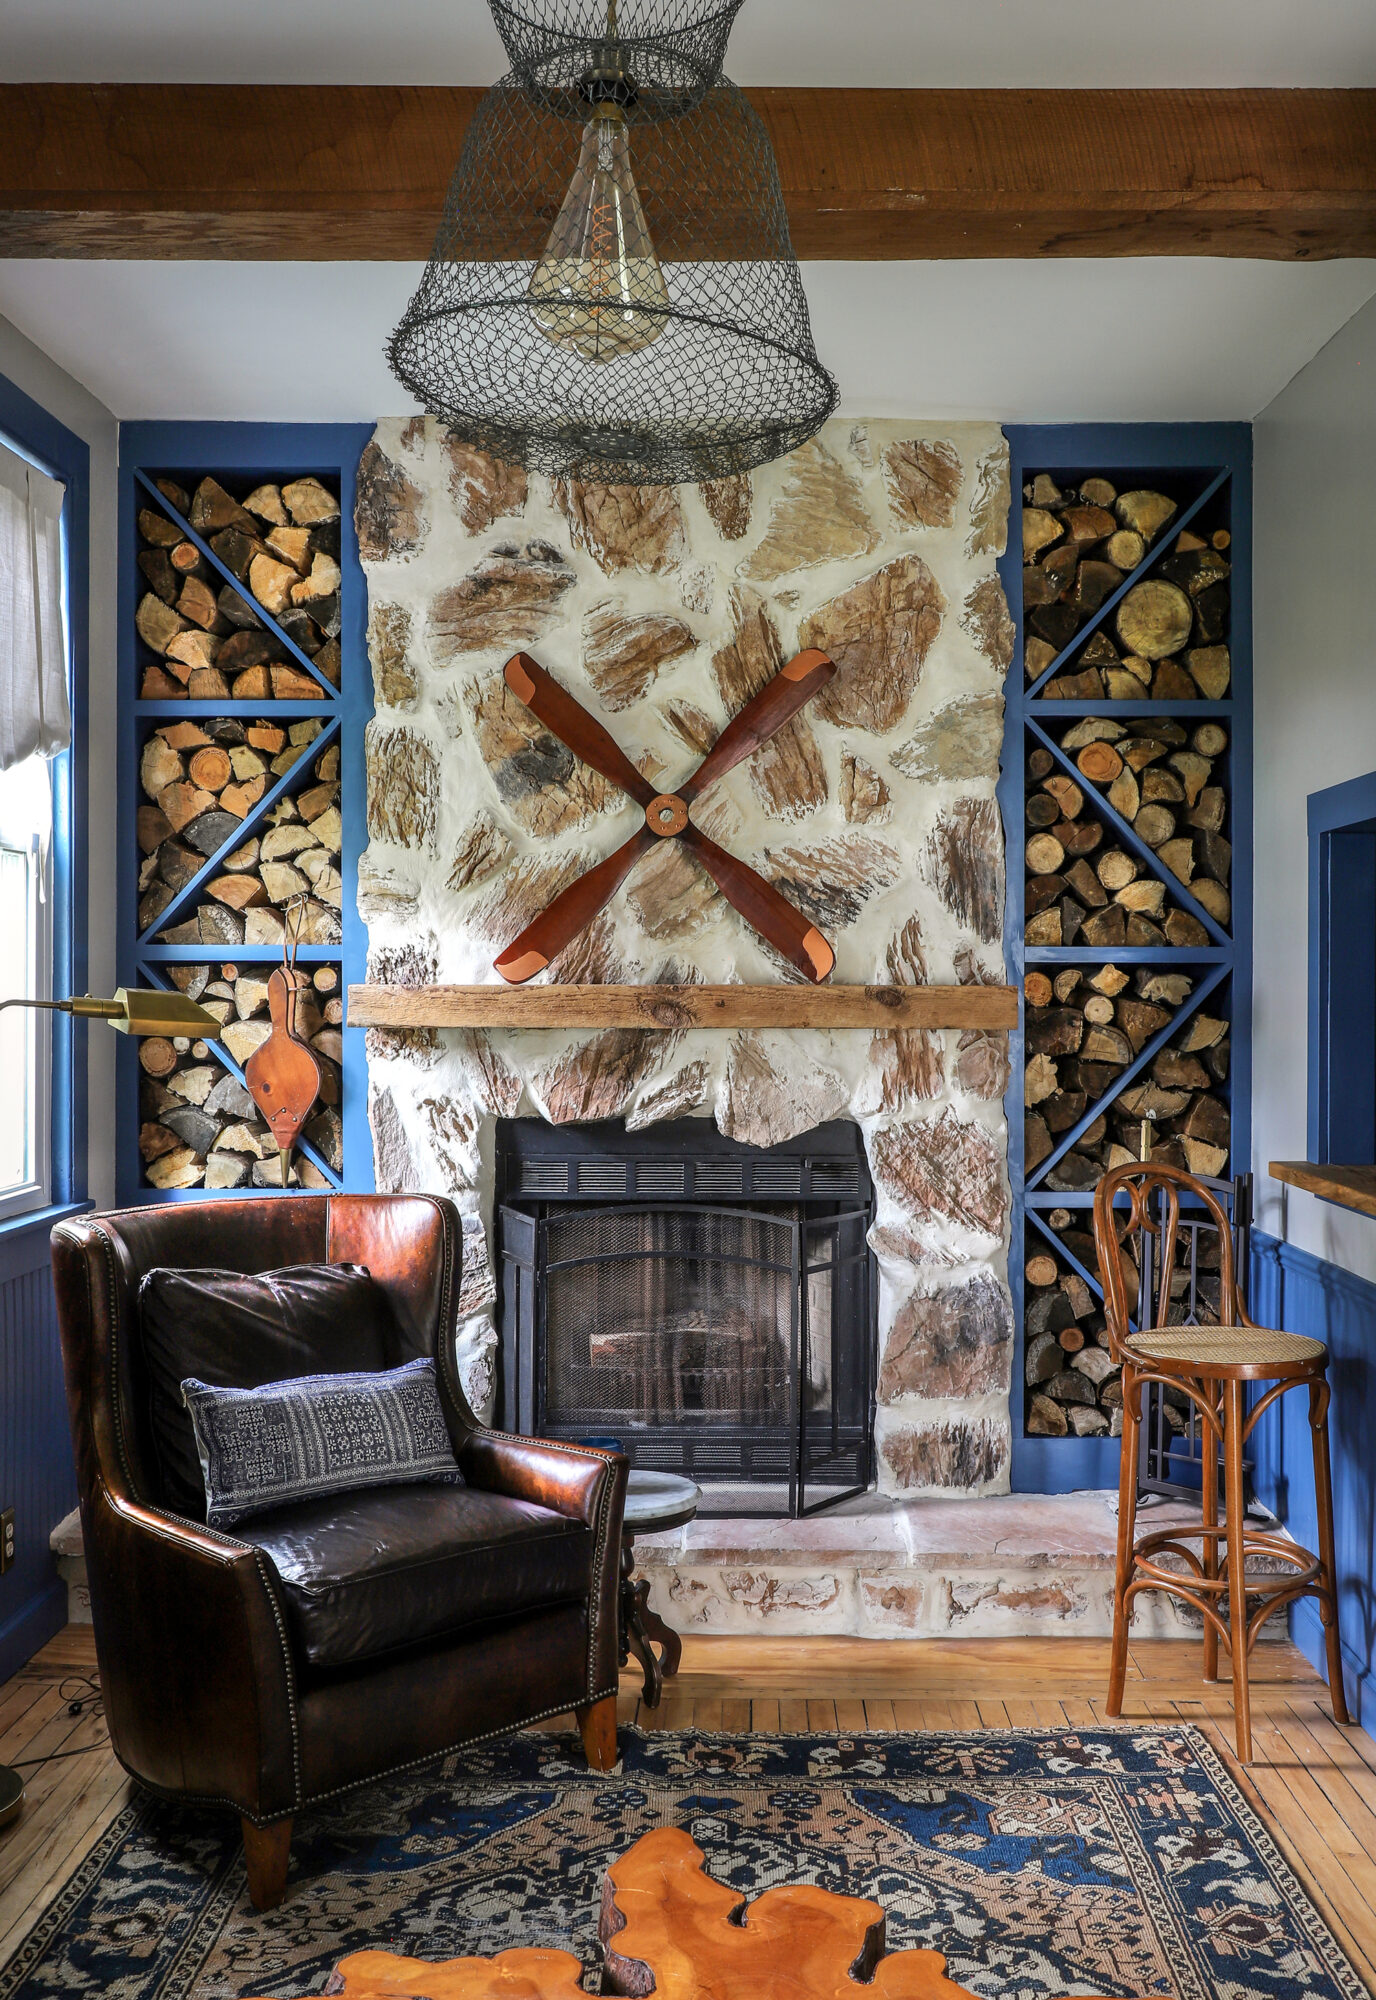
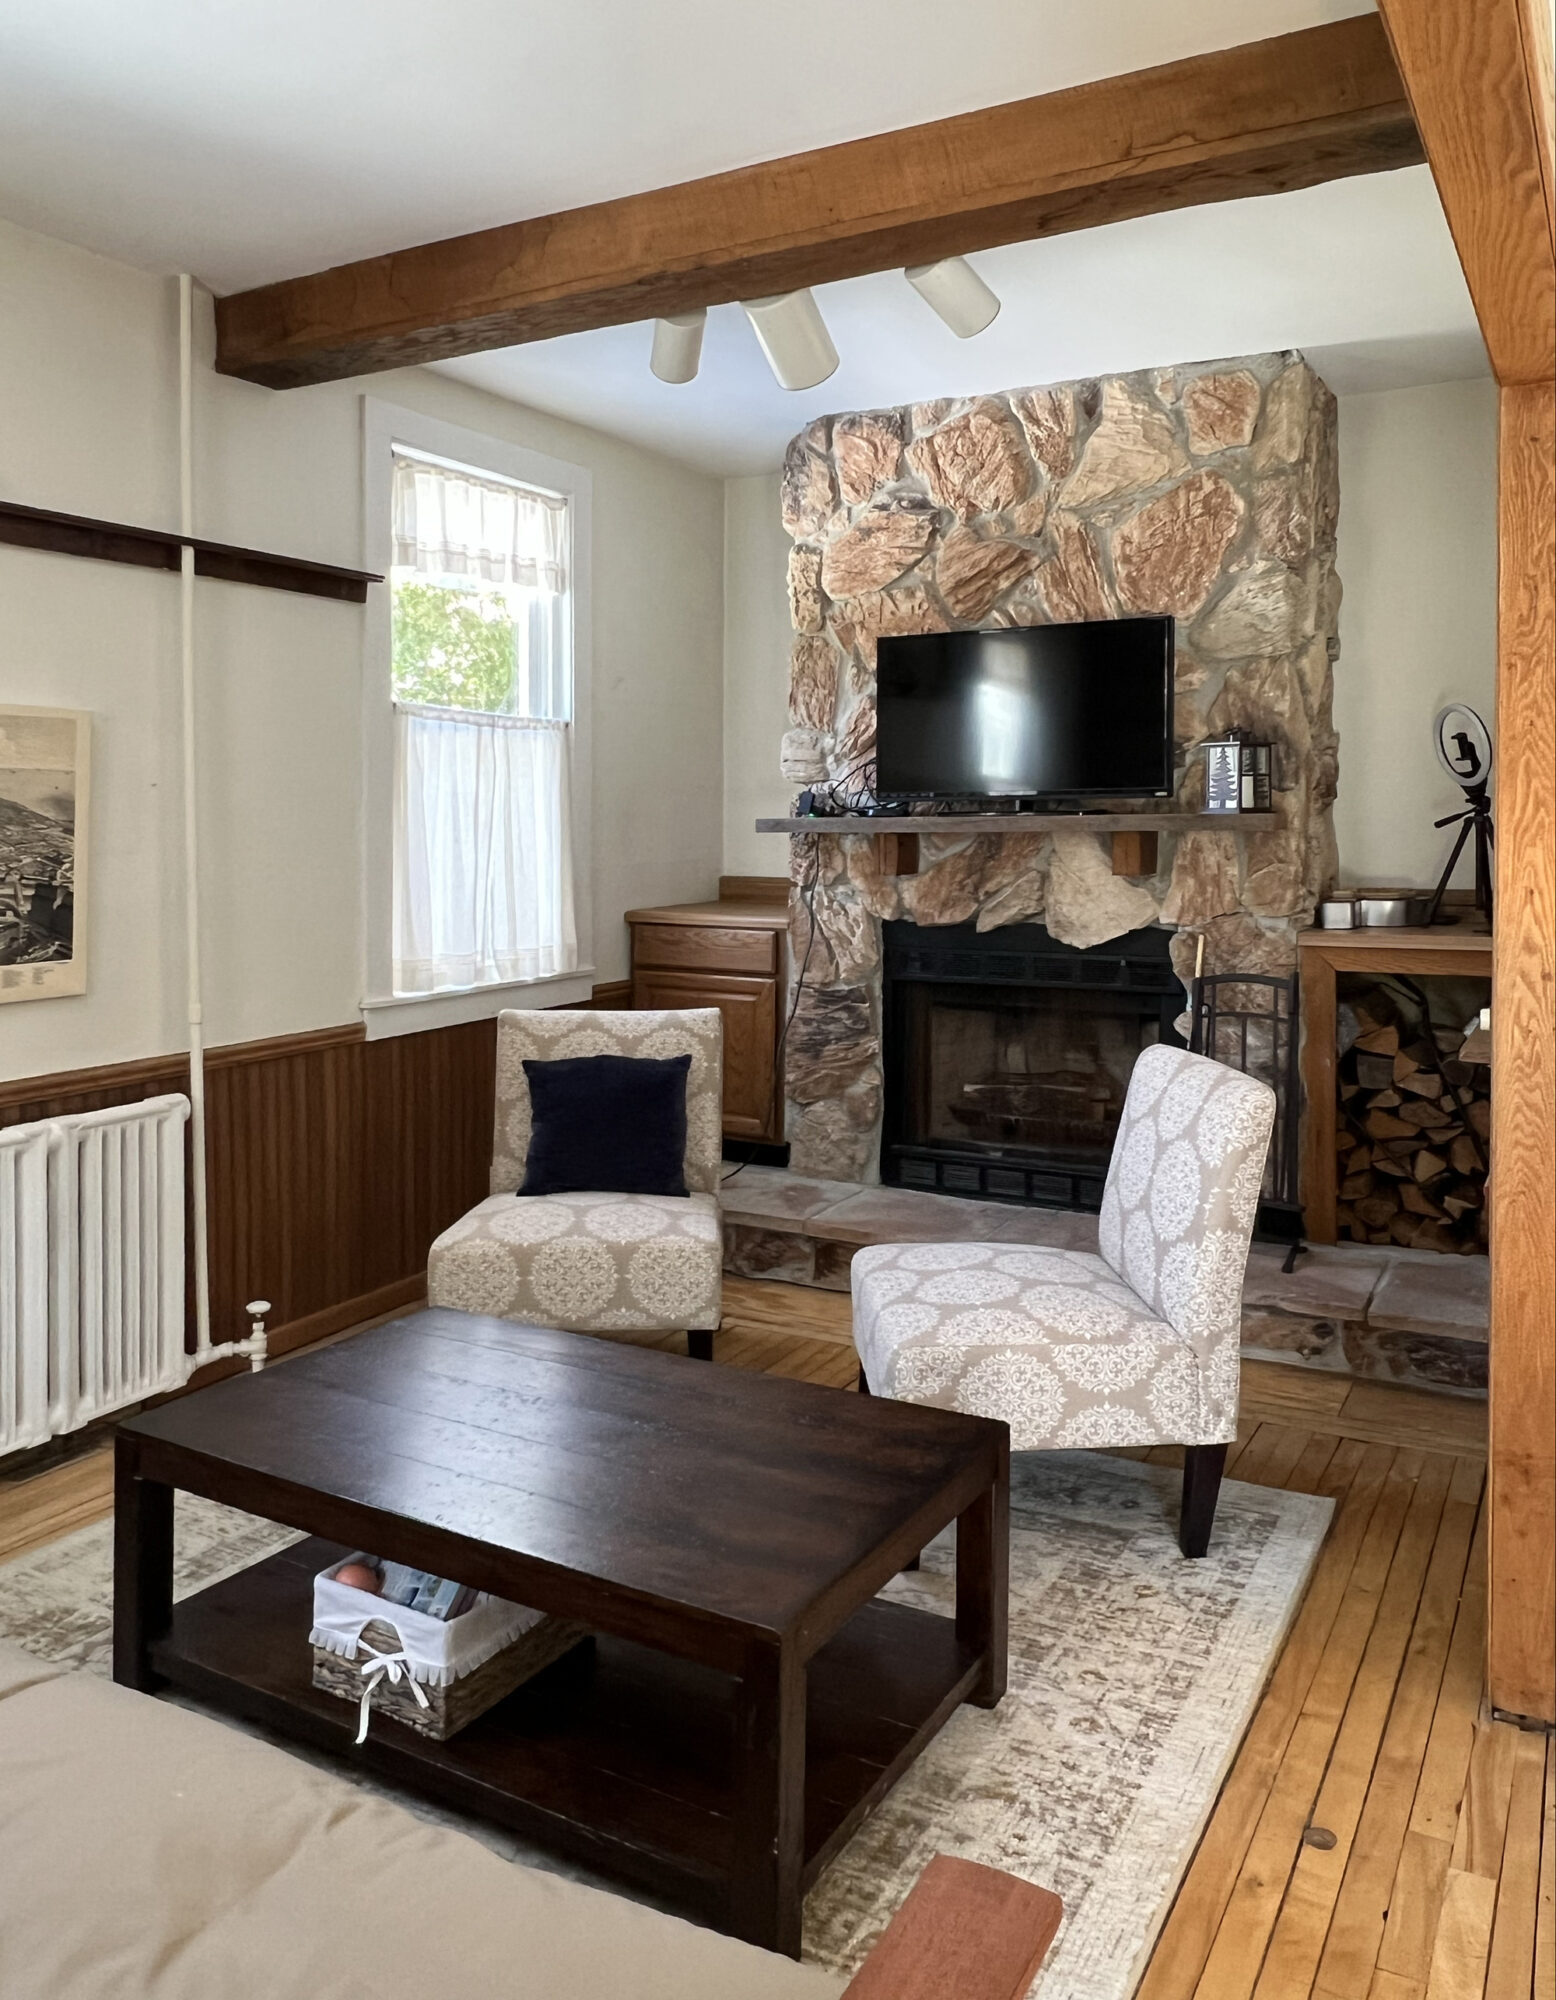
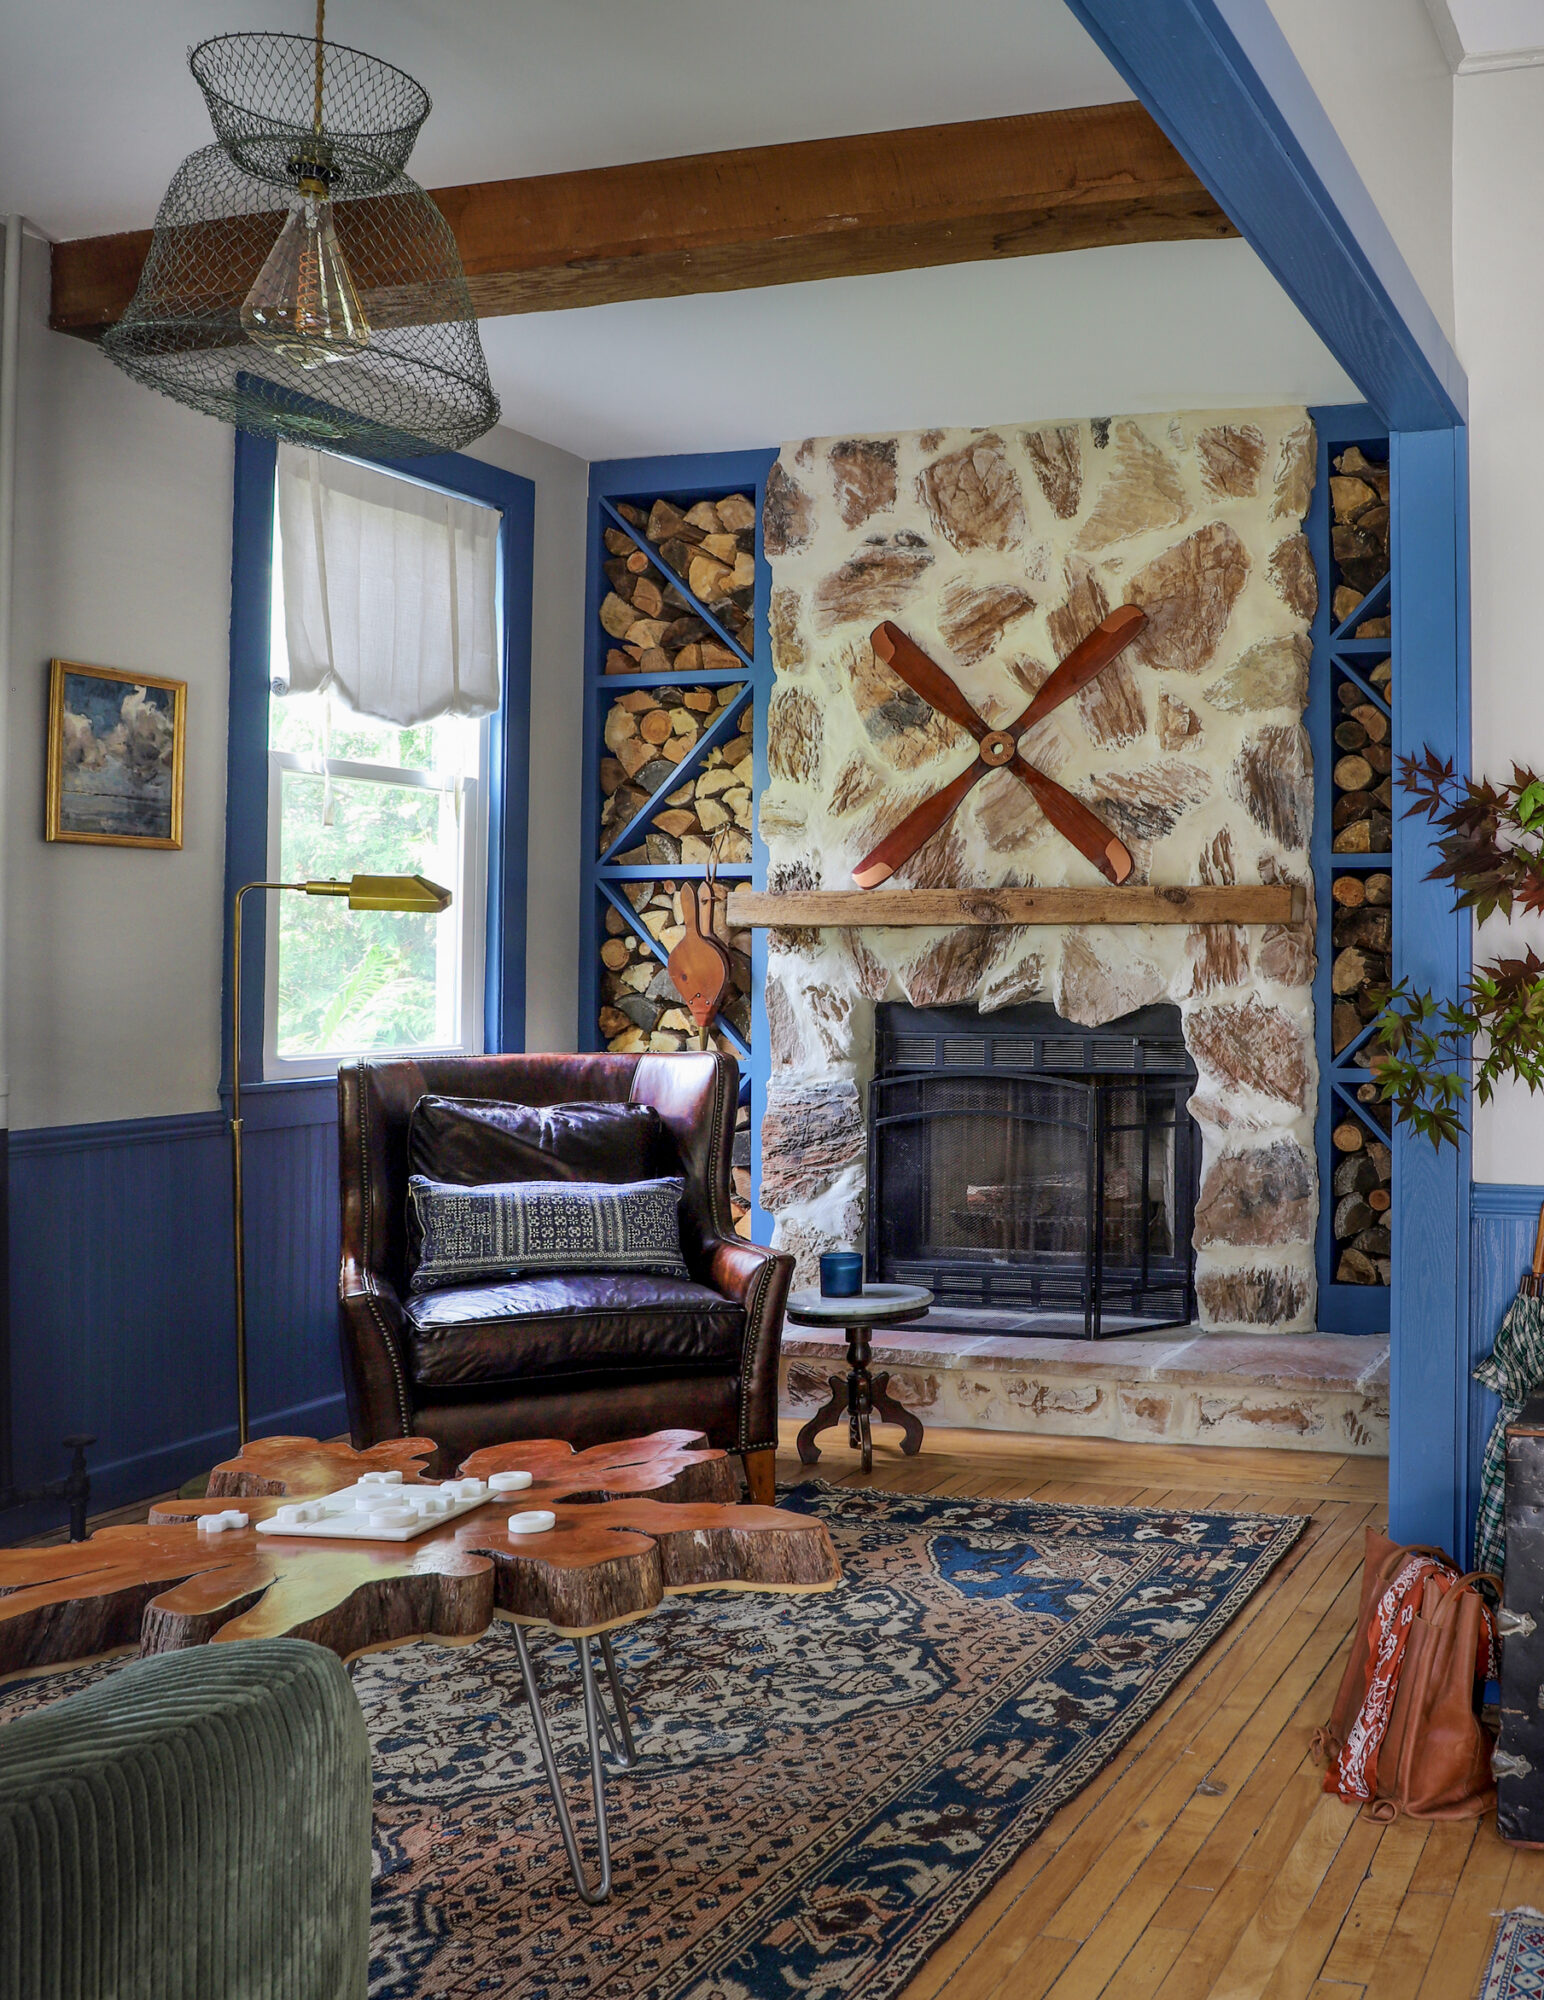
One of my FAVORITE projects on last weekend’s 3-Day Coach House Renovation was the German Schmear we did on the fireplace. This was my first time doing this technique (and I was doing it for a weekend makeover for our TV show – no pressure!), but I LOVED how it turned out. The process totally transformed the look of this fireplace. It went from dated to more of an an Old World cottage vibe…so good. It’s honestly pretty easy! It just involved applying a mixture of mortar and water onto the surface of your fireplace, either stone or brick, and smearing it around, ha! You definitely don’t need to be a professional to do it!


Supplies
- Drop Cloth
- Polyblend Sanded Grout in Alabaster
- Water (for Mixing Grout & Wiping during Application)
- Mortar Mixing Paddle
- Drill for Mixing Paddle
- Mortar Piping Bags
- Bucket (for Mixing Grout & Water during Application)
- Grouting Sponges
- Grouting Gloves
- Contractors Step Ladder

Step-by-Step
1. Start by prepping for the project before you dive into the fun part. It’s crucial to prep your fireplace properly. Start by thoroughly cleaning the surface, removing any dust, soot, or debris. If your fireplace has any loose or damaged bricks or stones, make sure to address those issues before diving into the schmear. Once your surface is clean, cover the surrounding area with drop cloths to protect them from potential grout splatters.
2. Next, mix the grout for your German Schmear treatment. Grab a bucket and combine the sanded grout and with water; mix following the manufacturer’s instructions. You’re aiming for a consistency that’s spreadable, but not too watery. We found a thicker consistency was better for building up the deep joints and a thinner mixture was easier to smear. For an extra touch of character, consider using a colored grout or adding a hint of acrylic paint to the mix to create colored grout – think warm neutral tones like beige or light gray. We used Alabaster which is a pre-colored grout.
3. Now comes the fun part – Once your mortar mixture is ready, it’s time to get your hands dirty – quite literally! Use a trowel or a gloved hand to apply the mortar mixture onto your fireplace’s surface. The goal is to build up the grout lines. I did start by using a piping bag to really fill the spaces because they were super deep on this fireplace. However, I found I still had to squish the grout into the space using my hands after piping. I also found using my hands was much easier than using a trowel.
4. As you are smearing, don’t worry about achieving a uniform look – the charm of the German Schmear comes from its imperfect and textured finish. You are specifically working to build up the grout lines. You may need to go back and do a second layer if your grout lines were more inset. This fireplace took three coats of grout to achieve this look due to original deeply inset grout lines.
5. Once you’ve covered and built up all the grout lines on the fireplace, focus on smearing the grout onto the edges of the stone or brick. Again, the goal is not perfection, but to create a softer more textured look. Experiment with different application techniques, such as gently smearing with you hands or a rag, and dabbing with a damp sponge, to create the desired effect.
6. As you are working with the grout, you may get indents from using you hands/fingers/towel to push it in the joints and smear it on the stones. I would just keep a damp sponge close by and go over the spot with that to even it all out.
7. Once the final layer dries, the result is this really beautiful fireplace that exudes a cozy, old-world cottage charm!
I can’t wait to see you try this project! See more DIY projects on Season 2 of ‘Makeover By Monday’ Saturdays at 1p/12p c on the Magnolia Network on TV! Or stream anytime on Max and Discovery plus!
EXPLORE MORE: As Seen In, Before & After, DIY PROJECT, Makeover by Monday


