DIY Decorative Cutting Board Wall
DIY PROJECT
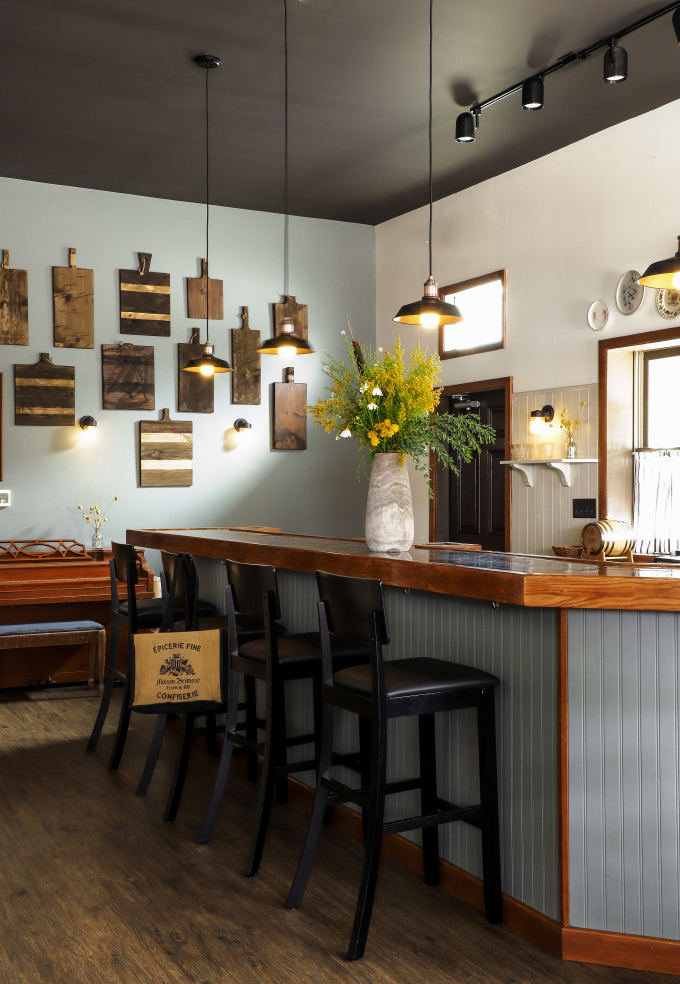
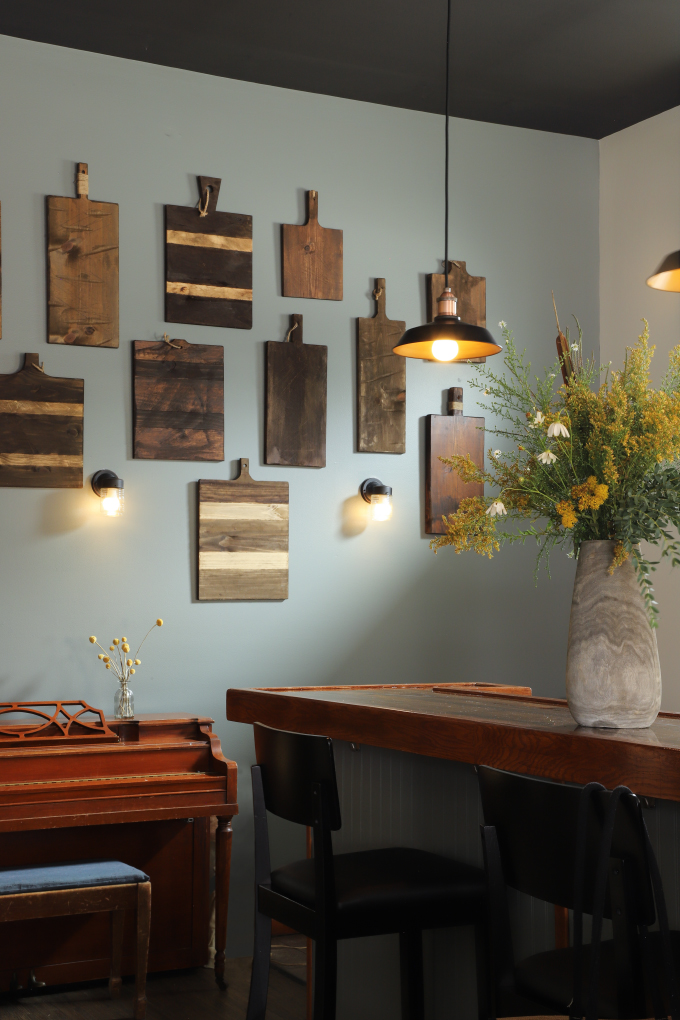
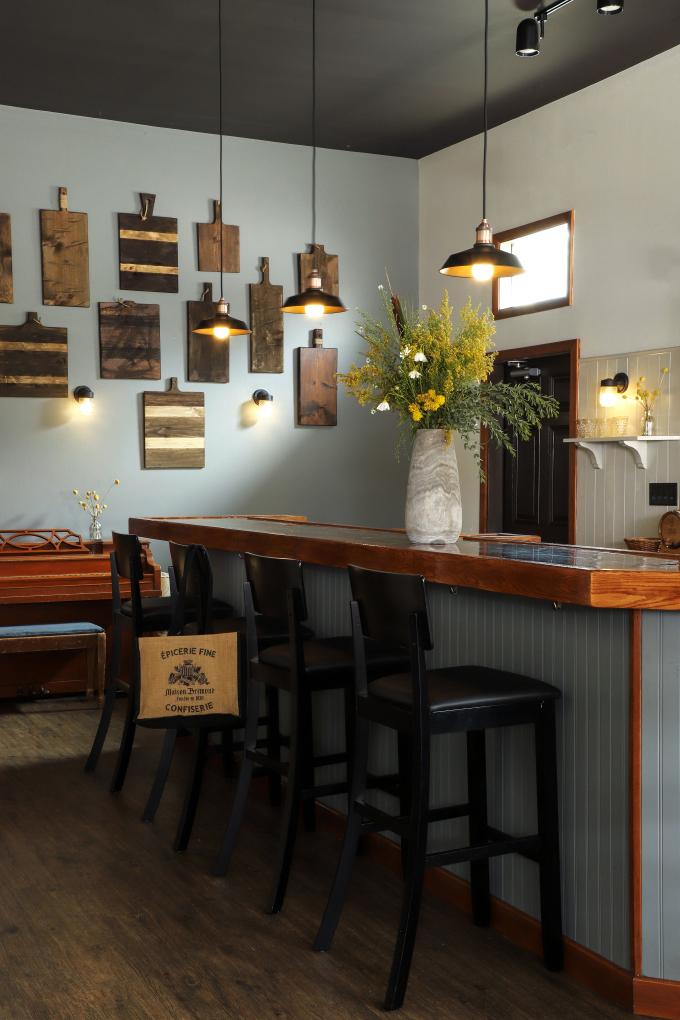
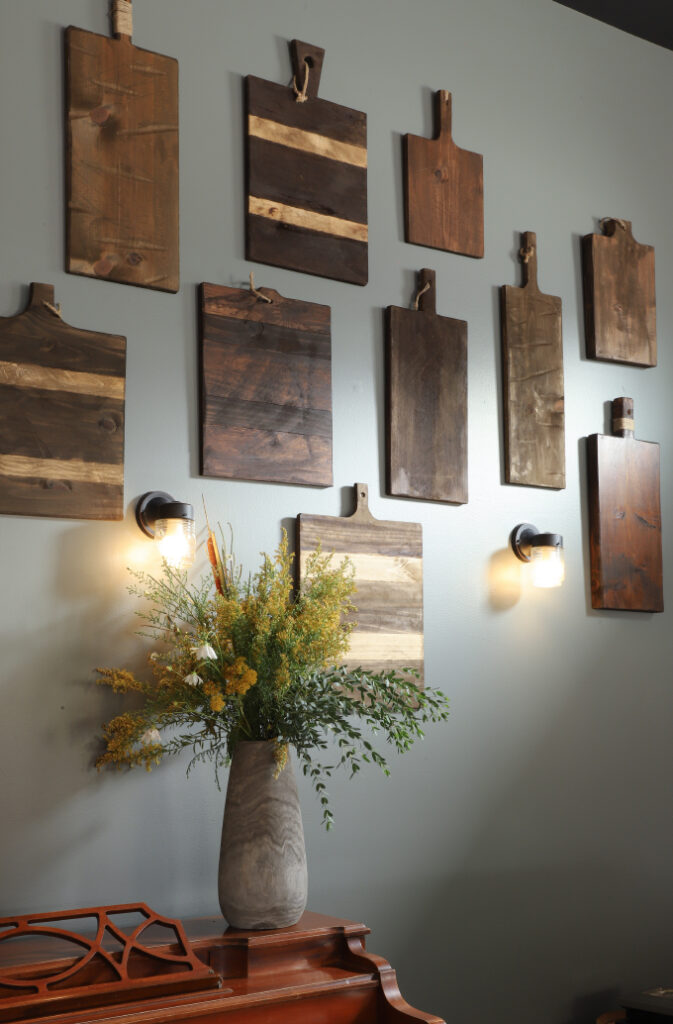
One of my favorite DIY decor ideas at the Restaurant Refresh was the cutting board wall! Since the ceilings are SO tall, I wanted something that would have a big impact, for a low cost. Vintage cutting boards are a hot ticket item right now, instead of thrifting them, we cut and aged our own to hang on the wall. We partnered with Rust-Oleum on this project because I had been looking for the perfect project for their VARATHANE® Aged Wood Accelerator, and this was it! I really wanted the boards to look rustic and well used. This is how we achieved that look!
*And just a disclaimer before we begin, these are just decorative, not food safe. If you’re planning to use the cutting board, consider using WATCO Butcher Block Oil + Stain, which is safe for food contact once fully dry.
Steps and supplies after the break!
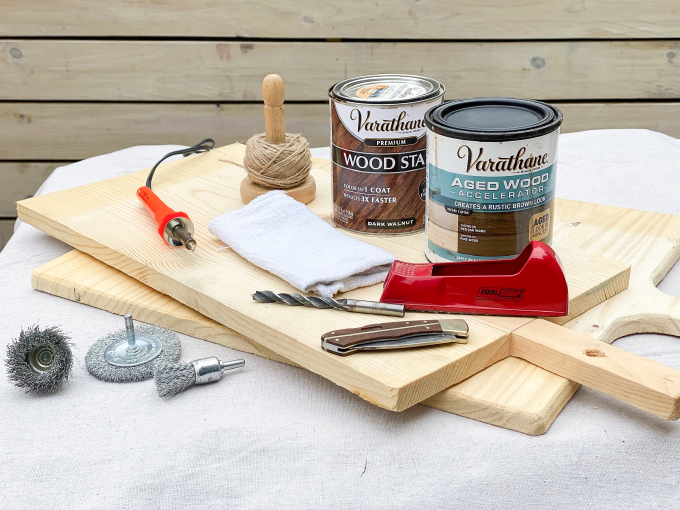
Supplies:
1×10 and 1×12 boards
24”x48” board
VARATHANE® Aged Wood Accelerator
Rasp
Wire Brushes
Drill
½ Bit
Box Cutter
Jig Saw
Wood burner
Miter Saw and/or Circular Saw
Cutting out the board
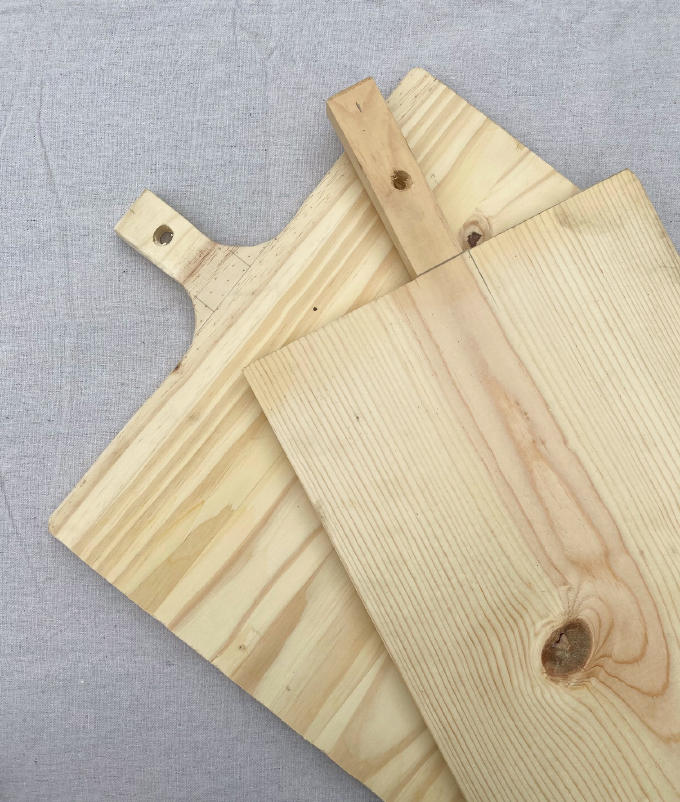
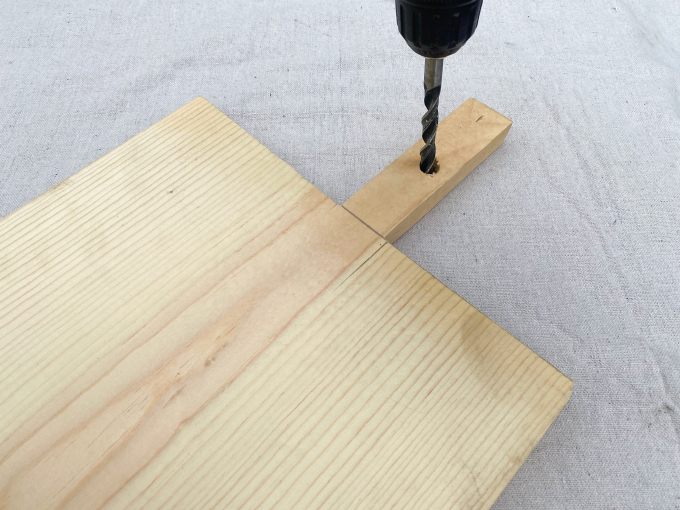
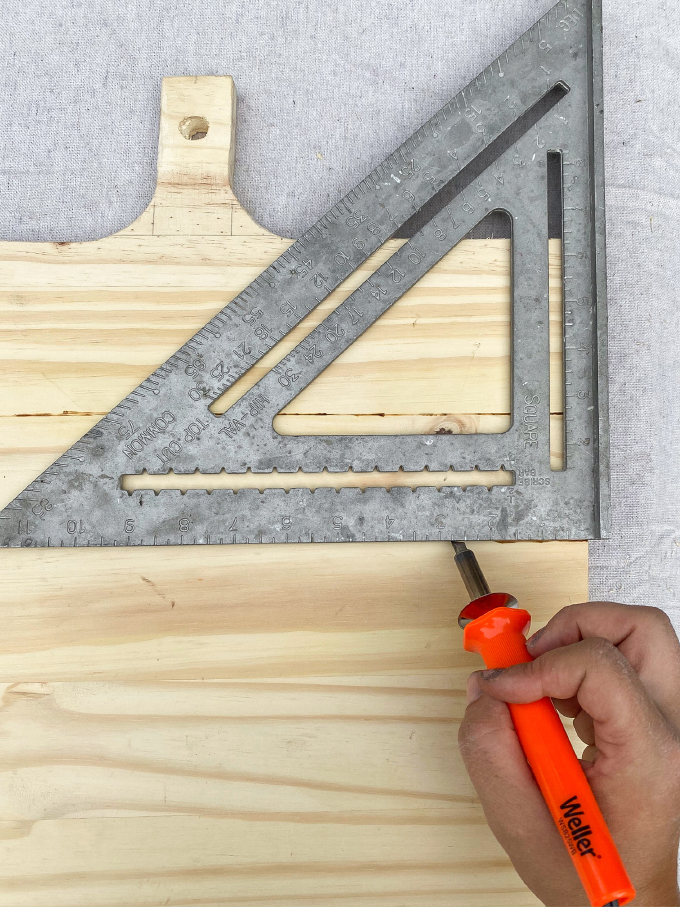
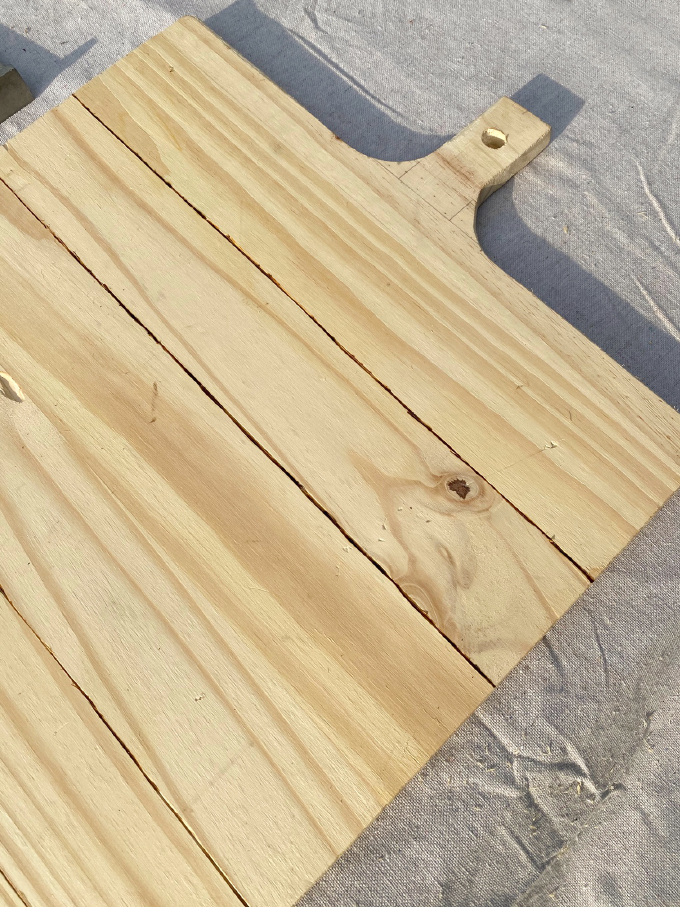
I wanted to be as cost efficient as possible, so we first looked for scraps of wood in the basement. 1×10 and 1×12 boards worked perfectly for the long, skinnier cutting boards. We used a miter saw to cut them to length, and then a jigsaw to cut out the handle.
TIP for creating a curved handle: In order to get a radius outline, mark lines for horizontal center of board and the bottom of the handle. From this point, put equal marks left, right, and up (ie. 2.5” left and right of center, and 2.5”). Then get something round (quart size paint can, spray paint, mason jar, etc) and line up the round object with the upper and left mark. Trace and repeat for the right mark.
TIP: using ½ in bit, drill the hole in the handle area before cutting it out so you don’t snap off the handle.
For the larger boards, I found this butcherblock like wood at Home Depot (link here). It’s made of boards glued together, but thinner than the countertop butcher block. It was $23 for the 24”x48” piece, and we got 3 sizeable cutting boards from it! Since it was larger, we used a circular saw to cut the body of the board, and the jigsaw again for the handle. Have fun experimenting with shapes and sizes!
Aging
Mr. Yolo and I had a lot of fun with this process! We took an afternoon just to have fun and experiment with different techniques, throwing wine on the boards, burning it with a blow torch (more on my CUTTING BOARD highlight on @ispydiy Instagram). In the end these were my favorite techniques:
To wear in the board edges, I ran a rasp along each side to dull them.
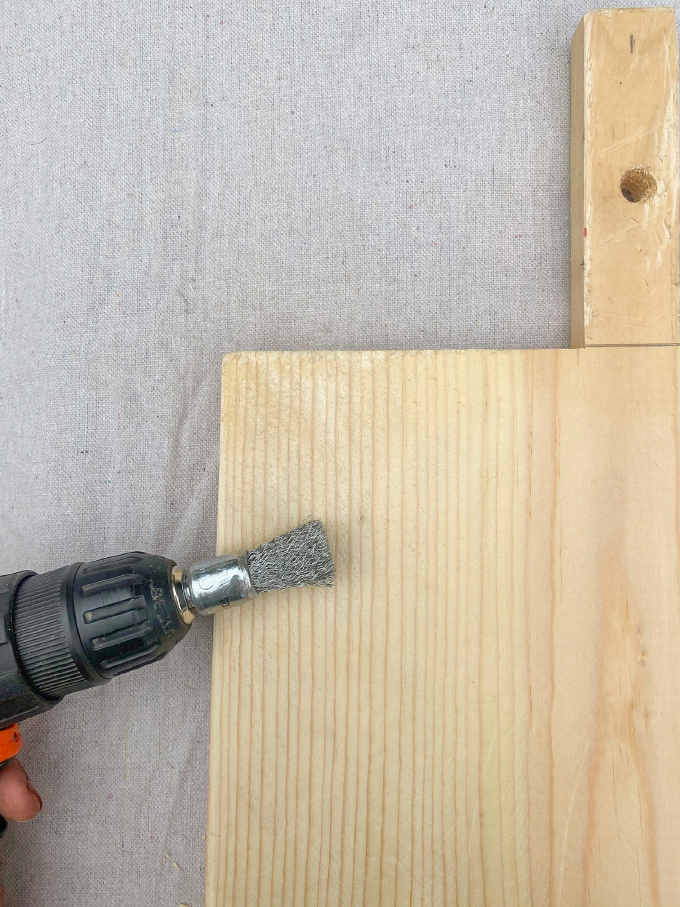
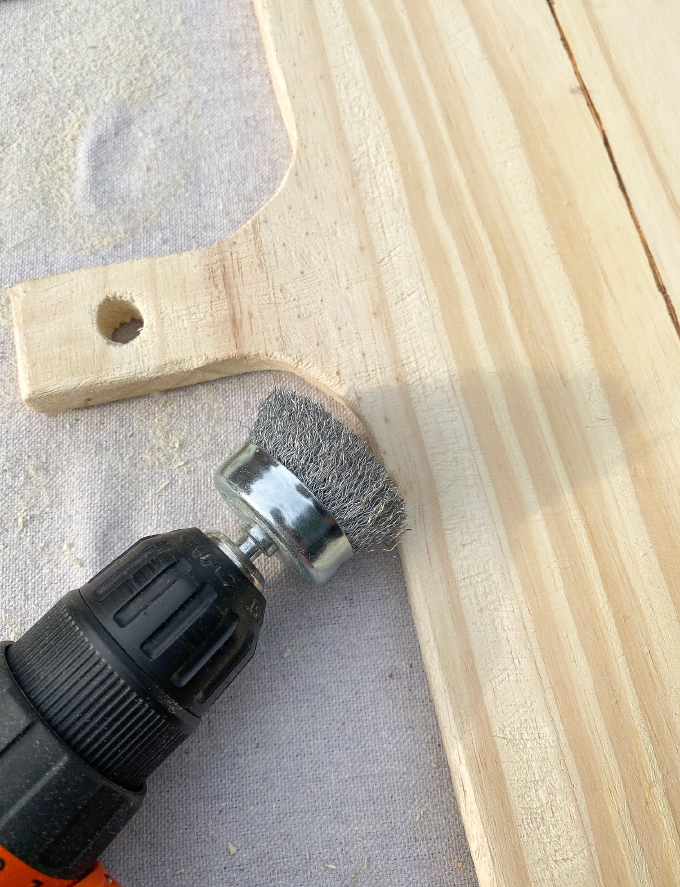
Wire brush drill attachments took the new wood and gave it a ton of texture so it looked aged. I like using an assortment of them on the top of the board and along the edges to rough it up!
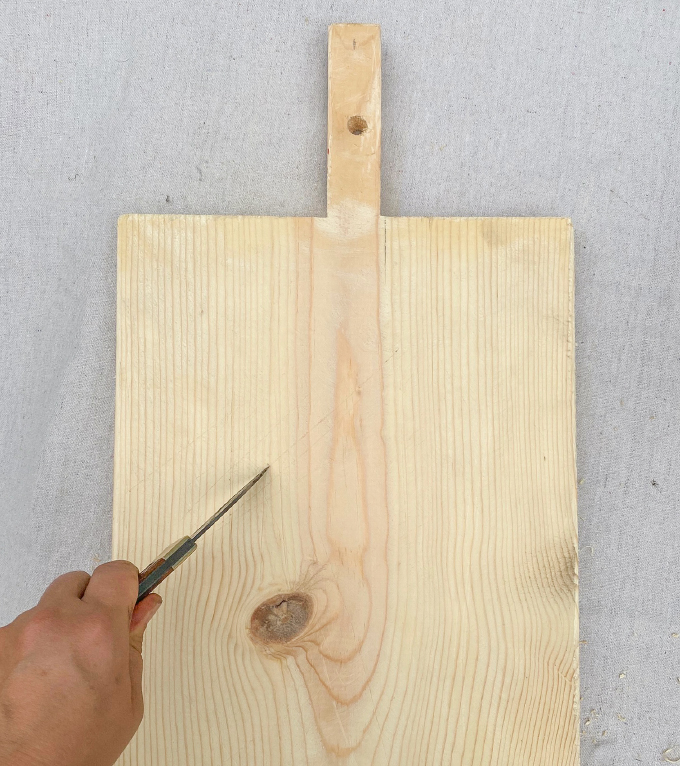
Use a knife or box cutter to make a bunch “knife slices”
Mr.Yolo’s favorite technique was creating gouges by running the nose of the belt sander across the wood.
The more beat up the board is, the better! You can’t really go wrong!
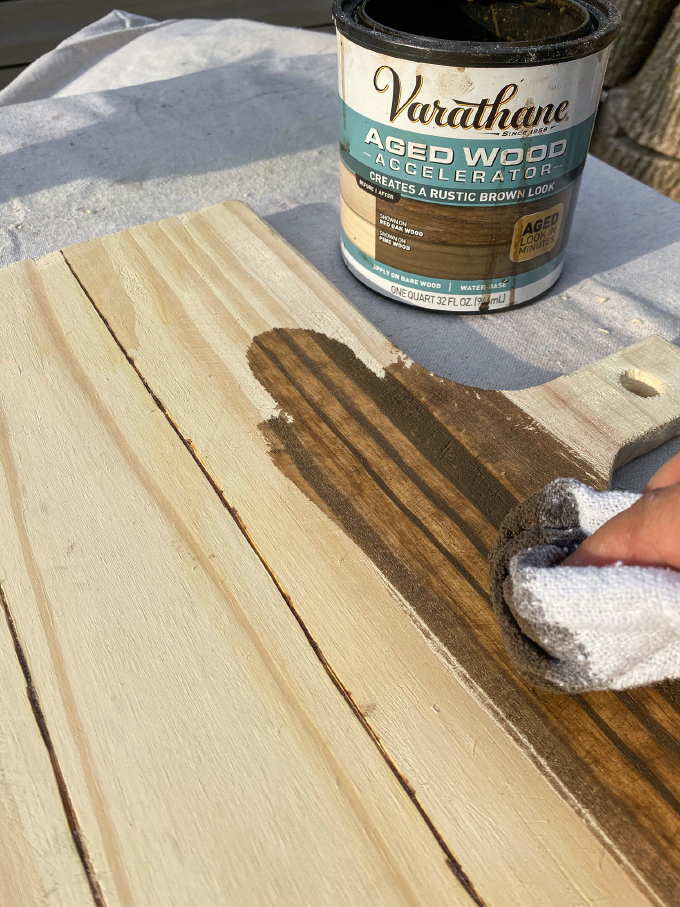
Staining
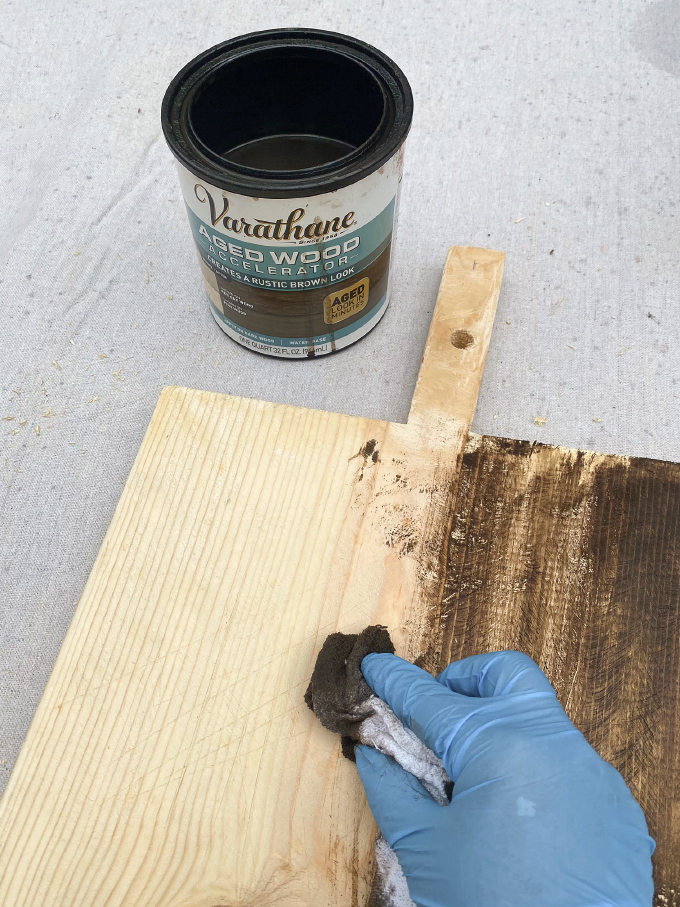
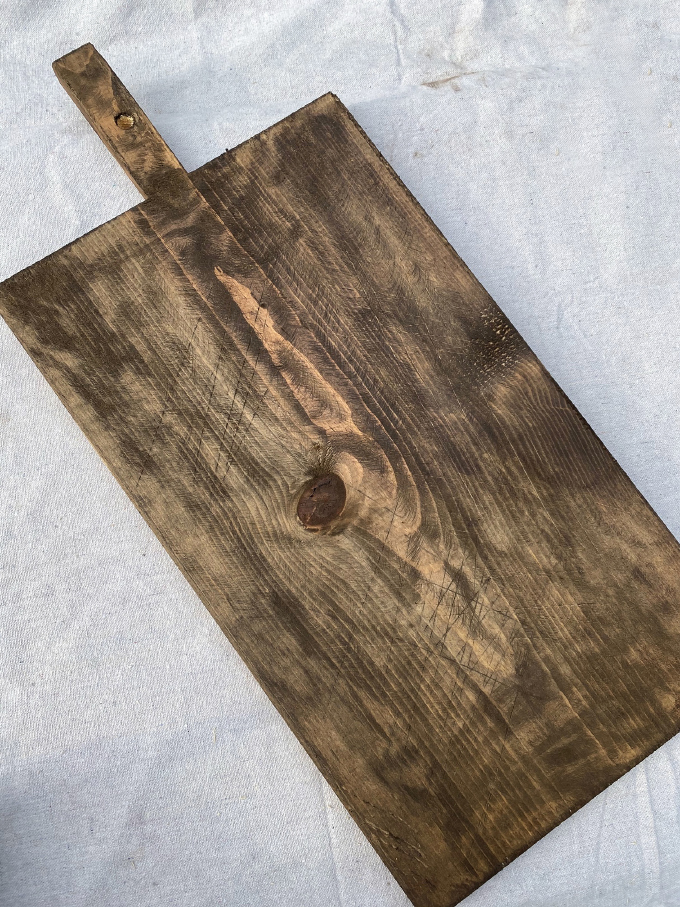
Next wipe on the VARATHANE® Aged Wood Accelerator to bare or untreated wood and just let it dry – no need to wipe away excess like a traditional wood stain. It replicates the aging process that happens in nature by causing a chemical reaction with the wood tannins to create a unique, one-of-a-kind rustic brown. It’s so cool to watch the wood age while it dries.
Two-toned Board
To create the two tone boards, I used a wood burner and a straight-edge to burn channels into the wood, creating stripes. Outside the stripes, I stained with the Wood Accelerator, and within the stripes, I watered down some stain so it would look like a light wood inset. Burning the channel in the wood created a barrier between the areas so the colors didn’t bleed.
Finishing touches
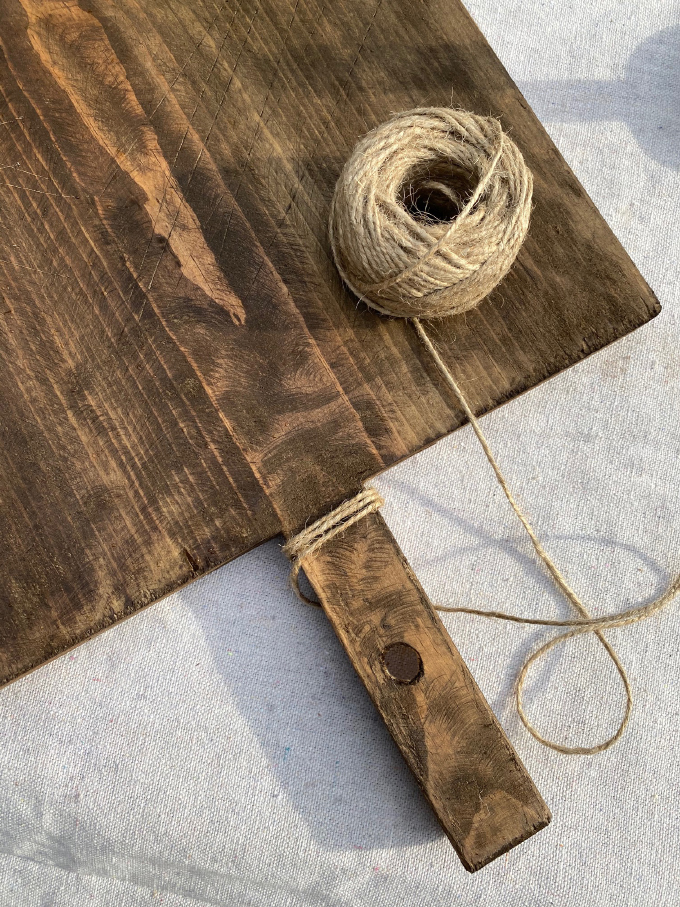
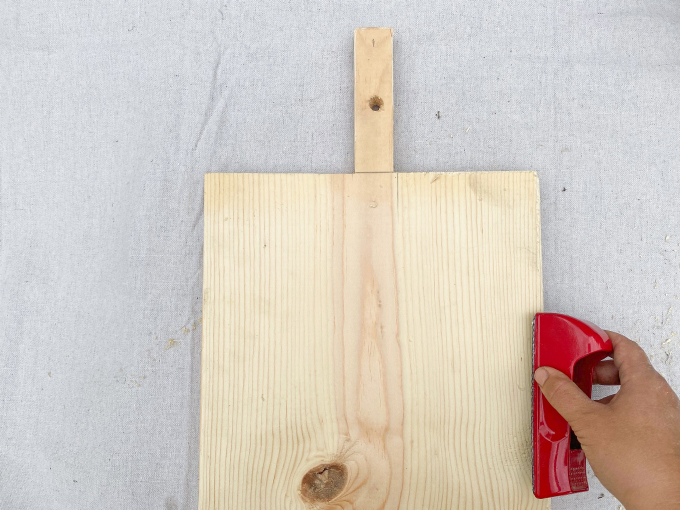
Wrap twine around the handle and through the hole.
Drill two screws in the back, and wrap picture hanging wire around them to hang!
This post was made in partnership with Rust-Oleum®, all opinions are my own. Thank you for supporting my amazing sponsors!
EXPLORE MORE: DIY PROJECT


Just stunning – don’t expect anything less from you
Guys you’re just fantastic – your creativity and execution
Are amazing in everything you touch – just golden ❤️❤️😍