DIY Channel Tufted Banquette Back | As Seen on Makeover by Monday
As Seen In, Before & After, DIY PROJECT, Makeover by Monday
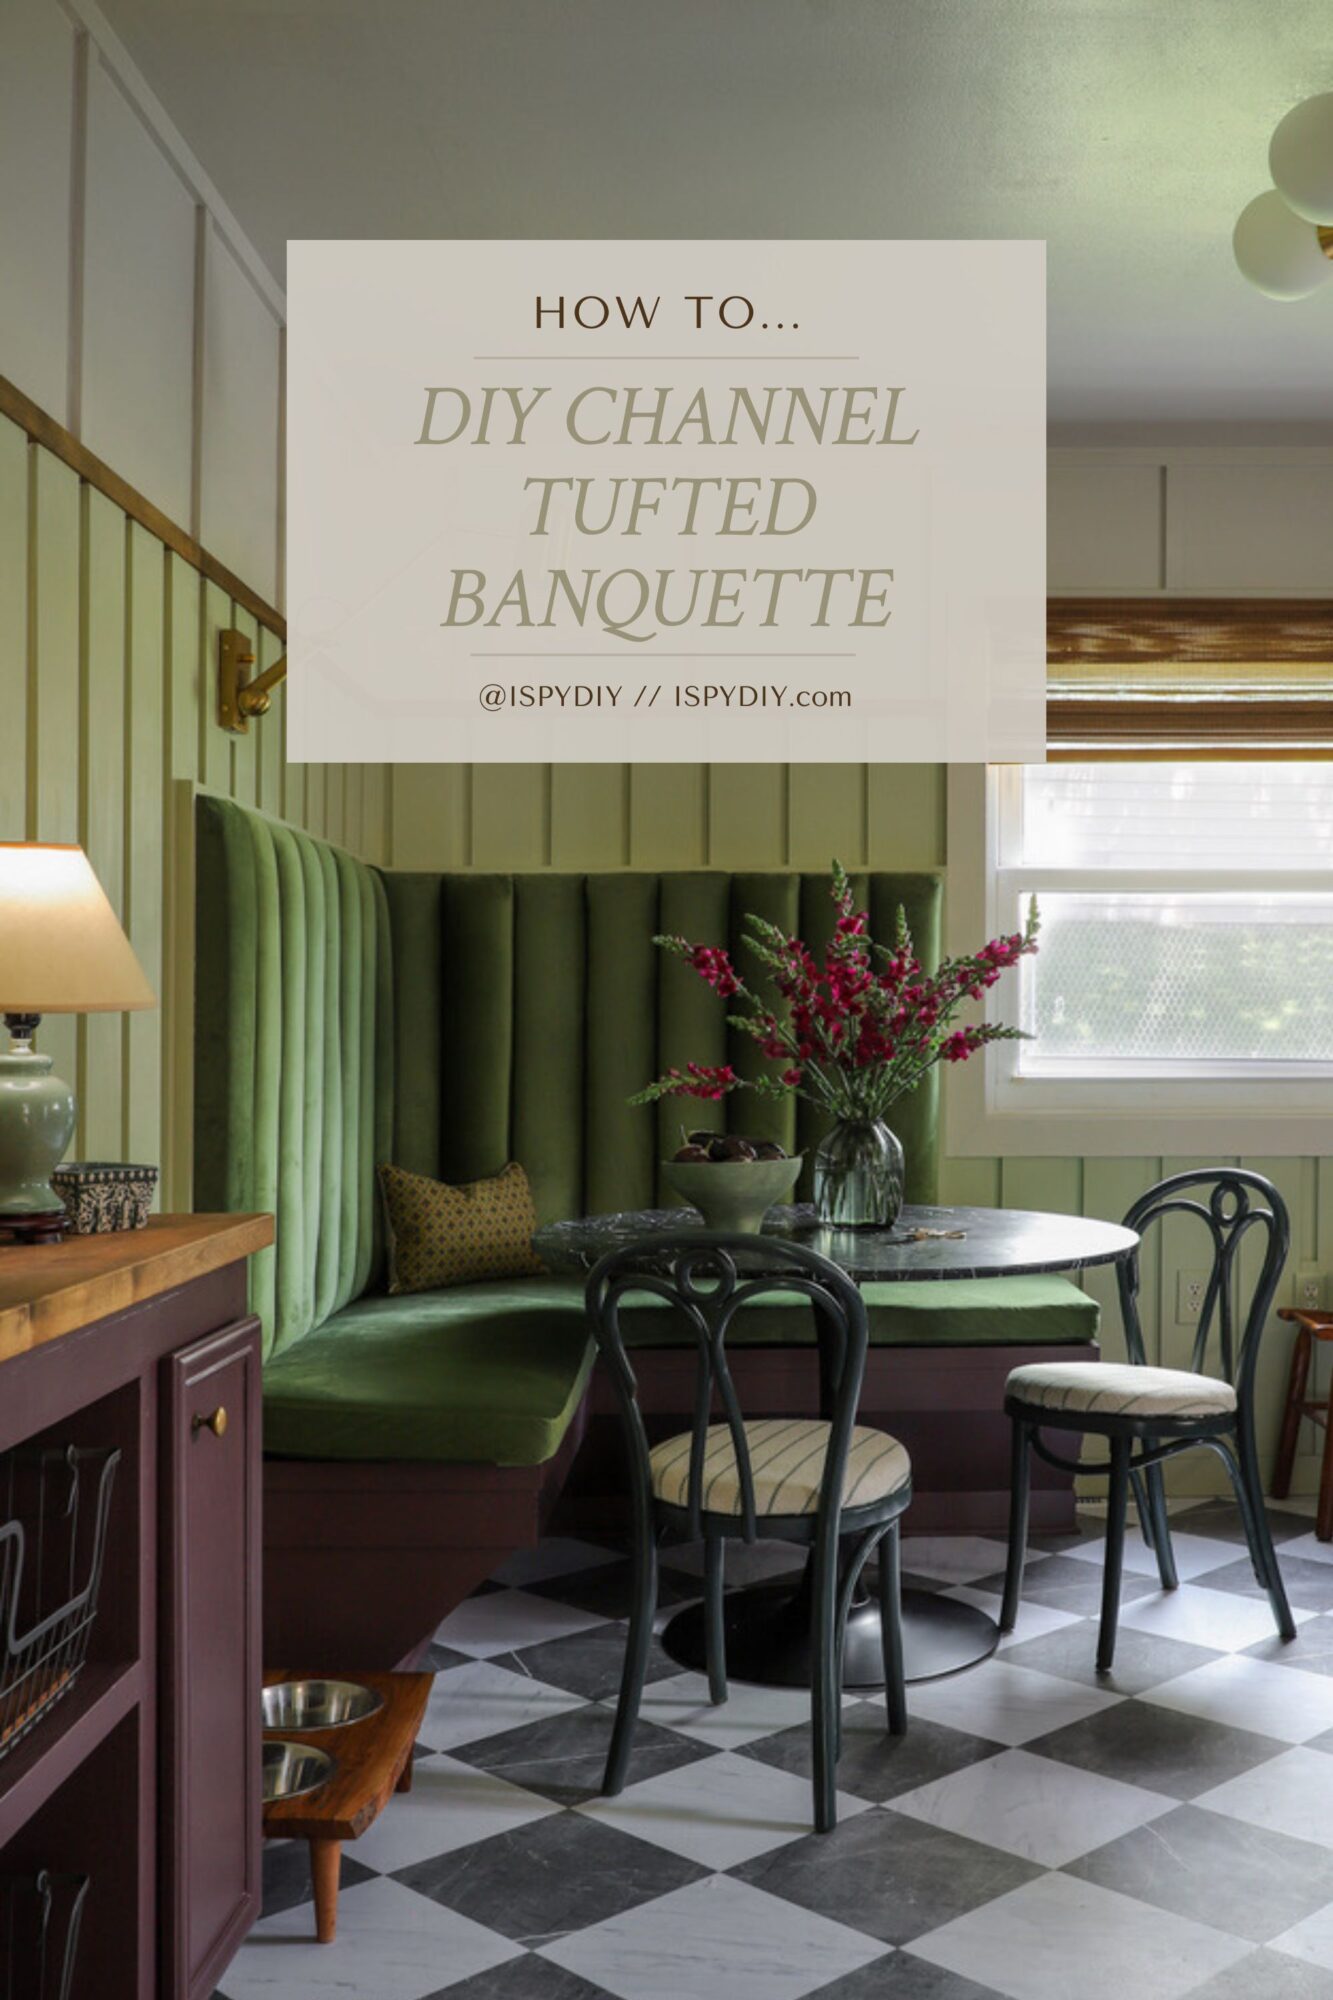
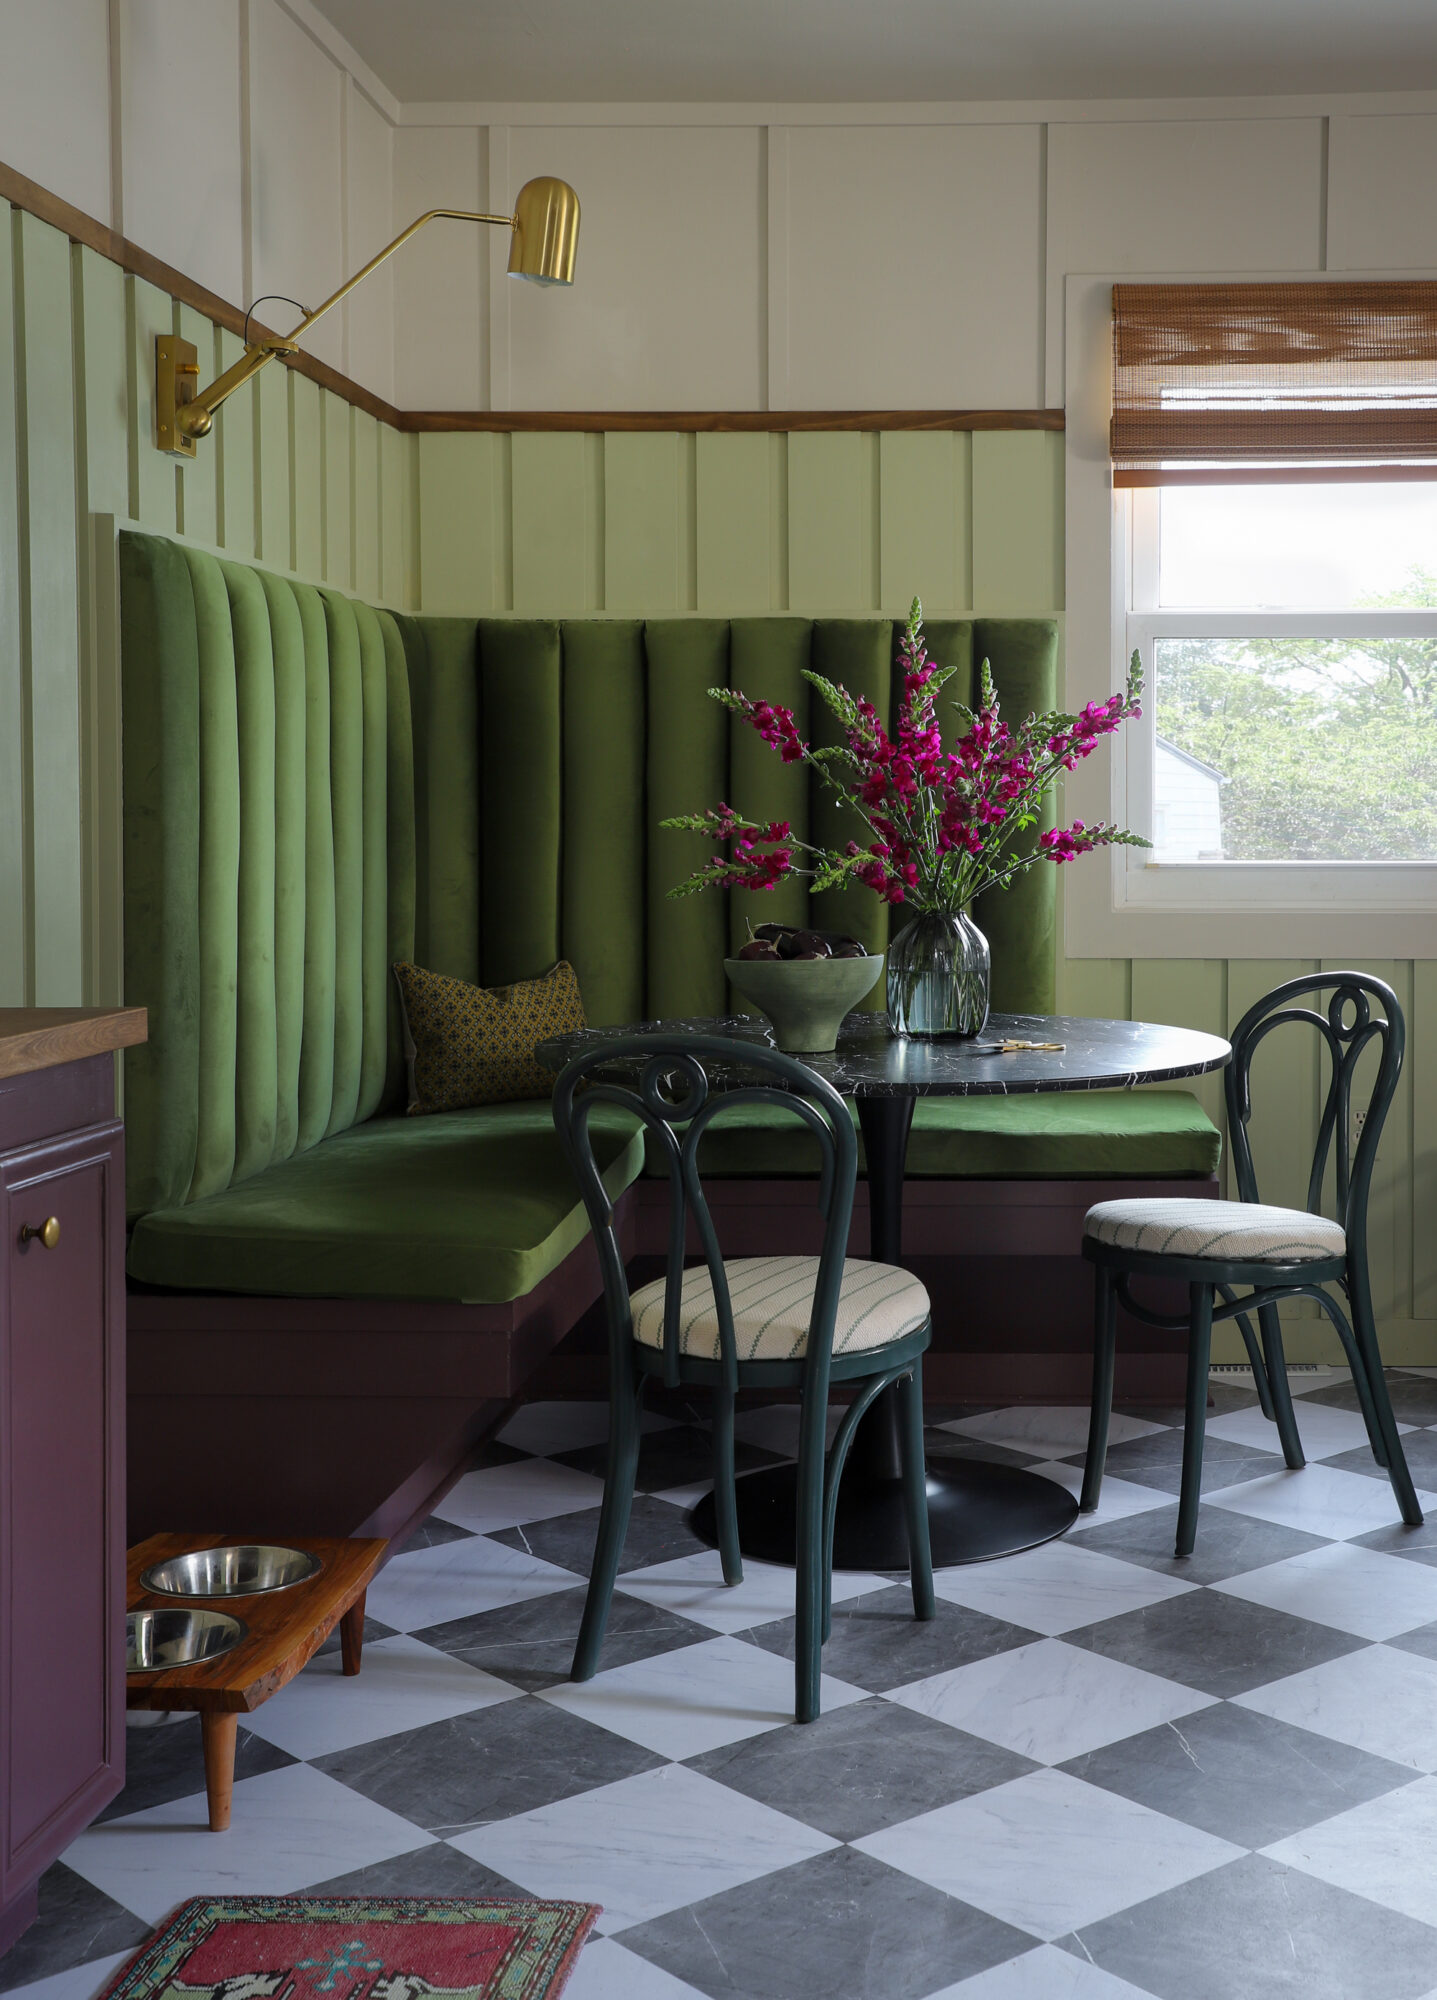
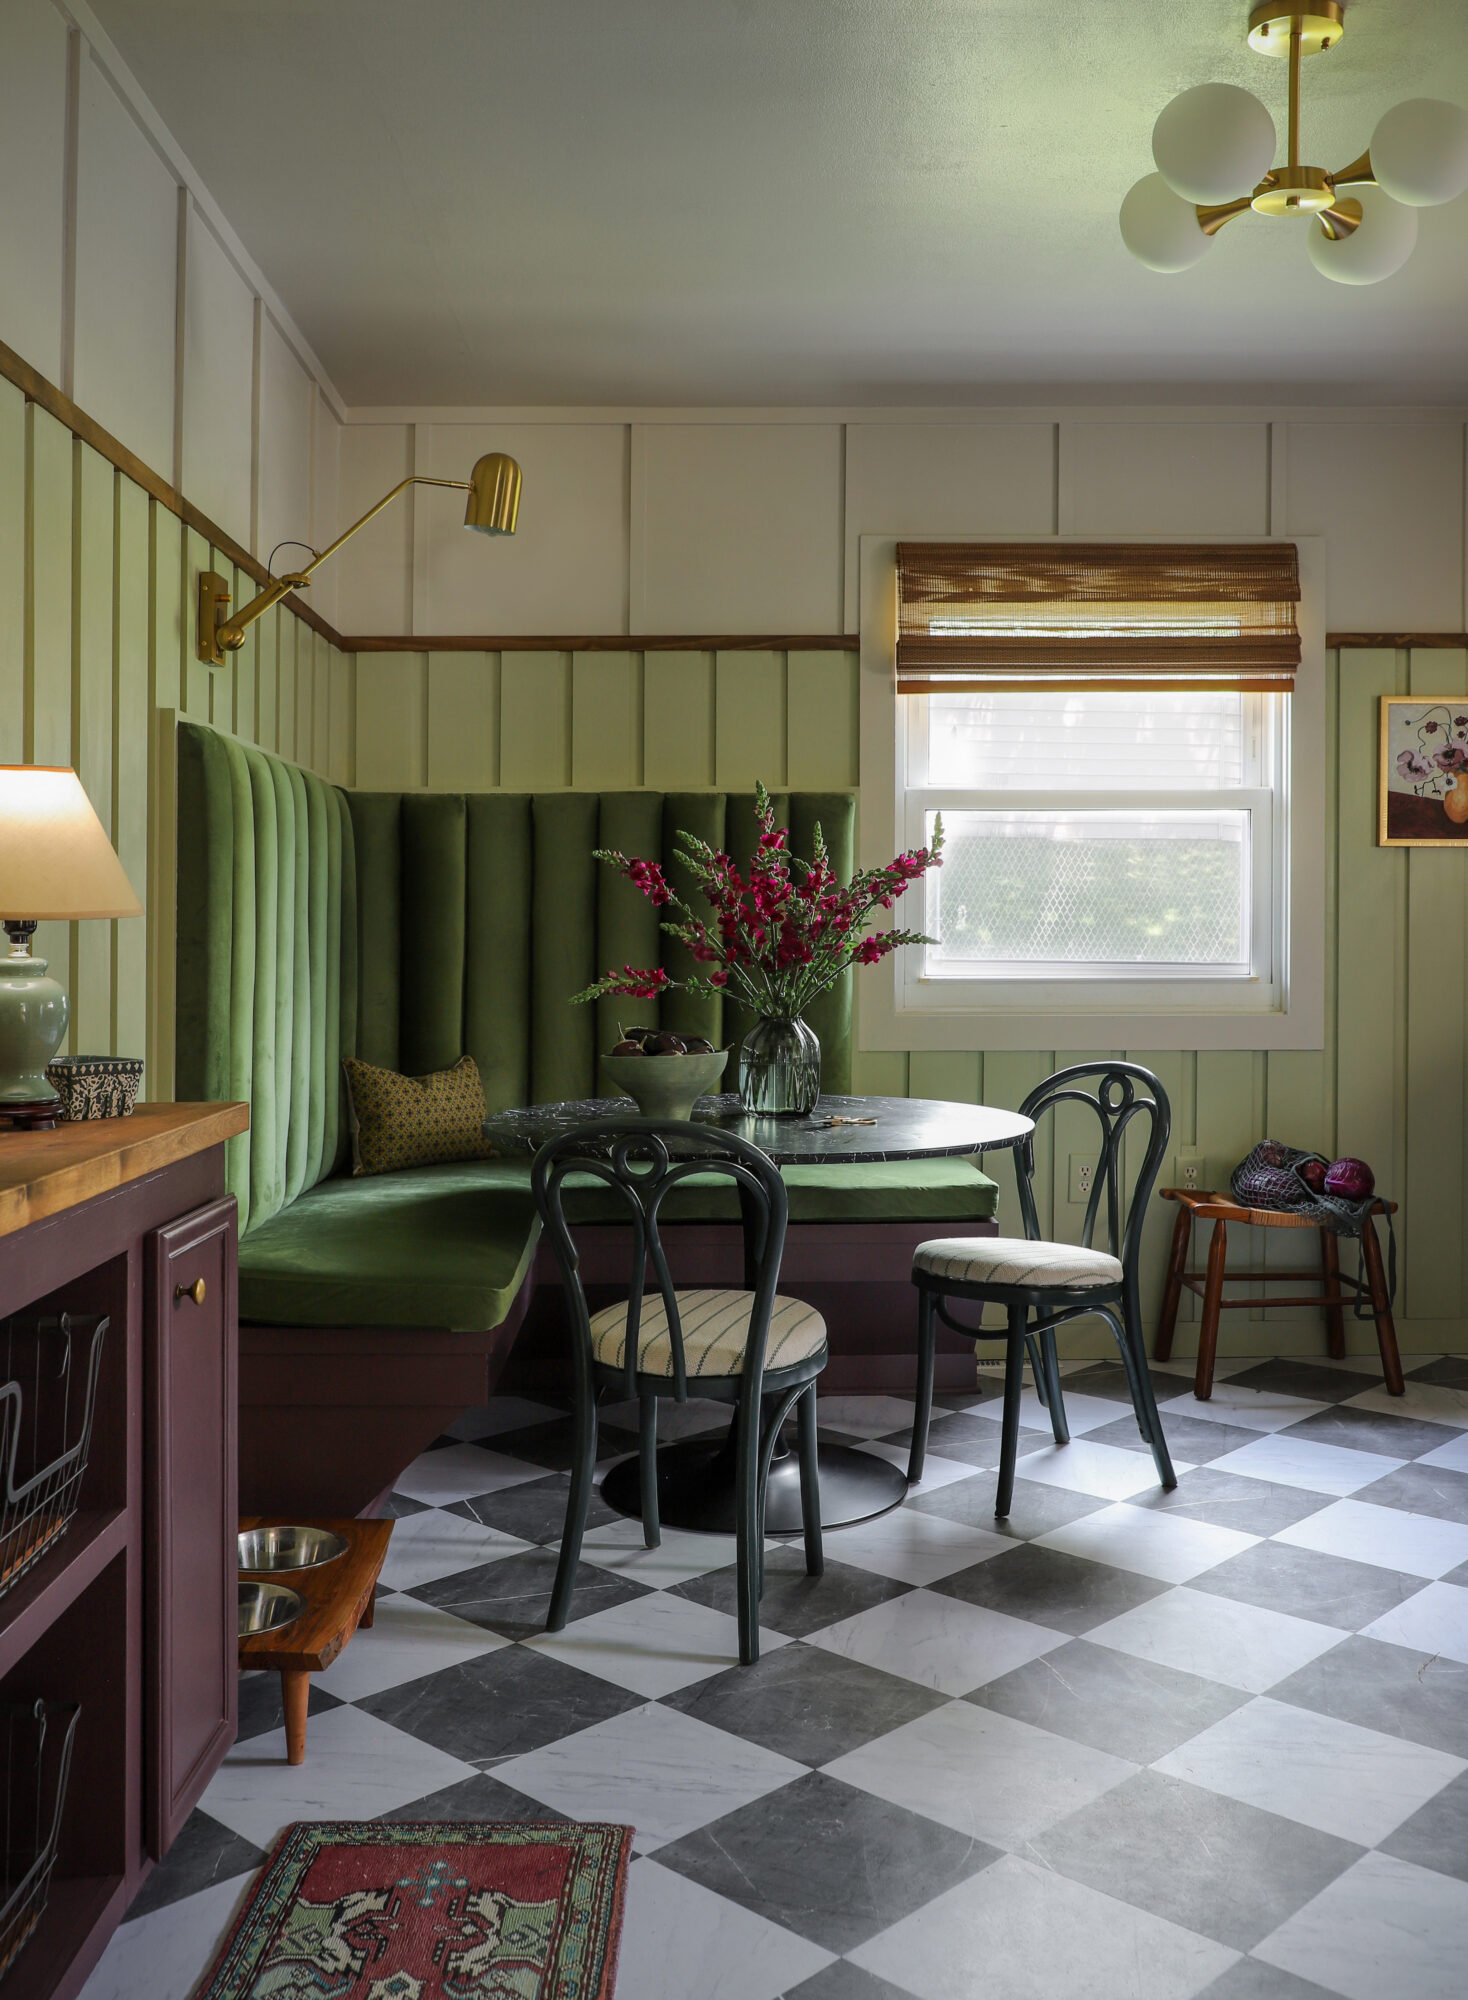
I am SO excited about how this banquette project turned out!! It easily tops my list of all-time favorite projects on the show! This DIY was a beast to tackle given our tight timeline, but the impact it made is absolutely worth it. When I saw on the unused corner space in Katie’s kitchen (full makeover here), I knew a banquette was not just a need, but a must-have! Designing the perfect look was tough when there are endless options, but I referenced my modern diner vibe inspiration, and came up with this beautiful channel-back banquette. Isn’t is perfect for that corner!?!

Supplies
- Green Velvet Fabric
- Plywood
- Tape Measure
- 2” Medium Density Upholstery Foam
- Electric Knife
- Batting
- Upholstery Spray Adhesive
- Scissors
- Staple Gun and Staples
- Scissors
- Drill
Step by Step
1. Use a tape measure to measure the length of the space on the wall the channel back will hang on. I decided I wanted 4 in wide channels. So I divided my total width by 4. If 4in doesn’t fit evenly in your space, or you want different width channels, you can make them smaller or larger than 4 inches wide.
2. Measure and cut one sheet of plywood into 3 ¾ in wide rectangles. You want to cut it 1/4in shorter than desired width because when the batting and fabric is added and wrapped around the edges of the plywood that gives you back the width. If you cut the boards to 4in, the final product would be wider than 4in wide. The same applies when cutting the height of the channel.
3. Once you have all of the channels cut out of plywood, lay the 2” foam on top of one cut channel, use an electric knife to trim the foam along the edges to fit the plywood channel. Repeat for each channel.
4. Then, use spray adhesive to attach the foam to the channel board.
5. Next, lay the batting on top of the foam. Wrap around the batting edges to the backside of the board. Use the scissors to trim excess. Ensure it’s taut and smooth. Staple it in place on the backside of the plywood using the staple gun. Pro Tip: Before laying the batting, spray a bit of the spray adhesive on the foam to help the batting stay in place while wrapping and stapling.
6. Now it’s time to upholster the channel with fabric. Pro Tip: Choose a fabric with at least a 50,000+ double rub count. Even better to chose a performance fabric which has a better cleanabilty factor, especially if using in a location like a kitchen for daily meals. Lay your chosen fabric flat on a clean surface. Place the padded plywood face down on the fabric. Pro Tip: It is important to lay your fabric out so the “nap” is all laying the same direction. This will give your channels a clean look, without variation in color.
7. First, I put a few temporary staples on one of the sides, this holds the fabric so you can pull it tightly and staple on the other side. You want to pull the fabric so tight is creates rounded edges. Then staple it to the plywood. I used a ton of staples, and put the staples close to each other so the fabric was smooth. Then I went back, pulled the fabric tight on the other side, and where the temporary staples were (I pulled out the temporary ones with a pliers.)
8. Trim any excess fabric.
9. Repeat steps 3-6 for the rest of the channels.
10. Next, attach the channels to the larger backrest. Cut a large piece of plywood the width and height desired for the full channel back seating. This is what will actually hang on the wall.
9. Start on one side and place one channel along the edge, just ever so slightly laying over the edge of the plywood. Turn the backrest board over and use the drill to put in three screws, one in the top, one in the middle and one in the bottom, attaching the channel to the plywood backrest board. Make sure your screws are not too long and just go through the two layers of plywood, you don’t want to get poked in the back!!
10. Now, wrap the excess fabric on the top and bottom of the channel around the top and bottom of the large backing plywood. Pull tight. Make sure you are folding the fabric neatly at the corners to create a clean finish. You may need to make small snips in the fabric to help it fold smoothly. Staple the fabric securely in place on the back of the larger plywood board backing.
11. Repeat steps 9-10, adding channels to the board until the backboard is completely “full”.
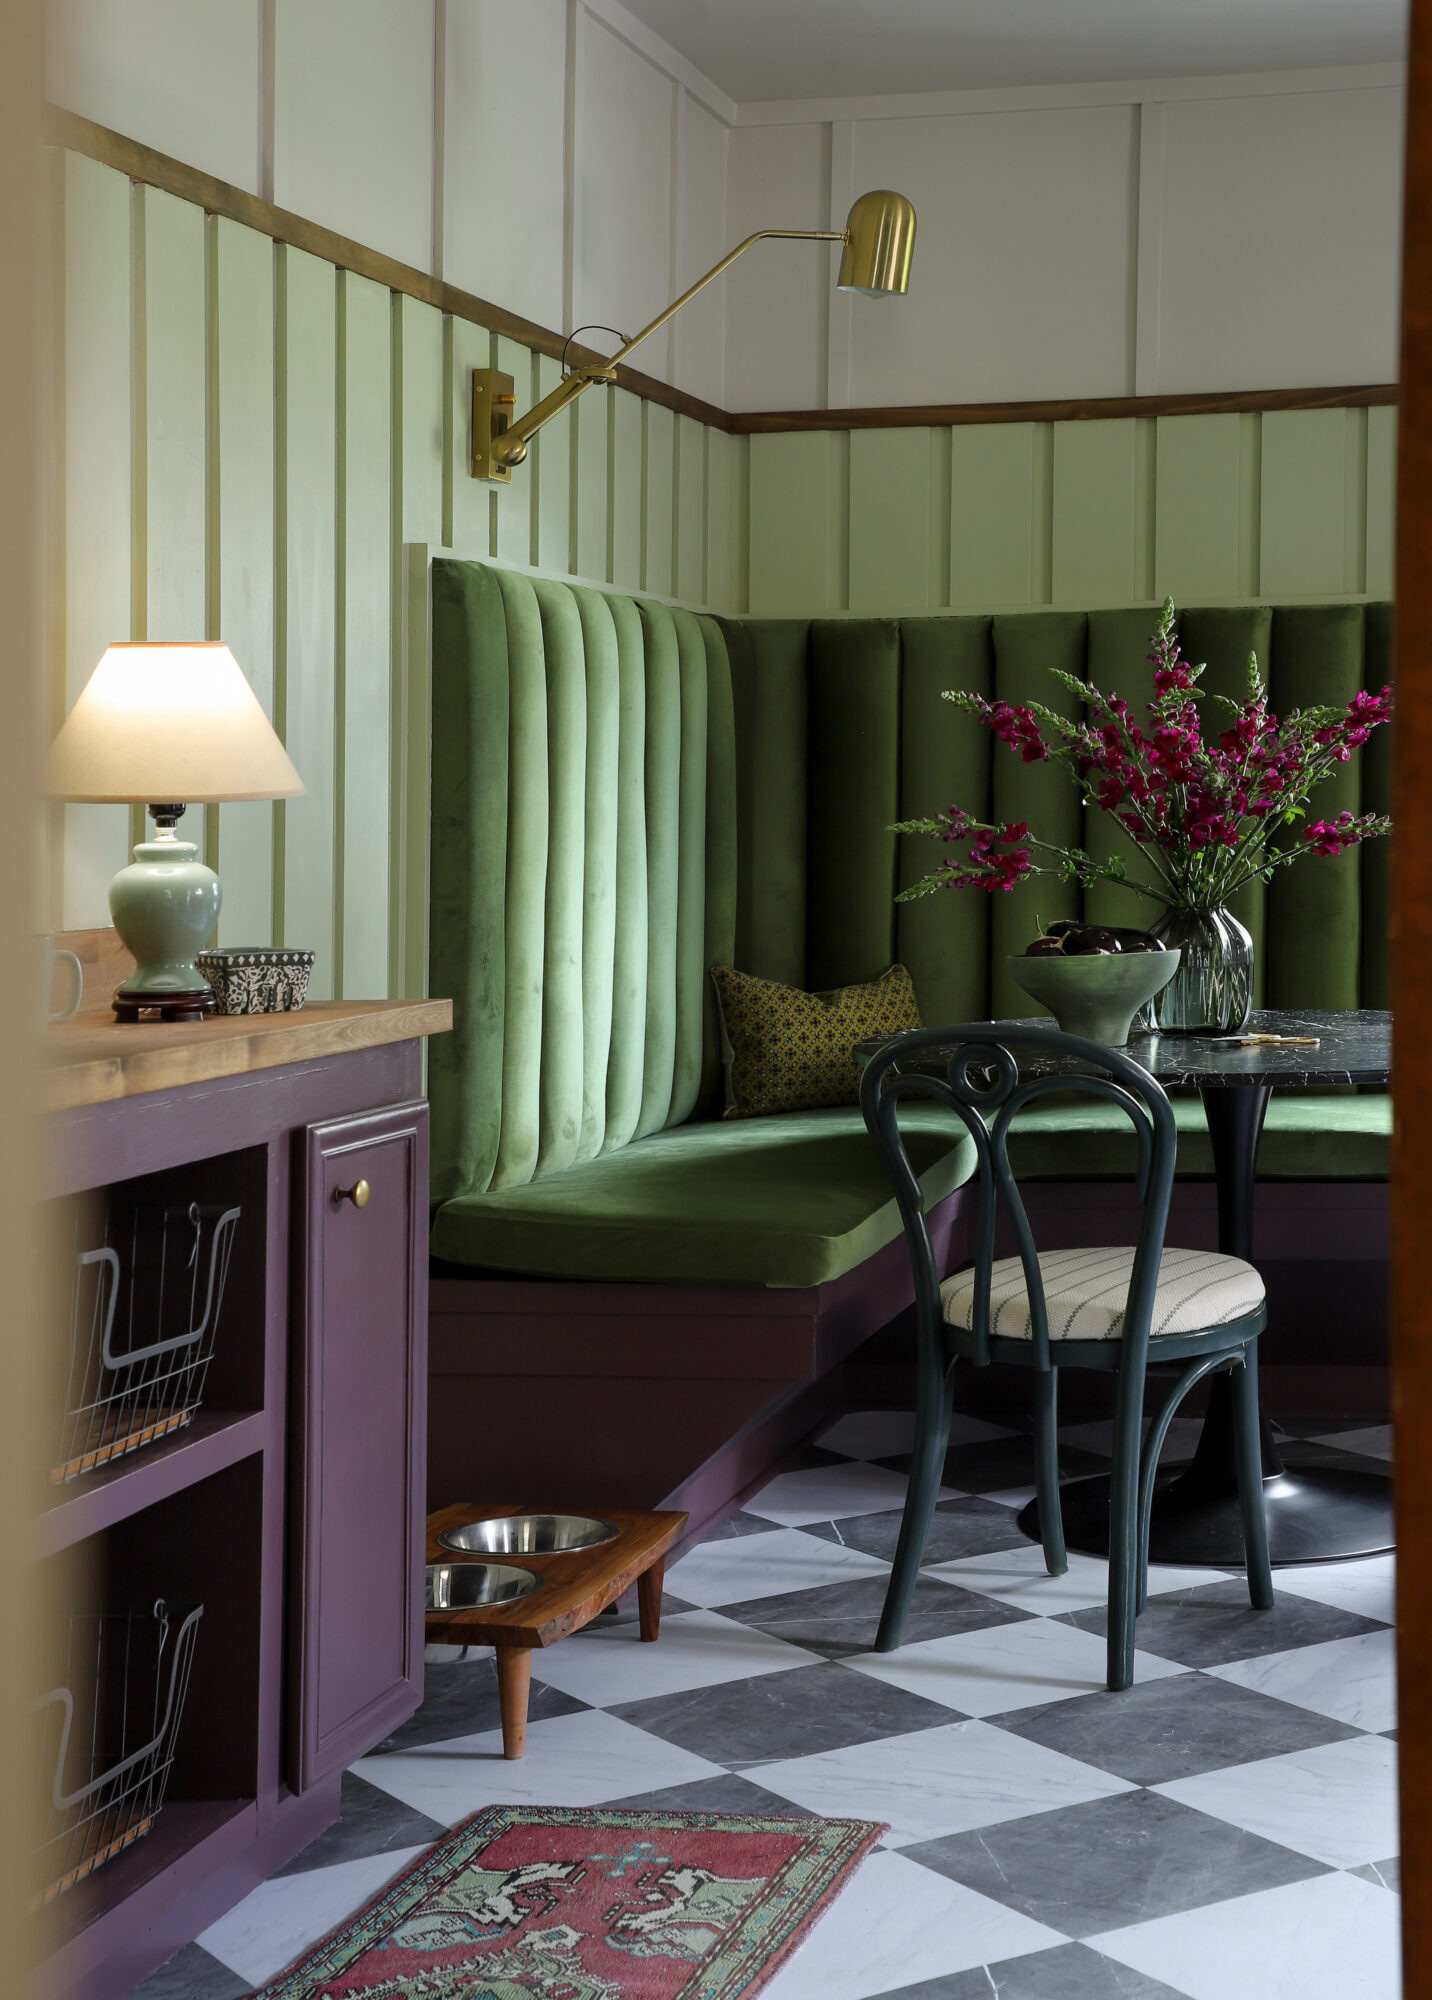
12. Lastly, it is time to hang your channel back on the wall, above your banquette seating. Mr. Yolo created a french cleat for the channel backs to hang on which will hold the weight. And he framed out the plywood on the wall to cover up loose fabric and staples.

Choosing the right material was crucial, and I went for a lush green velvet with a high rub count, ensuring it would stand up to a growing family. The end result? It exceeded my expectations! Doesn’t it look like a fancy restaurant that you want to tuck away in for hours?! It’s the perfect use for this corner!
We used a few clever tricks, like framing out the perimeter to conceal staples and speed up the process.
And there you have it, the channel-back banquette! I hope you try this project. Feel free to reach out if you have any questions. I’ve shared the entire step-by-step tutorial on my show ‘Makeover by Monday,’ so be sure to check that out for a visual reference.
For more DIY ideas, watch Season 2 of ‘Makeover By Monday’ Saturdays at 1p/12p c on the Magnolia Network on TV! Or stream anytime on Max and Discovery plus!
EXPLORE MORE: As Seen In, Before & After, DIY PROJECT, Makeover by Monday


I just got Discovery Plus through Amazon Prime and binge watched all your episodes. I could not pick a favorite because they were all spectacular! I can hardly wait for more!