Meet The Yolos!
About Us
TV Appearances
Press
Contact
Projects
DIY Projects
Room Makeovers
Shopping Roundups
Popular Posts
Before & Afters
Shop Our Homes
Rent Our Homes
Blog
Contact
Meet The Yolos!
About Us
TV Appearances
Press
Contact
Projects
DIY Projects
Room Makeovers
Shopping Roundups
Popular Posts
Before & Afters
Shop Our Homes
Rent Our Homes
Blog
Contact
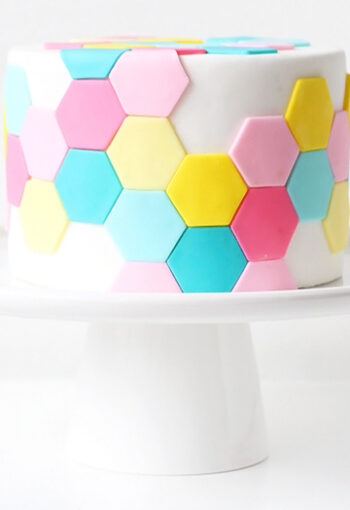
April 26, 2016
DIY SWEETS | Pastel Hexagon Tile Cake
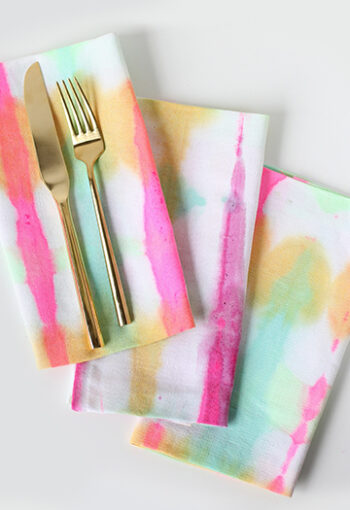
March 25, 2016
MY DIY | Tie-Dyed Watercolor Napkins
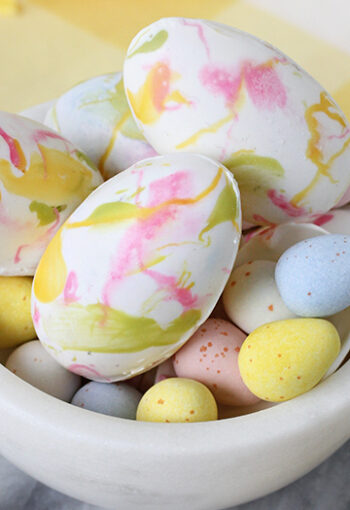
March 24, 2016
DIY EATS | Chocolate Candy-Filled WaterColor Eggs
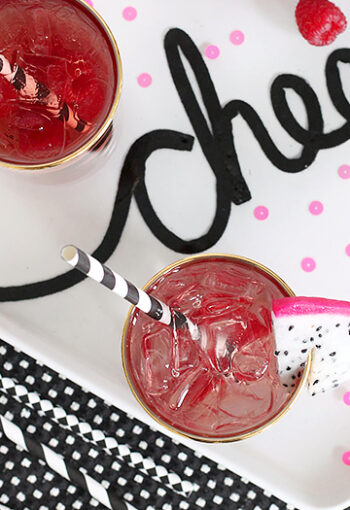
March 11, 2016
MY DIY | Cheers Drink Tray
February 18, 2016
DIY EATS | WHITE CHOCOLATE GOLDEN POPCORN
February 2, 2016
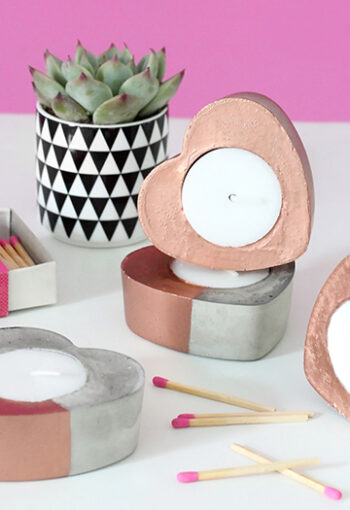
MY DIY | Concrete Copper Heart Candles
January 22, 2016
DIY EATS | Conversation Heart Cookie Sandwich
January 15, 2016
DIY EATS | Pink Mint Chip Chocolate Bark
January 13, 2016
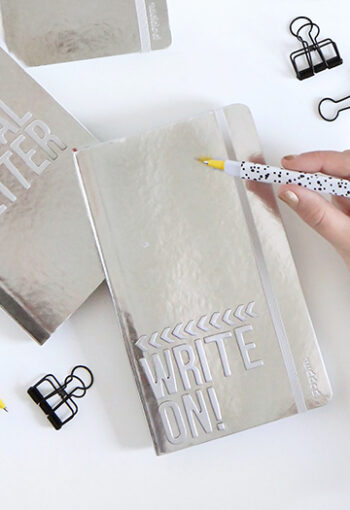
MY DIY | New Year Notebook
More Posts
ABOUT
PRESS
CONTACT
BLOG
SEARCH THE BLOG
DIY happiness straight to your inbox.
FOLLOW ME