No-Tool Leather Strap Peg-Rail DIY
DIY PROJECT
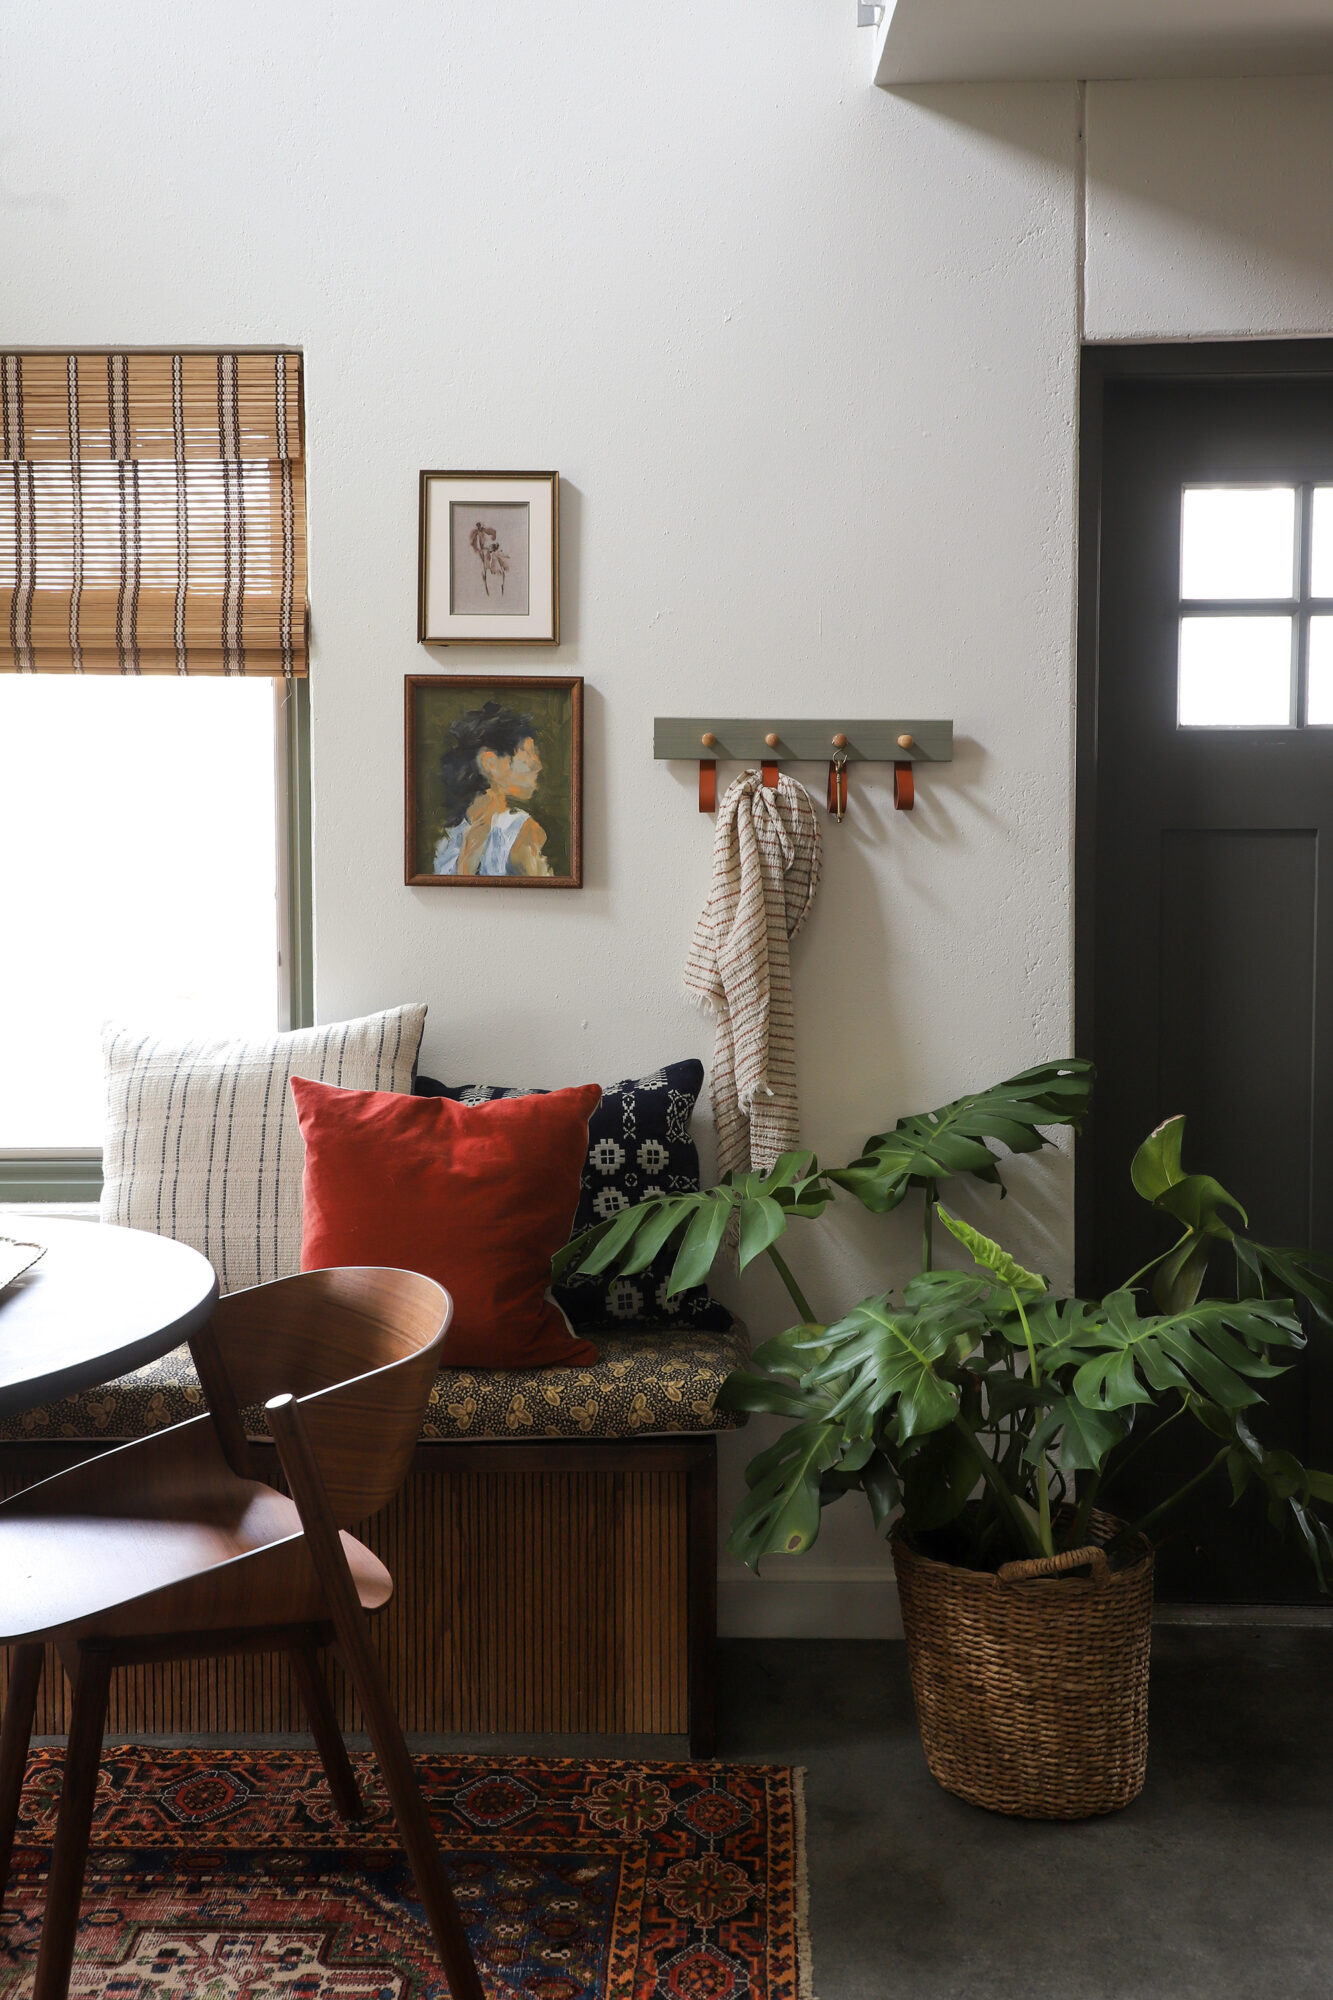
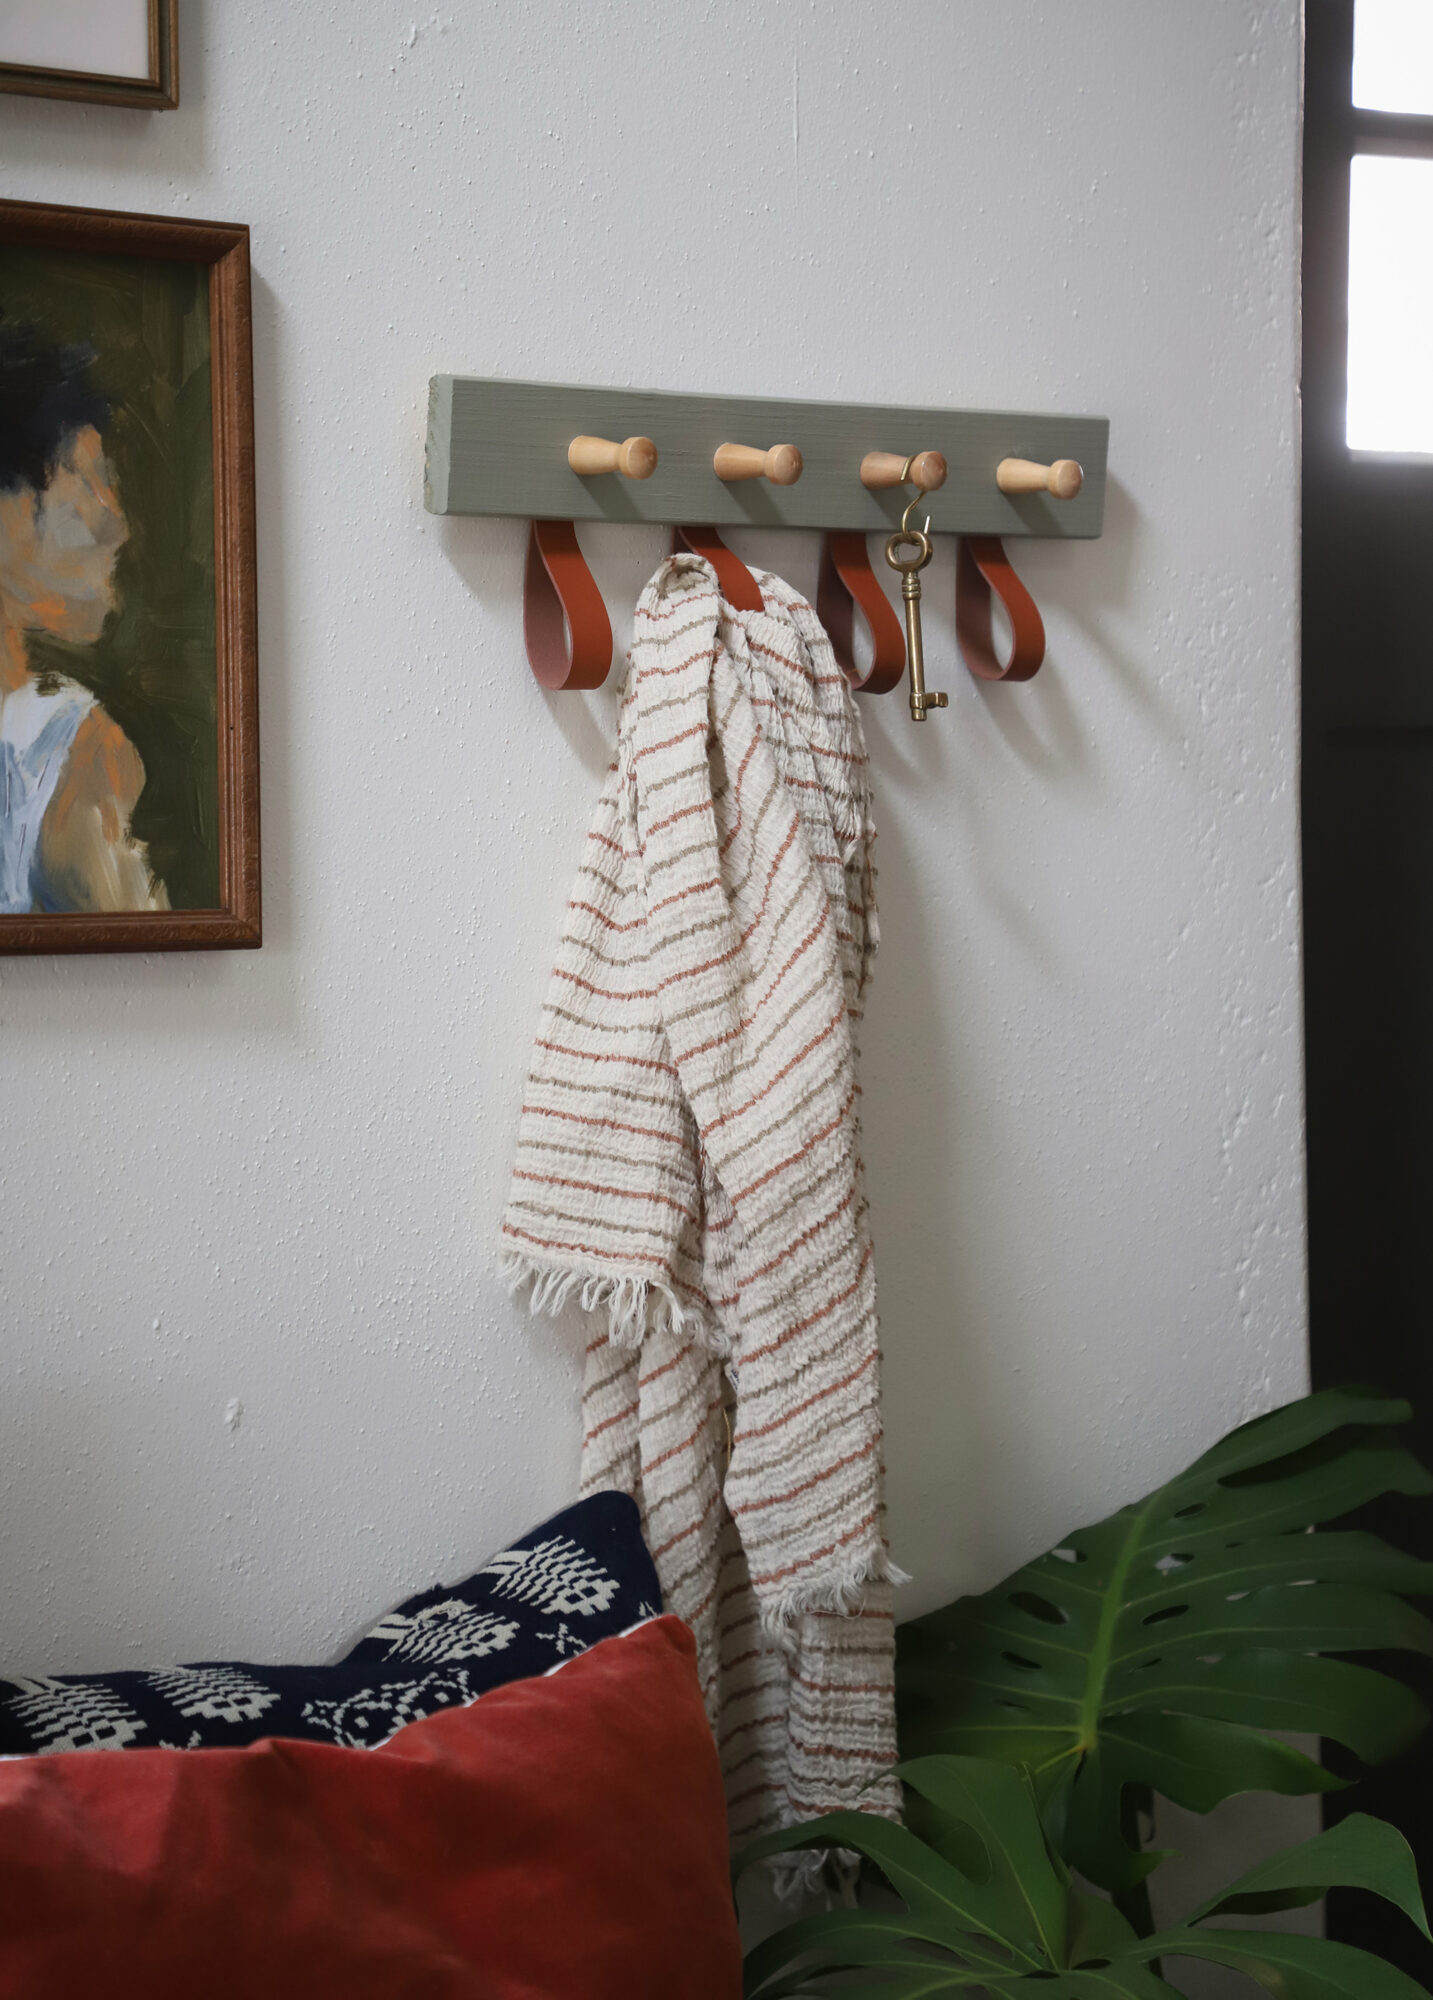
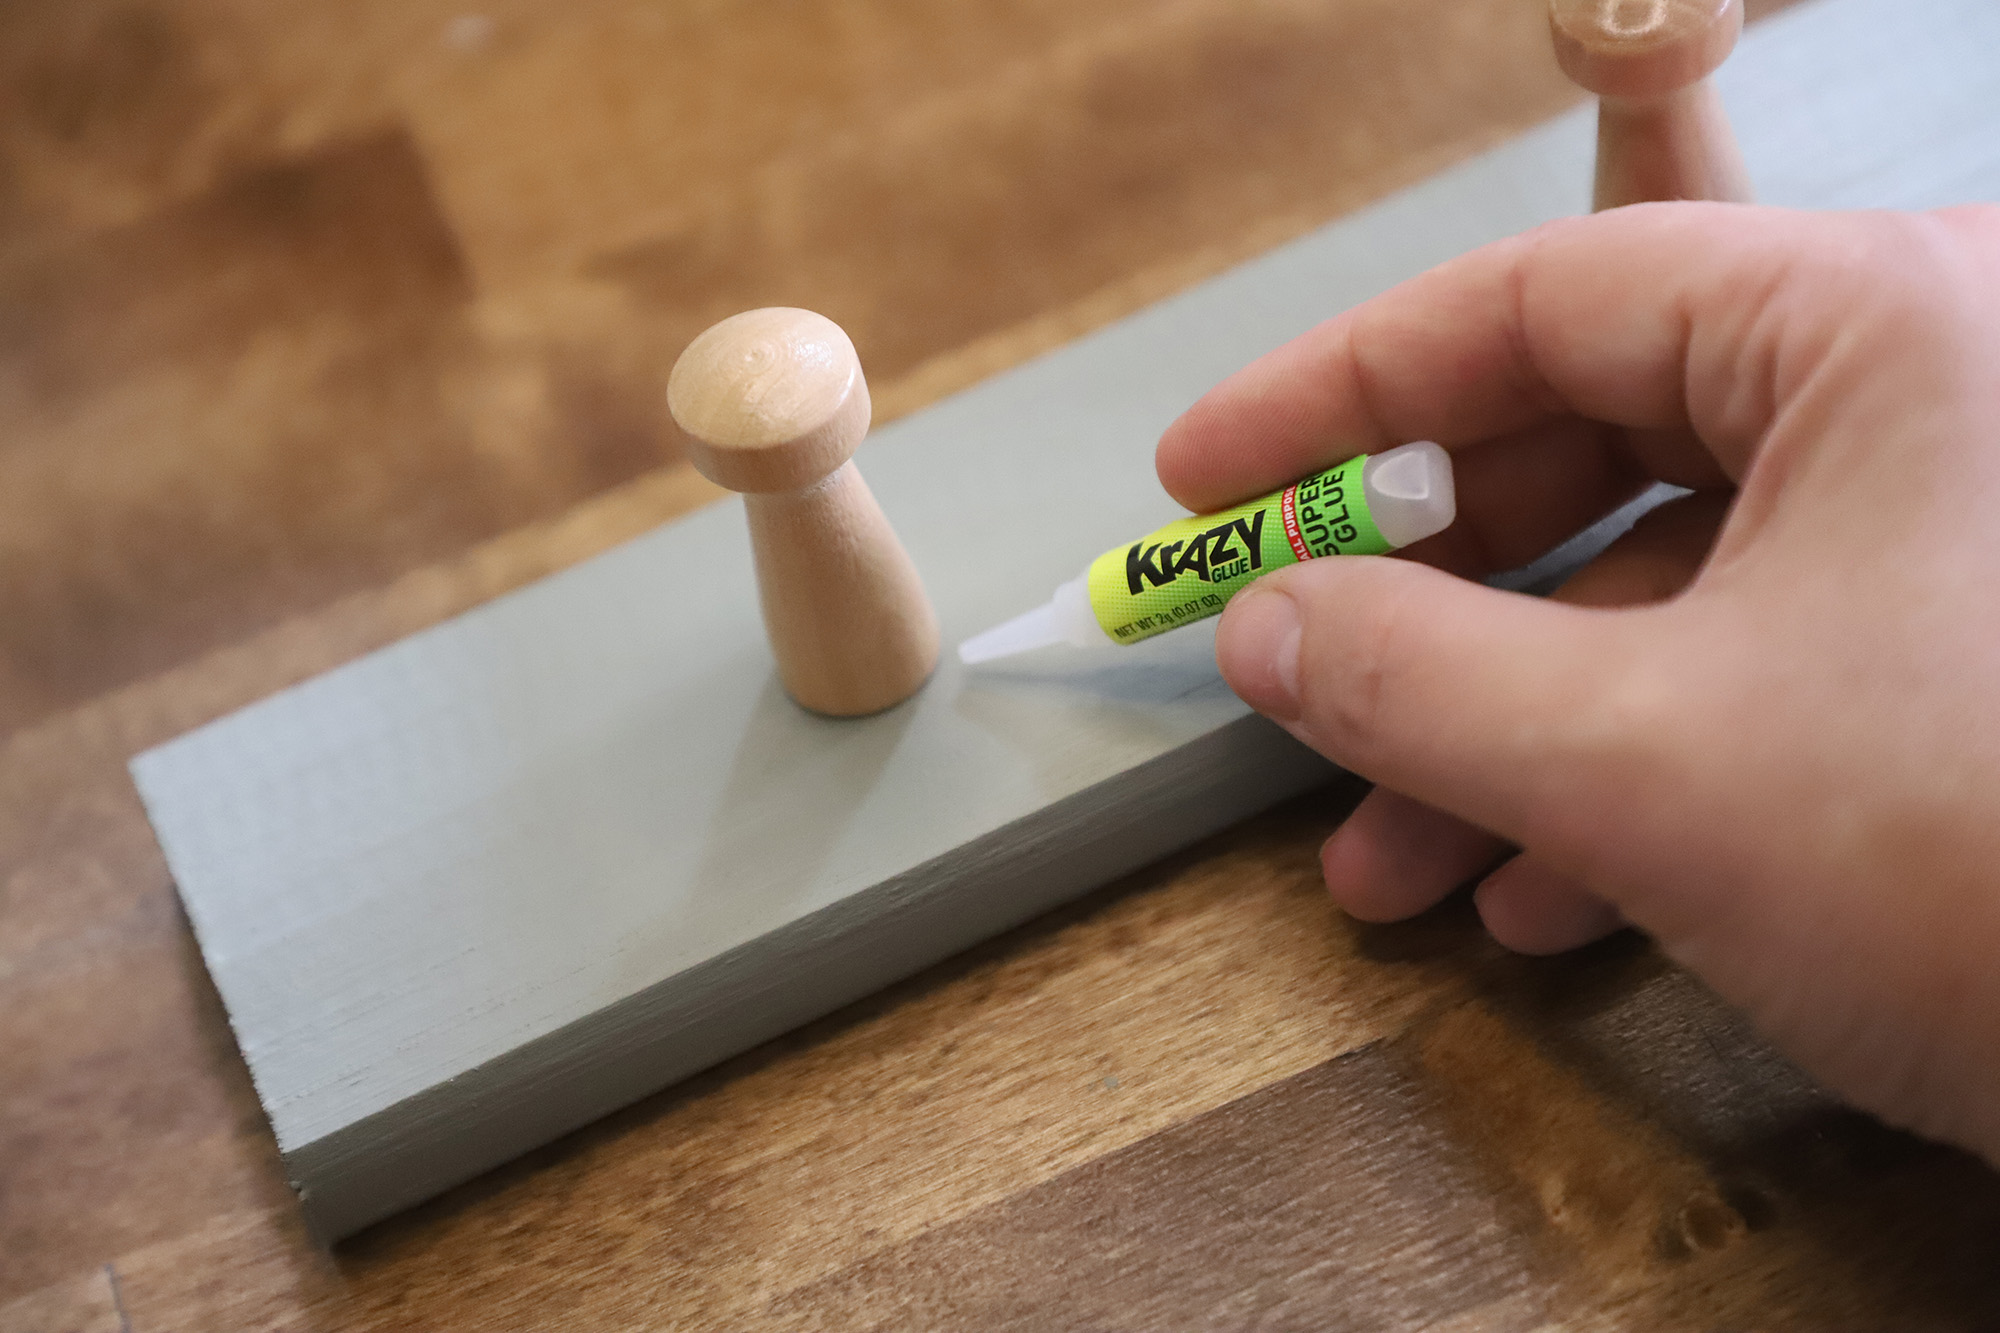
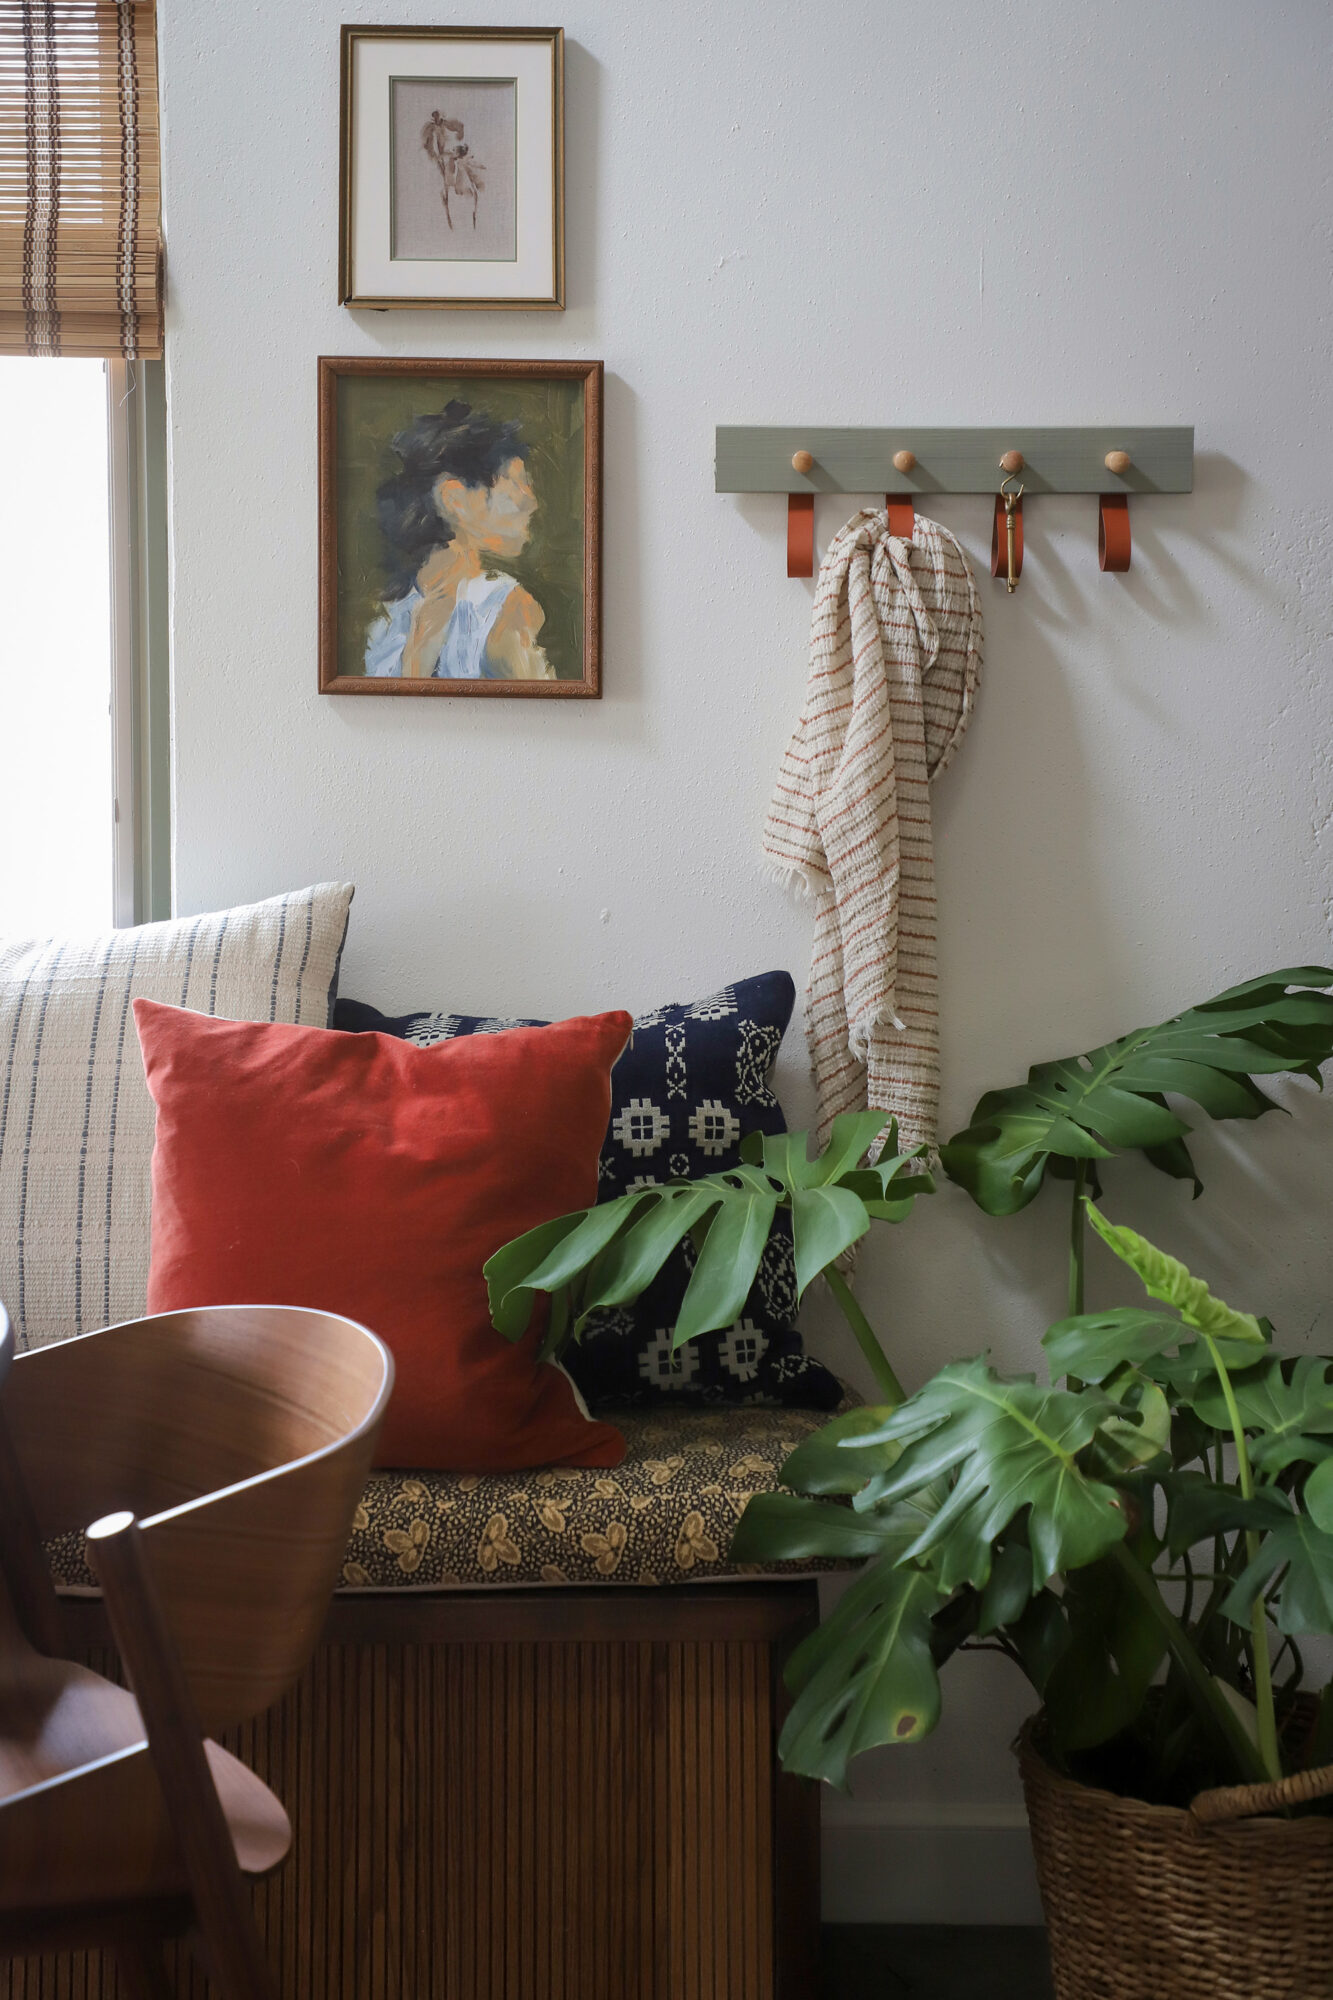
I needed a spot to hang my keys at the Loft house, so whipped up this no-tool Leather Strap Peg-Rail. I love a DIY project like this because it’s so quick and simple! I am using All-Purpose Krazy Glue because it adheres to wood, leather and metal, so it’s perfect for this project. Plus, the glue holds up to 1000lbs, so the pegrail should have no problem holding ALL my keys.
What you need:
Krazy Glue All Purpose Super Glue
1×4 Wood
Tape Measure
Wood Pegs
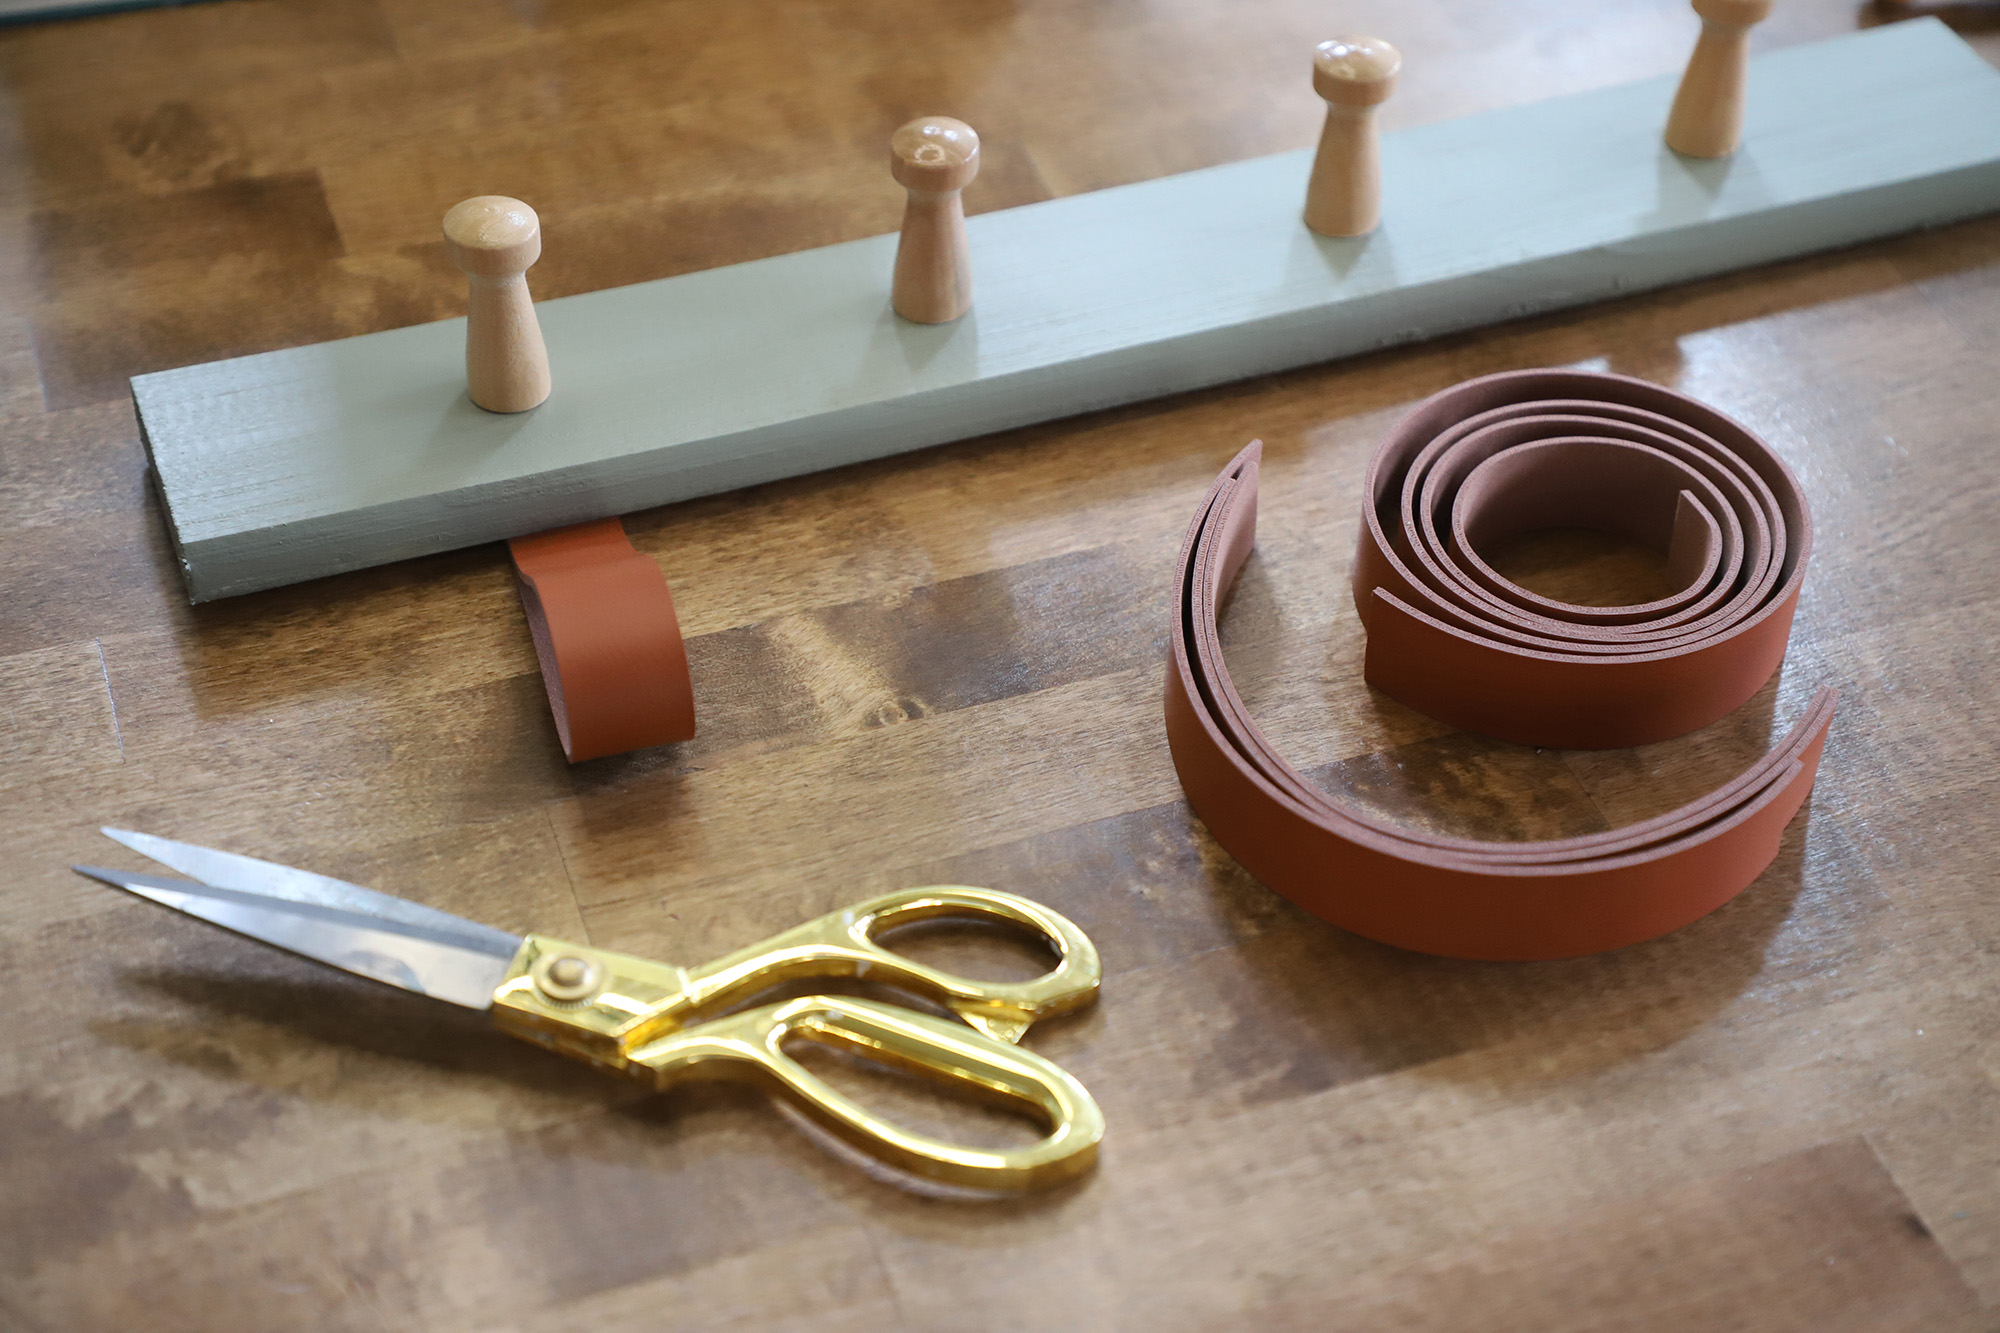
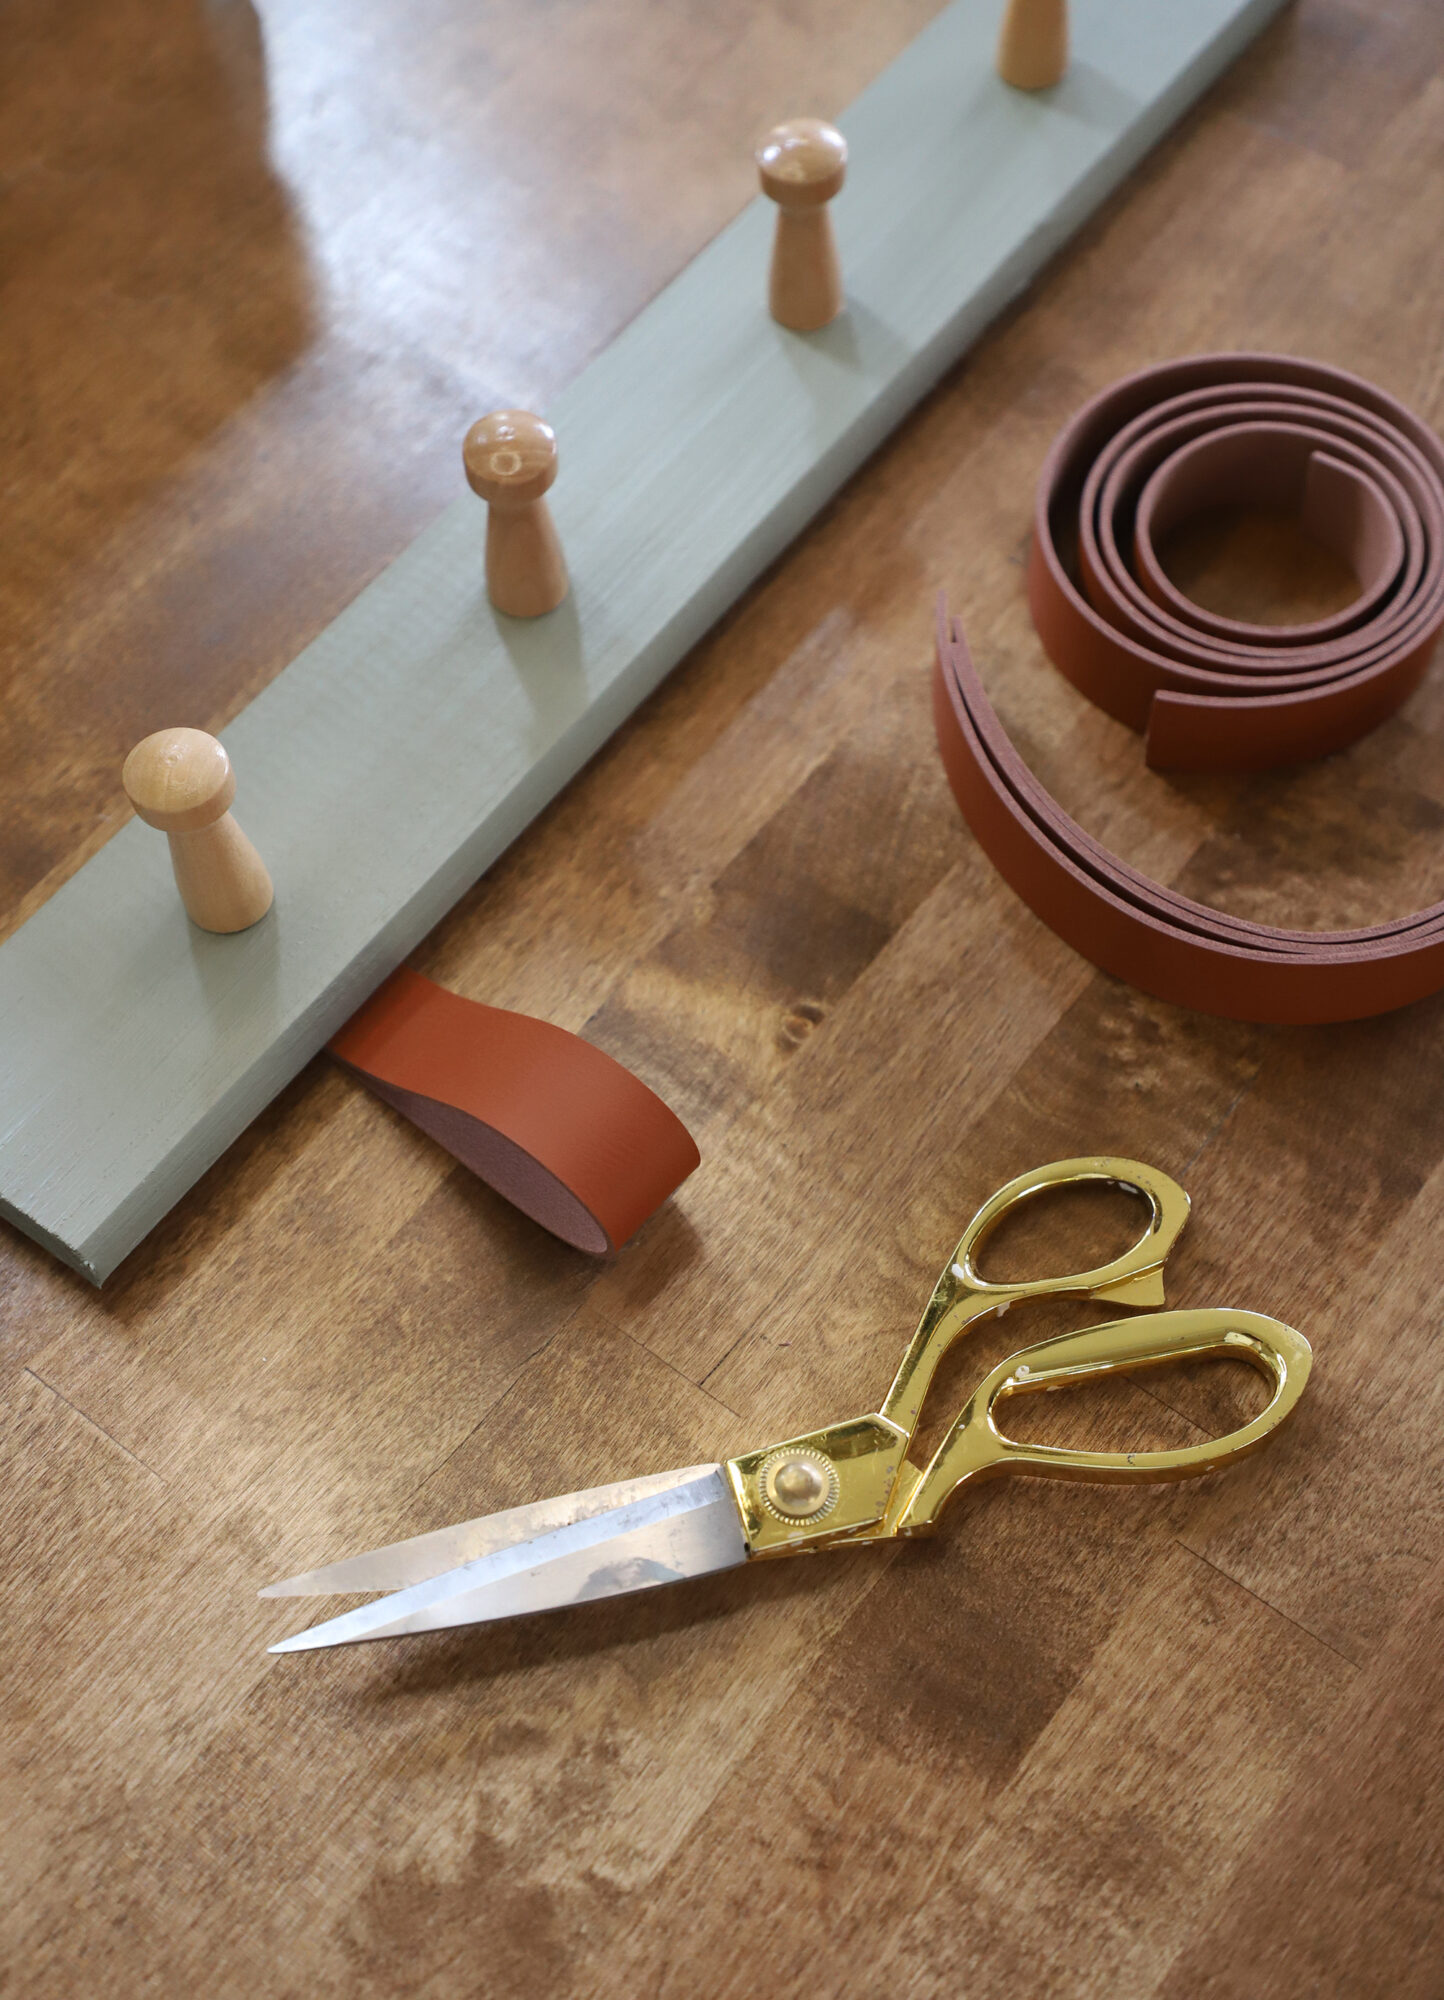
1in Leather Strip
Scissors
French Cleat Picture Hanger
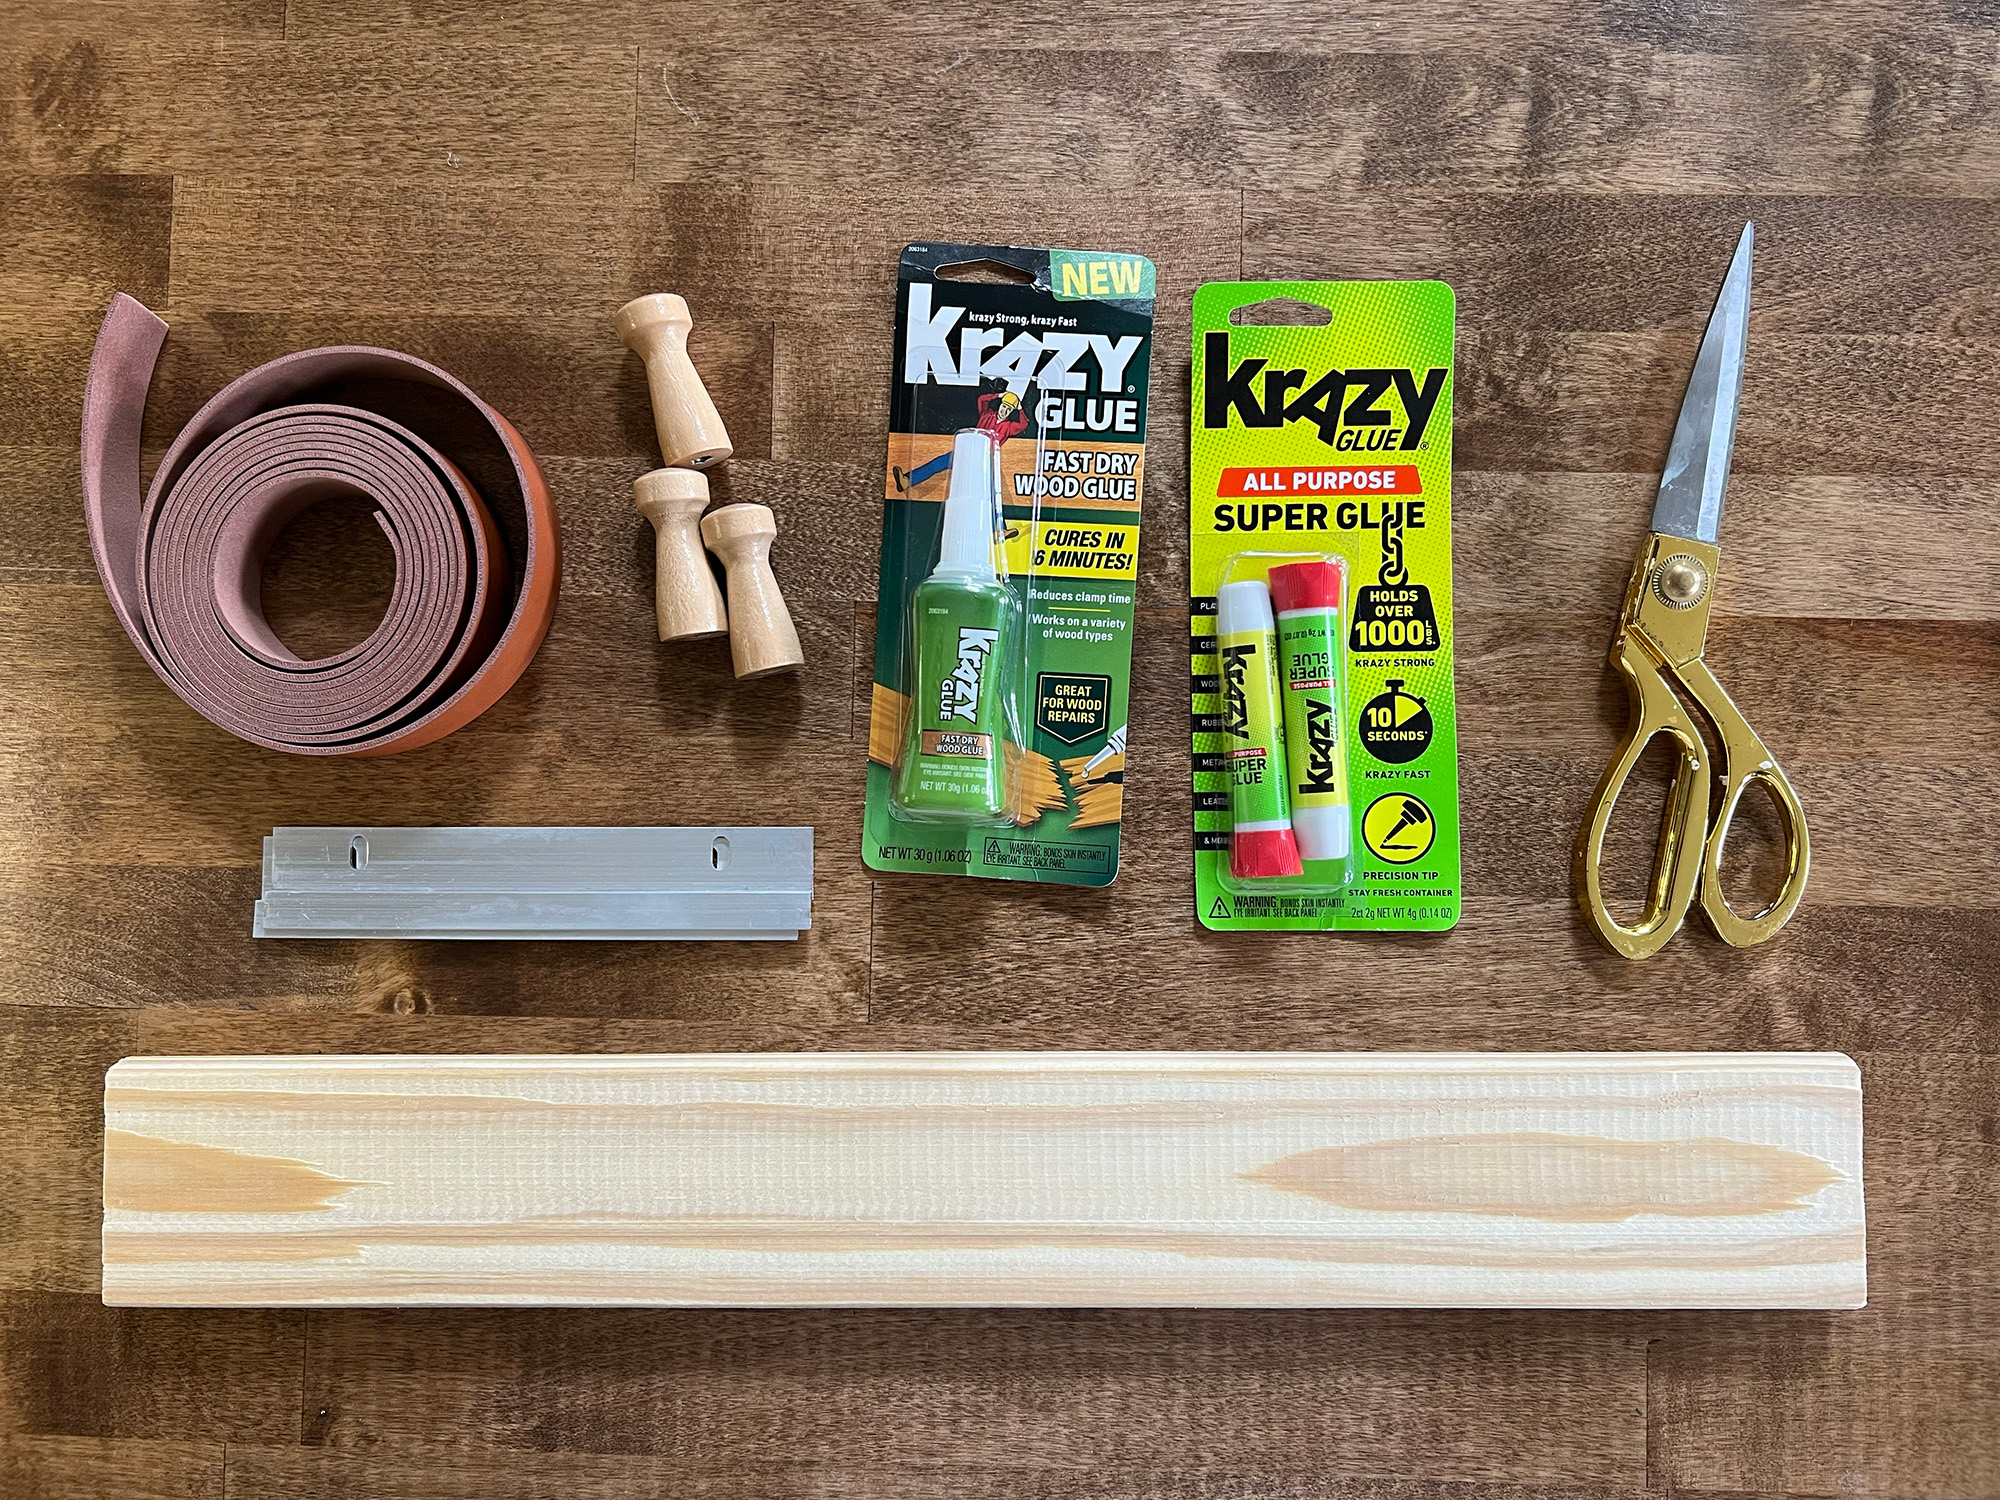
I actually repurposed an extra bracket from an Ikea bed frame for this project, but you could use a 1/4 piece of wood. And screw-in wood pegs are great because you don’t need tools (although drilling a pilot hole makes it easier to screw in). I skipped the screw and just glued on the pegs, but if you are hanging heavy items on it daily, I would keep the screw, and then add Krazy Glue Wood Glue for extra support and hold. Now onto the steps!
What to do:
Cut your 1×4 piece of wood to fit the wall
Paint the wood
Use the tape measure to plan out the spacing of pegs
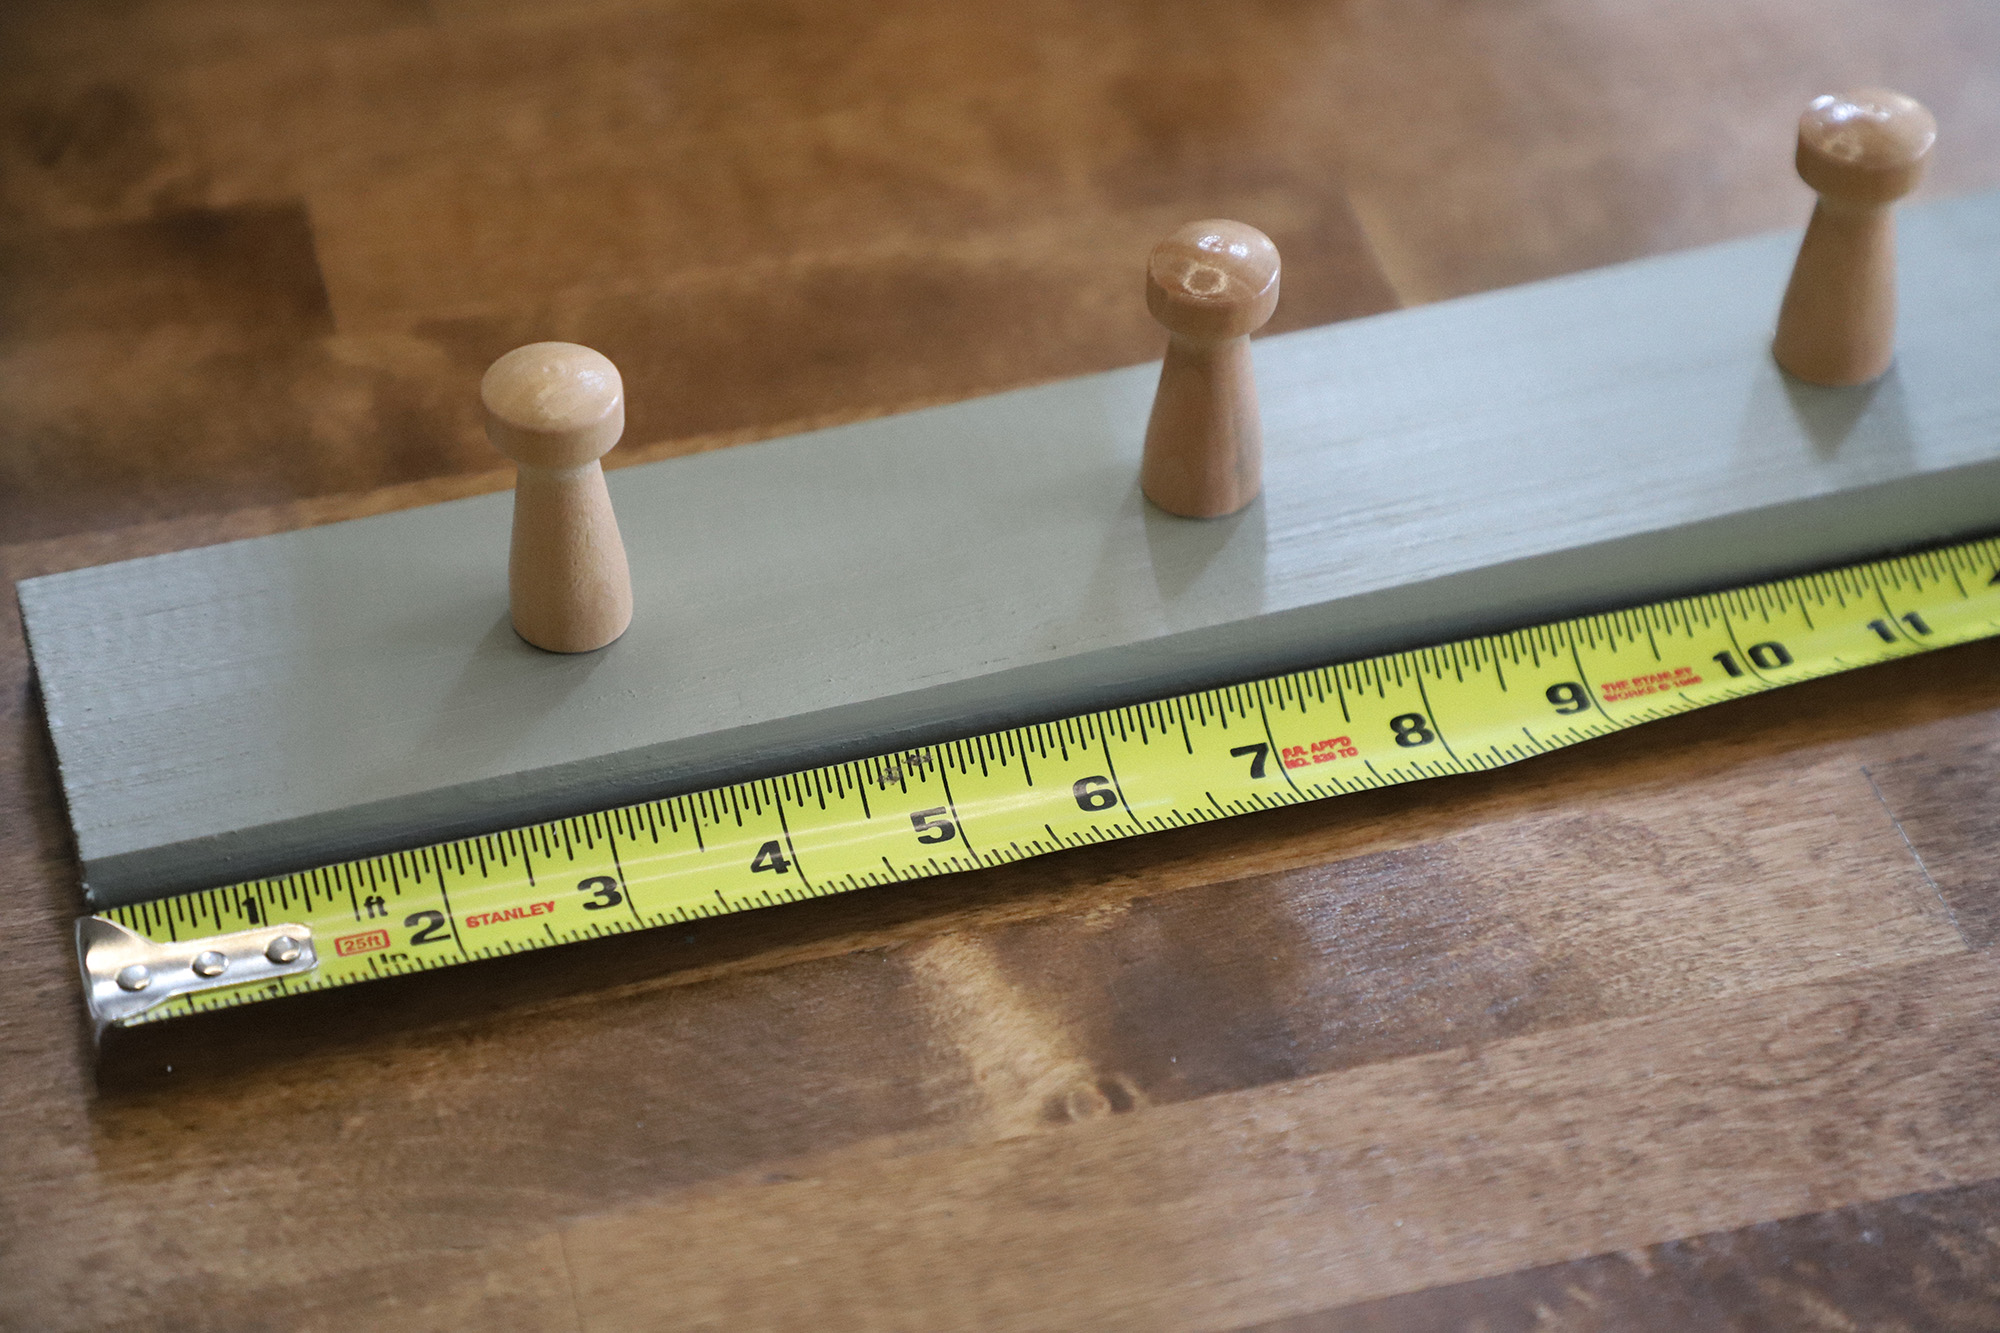
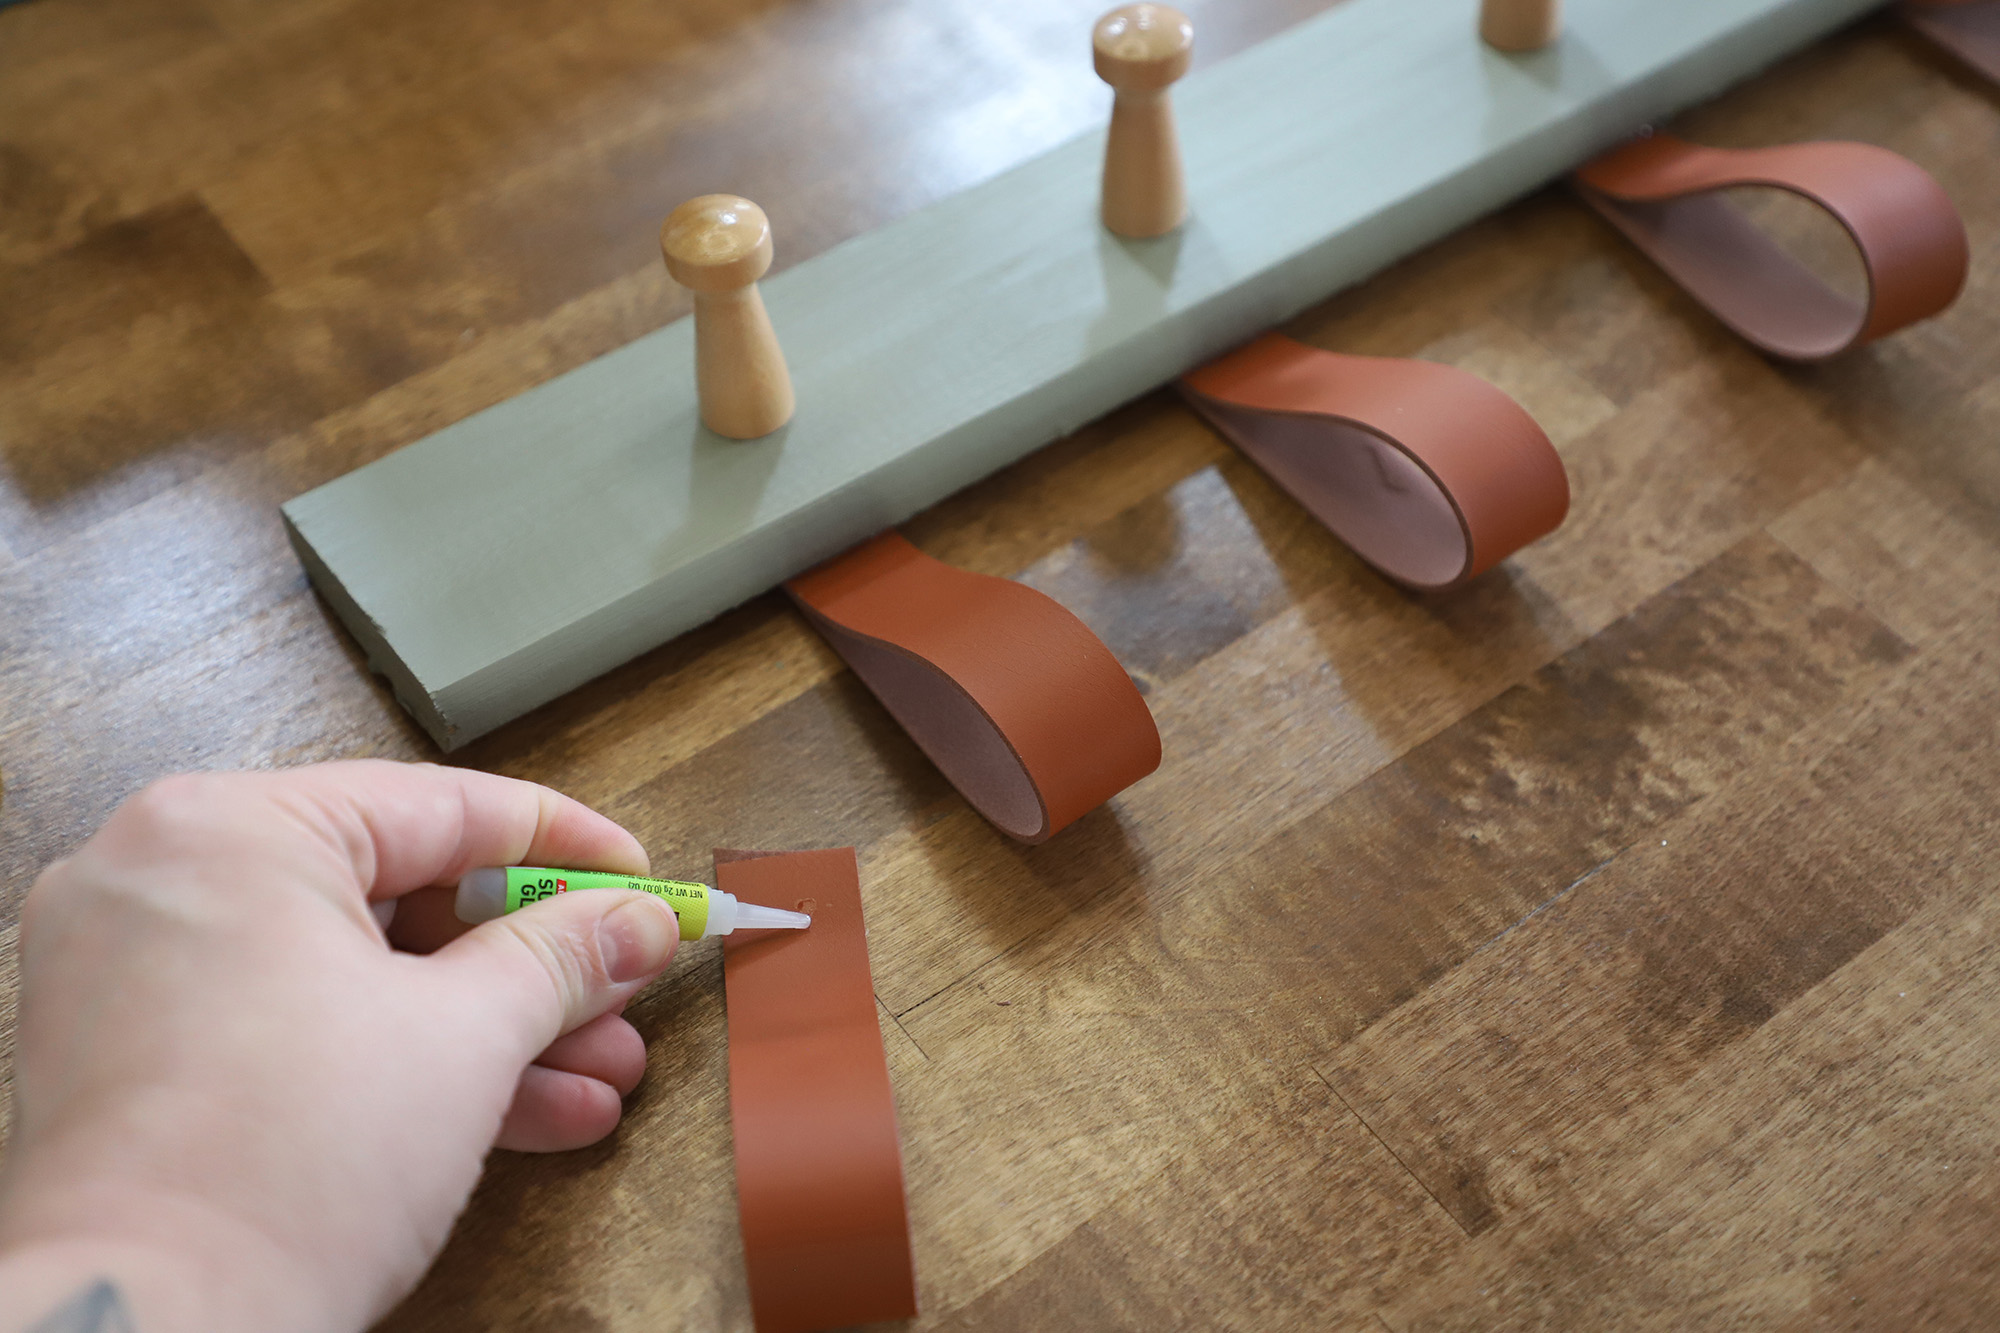
4. Glue on the pegs with the All Purpose Super Glue, let dry.
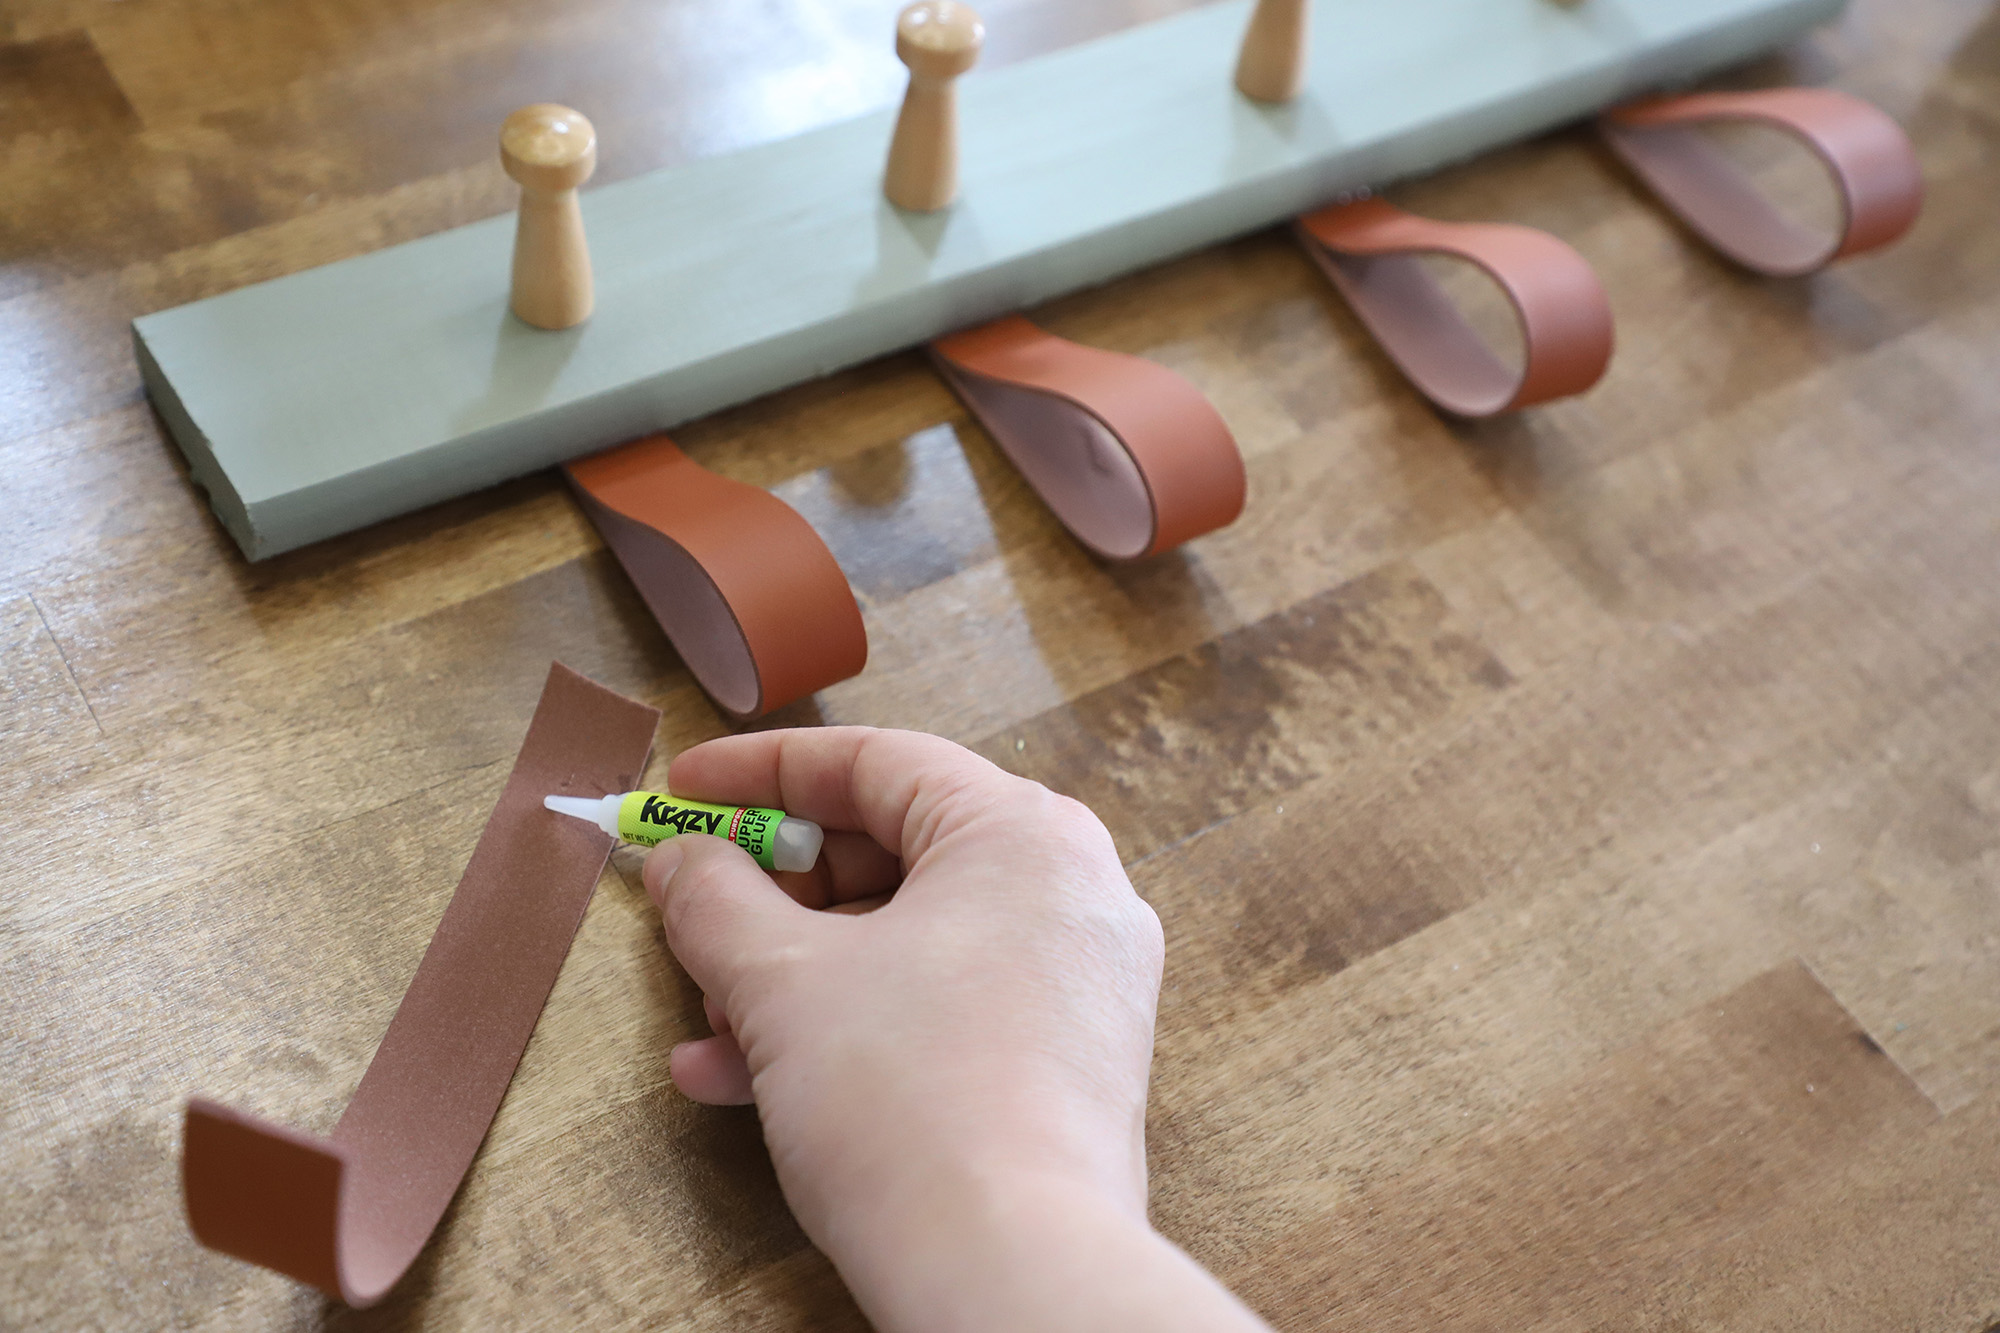
5. Next, cut four 8in leather strips.
6. Glue the 2 ends of the leather strips together with the All Purpose Super Glue, and then glue to the back of the wood under each peg. Let dry.
7. Lastly, glue the french cleat with the All Purpose Super Glue to the top of the board on the back. Let dry.
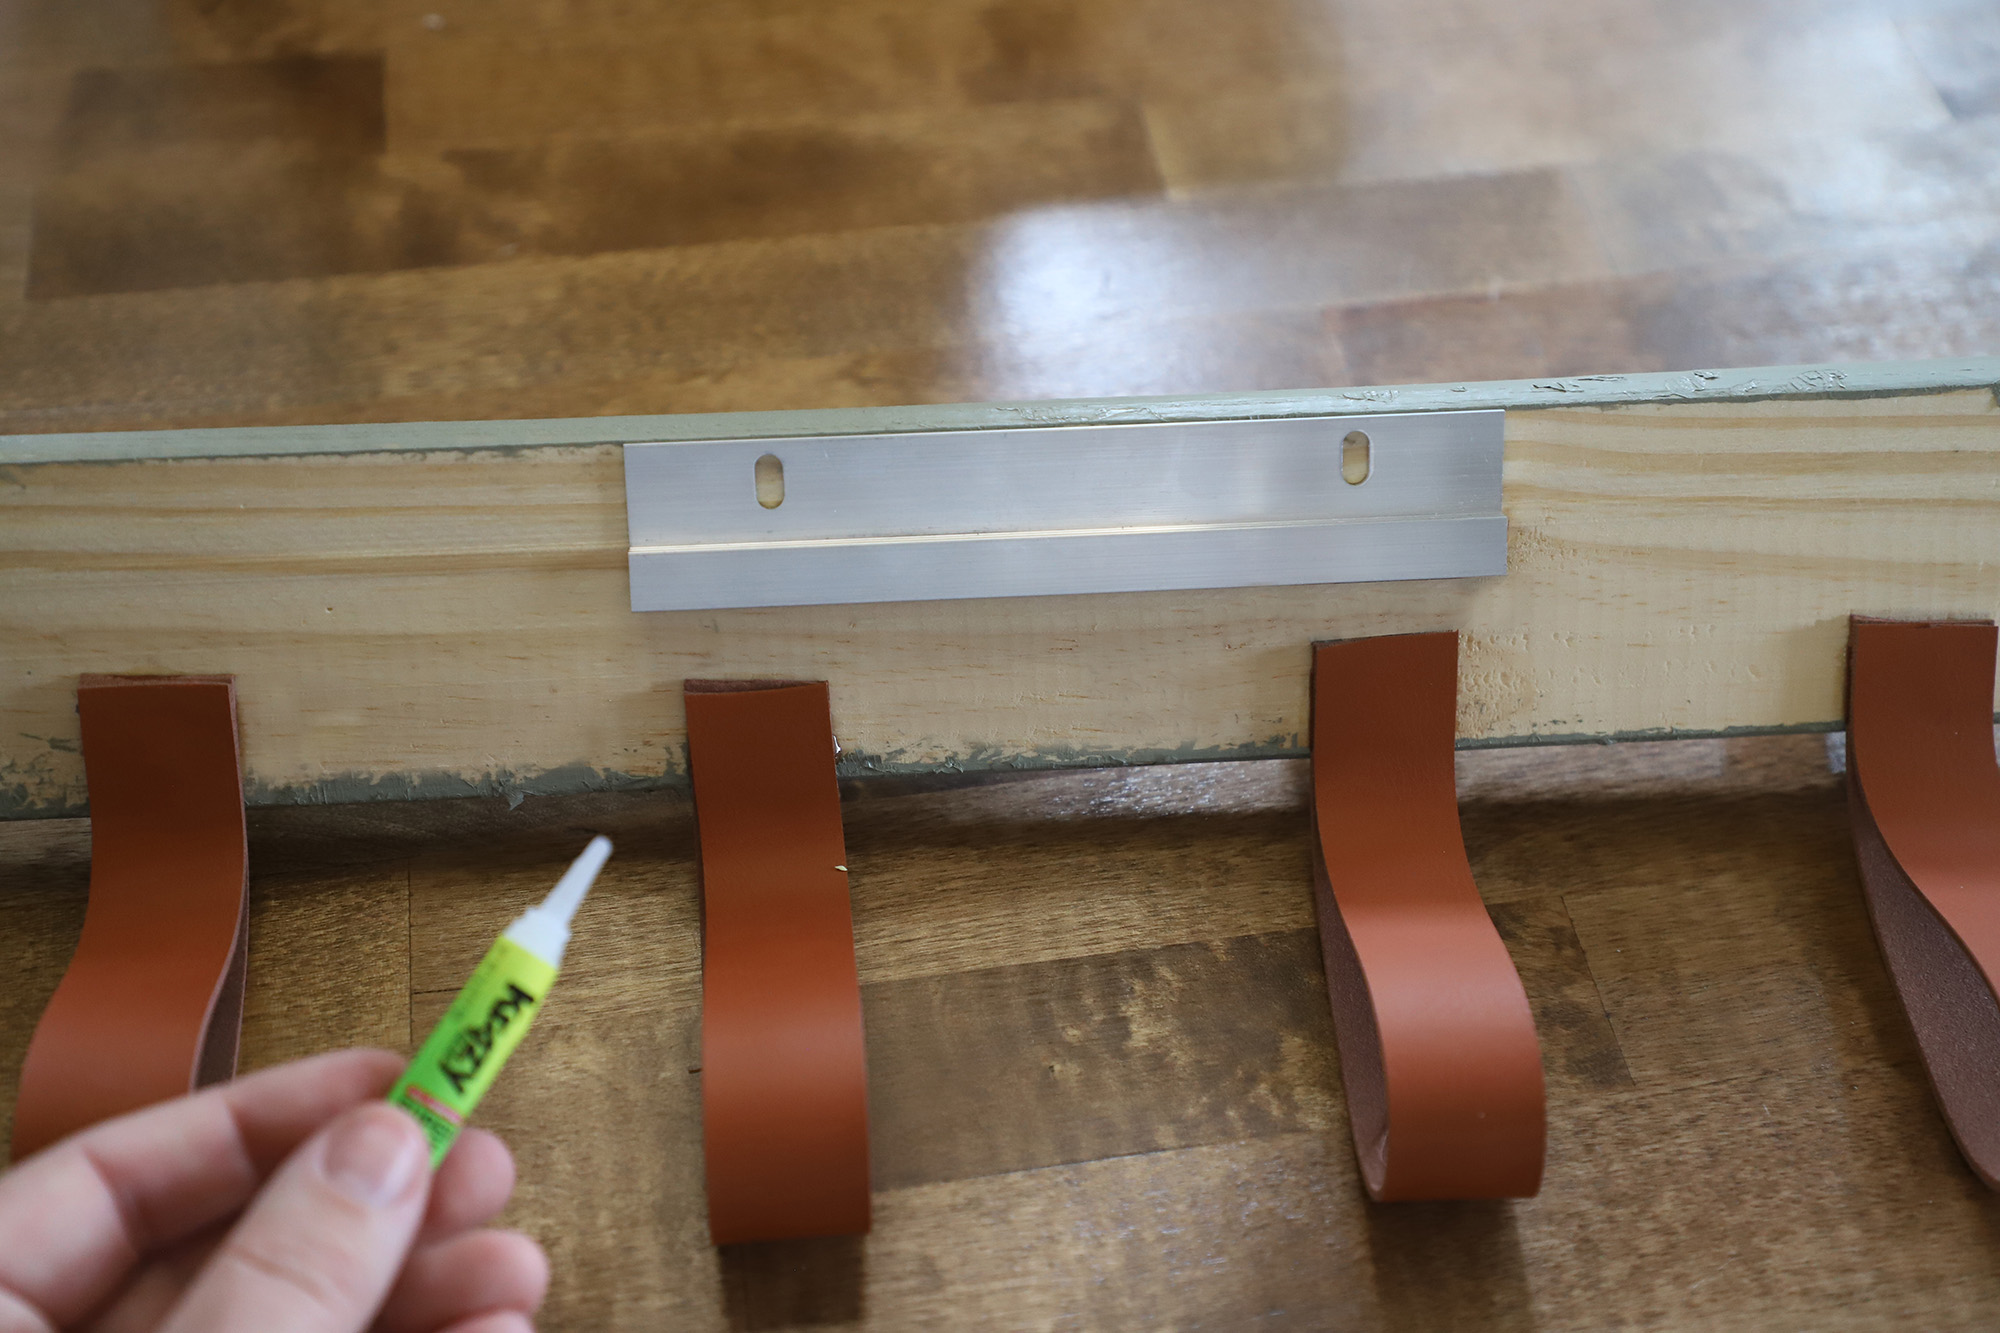
8. Once the glue is dry, drill the other side of the french cleat to the wall, and hang!
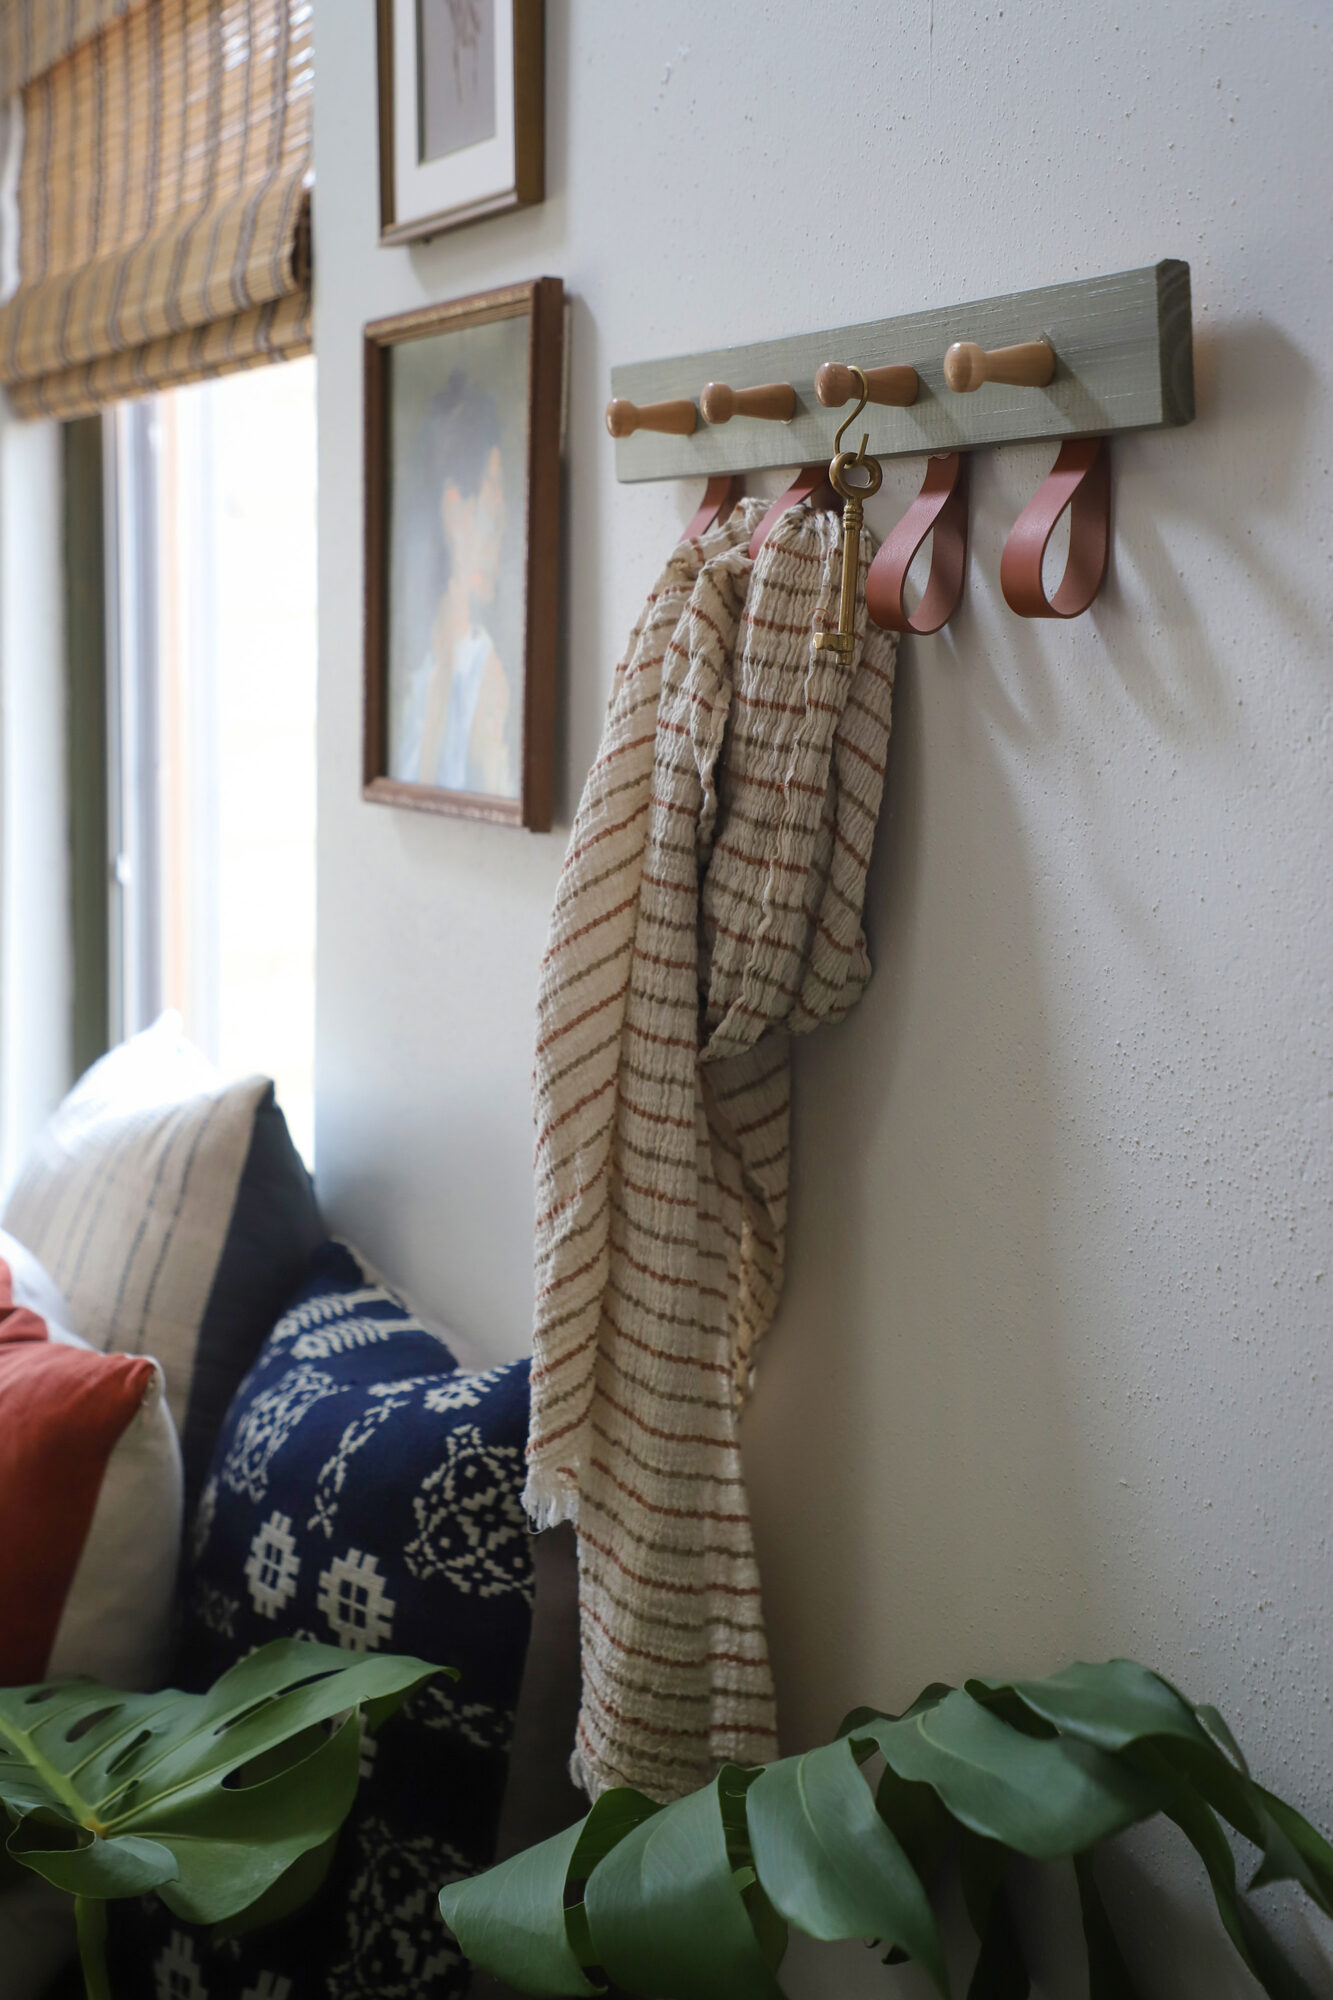
How cute is this! The one thing I might change: If you were looking for the peg-rail to be more secure to the wall, I would skip the french cleat and drill the peg-rail directly into the studs. It would sit flatter against the wall, and not move.
This post was made in partnership with Krazy Glue.
EXPLORE MORE: DIY PROJECT


