MY DIY | Hexagon Cork Memo Board
DIY PROJECT, Home DIY
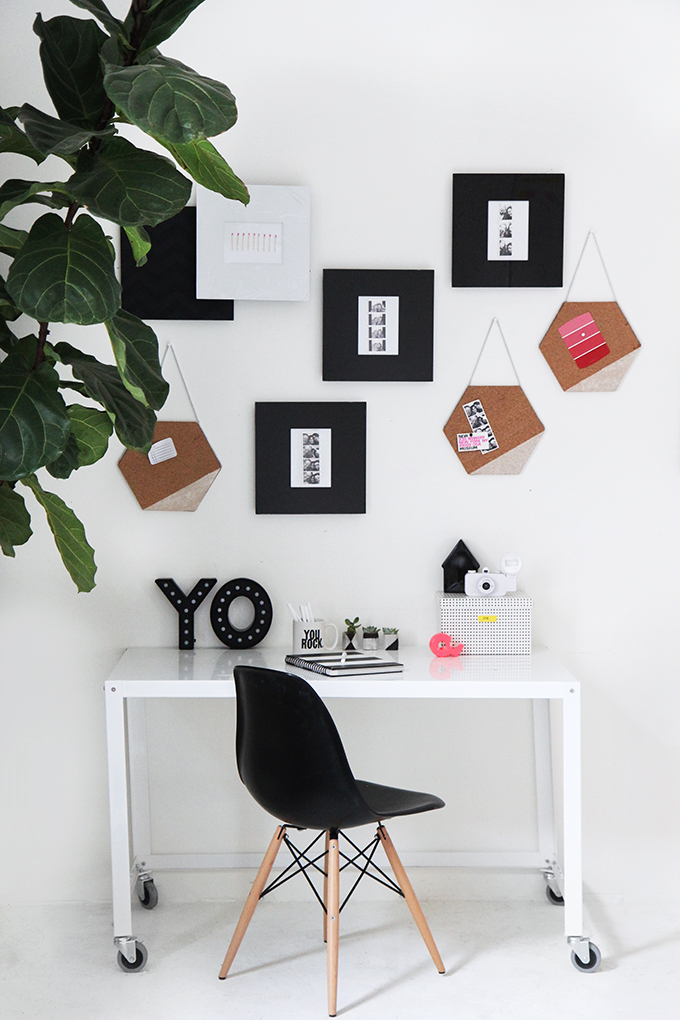
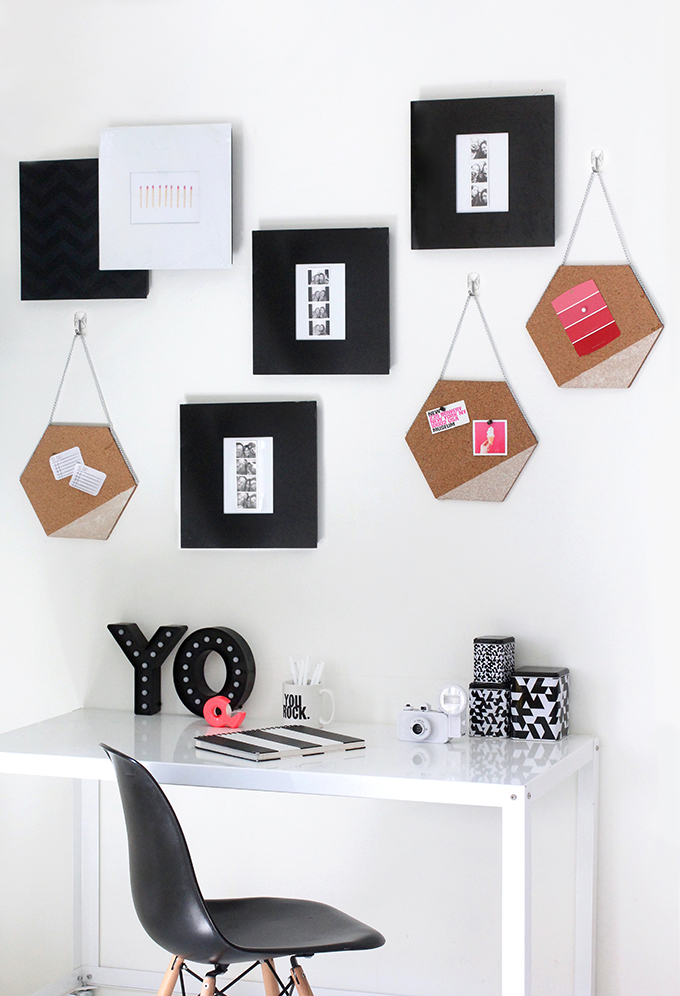
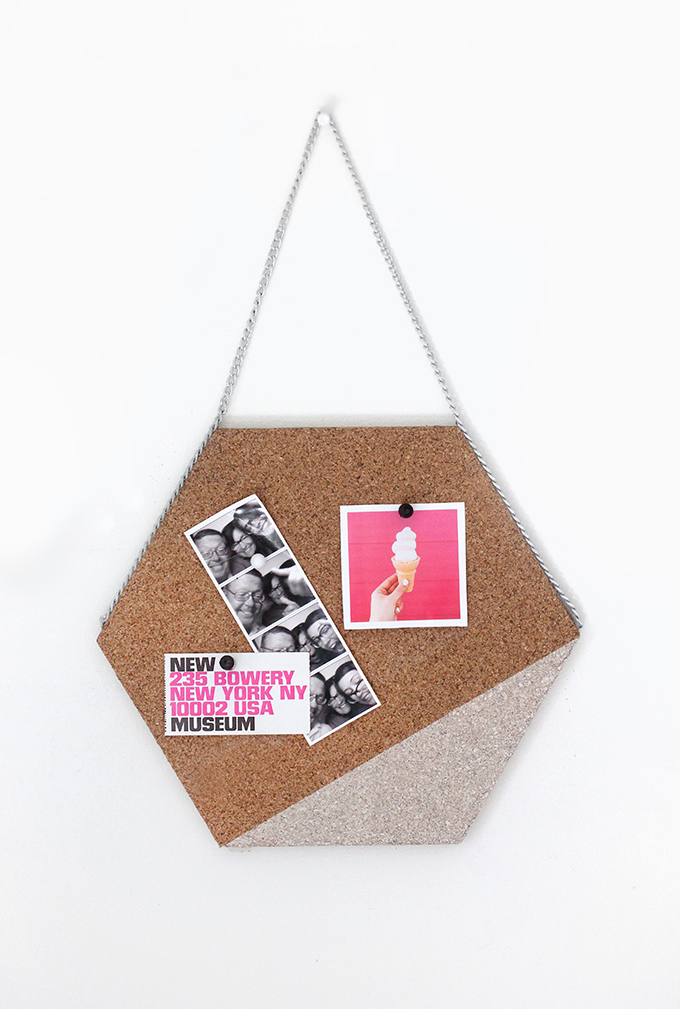
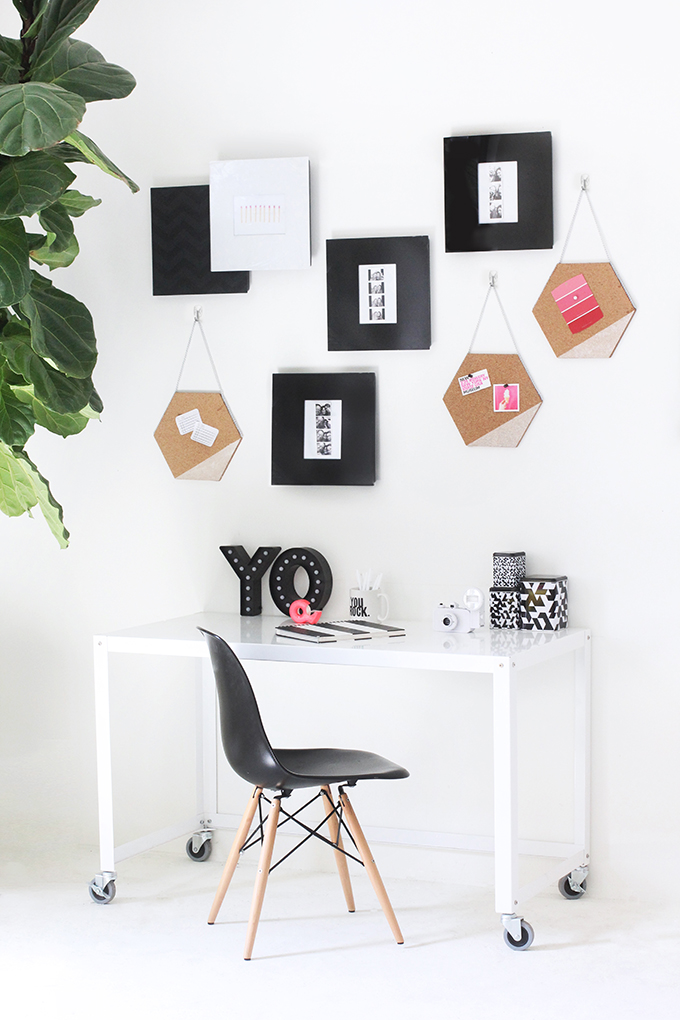
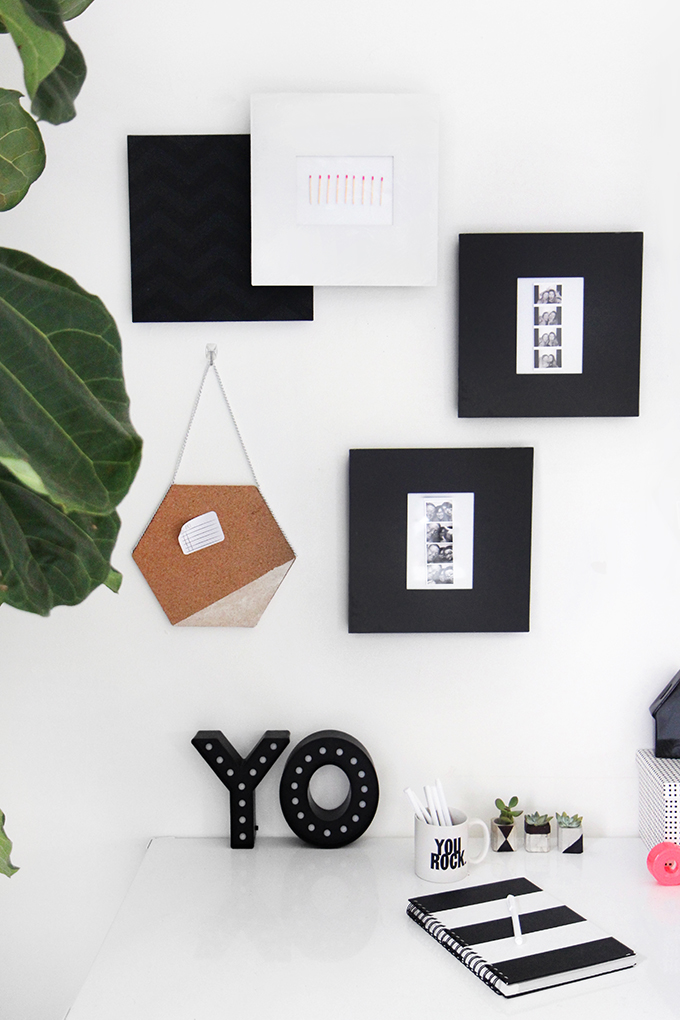
I love an inspiration wall, and after finding these thin cork hexagons, I knew I wanted to double them up and add a chain to create a group of hanging memo boards. They are stylish and functional, perfect for tacking up my current to-do list, plus the items that are currently sparking my creativity. Adding a little paint on each hexagon instantly ups the design factor, and allows you to customize to compliment your space’s color scheme. I arranged the cork board with my favorite photo booth strips (how cute are my parents!) inside Command™ Brand Decor Tile frames, to create the perfect creative space to brainstorm my next DIY! Step and supplies after the break…
What you need:
6 hexagon-shaped corkboards of the same size
3 24″ chain strands
Spray paint
Painter’s Tape
Double-Sided Tape Applicator
Quick Dry Adhesive
Command™ Utensil Hooks
Command™ Décor Black Frame Tiles in 5×7
Command™ Décor White Frame Tiles in 5×7
Command™ Décor Chevron Chalkboard Tile
Command™ Décor Riser
What to do:
Follow all Command™ Brand package instructions for proper surface cleaning and prep, adhesive strip placement and recommended weight claims.
Step 3: Tape off a diagonal section on the bottom right-hand corner of the corkboard with a piece painter’s tape. Spray paint the corner of the corkboard. Once dry, remove the tape by pulling the tape slowly and back onto itself at a 45 degree angle.
Step 4: Mount three Command™ Décor Black Frame Tiles 5×7 in a diagonal line above your desk.
Step 5: Hang one Chevron Chalkboard Tile to the left of the tiles placed in Step 4. To create some dimension, add a riser to the back of the White Frame Tile 5×7 base. Position the riser over the strip close to the right of the Chevron Chalkboard Tile, pressing against the center of the base until you hear it lock into the strip.
Step 6: Adhere three clear Command™ Utensil Hooks in the blank spaces around the décor tiles. Hang the three corkboards from the hooks to add the final touches on the inspiration wall.
This post was made in partnership with Command™ Brand. . Thank you for supporting my amazing sponsors who make I SPY DIY possible!
EXPLORE MORE: DIY PROJECT, Home DIY
