MY DIY | GRAPHIC WORD T
DIY PROJECT, Fashion DIY
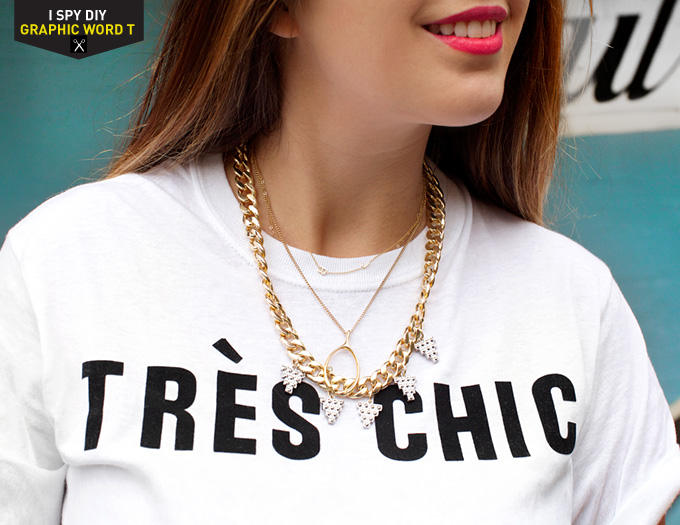
If you have been following along on Instagram @ispydiy you may have spotted me traveling around the US with Express, stopping at college campuses, DIYing Tshirts with the students. I had such an amazing time hanging with the students, their creativity was ridicules! It was beyond fun seeing how they would design their DIY shirts (Check out the T’s at each pop-up shop here), and now I’m slightly obsessed with making a bunch of my own! Starting with an Express Crew Neck Tee (this would be cute too), I chopped off the bottom to create a crop top, and added my words (no sewing needed). Find out how to make your own after the break, and check back tomorrow to see my head-to-toe outfit!
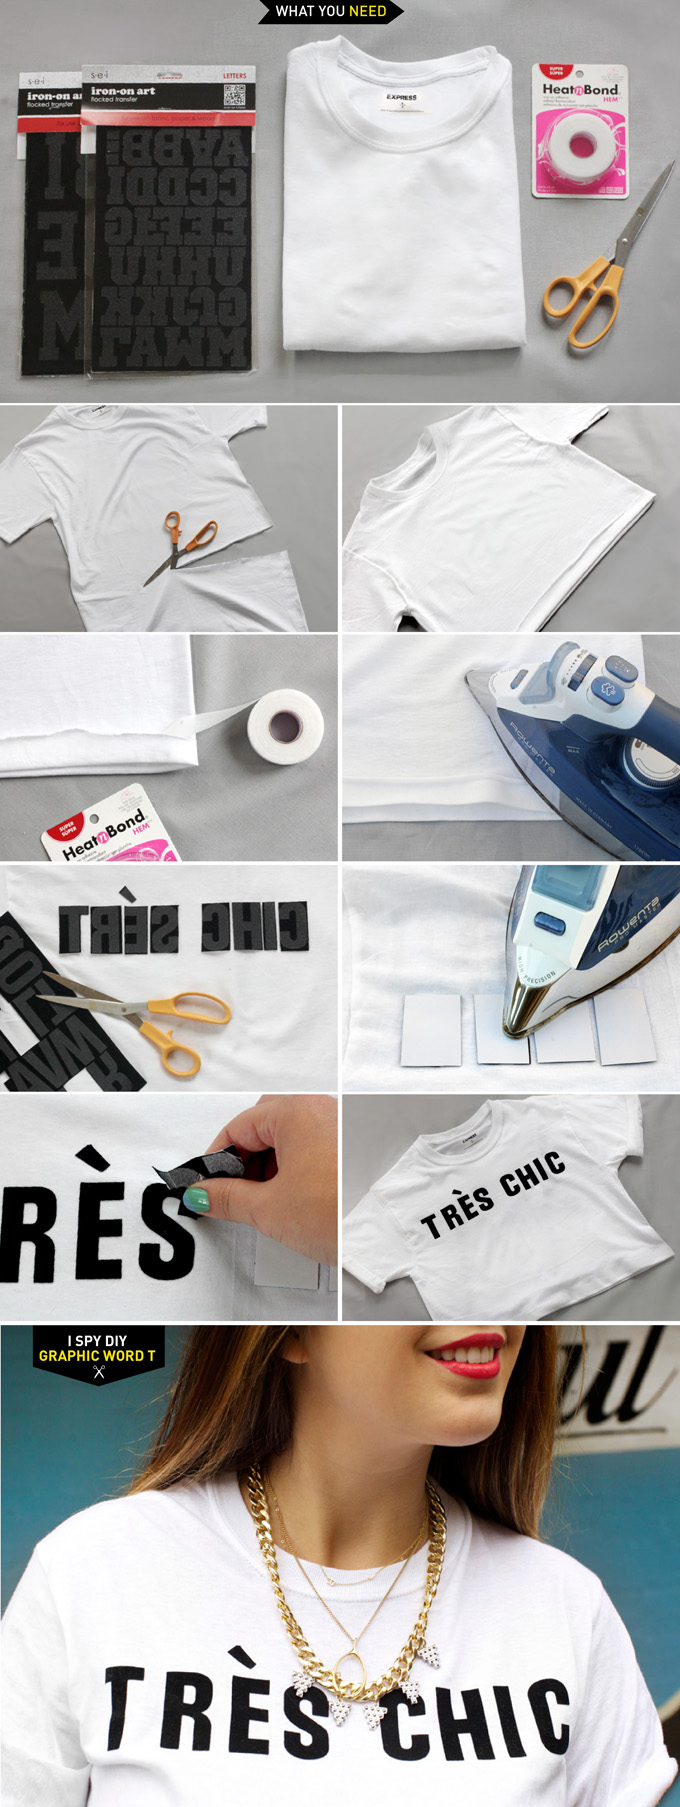
What you need:
Express Crew Neck Tee
Iron-On letters (my favorite are these block letters and varsity letters from SEI)
Rowenta Iron
Scissors
Heat Bond Hem
What to do:
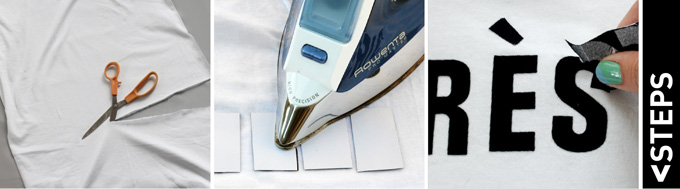
First, “Hem” your tee by cutting off the bottom, then turn inside out, and fold up an inch.
Then, instead of sewing, put your Heat Bond inside the fold. Line the entire perimeter of the T.
Iron over the fold to bond the material and create a shortened hem.
Next, on to your word. Cut the letters out, I like to trim close to the top and sides so you can line up and gage the spacing,
Arrange your letters, then flip them over making sure that non of the letters are backwards (this take some brainpower, trust me)
Run your iron over the back of the letters for 30 seconds, let cool for 30 seconds, then peal off the backing.
If any of your letters start to peal, run the iron over them again after taking off the back.
Done!
EXPLORE MORE: DIY PROJECT, Fashion DIY
It looks super cute and easy. I want to make one too 😀
Check out my new JEWELLERY GIVEAWAY!
xx Mira
http://www.glamdevils.com
Ah it looks so cute, I so want to make one!
Love this!
xo
http://pinksole.com
Great! Looks super cute..
Sara
http://www.apparelnbags.com/a4/index.htm
Super cute, definitely going to try it out! I need to get myself some of this magic heat bond stuff 🙂
I love this!
Slightly Skint Blog
great !
http://pinklemonincrystal.blogspot.com
This is great!
http://amoroccantouch.wordpress.com/
I’m also addicted to pimping my own t-shirts and this is a great one!
http://junefiftysix.blogspot.be/
love it! and I love that it is so easy- I had made an iron-on pouch with a cute saying-
http://bexbeltran.com/2013/09/16/oops-i-did-it-again/ – but these are so much better!
Thanks for sharing your project!
Love the shirt. Looks great.
Love!! I love graphic word tees—why not make my own?! I am excited to make some! Thanks for the DIY and link to the iron on letters!
The quality is amazing! My fave iron-ons
We love your DIY, it’s very original this way to change a t-shirt, but we must practice before we make it well!
http://inatrendytown.blogspot.com/
Very cool! xx
http://www.creativityandchocolate.com
That so cool DIY, so fun to do!!!
http://stylesensemoments.blogspot.com/
Love this. Great DIY!
I think the teen fashionistas in our jewelry making class at Dragonfly Designs (http://www.jewelrybydfly.com) would love to learn how they can do this themselves, especially the holidays are getting nearer!
I’m so glad you posted a tutorial about this!! It was amazing meeting you on your tour 🙂 You should check out the outfit I created with my DIY’d shirt: http://www.heybirdfriend.com/2013/10/keep-it-unreal.html
Mackenzie
http://www.heybirdfriend.com
Great DIY !
I did a similar one that says magic girl on it 🙂
xx Julia
http://www.followthefashionrookie.blogspot.de/
Love the t-shirt!
http://www.MARTASFASHIONDIARY.com/
Beautiful necklace!!
Super cute! Awesome tute 😉
http://cafecraftea.blogspot.com
Totally need to try this! Awesome idea! Thanks for posting xx
Another amaze idea! I’m definitely going to have to make a to do list of all your fab projects!
xxxx
http://www.sayitwithlace.com
Not many blogs that contain such consistently readable and interesting
content as is on offer on this one, you are due the small amount
of time it has taken to write my admiration at your work.
Many thanks.
This tutorial is so amazing! Thank you