MY DIY | Dotted Denim Skirt
DIY PROJECT, Fashion DIY
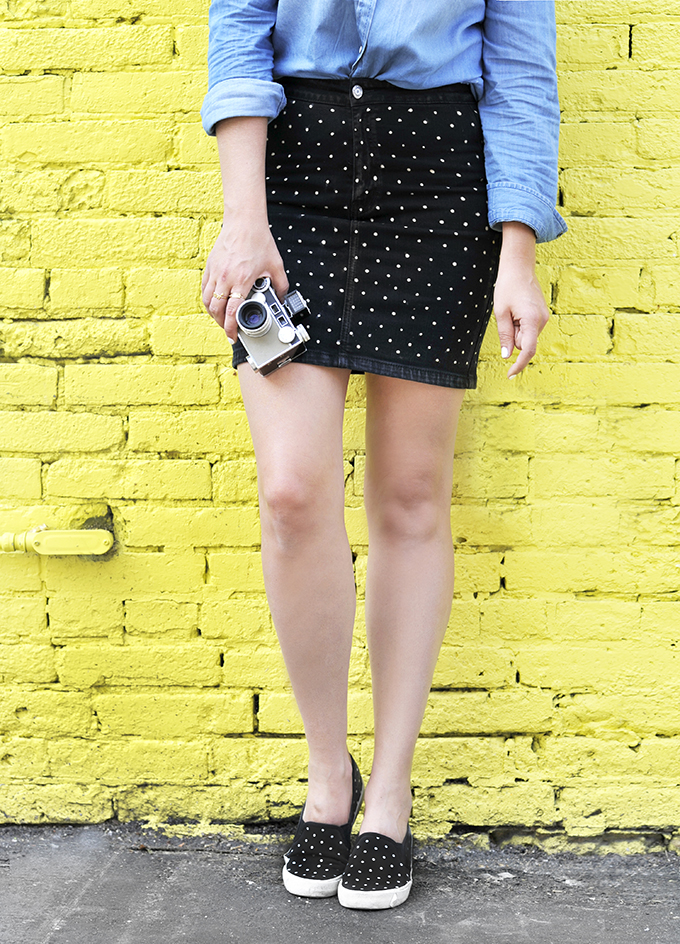
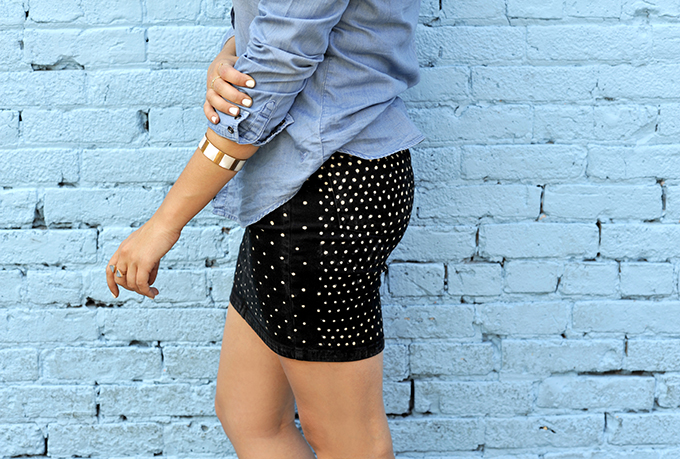
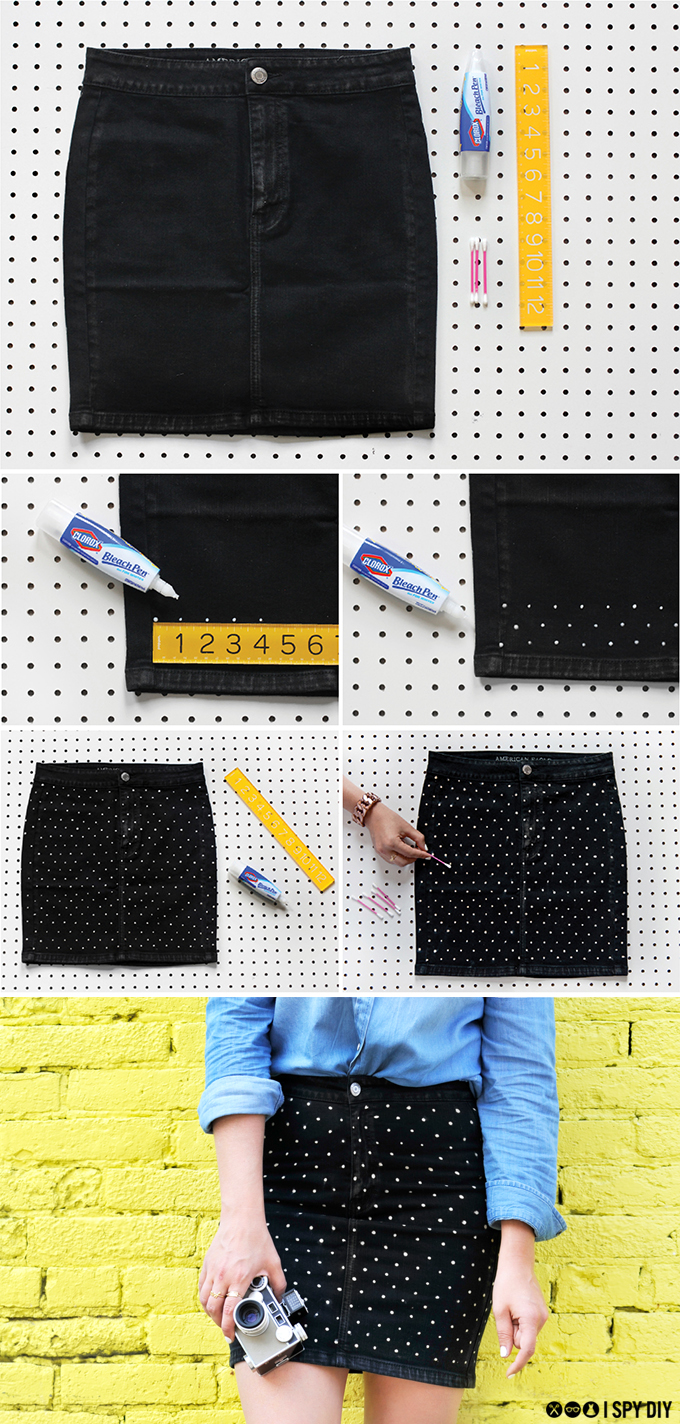
I’ve done some bleach dip dying in the past, but never bleach dotting, so I gave it a try and was happily surprised at how easy it is! I was a little nervous on how the dots would turn out, so started with a black denim skirt and then armed myself with every form of bleach on the market for testing. My pick: a bleach gel pen works amazing. Using a ruler, it was easy to measure spacing and create controlled dots. The double pattern was happy mistake. I was testing out different spacing, and ended up digging the end result. Polka dots on the front, and caffeinated polka dots on the back! Steps and supplies after the break…
PHOTOS BY | Jessica Kaminski
What you need:
Black Denim skirt
Bleach gel pen
Q-tip
Ruler
EXPLORE MORE: DIY PROJECT, Fashion DIY


