MY DIY | Chalkboard Tape Wall Calendar
DIY PROJECT, Home DIY
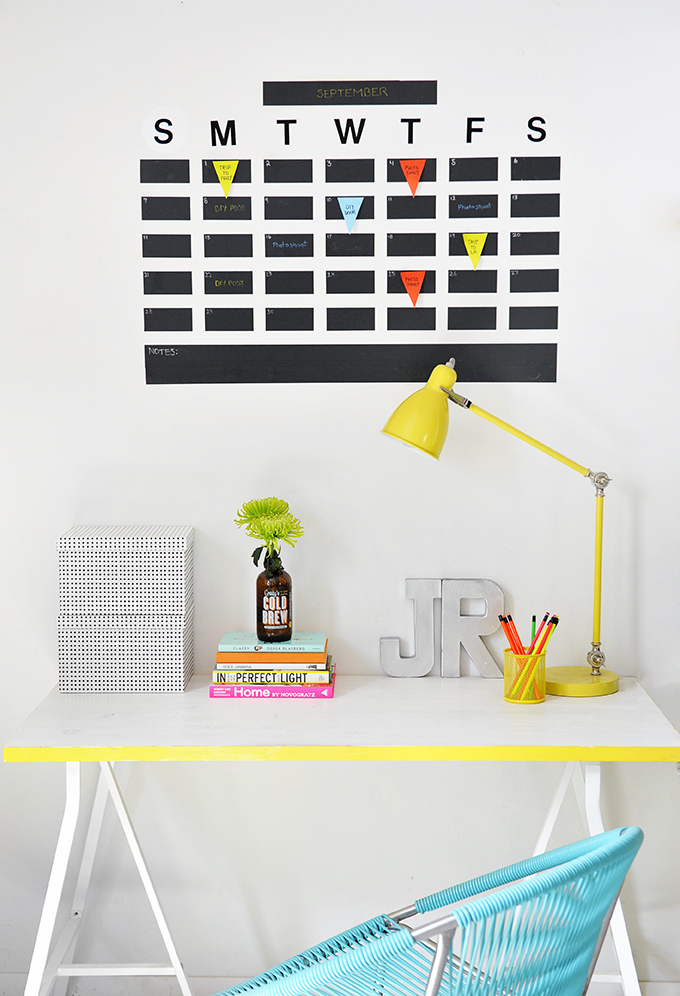
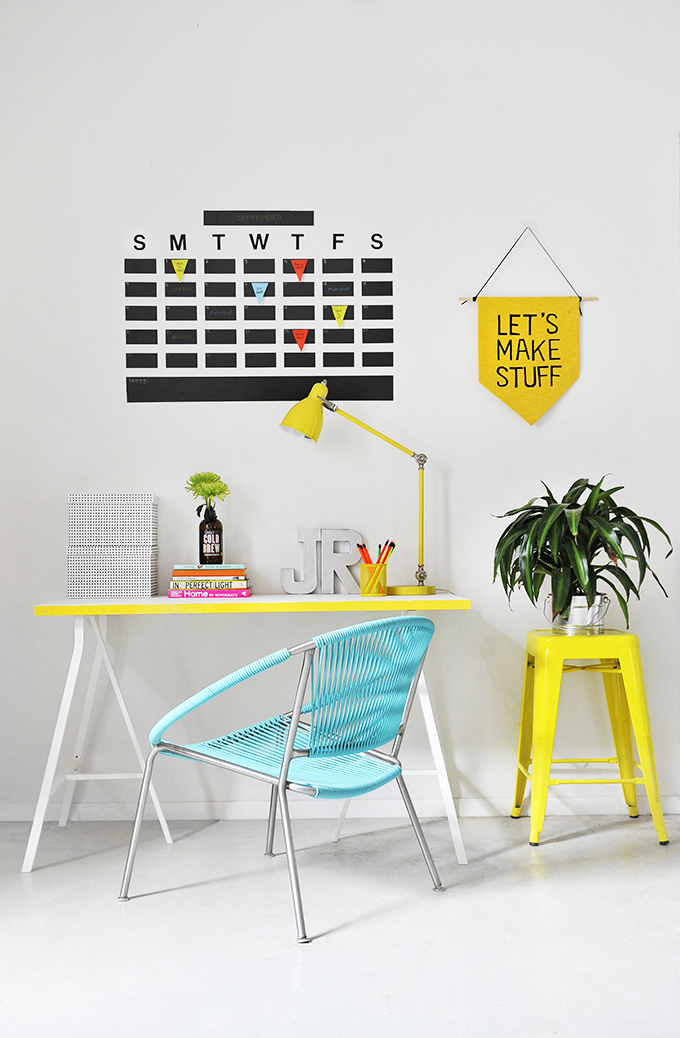
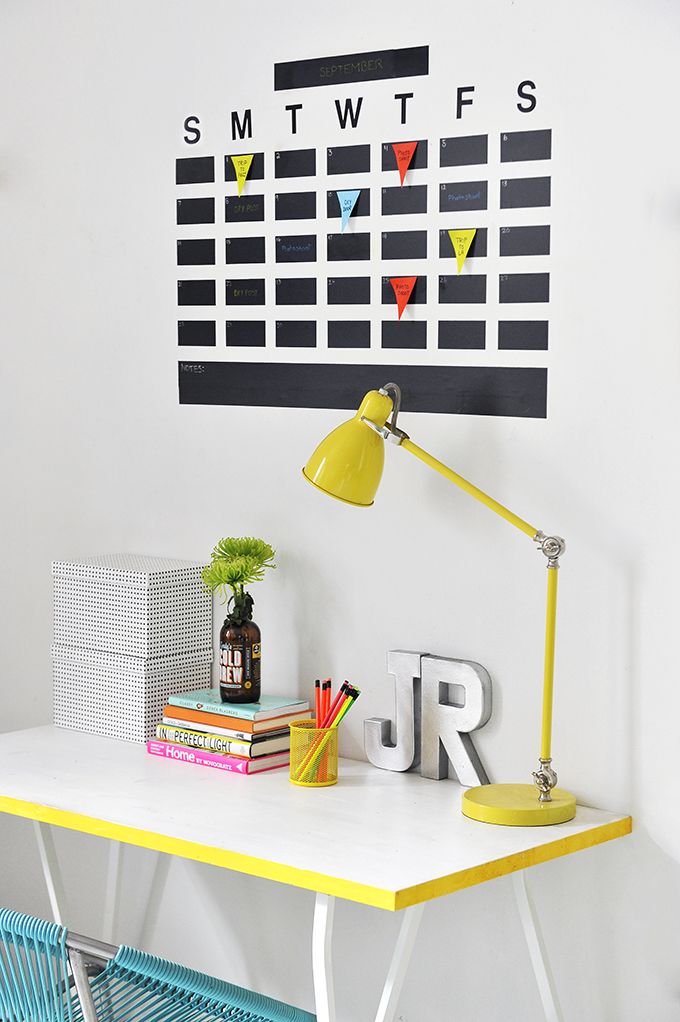
At I Spy DIY Studio, I have been looking for a stylish way to stay organized when planning photoshoots, posts, trips, etc…I have not found a calendar that fits the look of my space, so decided to DIY one for my wall. The original idea was to paint a section of the wall with chalkboard paint, but I was a little hesitant to cover a chunk of my white wall with black. Then, I discovered Scotch™ Chalkboard Tape! I was super stoked to test it out, and after some math (blech) and measuring on the wall, we plotted out a monthly calendar to chalk with the important dates for each month. There is also a dry erase version of the tape, and couple strips are lining my desk for my daily to-do list. Cool, right? Step and supplies after the break!
PHOTOS BY | Jessica Kaminski
What you need:
Scotch™ Chalkboard Tape
Scissors
Ruler
Chalk
Pencil
Vinyl letters
What to do:
First, Measure and mark placement of the calendar on your wall. We made each date 4″ long with an inch space all around each date, then added an additional row below for notes, and above the days of the week to write the month.
Next, cut the 4″ pieces of Chalkboard Tape.
Peel off the backing, and stick each piece of tape on the wall in place.
Stick your letters above each row to signify days of the week.
Draw on your number and notes using chalk and stickies. Done!
I am proud to be a 3M- sponsored blogger, and, as part of my responsibilities, I get the opportunity to evaluate products from Scotch® Duct Tape. Opinions are my own and additional product used in the project were selected by me.
Check out more Scotch® Duct Tape on Facebook, Twitter and Pinterest
EXPLORE MORE: DIY PROJECT, Home DIY


