MY DIY | Air Dry Clay Ring Dish
DIY PROJECT, Home DIY
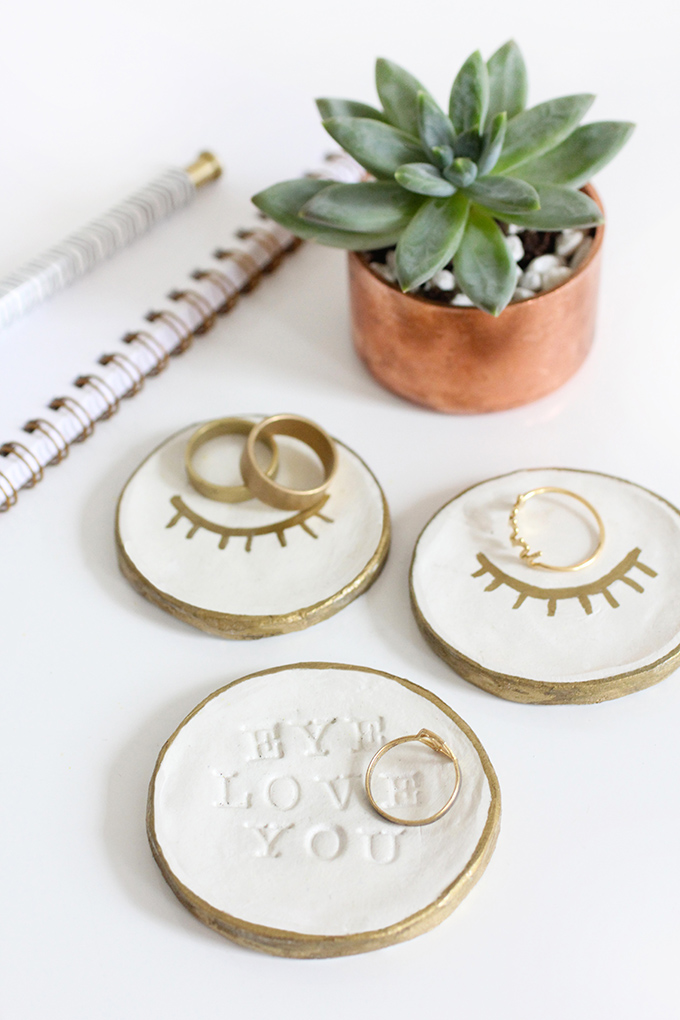
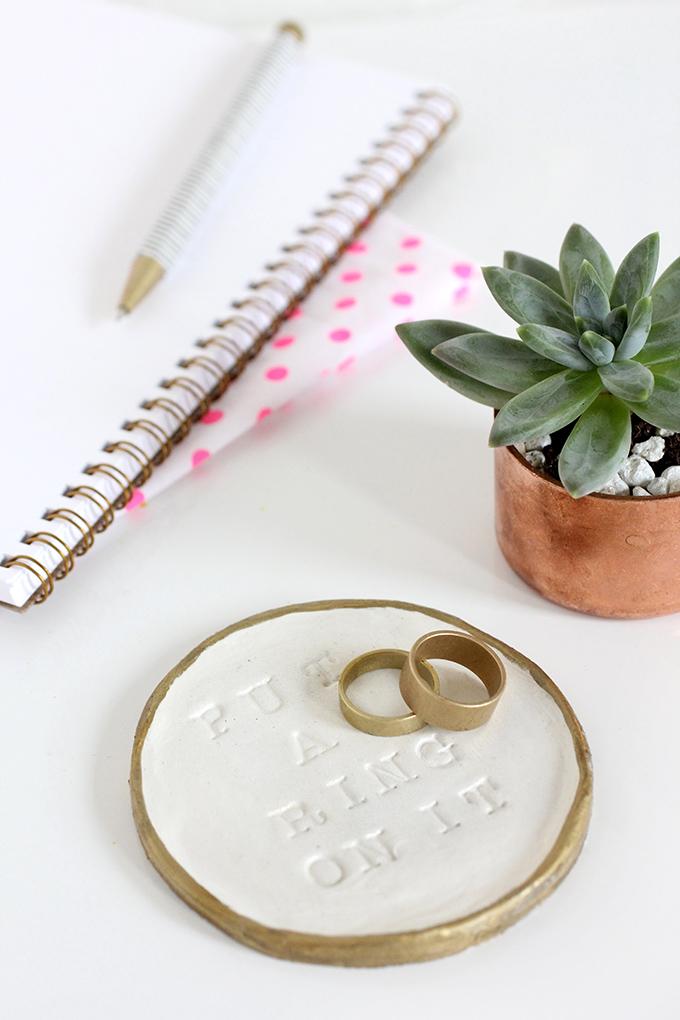
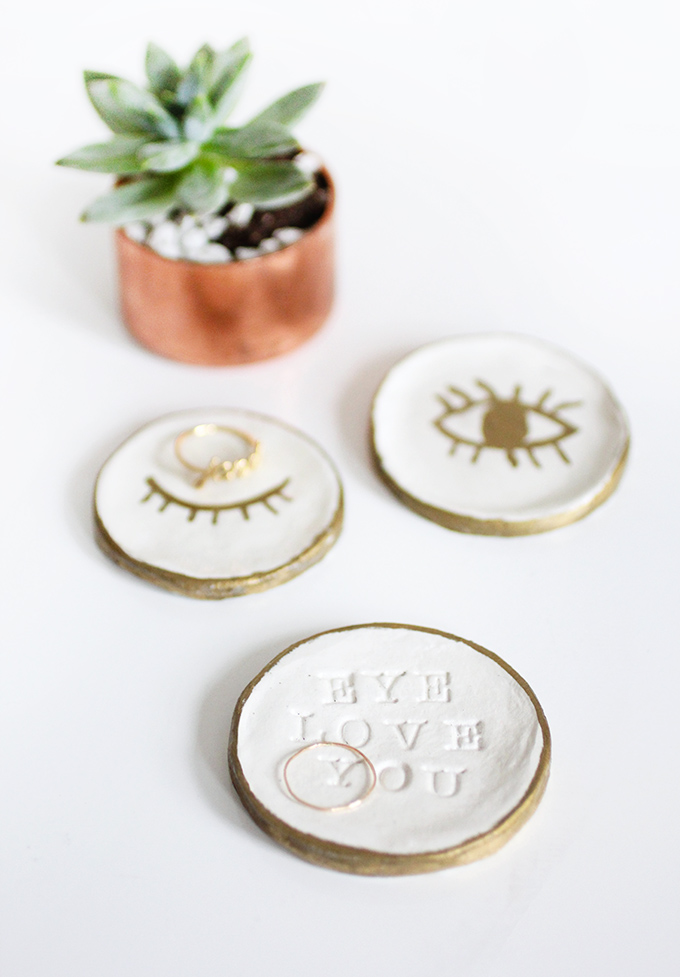
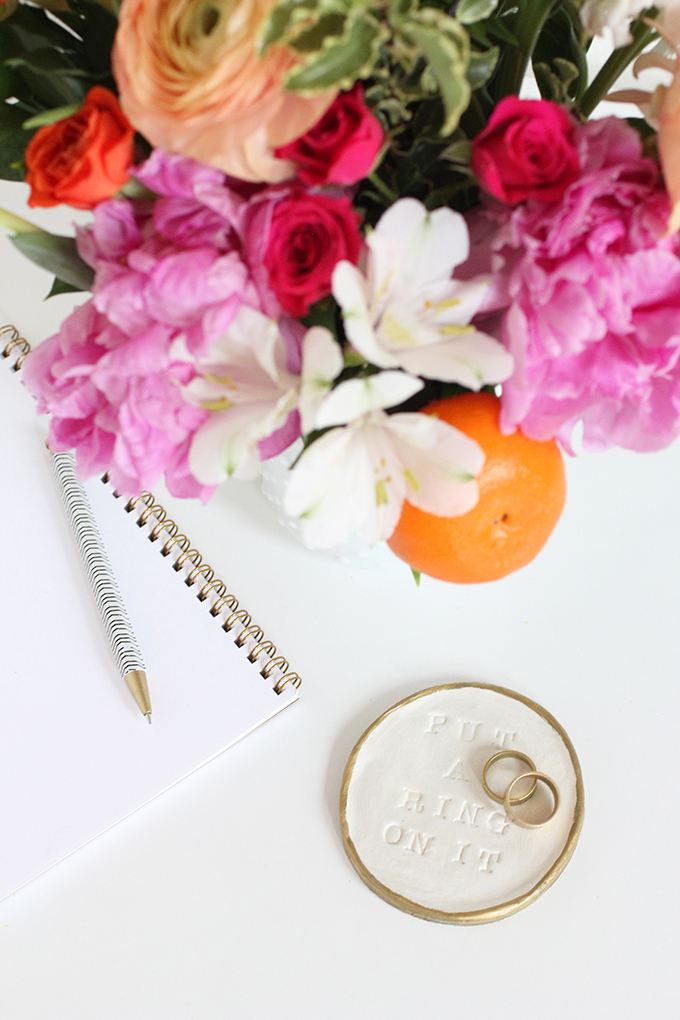
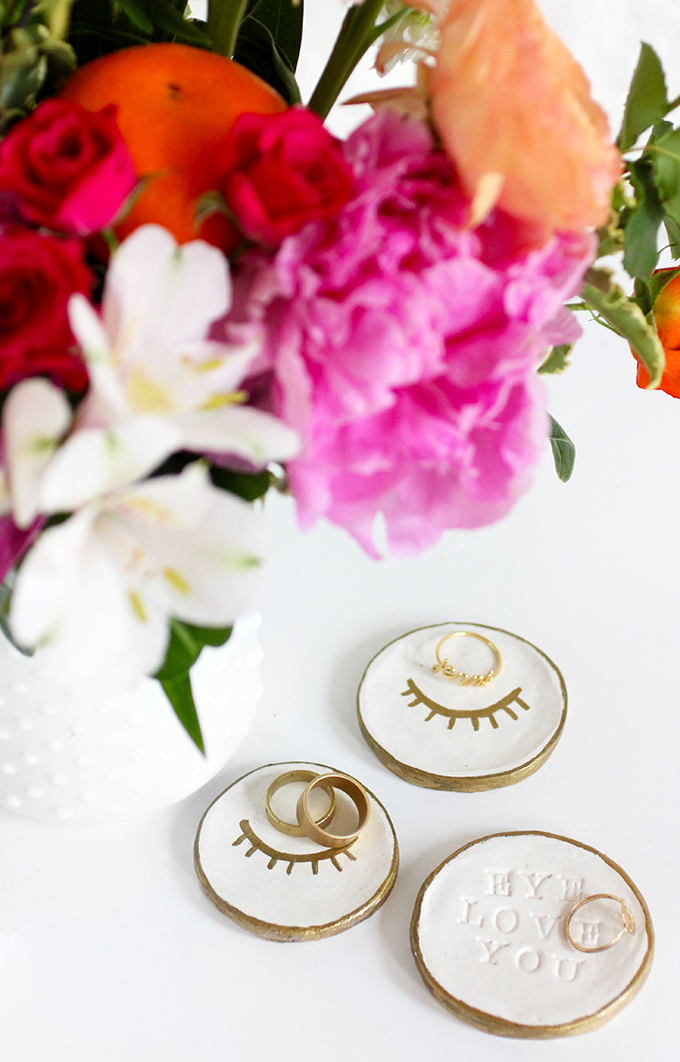
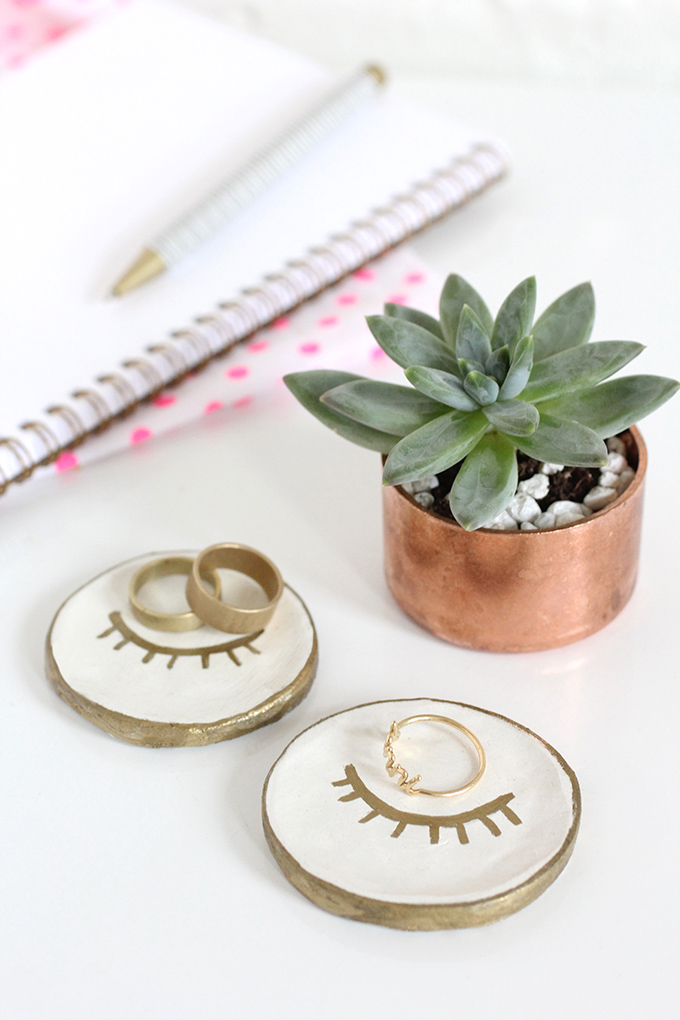
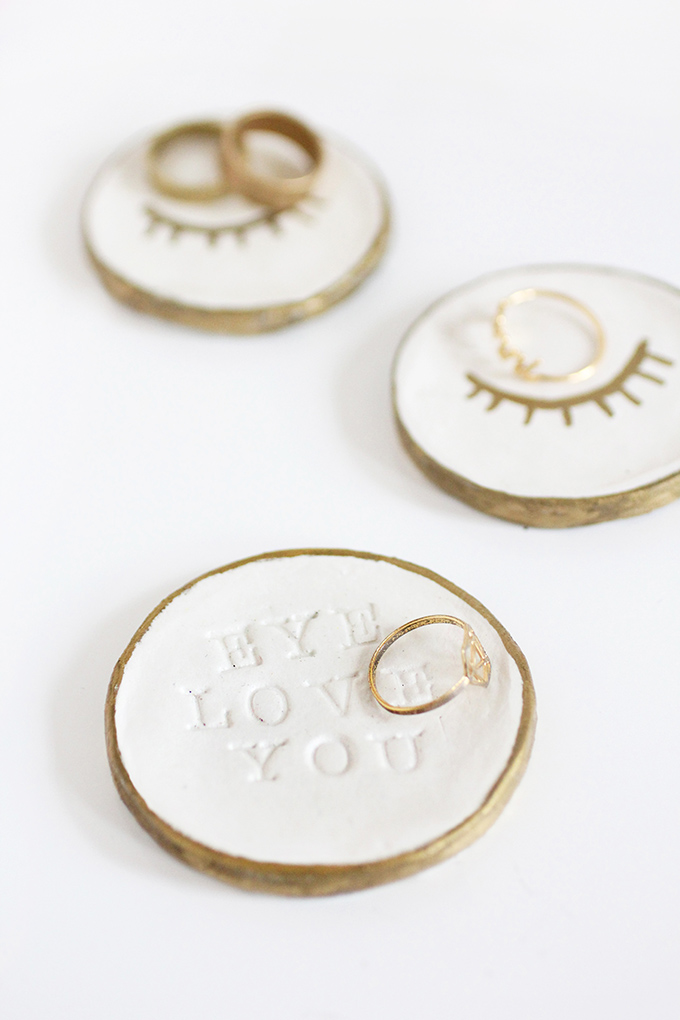
I’ve decorated a few ring dishes in the past, but this was my first try at making my own tray out of clay, and I am pretty excited at how fun and easy it was to create (and how much I felt like Demi in Ghosts)! I have been wanting to try air dry clay for a while now, and this was a great test project because the shape was so basic. I also love that I could add a personalized message with rubber stamps. Wouldn’t this make the most fantastic gift for a friend’s wedding day? The perfect personalized present! Steps and supplies after the break…
Bonus: Get all the supplies to make these in a DIY KIT HERE!
What you need:
Air-dry clay
Letter stamps
Copper cap
Mod Podge
Paint brush
Gold penc
Sand paper
Get all the supplies to make these in a DIY KIT HERE!
What to do:
Remove the air-dry clay from the package and flatten it using your palms.
Take the open end of the copper cap and press it into the clay like a cookie cutter. What’s great about this project is that you can make it any shape you want, so experiment with molds of different shapes and sizes.
You should now be able to easily remove the piece you just cut from the slab of clay. Continue to smooth out the sides and edges of your dish.
If you’d like to add a lip to the dish, form one by gently and gradually curling the edges up with your thumb and forefinger.
Before the clay is dry, use your rubber stamps to create any message you’d like to the face of your ring dish.
Let your creation dry for the recommended time on the package. Once dry, sand any rough or uneven areas down with sand paper.
A gold pen is a great tool to use once your dish is dry because you’re able to add chic illustrations or edges to your piece.
Add a fresh coat of Mod Podge to the top of your dish and stack your rings high!
EXPLORE MORE: DIY PROJECT, Home DIY
