Installing Stair Runner DIY | As Seen on Makeover by Monday
As Seen In, Before & After, DIY KITS, DIY PROJECT, Home DIY, Makeover by Monday, Room Makeovers, SHOP, Shopping
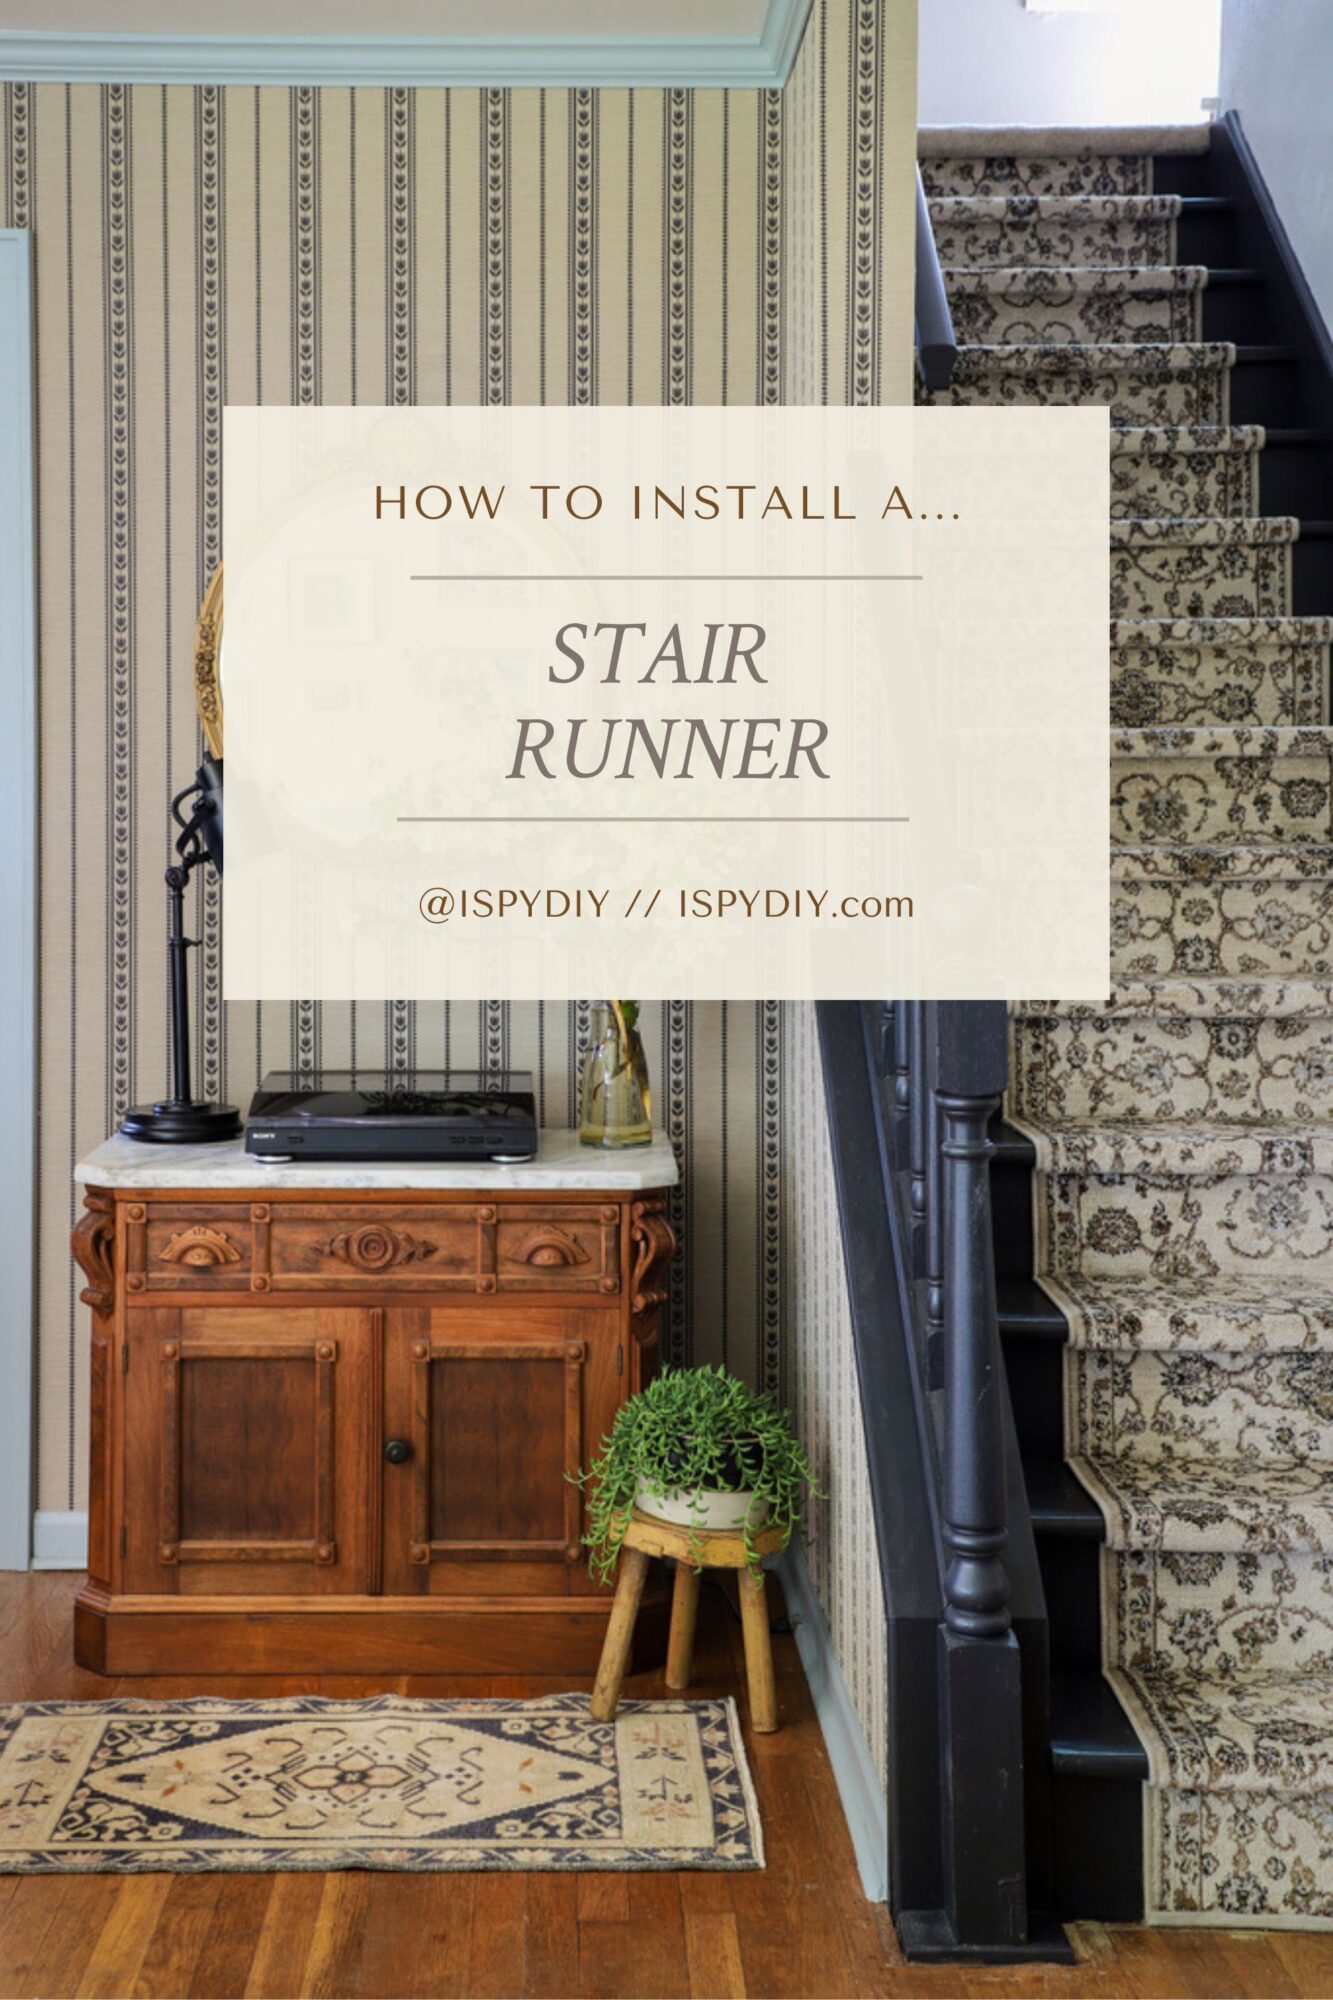
For last weekend episode of ‘Makeover by Monday‘ I really wanted creat
e a classic design for my Nephew and his wife (Read about the full living room makeover here). For me, that started with getting rid of the orange wood railing and revamping the staircase! I have painted quite a few staircase railing black: the Barnhouse and The Duplex are two of my favorites. And I love how instantly updates an outdated staircase…for the price of paint! We used Rust-Oleum Floor Coating (Black) and Rust-Oleum Floor Paint Clear Matte Top Coat because it’s super durable!
Along with the orange railings, the carpet on these stairs had to go. We started by removing it, and then underneath, the treads were not in great shape so I patched those, and painted the stairs black. I wanted to make sure the stairs were still safe for my Nephew’s little daughter, so adding back a stair runner was clutch.
Typically, my design is pretty set but the runner I ordered was not the right color when we opened it, so I had to make a last-minute pivot, and found this in-stock runner from Home Depot which worked well with the wallpaper. Below are all the steps to install it:
Supplies for painting the stairs before installing runner:
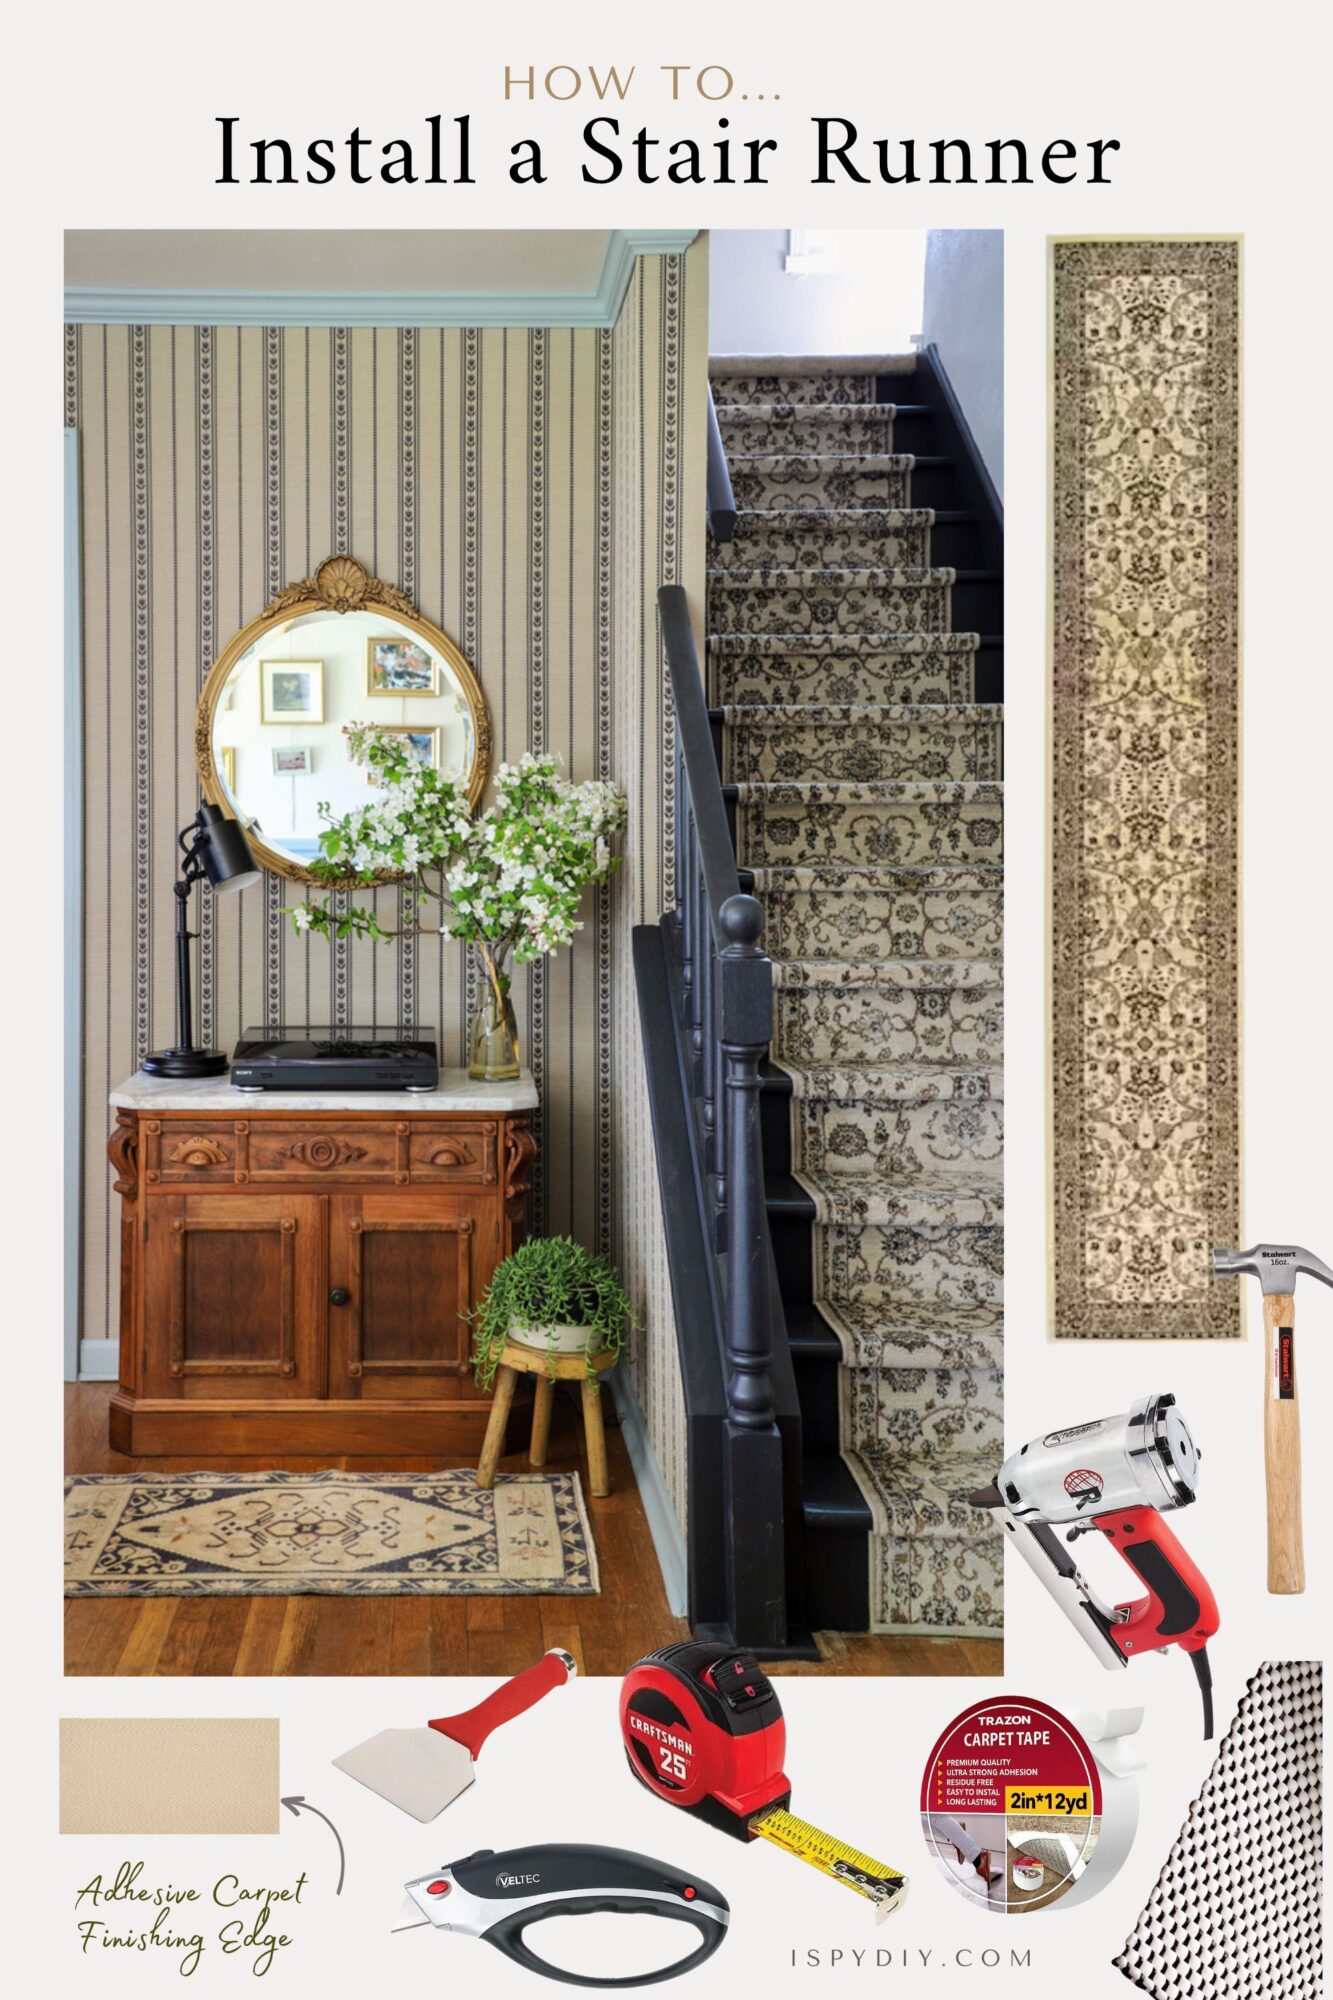
Supplies for Installing a Stair Runner
- Carpet Stair Runner
- Carpet Padding
- Measuring Tape
- Double Sided Carpet Tape
- Carpet Bolster
- Hammer
- Staple Gun and Staples
- Utility Knife
- Seam Tape (if needed)
Step-By-Step
1. Start by measuring your stairs to figure out how long of a stair runner you’ll need. This is a very important step. Measure the width, and think about how much you want the runner to cover up the tread. We left about 6 inches exposed on each side of the runner, so we chose a 3 ft wide runner. Then measure the depth of the tread and height of each riser. Total this up and add a few inches to the total length measurement for overhang and trim.
2. Once you have the size, choose a runner that matches your style and space. Make sure it’s long enough to cover all the stairs with a little extra for trimming at the end.
3. Prepare the stairs by removing any old carpet. Make sure the surface of the treads are clean and smooth. If needed, sand down rough spots and fill any holes. We painted Kyle and Alyssa’s stairs using Rust-Oleum Floor Paint. This helped create some contrast and added some drama to the stairs.
4. Before installing the runner, I recommend installing carpet padding. This provides extra cushioning and prevents extra wear and tear on the runner. Cut and attach the carpet padding to each stair tread using double-sided carpet tape. Make sure to cut the pads slightly shorter than the width of the runner so it doesn’t hang out the sides.
5. Once every stair tread has a carpet pad, begin installing the runner. Start at the top of the stairs. Secure the end of the runner at the very top of the riser. Some stairs have a tread that overhangs slightly. This helps cover the edge of the runner. If there isn’t an overhang, use seam tape on the edge of the runner. Use the two sided tape to secure the runner at the top of the riser, and then staple it in place. Angle the stapler to get as close to the corner as possible. Before stapling, make sure to use the tape measure to make sure the runner is centered on the stair tread. Pro Tip: Cut guides, 2 blocks of wood the same size, to keep on each side of the runner to help keep it in the center of the tread as you move down the staircase. This helps if your stairs are mostly all the same width. Measure the space on each side of the runner to determine the size of the guides before cutting.
6. Once the carpet runner is stapled at the top of the riser, you will then staple it at the base, in the back corner. Typically a knee knocker is used to push the carpet into the corner, however we found a carpet bolster worked brilliantly. Place the carpet bolster in the bottom corner and use the hammer as you slide it along the corner and tap the carpet into place. This really gets the carpet tucked down into the corner. Put in a few staples, about 3 in apart, again angling the stapler to get as close in the corner as possible.
7. Stretch the runner tautly across the bottom of the tread. If there is an overhang on the tread, you will use the carpet bolster again to tap the runner into the upper corner and staple it in place. If there isn’t an overhang, you’ll continue to staple just in the bottom back corner. You shouldn’t need to use carpet tape anymore.That was just for the first placement to help hold it in place before any staples were in.
8. Continue with steps 5-7 following the contour of the step.
9. Once you are on the bottom of the last stair riser, where it meets with flooring, trim the excess using a utility knife and a straight edge.
10. Finish the final edge using seam tape if you have multiple pieces of carpet or tuck the edges under the rounded part of the tread for a neat, finished look.
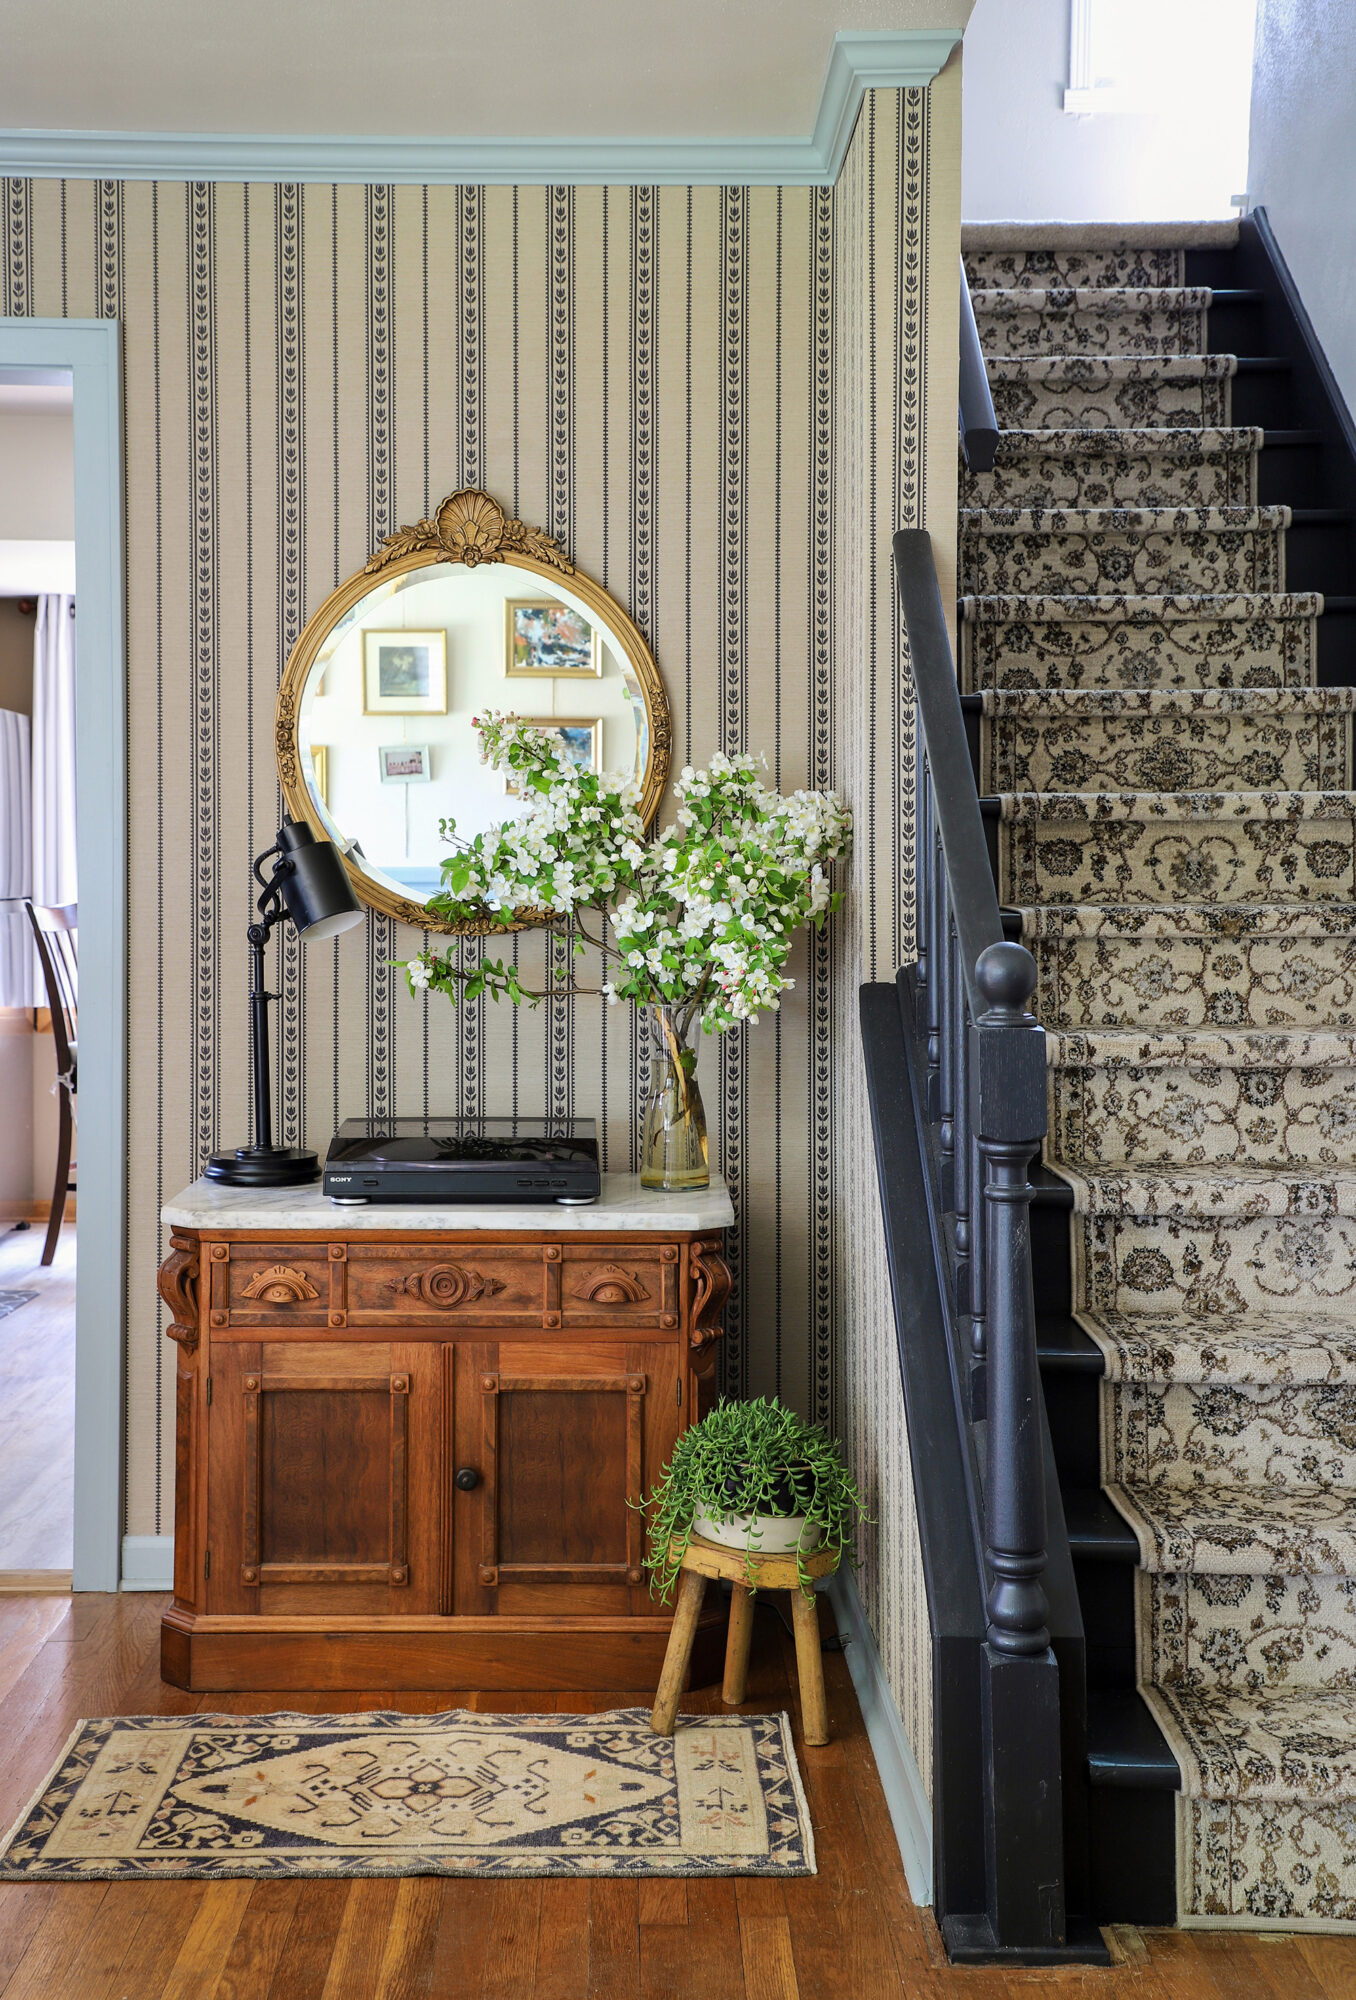
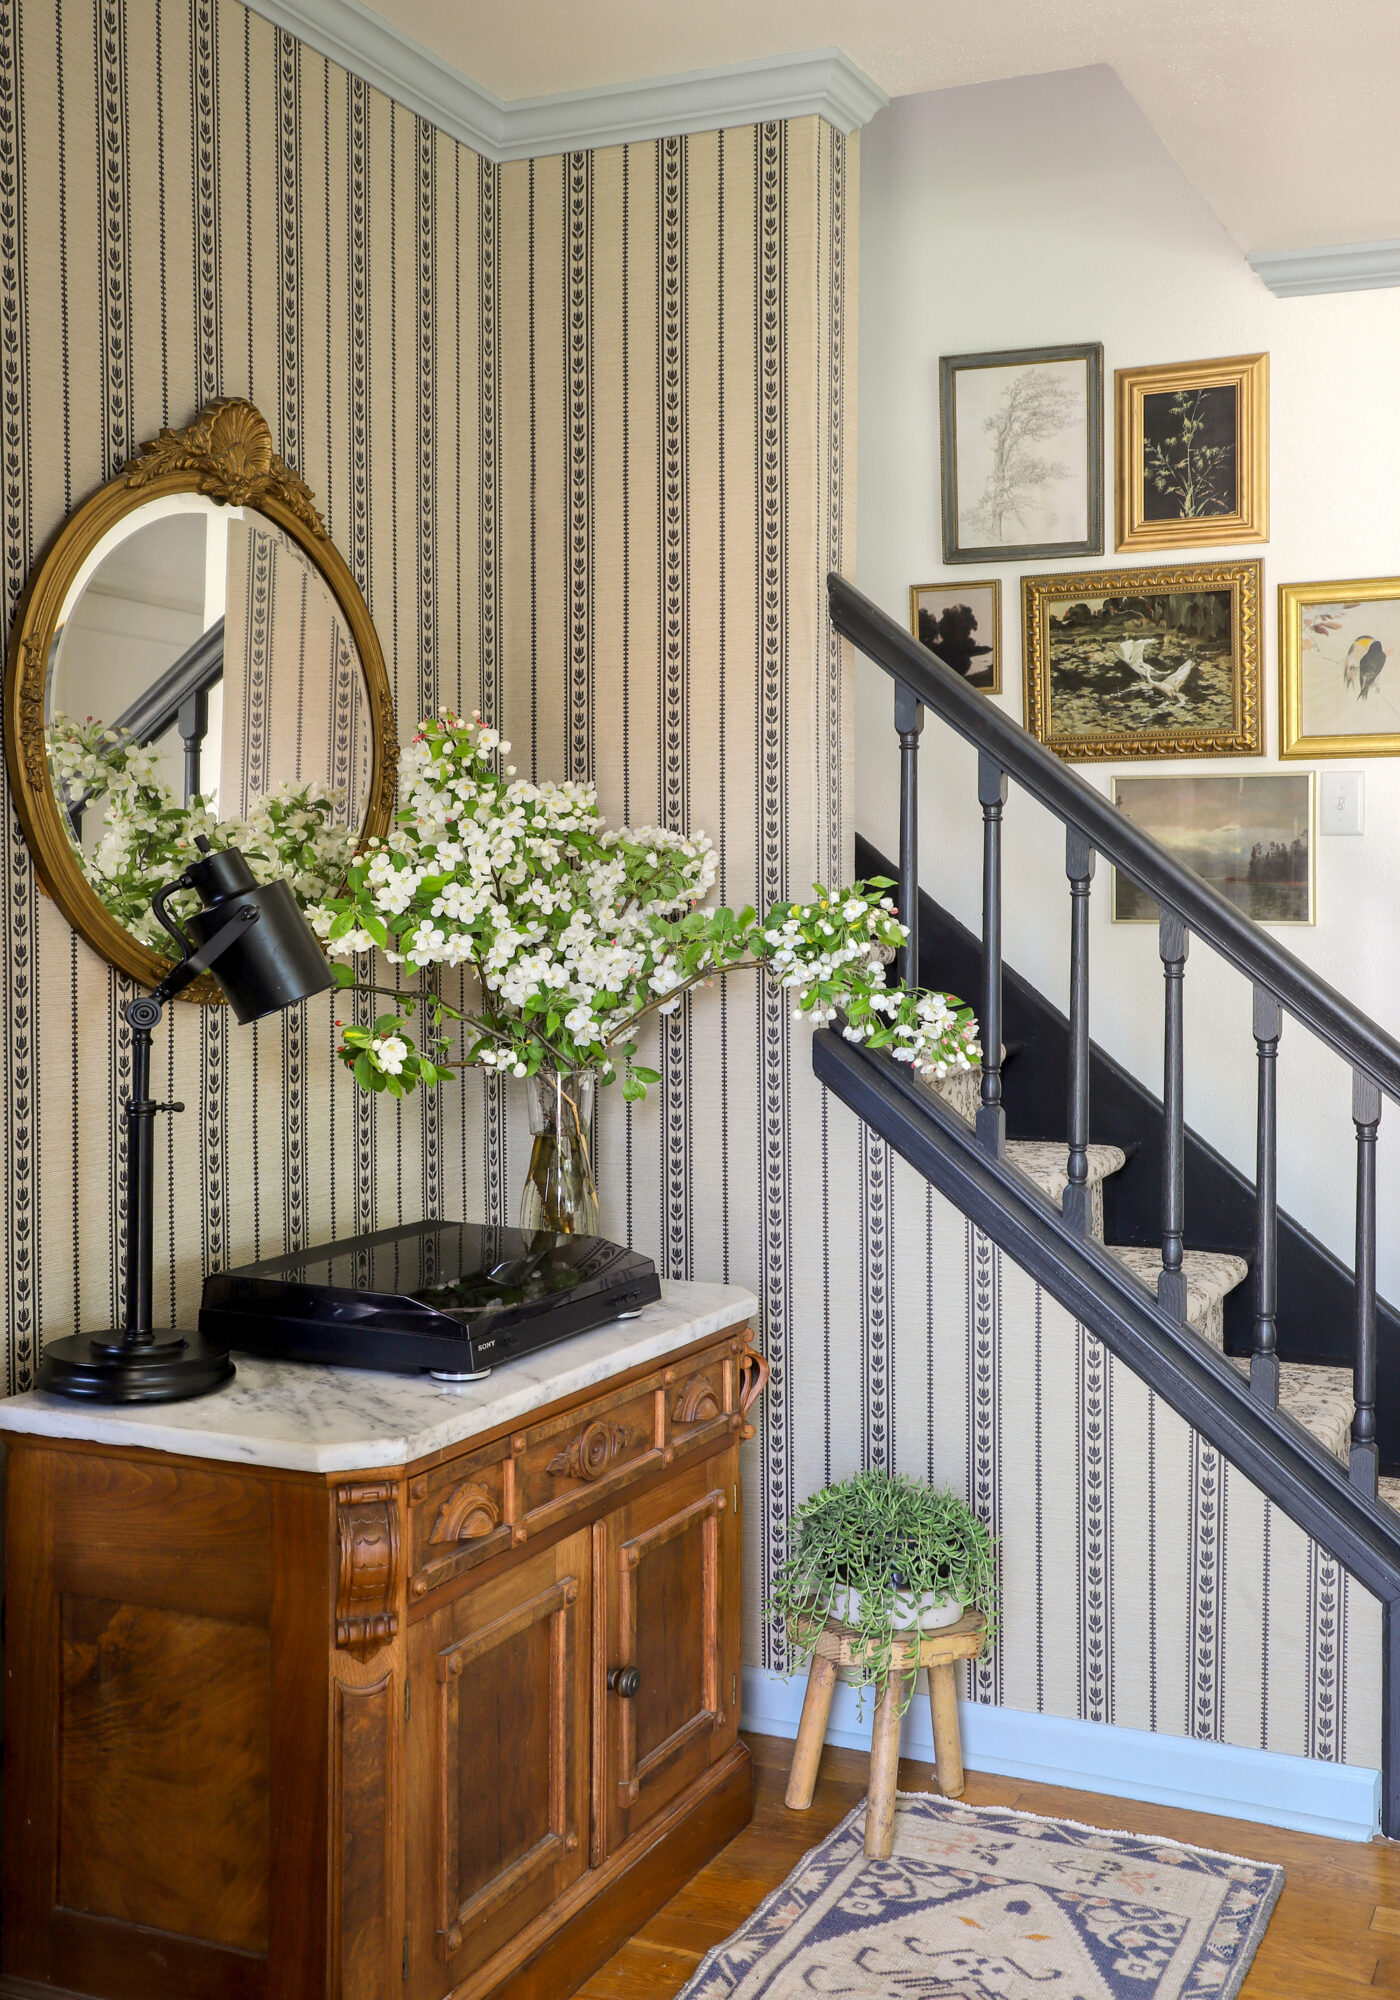
I used the Ticking Tulip Striped wallpaper from my collection with Chasing Paper next to the staircase which tied in another timeless element. It looks AMAZING next to the stair runner pattern, I love a little pattern play! Read about the full living room makeover here.
For more DIY ideas, watch Season 2 of ‘Makeover By Monday’ Saturdays at 1p/12p c on the Magnolia Network on TV! Or stream anytime on Max and Discovery plus!
EXPLORE MORE: As Seen In, Before & After, DIY KITS, DIY PROJECT, Home DIY, Makeover by Monday, Room Makeovers, SHOP, Shopping


