DIY NAIL ART | Silver Stripe
DIY PROJECT, Nail Art


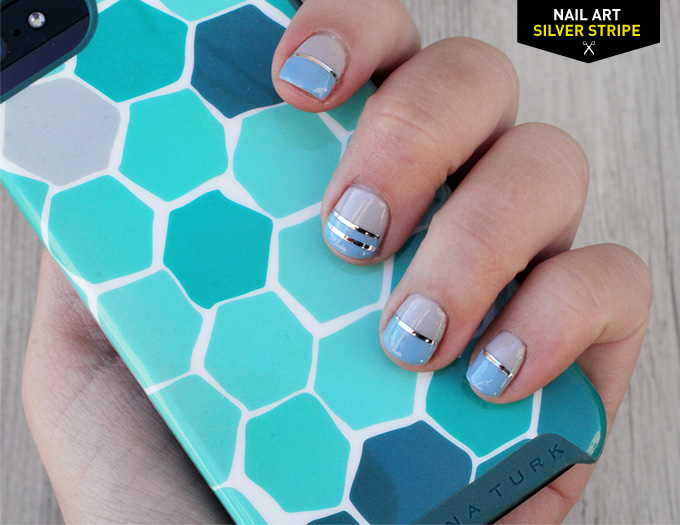
It’s my first time experimenting with striping tape, and I have to say that I am equally obsessed and amazed with how easy it is to use! I promise, even as a nail art novice, you can do this. You’ll get instant straight lines, with no steady hand needed. Steps after the break!
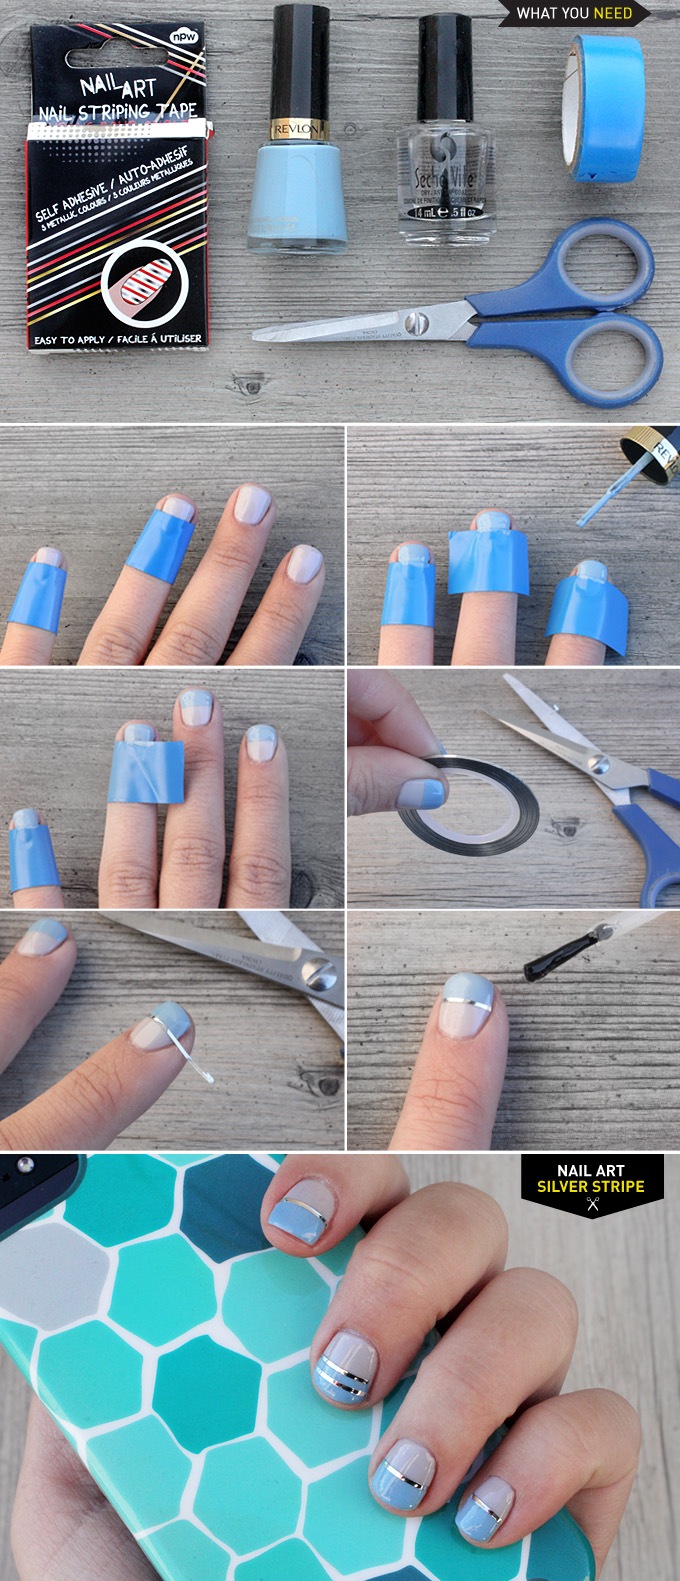
What you need:
2 Nail colors, I started with a grey gel manicure, then painted on a Relvon Dreamer (410)
Electricians Tape
Metallic Striping Tape
Top coat
What to do:
You can first paint your nails a grey color OR my suggestion is to start with a gel manicure. The best thing about gels is that if you mess up, you can remove your top layers with nail polish remover, and your grey base will stay. Or if you get tired of this look, you can remove and paint something new on the grey. It’s like a dry erase board!
Next tape off your nails (I like to use electricians tape because it makes super straight lines) then paint the top half of your nail blue. Peel off tape while still wet, then let paint dry.
Next, cut a piece of striping tape about an inch, then place on top of where the two colors overlap, sticky side down. Line it up with the edge of one side of the nail, then trim to line up with the other side.
Rub the tape to make sure it is securely stuck to your nail, then cover with a top coat. Let dry.
EXPLORE MORE: DIY PROJECT, Nail Art


