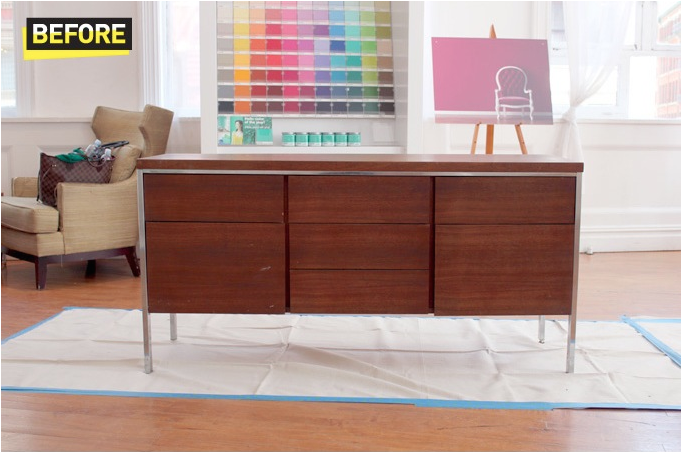
I hope everyone had an amazing Memorial Day weekend, I enjoyed a little time away from the computer, hanging with friends and catching up on a bunch of projects. I finally put the final coat on a credenza I thrifted from the Hell’s Kitchen Flea Market and hung some frames on my wall (DIY coming soon). Details on the makeover after the break!
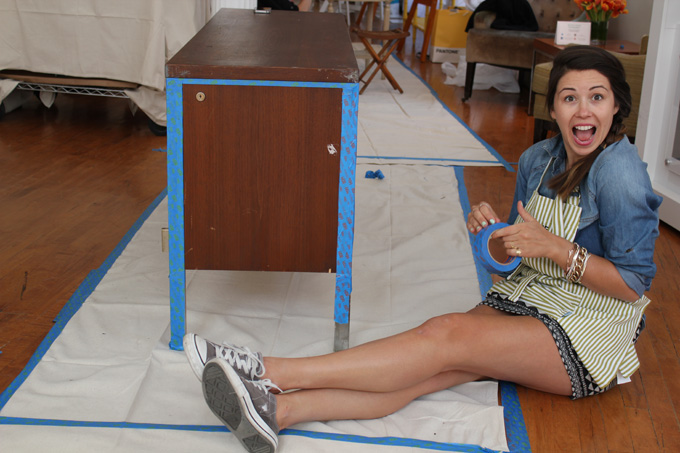
I was looking for something to put my TV on that would provide some storage, but was coming up short when poking around the internet. So I went to the HK Flea that day on a mission, and spotted this credenza straight away and staked my claim. At $150, I was sold (I tried my hand at bargaining, and got the plant stand for just an additional $15!) The wood was pretty scuffed up and a bit dark, so the painting process began.
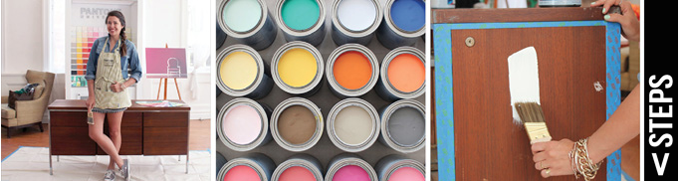
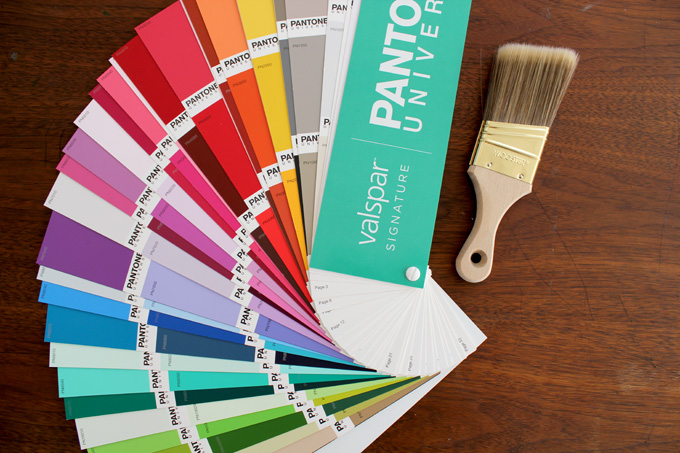
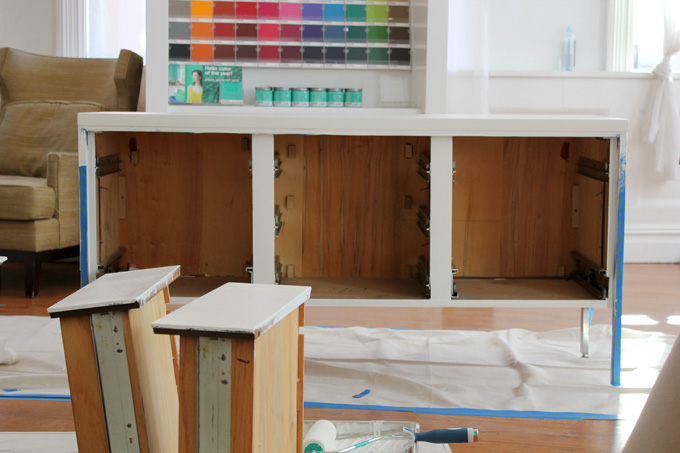
The amazing people at Lowe’s provided a space to paint in, and the best color choices from their new Pantone paint line by Valspar. I was dying to do a statement hue, but such a bold piece would over power my small space, so stuck with white.
It was so hard to walk away from that yellow and teal…so bright!
Step one was to cover all the silver around the edges with tape.
Is tough work DIYing in a mini, but a girl’s gotta make it happen!
After consulting all the home design gurus in the room, the consensus was I could paint without sanding, so got right to it. I was working with a paint and primer in one, and started on my first layer, then let it dry for about 20 min. I was able to get 4 coats on that day, and had it covered…and then came the move…
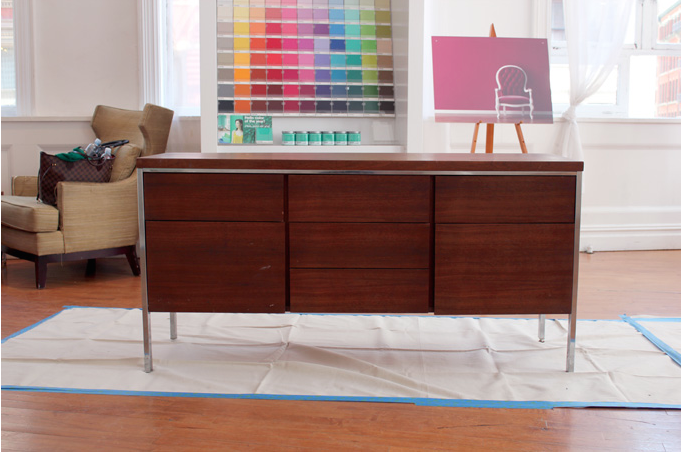
I found a sticker on the inside of the drawer saying it was make in the 1970’s, which must have been an especially heavy year for wood, had to be, right? This bad boy must have weighed between 80 and million pounds. That combined with a trip in a Uhaul, angling it up 5 flights of stairs (Pi-vot, pi-vot…name that sitcom!) the paint job took a bit of a beating. But I must say, after one more coat, with a little more love around some spots, the paint evened out and covered quite nicely. Also after pealing off the tape, a couple additional touch ups were needed, but overall the paint covered quite nicely. The question of the hour was should I add a lacquer to finish it off, and after talking to the guys at my local hardware store, I went with no. I got nervous about it yellowing overtime, so left as it, and am pretty darn happy with the final result!