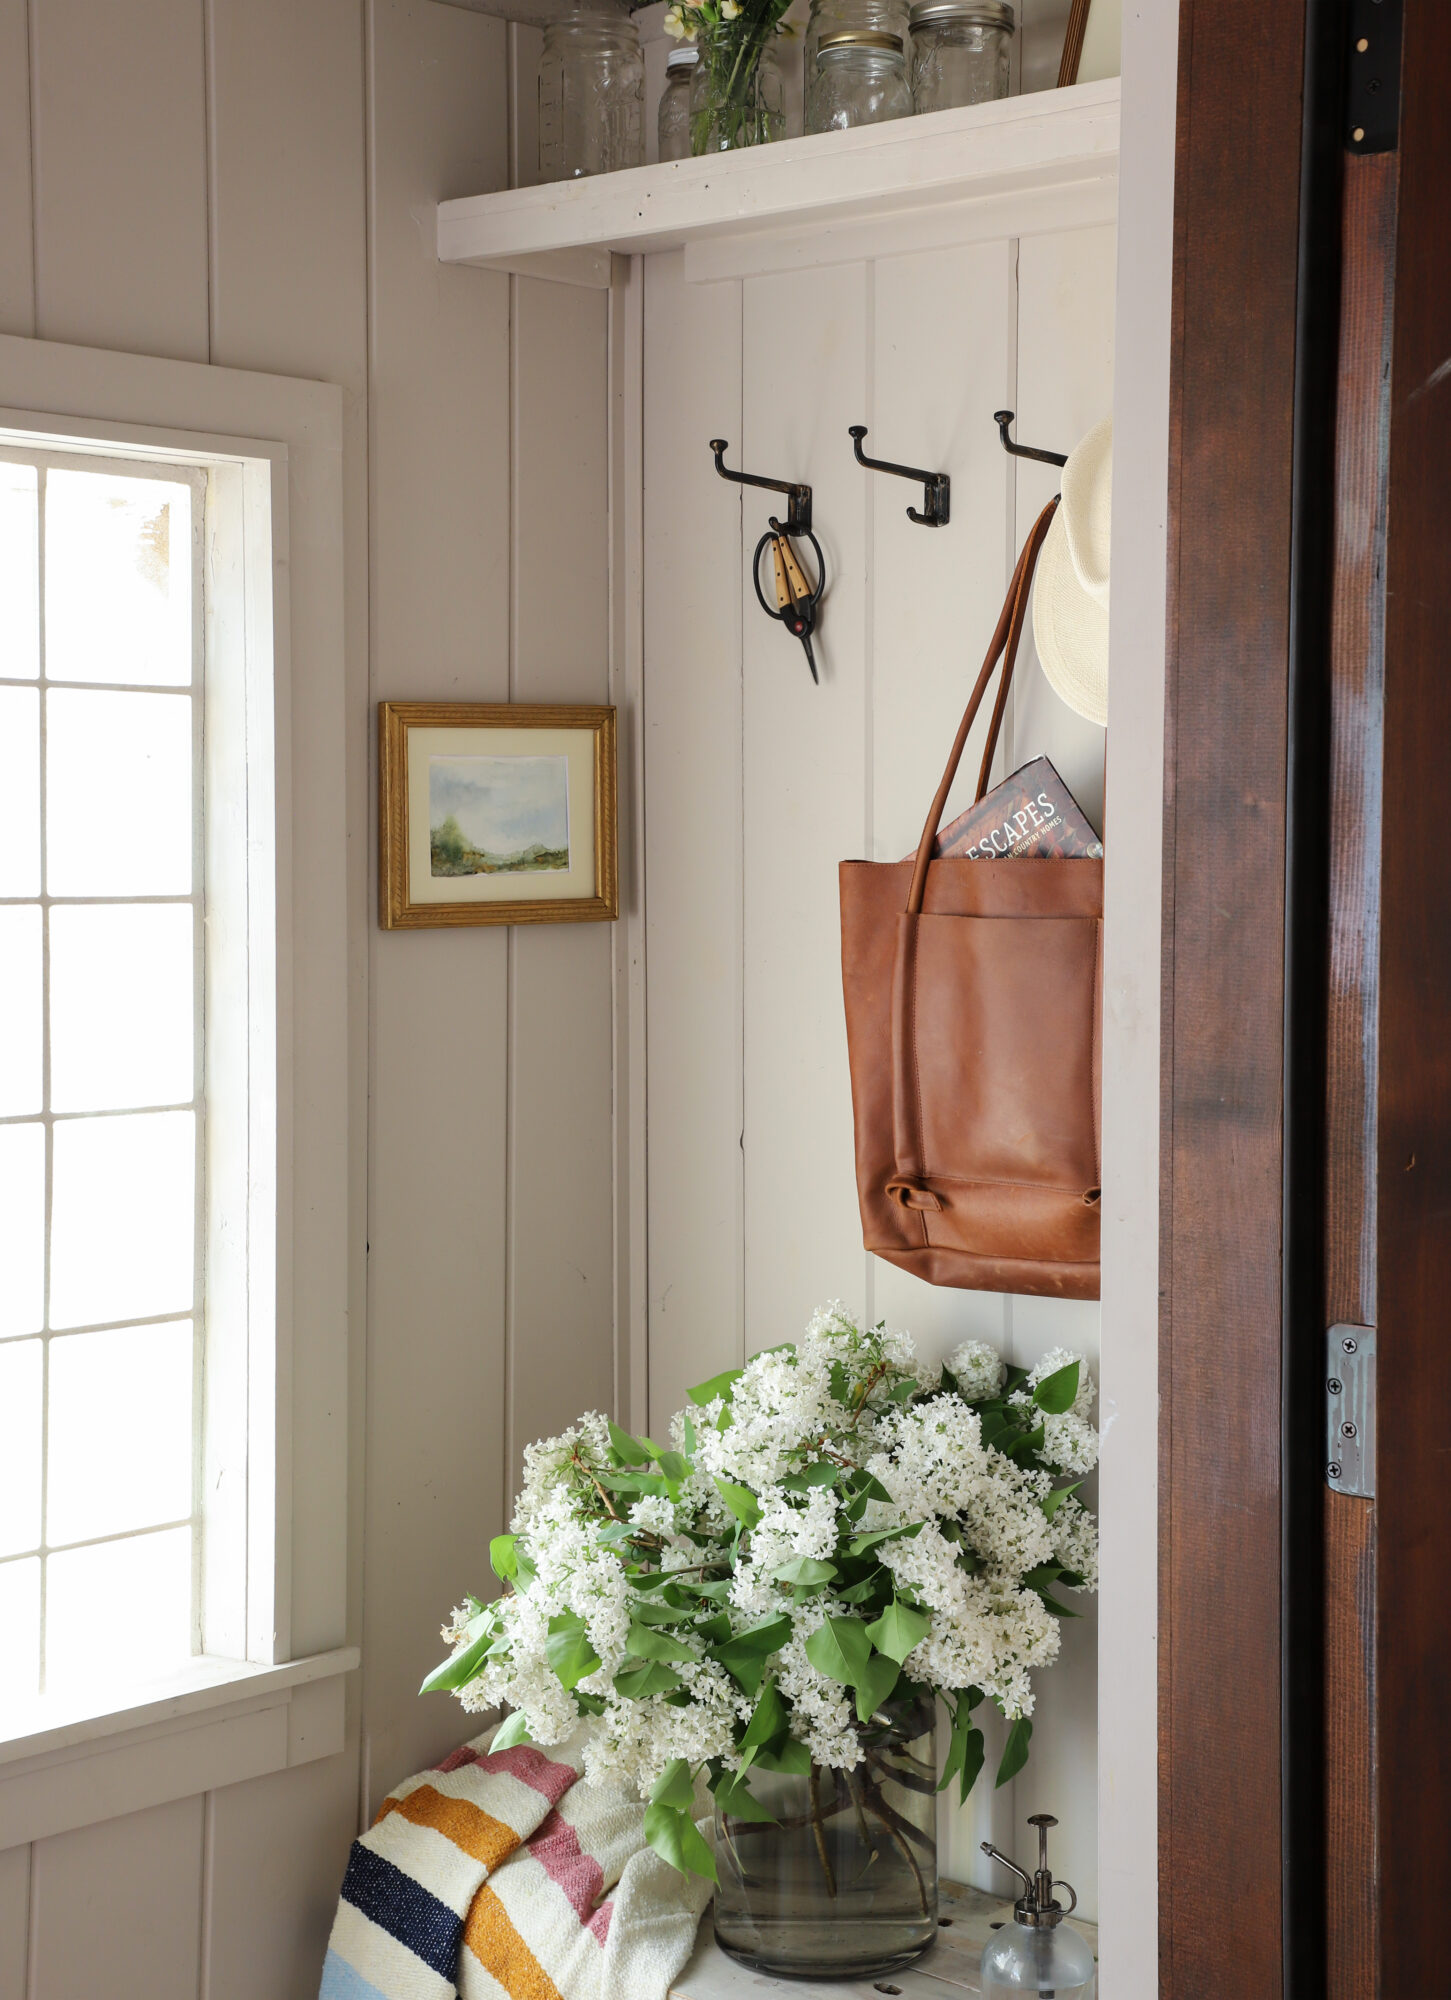
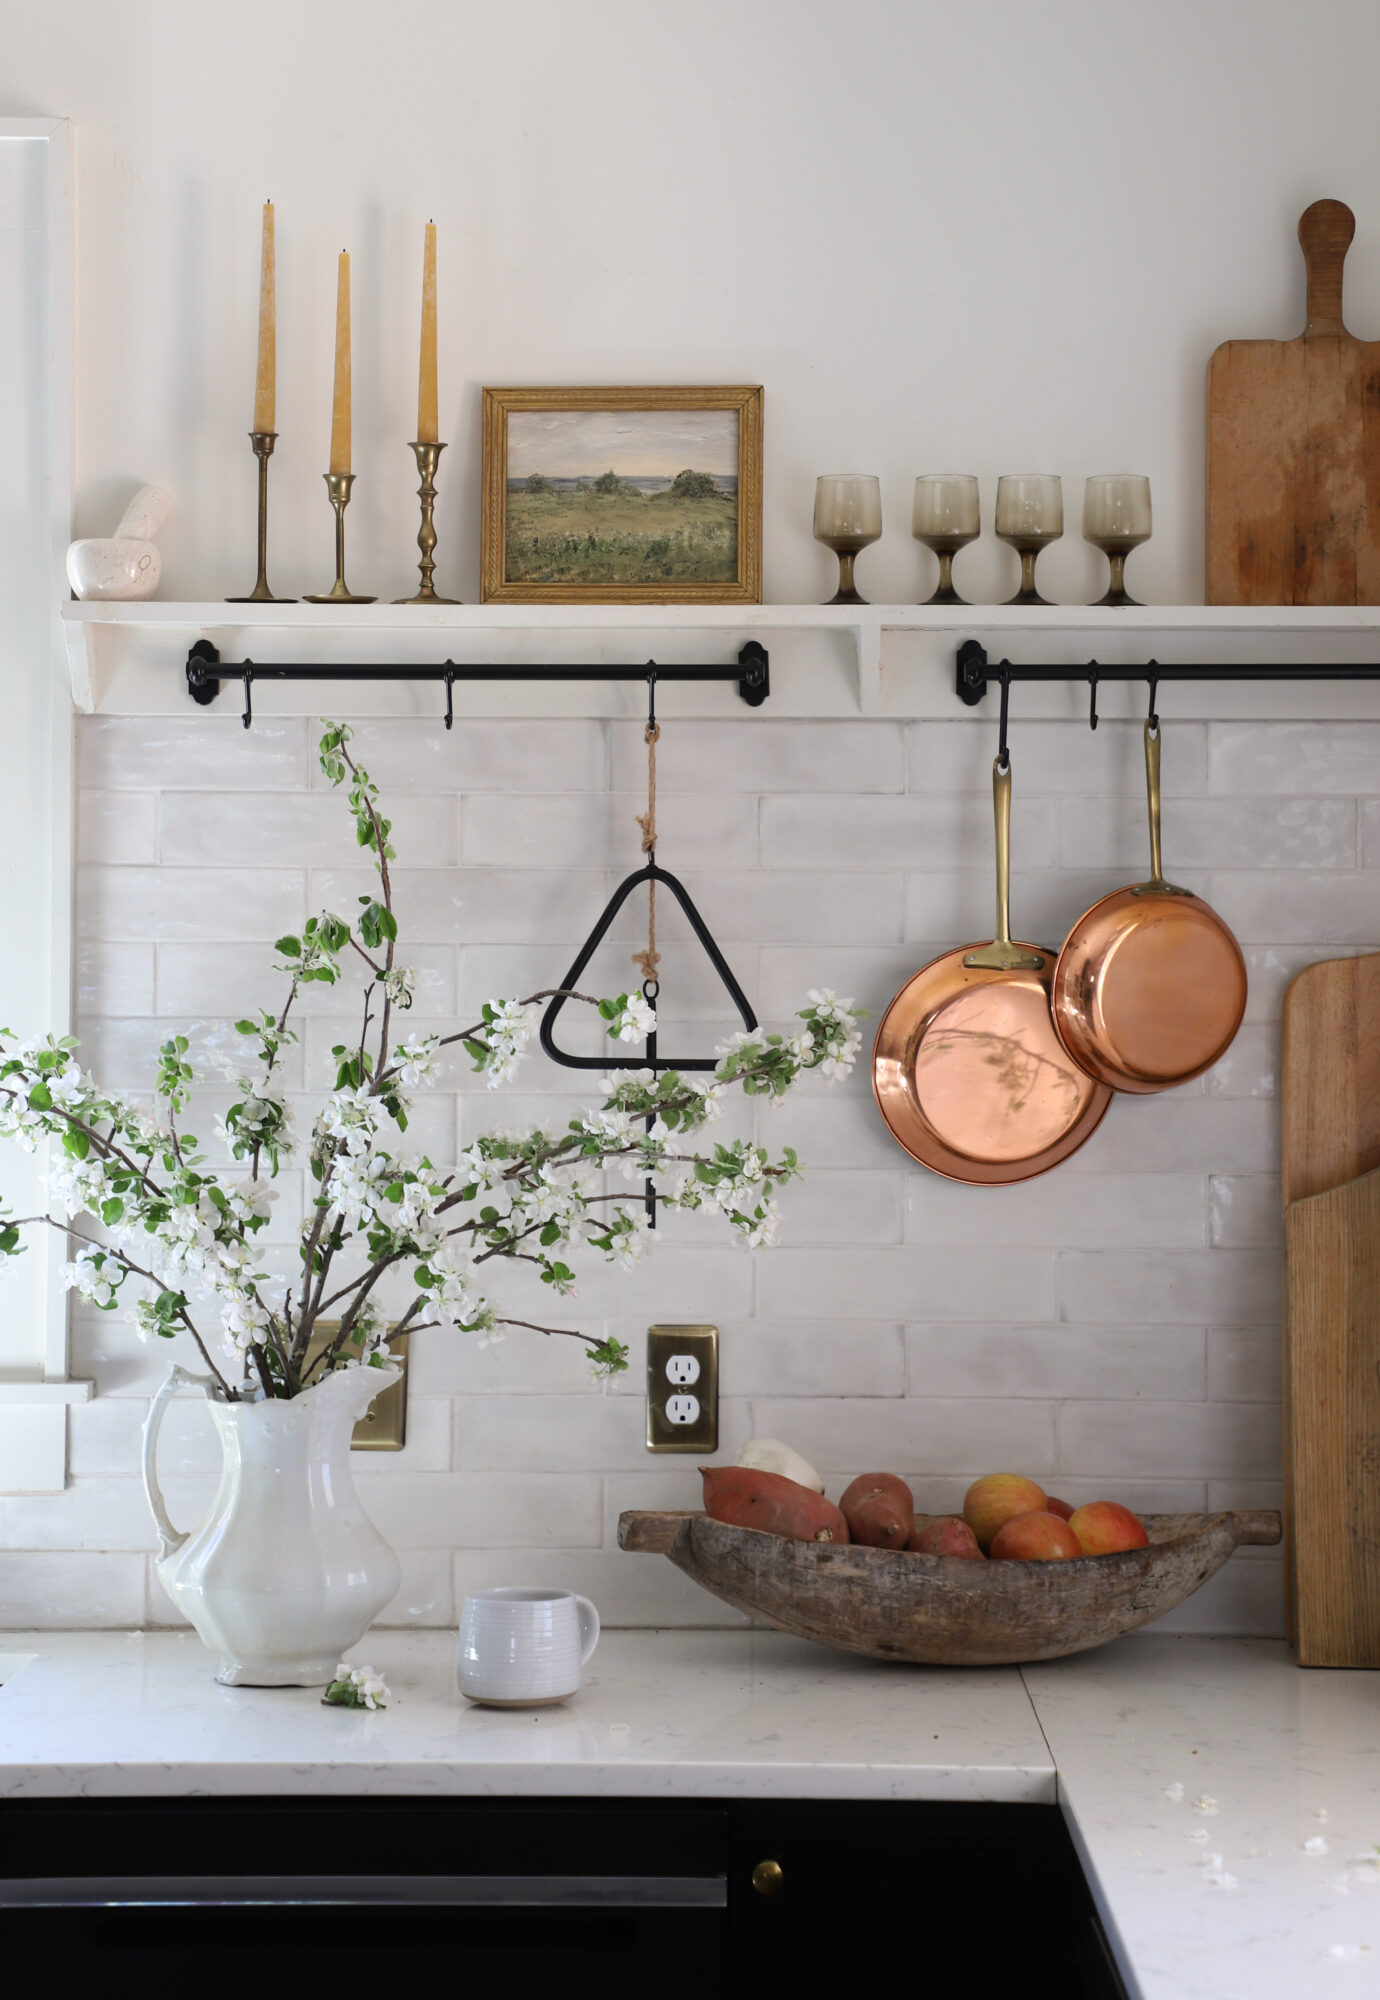
DIY Gold Frame Using Glue & Custom Cut Mat
DIY PROJECT
A few weeks ago I made an art frame using Krazy Glue (see the Reel here), and next I tackled cutting my own mat. It was definitely a bit trickier than I anticipated, but once you get the hang of it, it’s a great skill for customizing mats for irregular shaped thrifted art. Next I used a little Krazy Craft Super Glue Gel to hold the mat and and art in place (that was the easy part!). The step-by-step for making the frame and cutting the mat are below. Looking for a piece of art? I love these digital downloads!
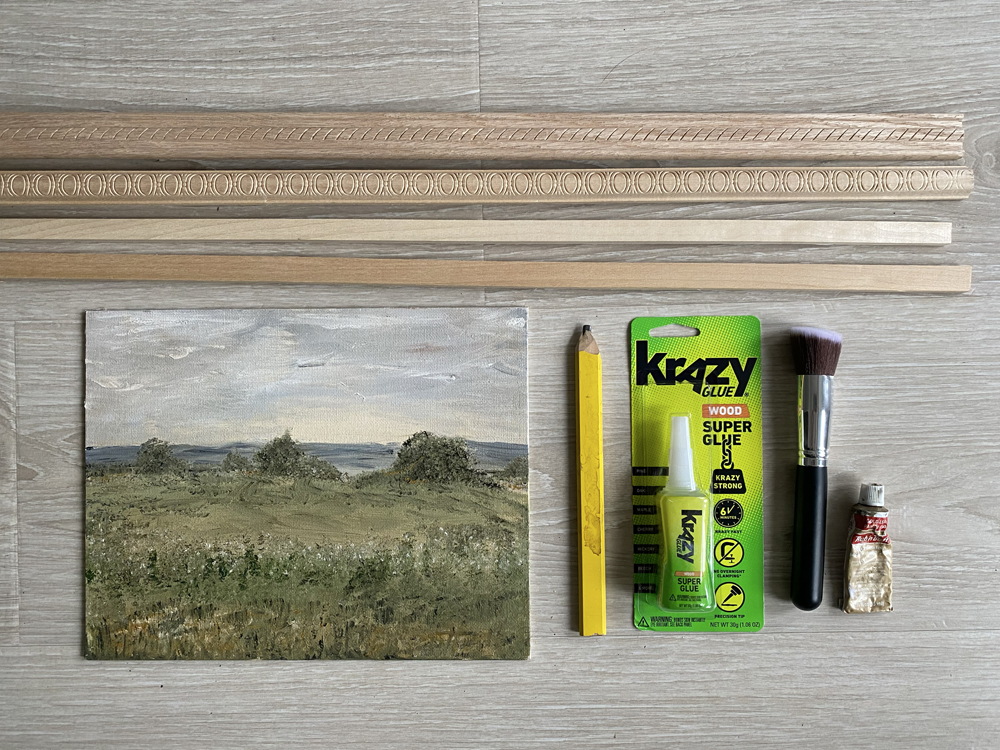
Supplies for Frame
2 pieces of decorative trim
Krazy Glue Fast Dry Wood Super Glue
Pencil
Rub’ n Buff
Makeup Brush
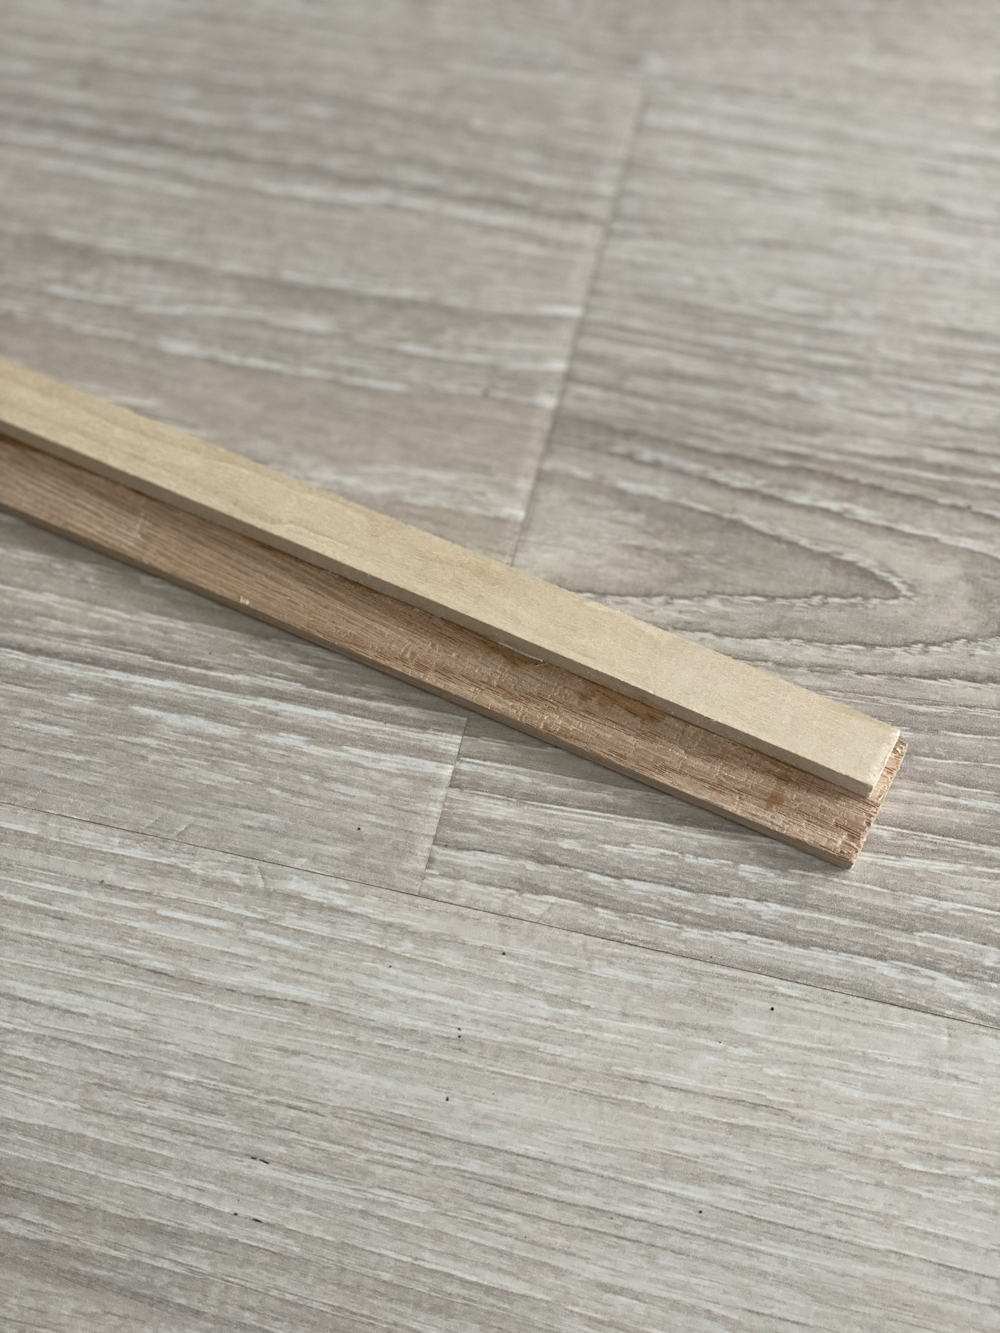
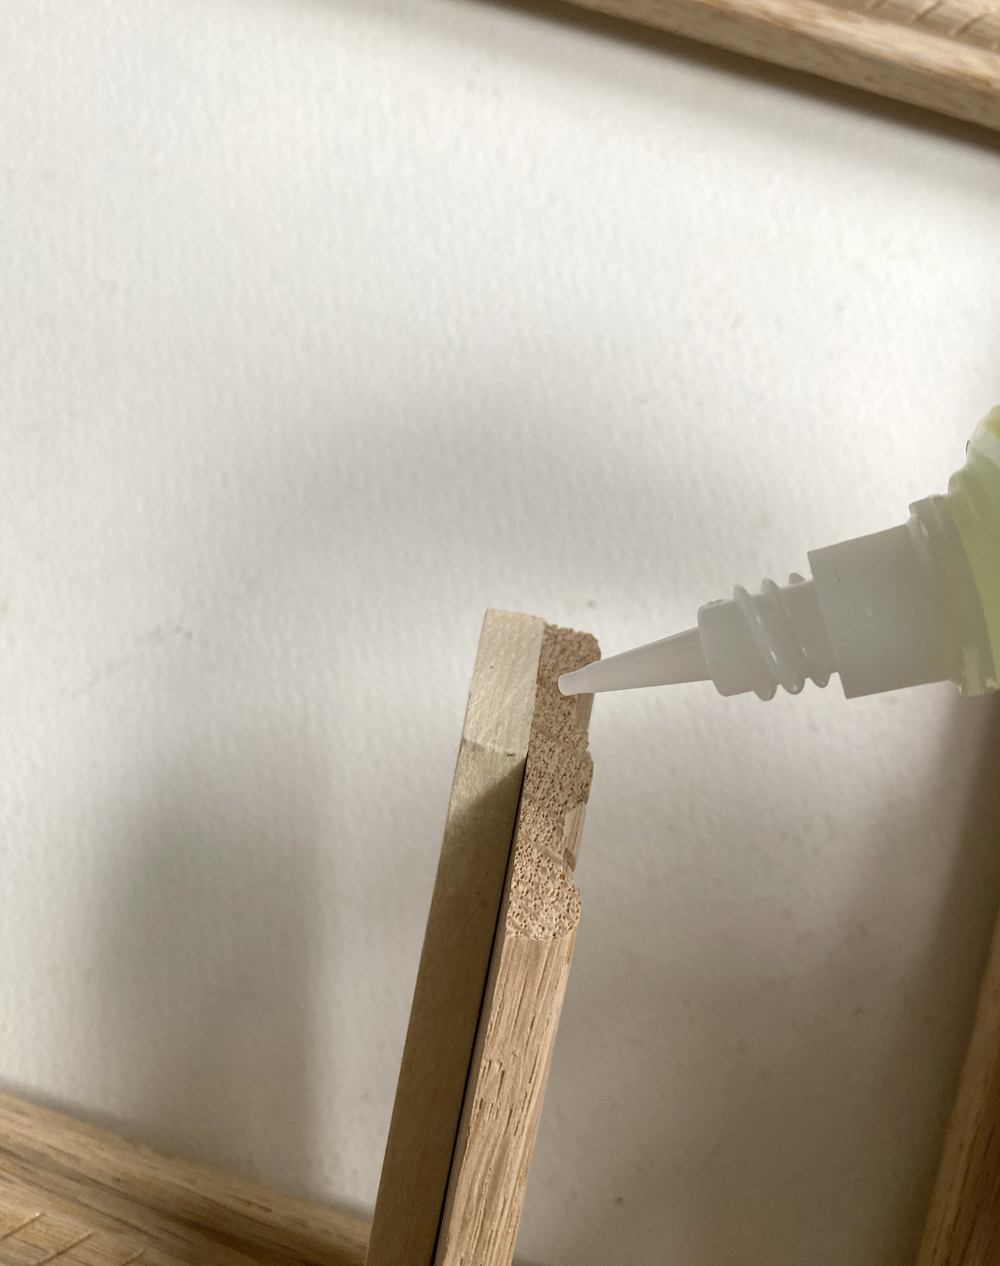
Step 1. Using the Krazy Glue Fast Dry Wood Super Glue, glue your two pieces of decorative trim together, flush on one side, create a “shelf” for the art.
Step 2. Let dry for 6 minutes.
Step 3. Next measure your art, mark your wood, and use a miter saw or miter box to cut the ends of each piece at a 45 degree angle. Make sure that the “shelf” that the art will sit in, is on the inside of the frame. Then make sure the pieces fit together, and the corners create 90 degree angles. Tip: Also make sure the art fits before gluing.
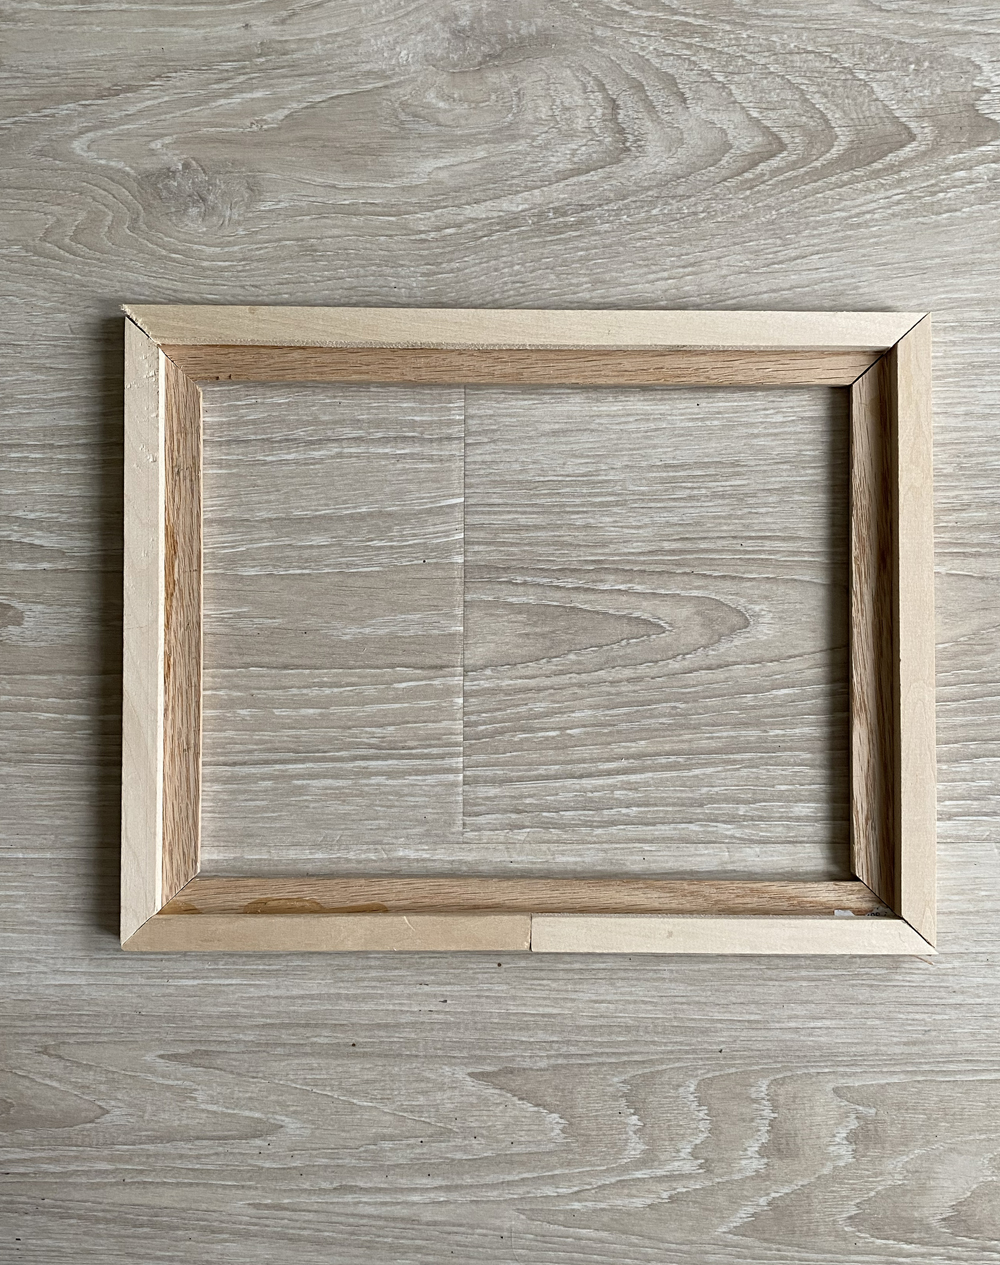
Step 4. Now glue all the corners together using Krazy Glue Fast Dry Wood Super Glue. I covered each corner with the glue, then joined them together. Then repeated on all sides.
Step 5. When the frame was laying flat, I put a little more wood glue on each corner. Then, I just held it together while the glue dried (it goes fast!)
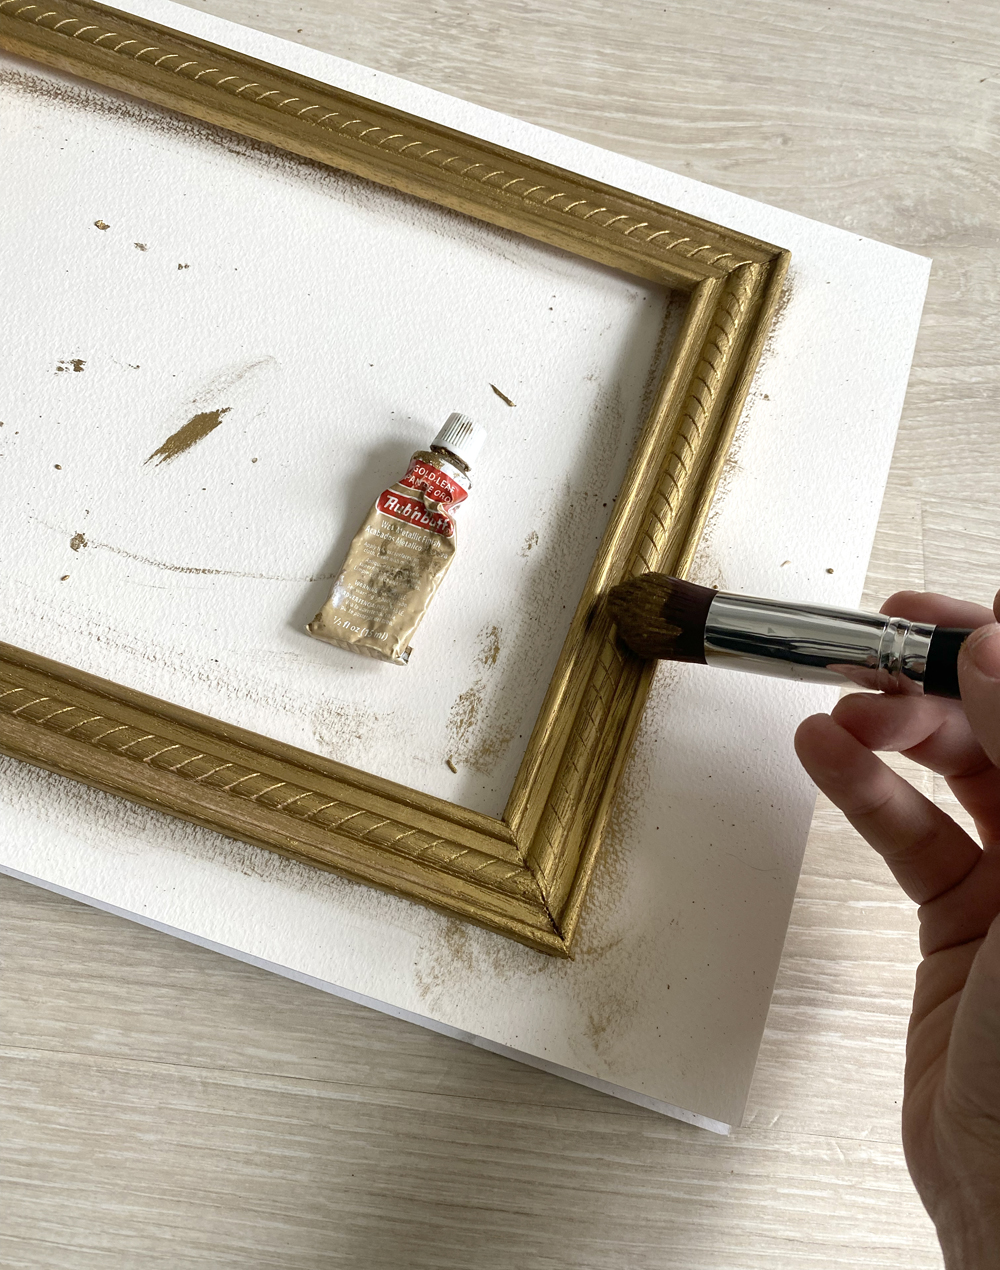
Step 6. Brush on some Rub n’ Buff with a dense makeup brush to turn the wood frame gold.You could also use a paint brush.
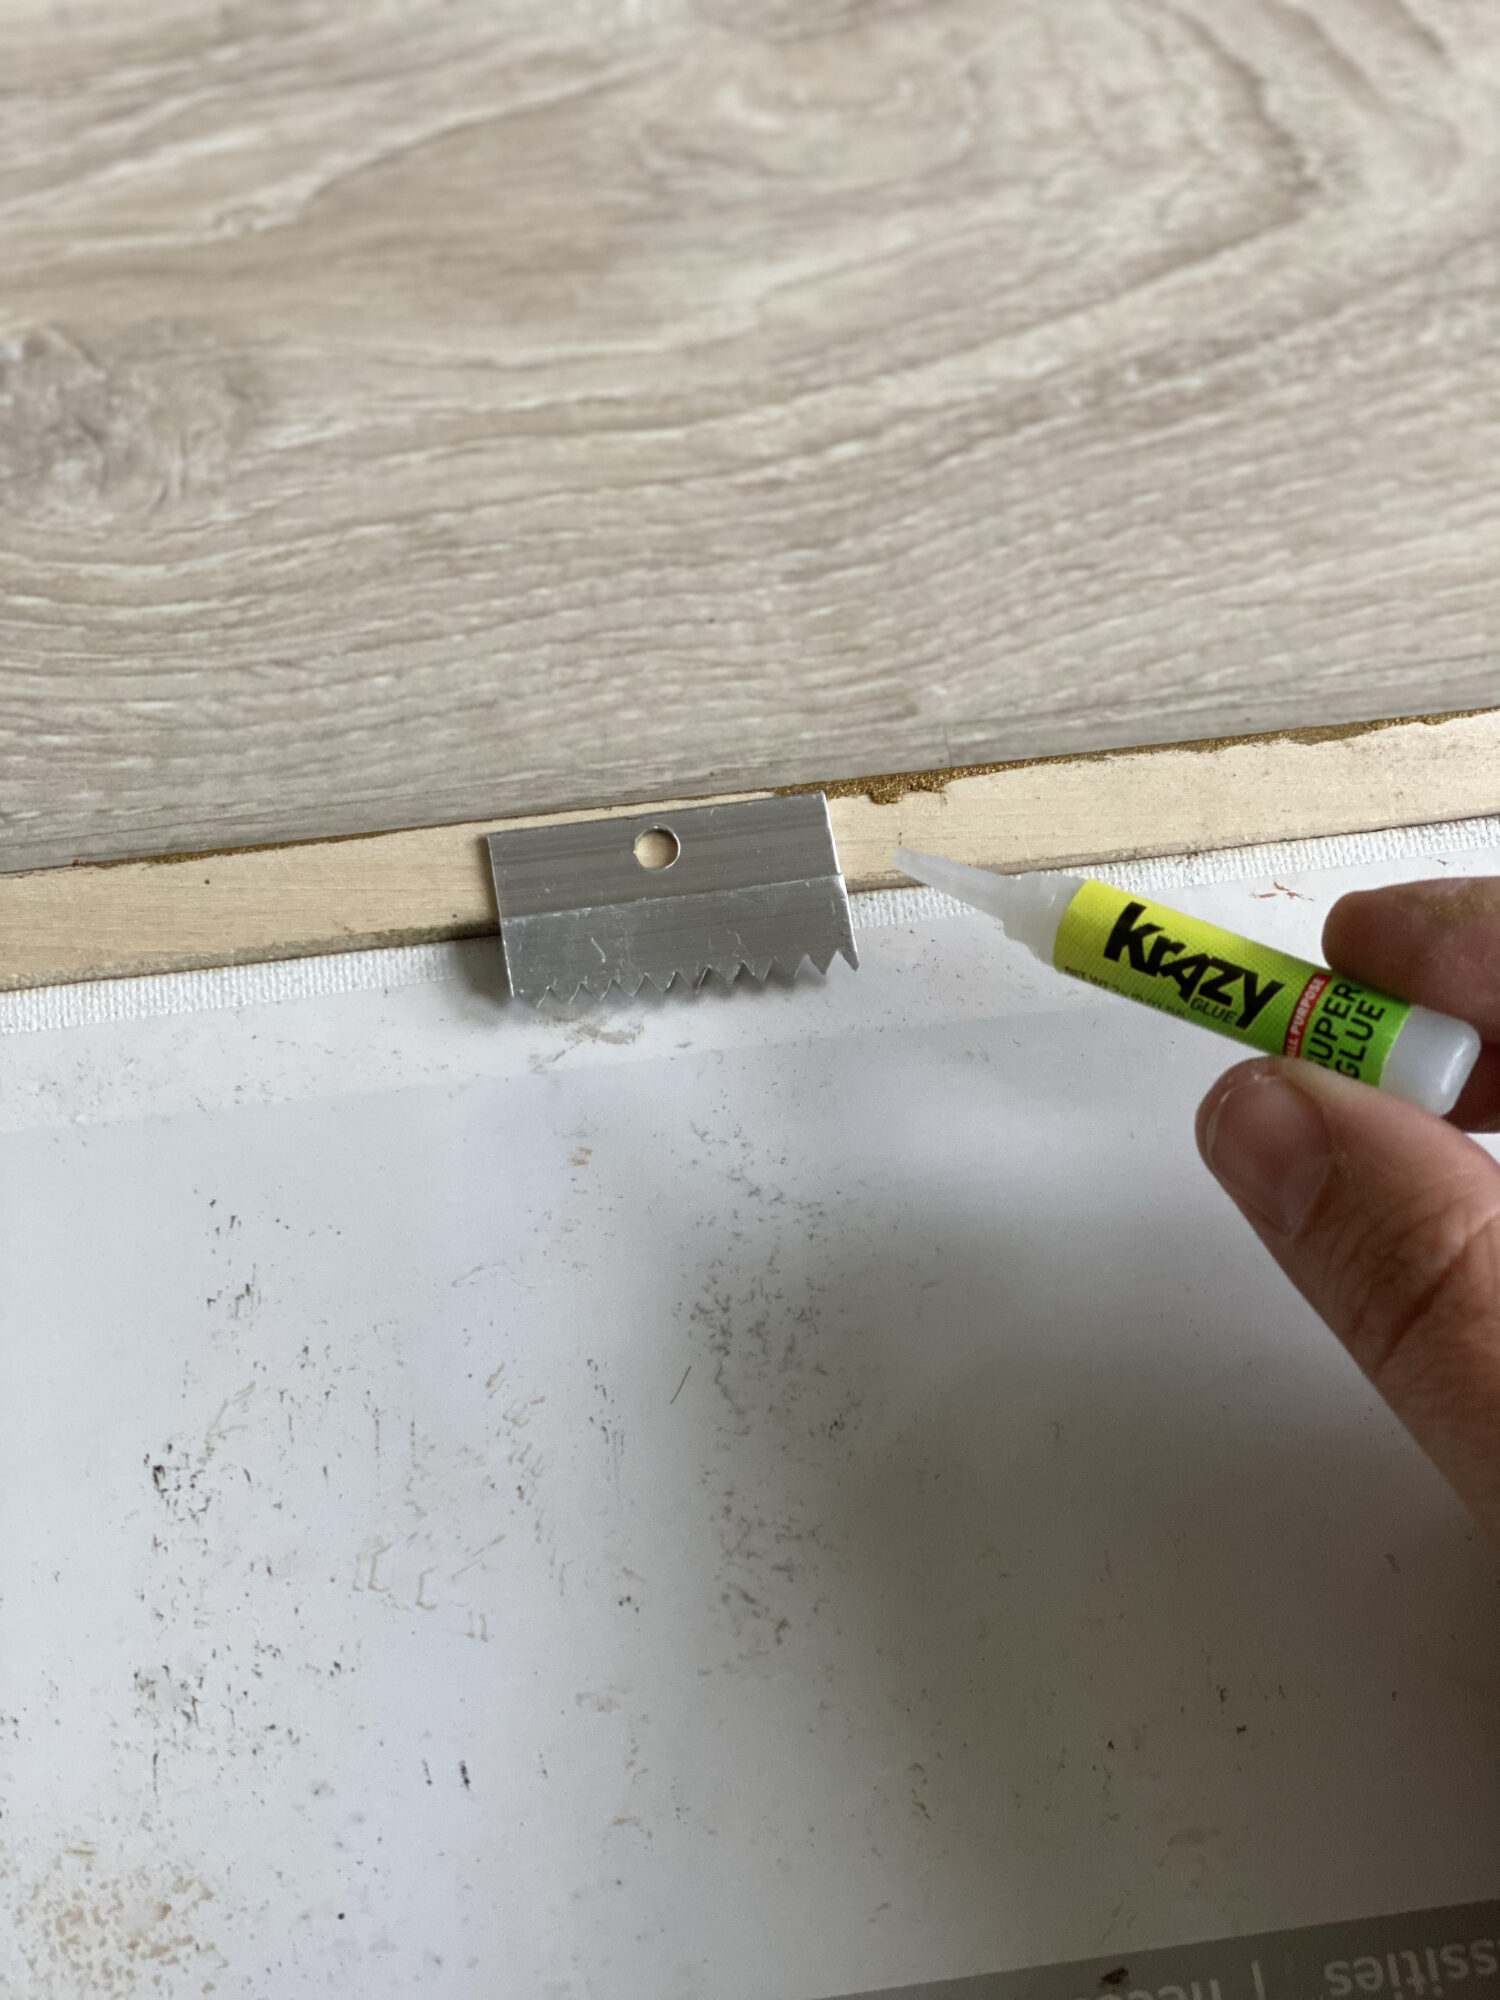
Step 7. Use Krazy Glue All Purpose Super Glue to attach a metal picture hanger to the back of the frame.
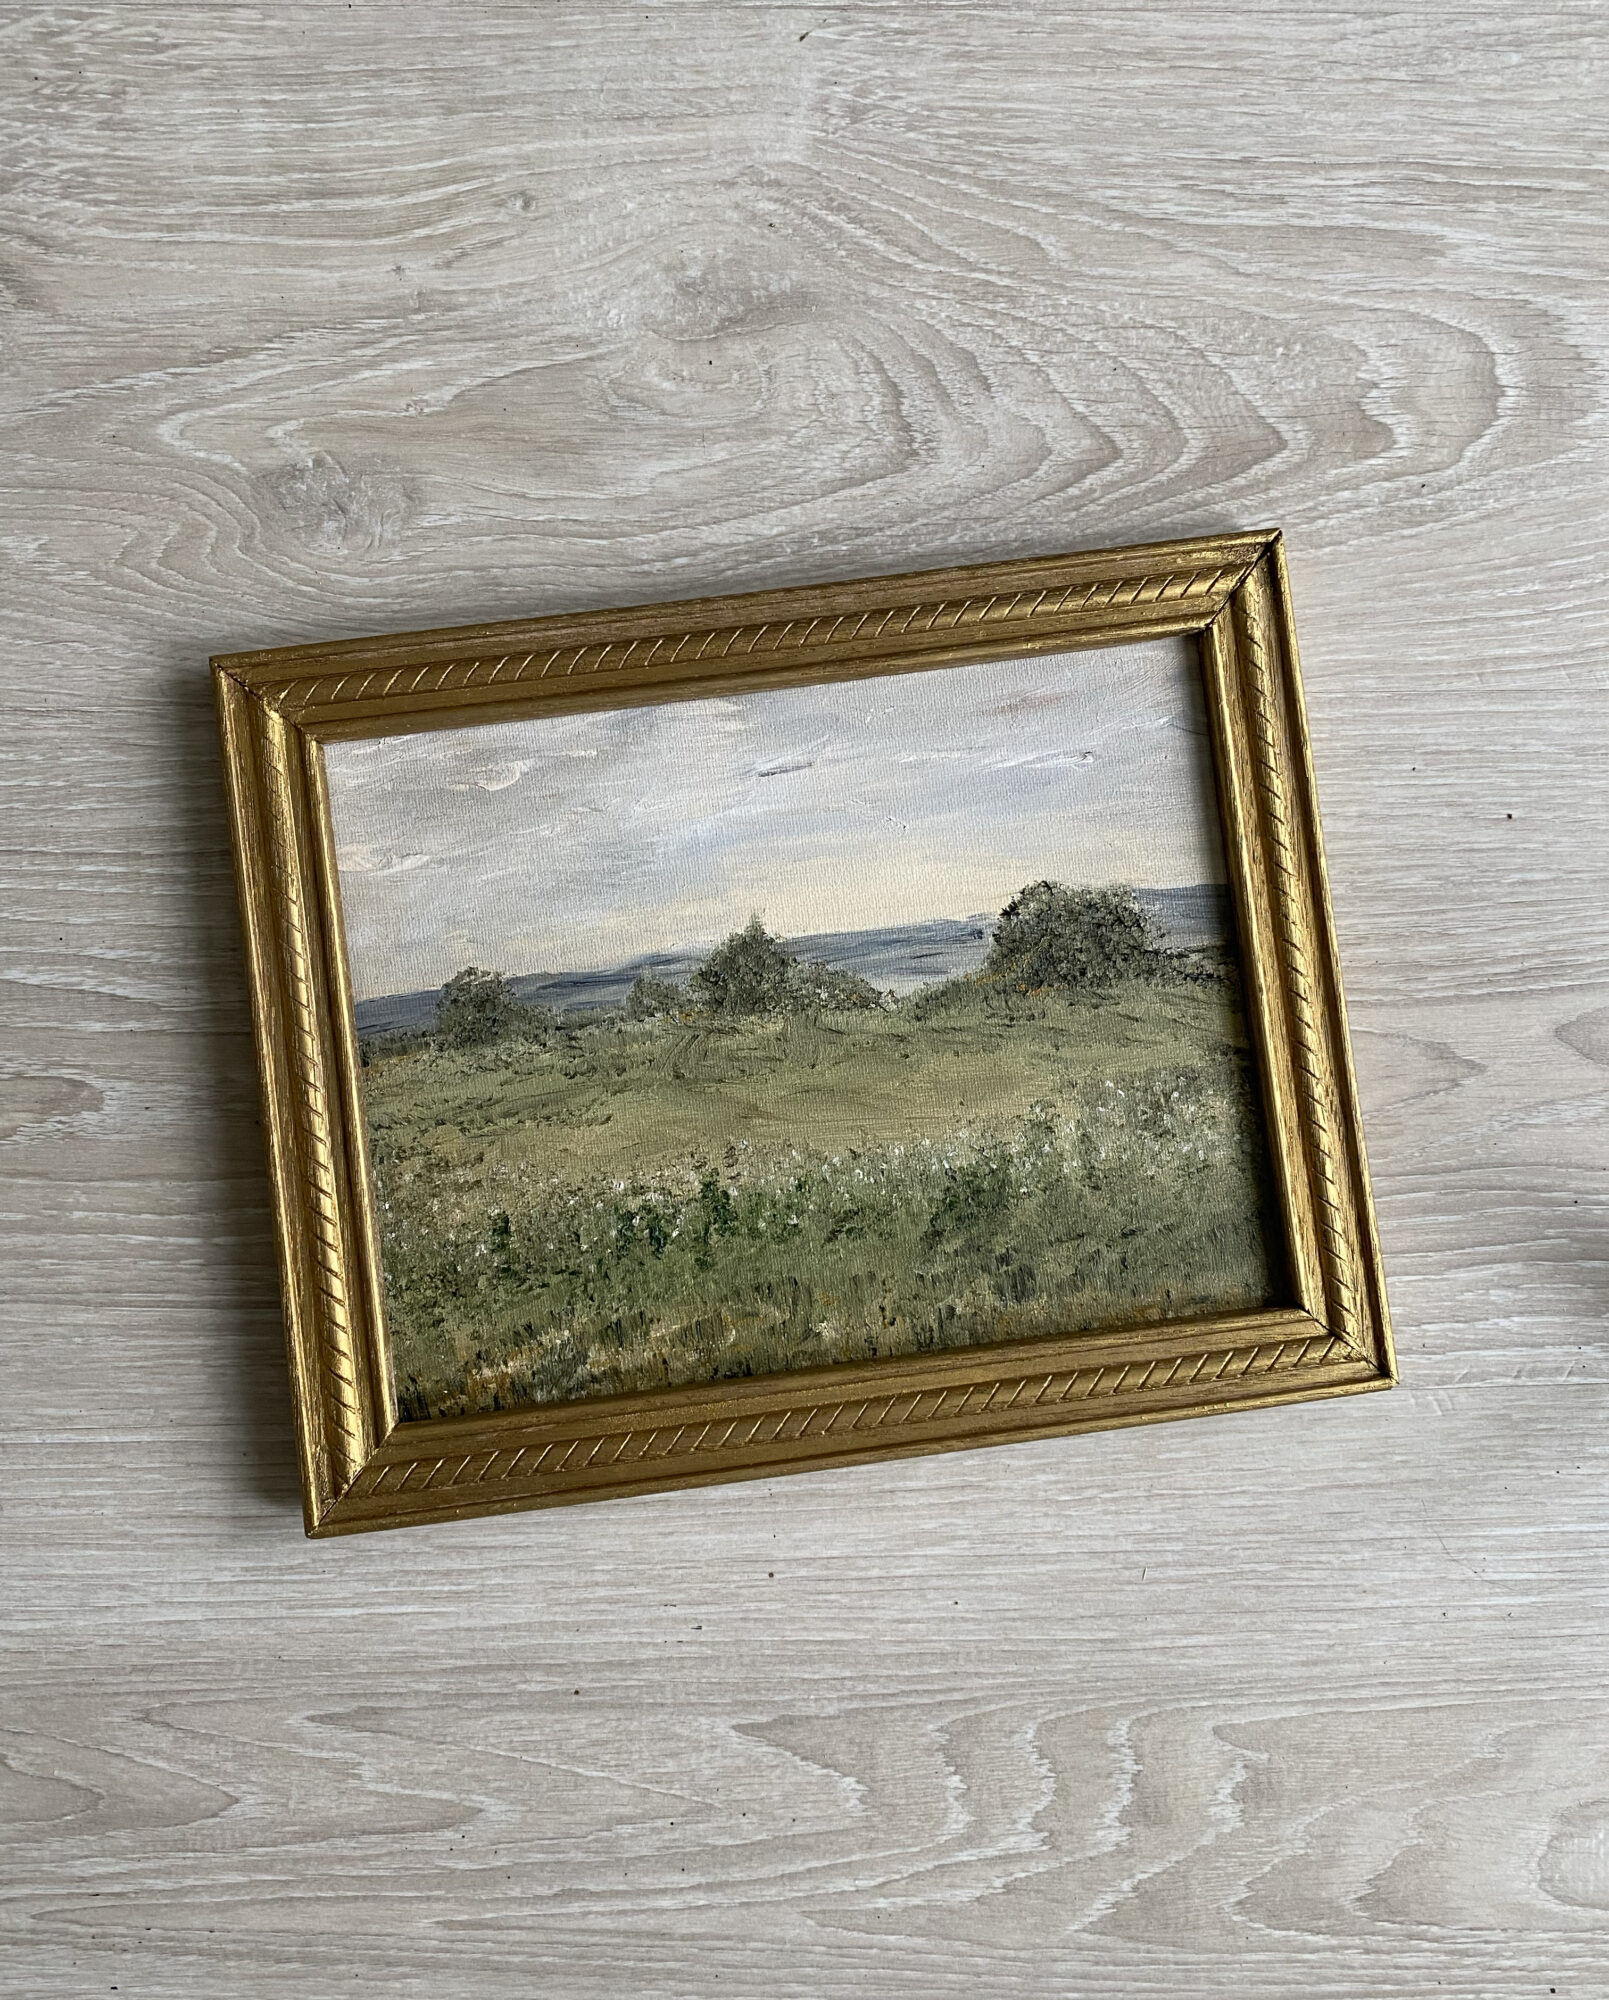
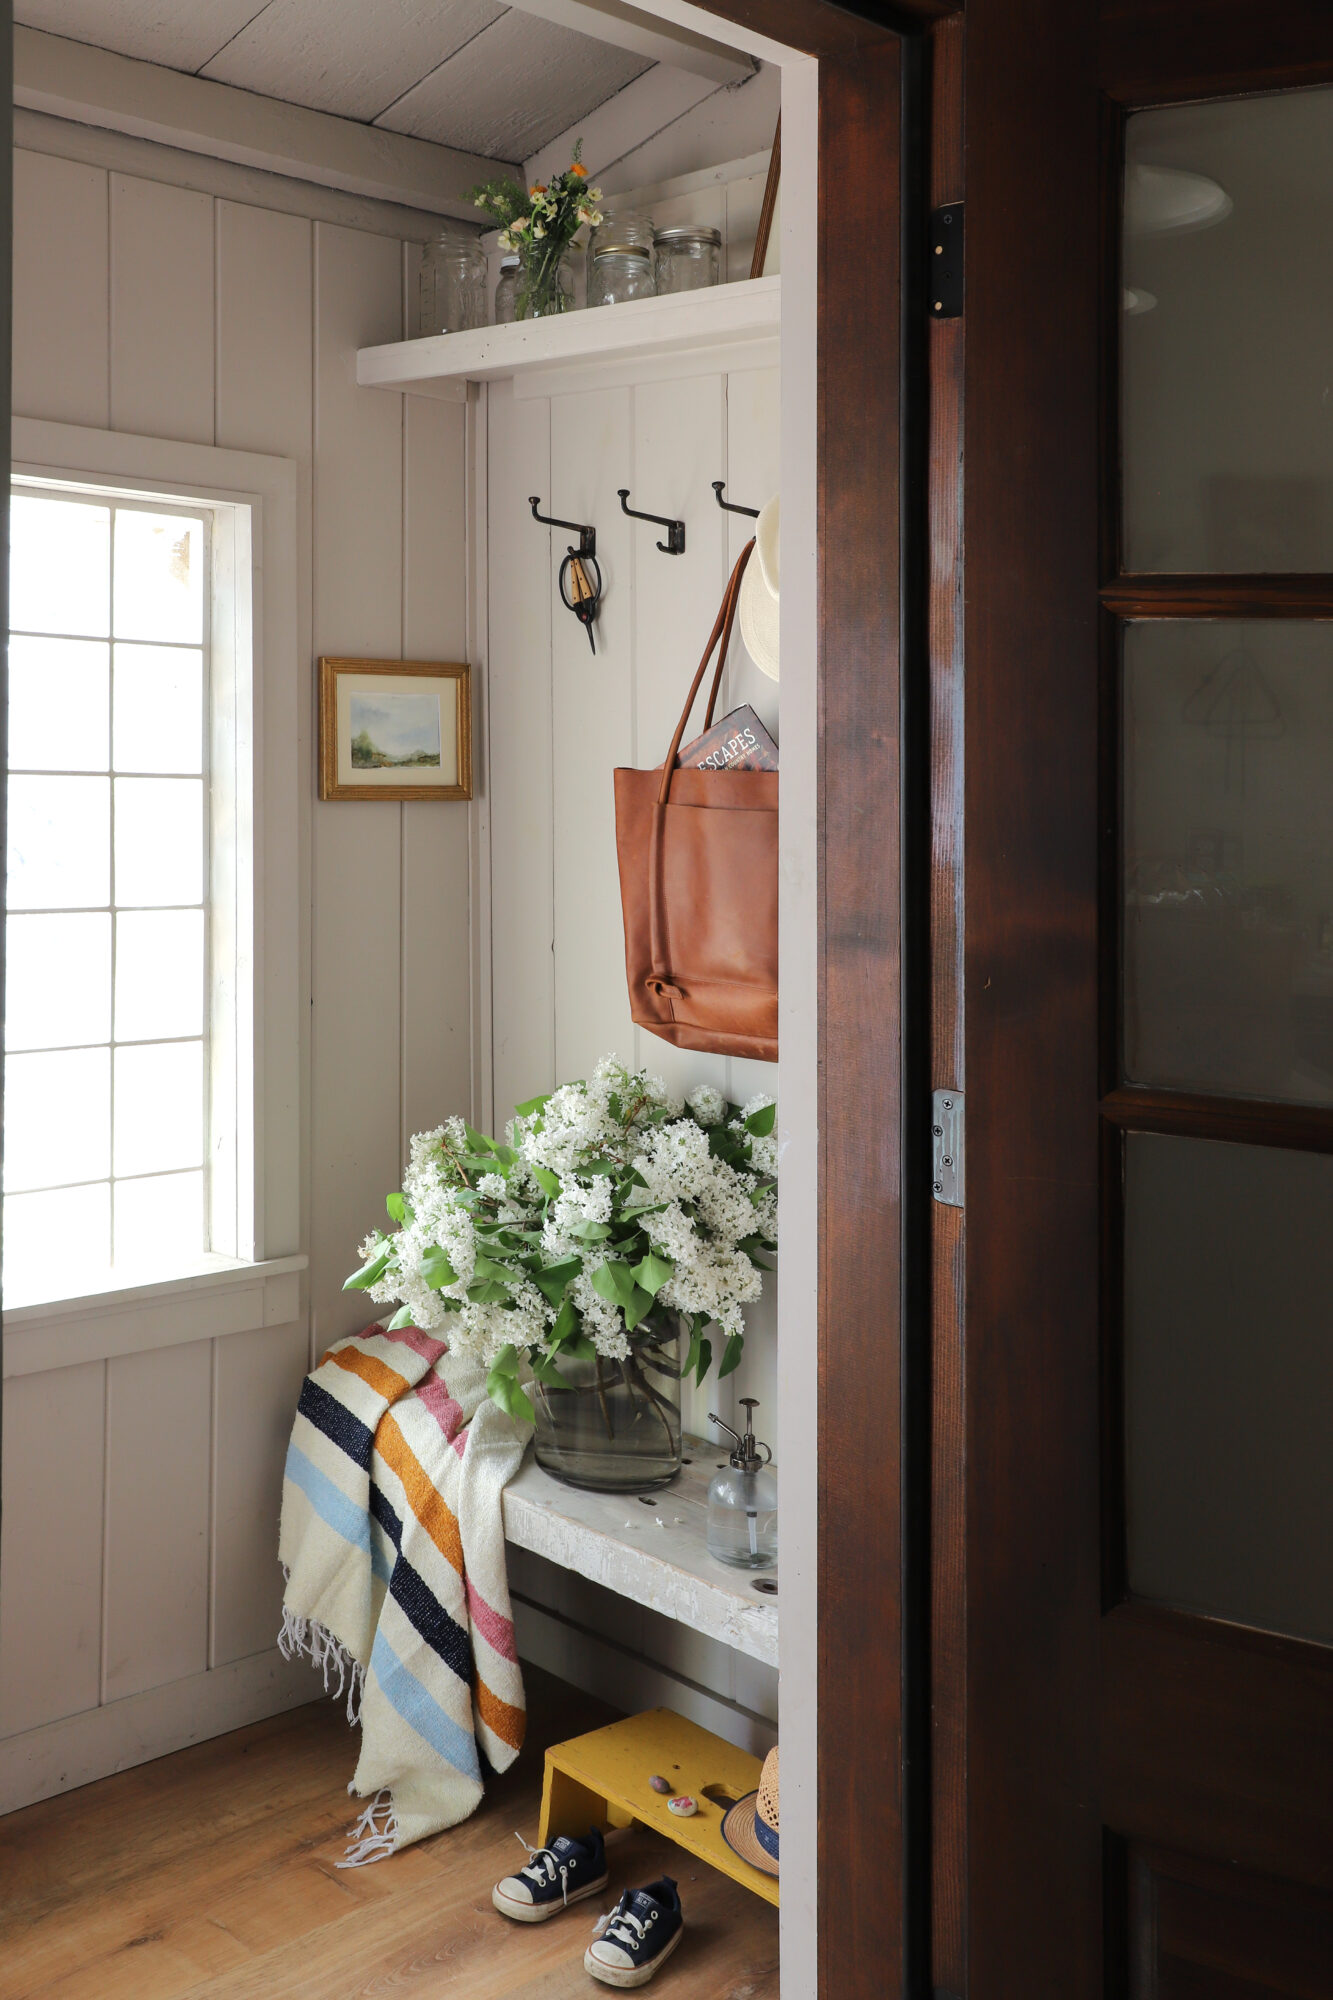
Step 8. Place your art inside the frame, and hang!
Next, let’s cut a custom mat for my watercolor art.
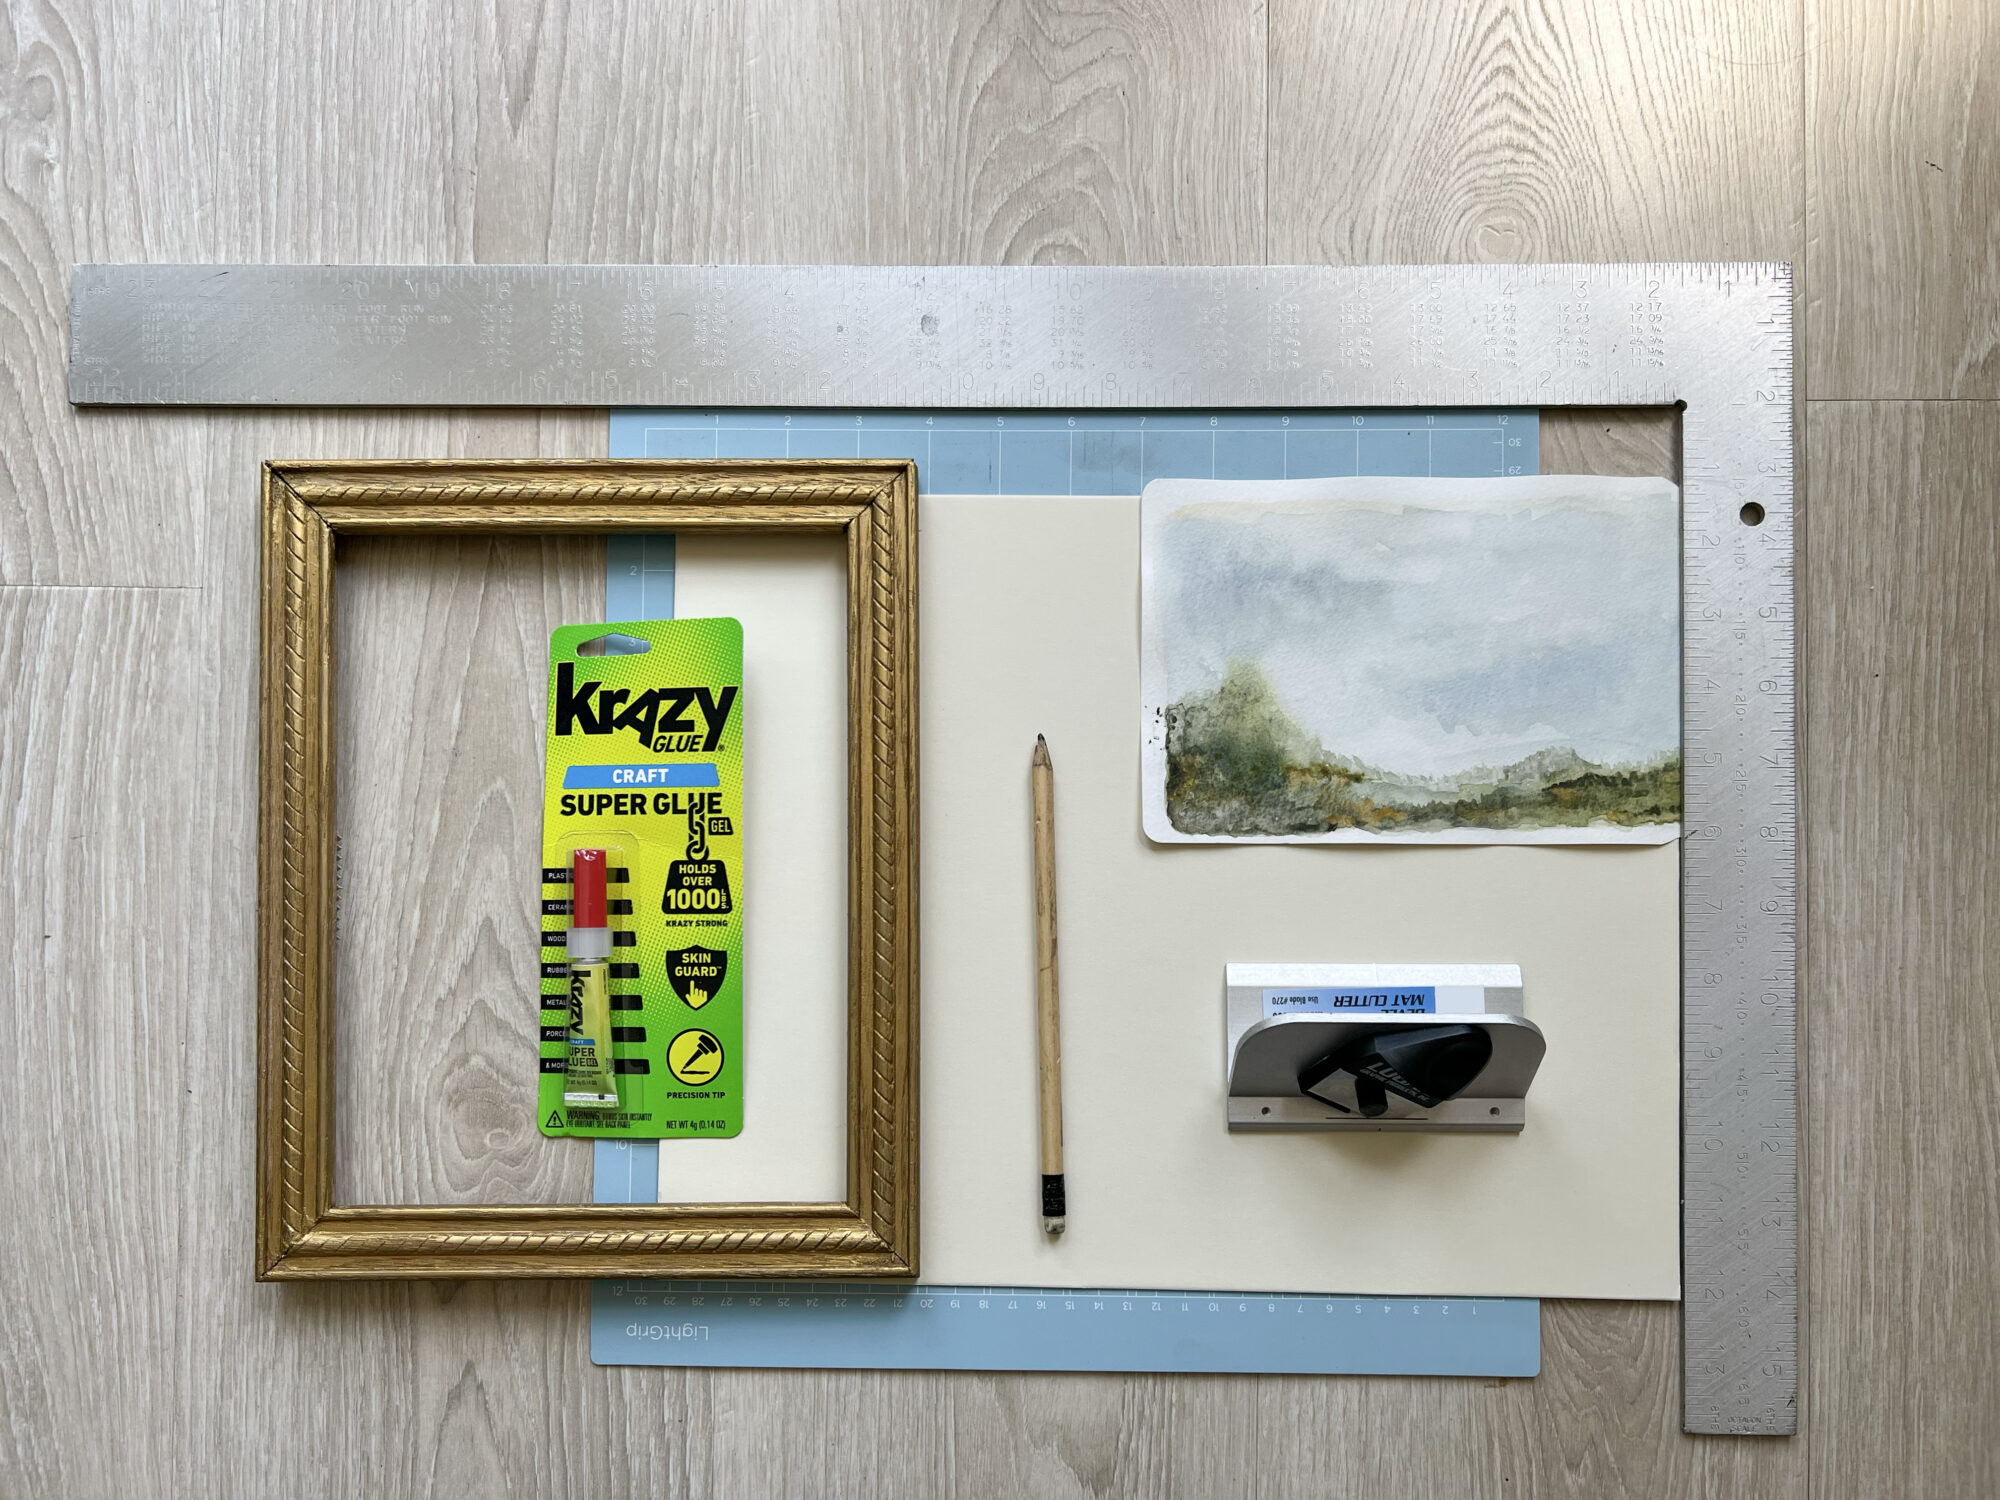
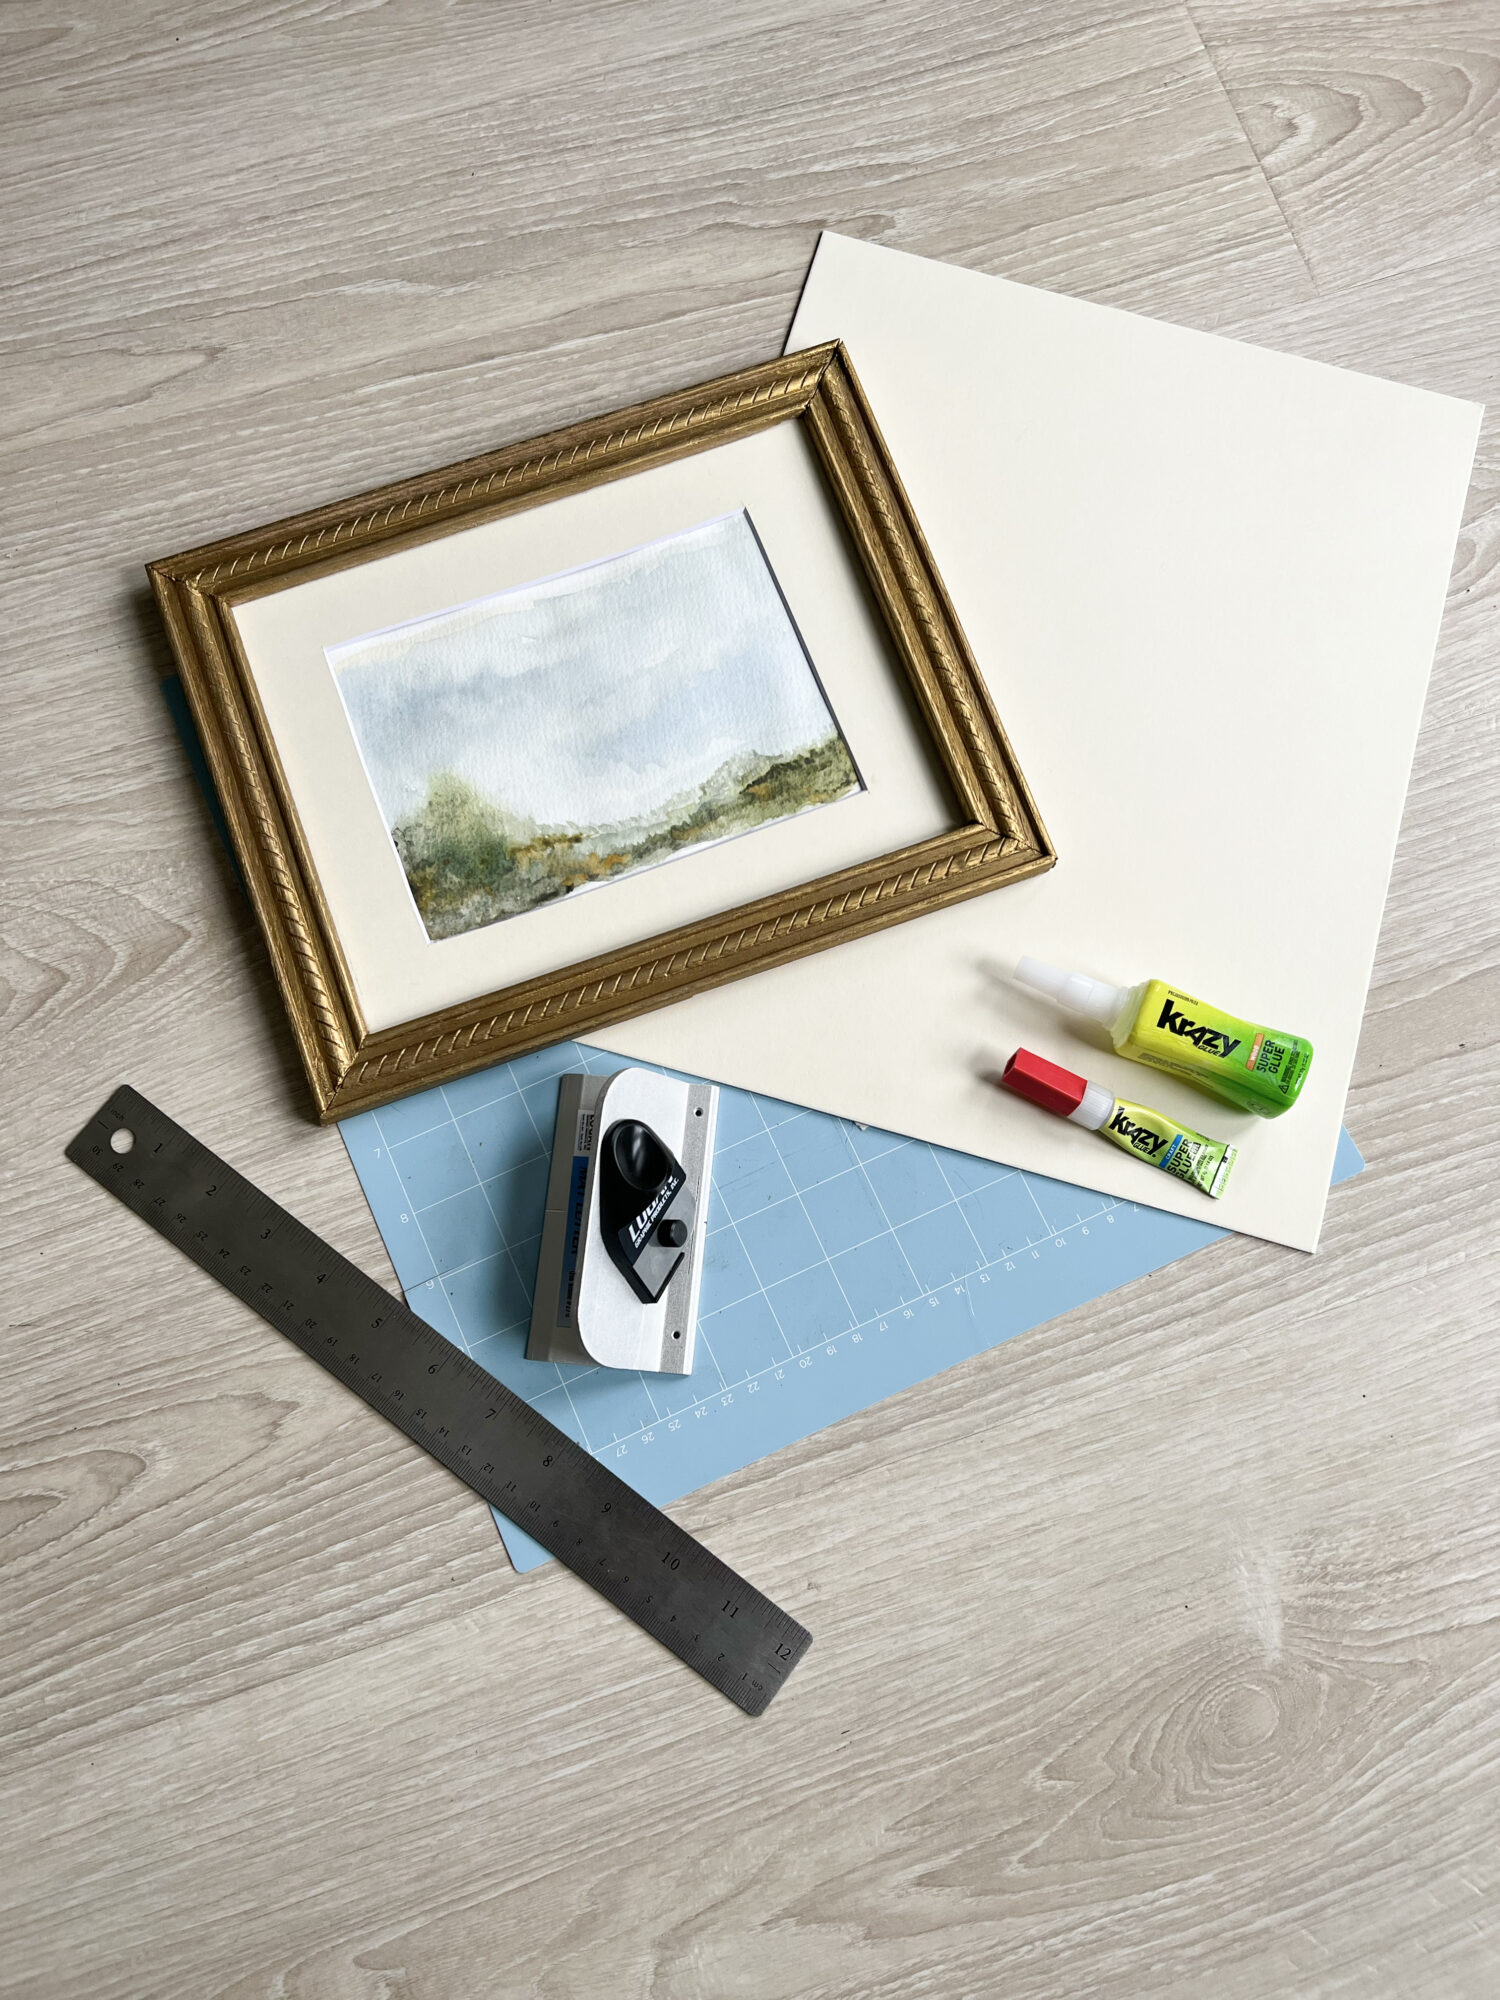
Supplies for Cutting the Mat
Mat
Square ruler
Krazy Glue Craft Super Glue
Mat cutter
Art
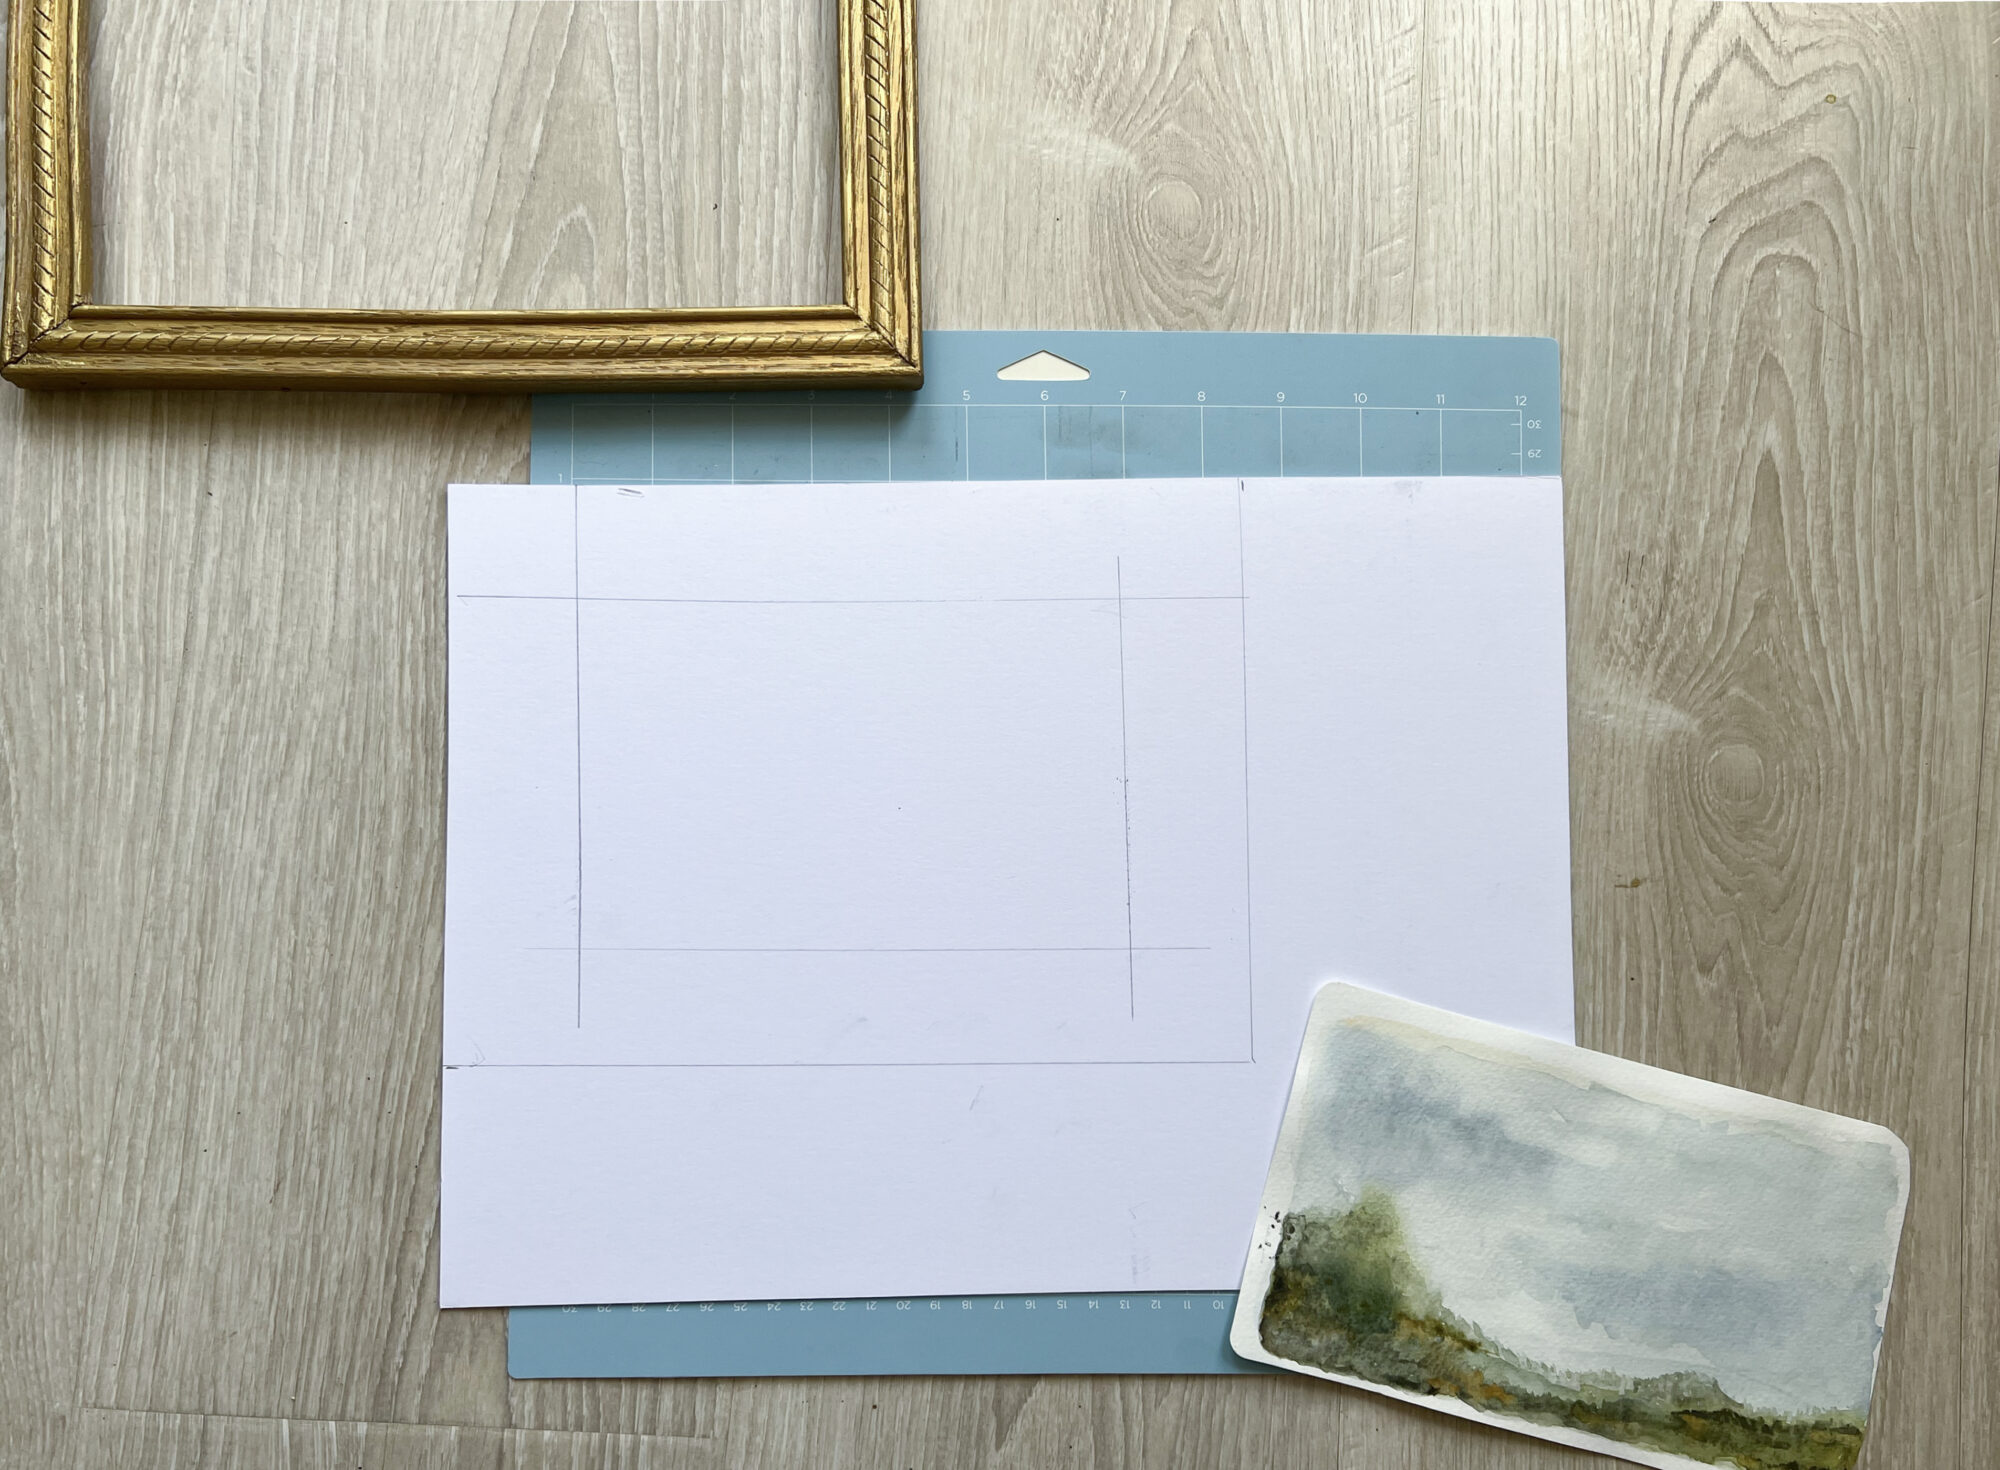
Step 10 Measure the inside of the frame and your art, then mark the back of the mat where it should be cut.
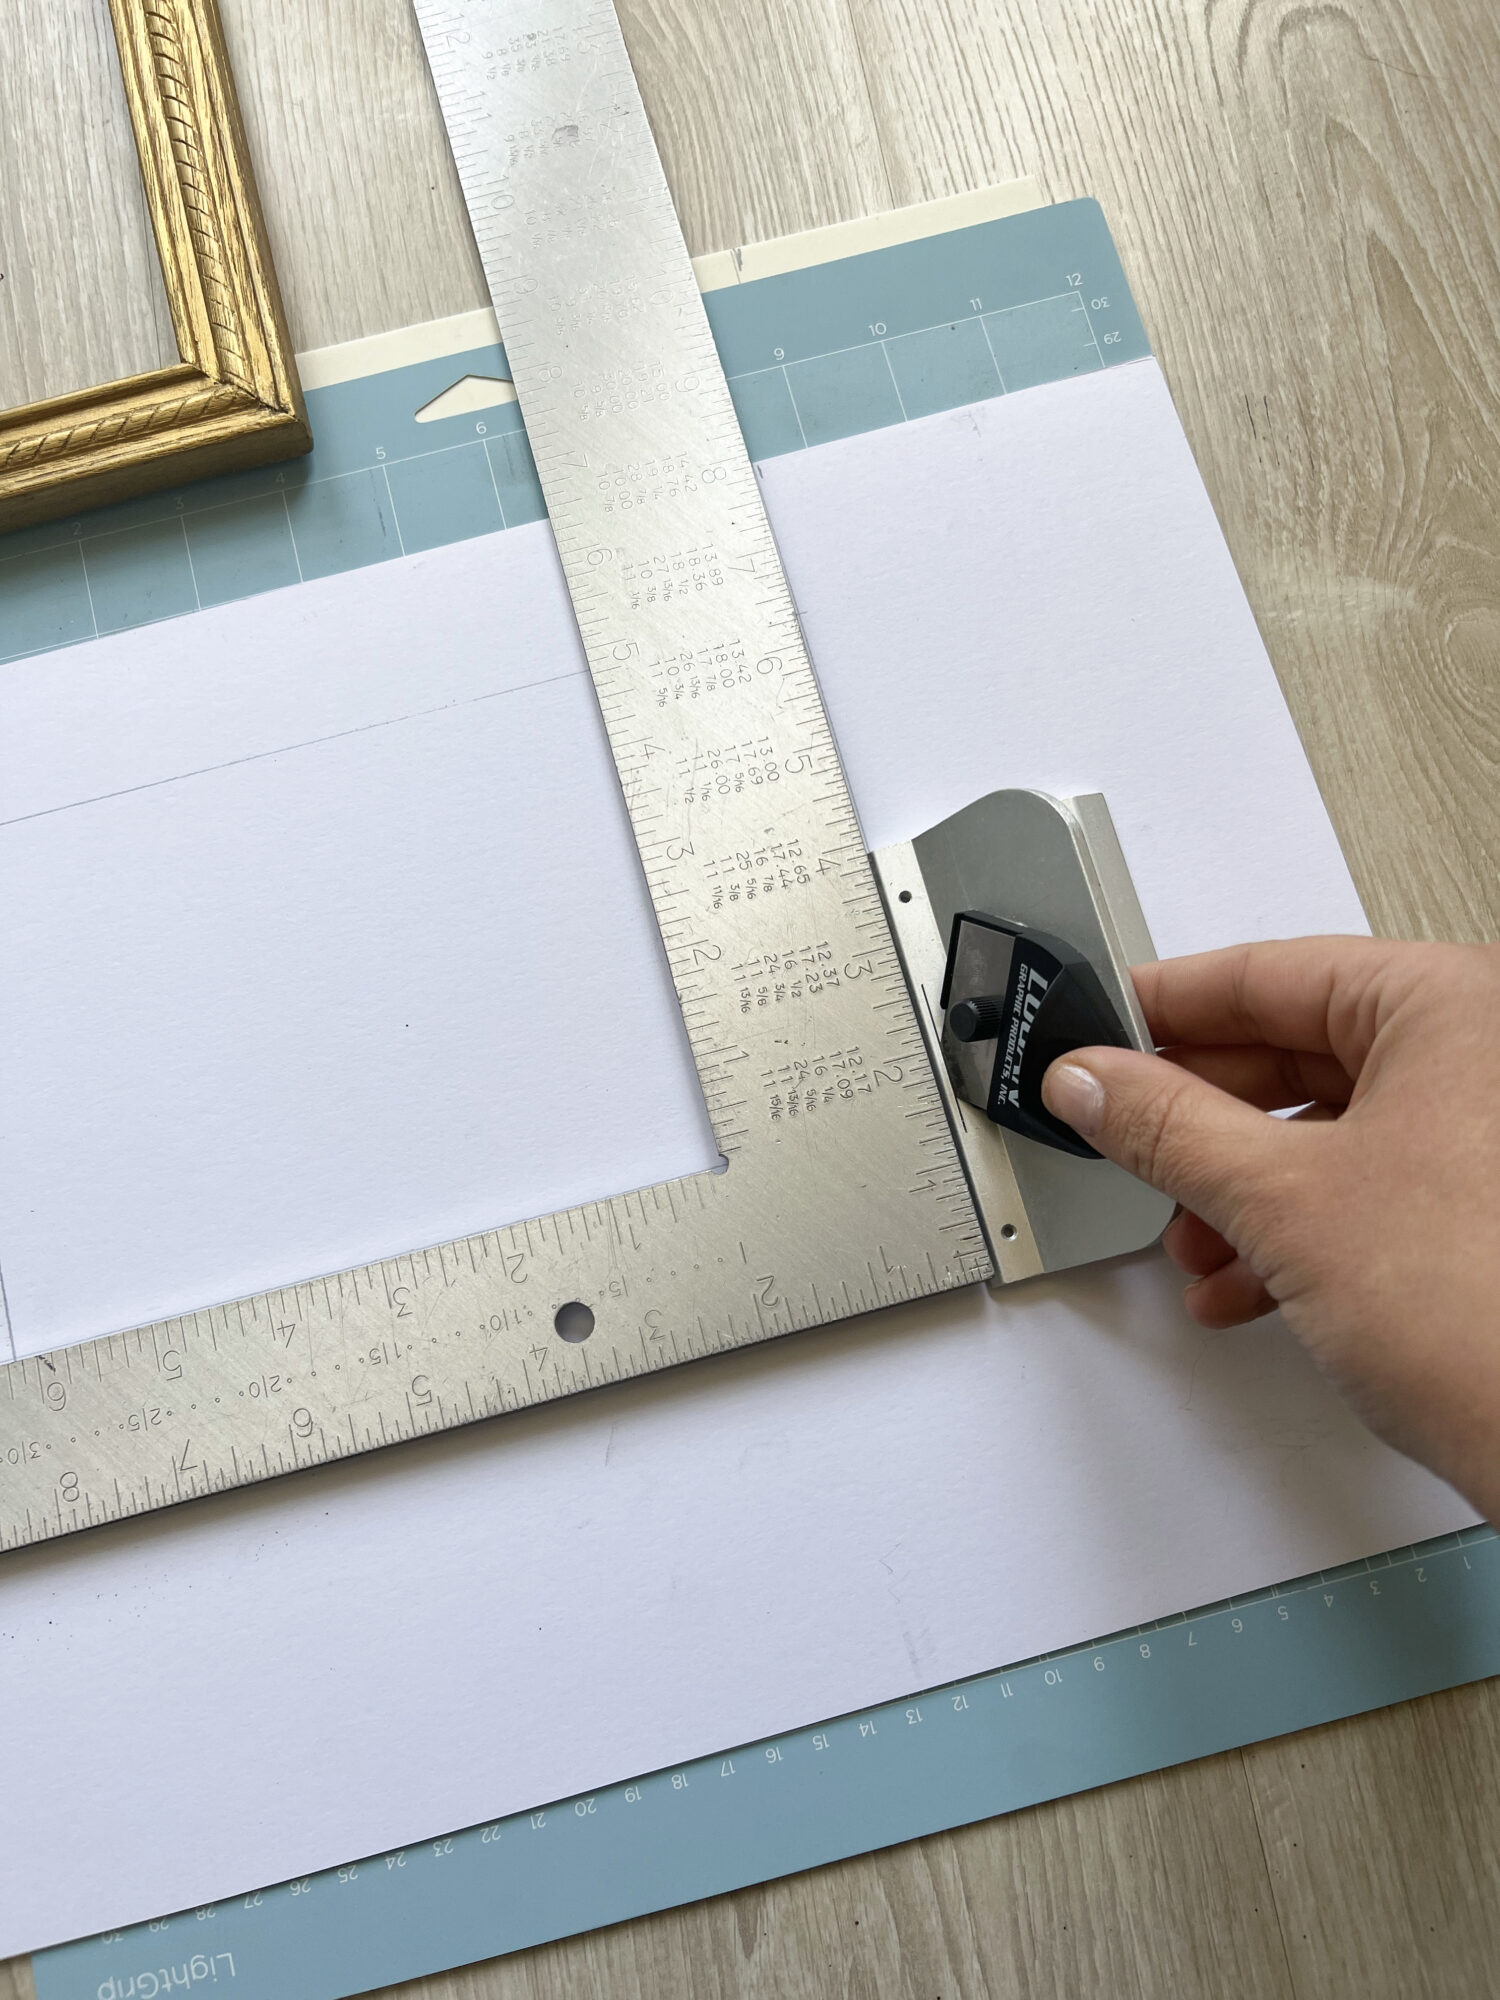
Step 11 With one hand holding the mat and the ruler firmly in place, press down on the mat cutter to slice the mat on the lines you marked. Note: practice on a scrap piece to make sure your blade is cutting at the correct angle. When you flip the mat over the cut should slope down towards the art.
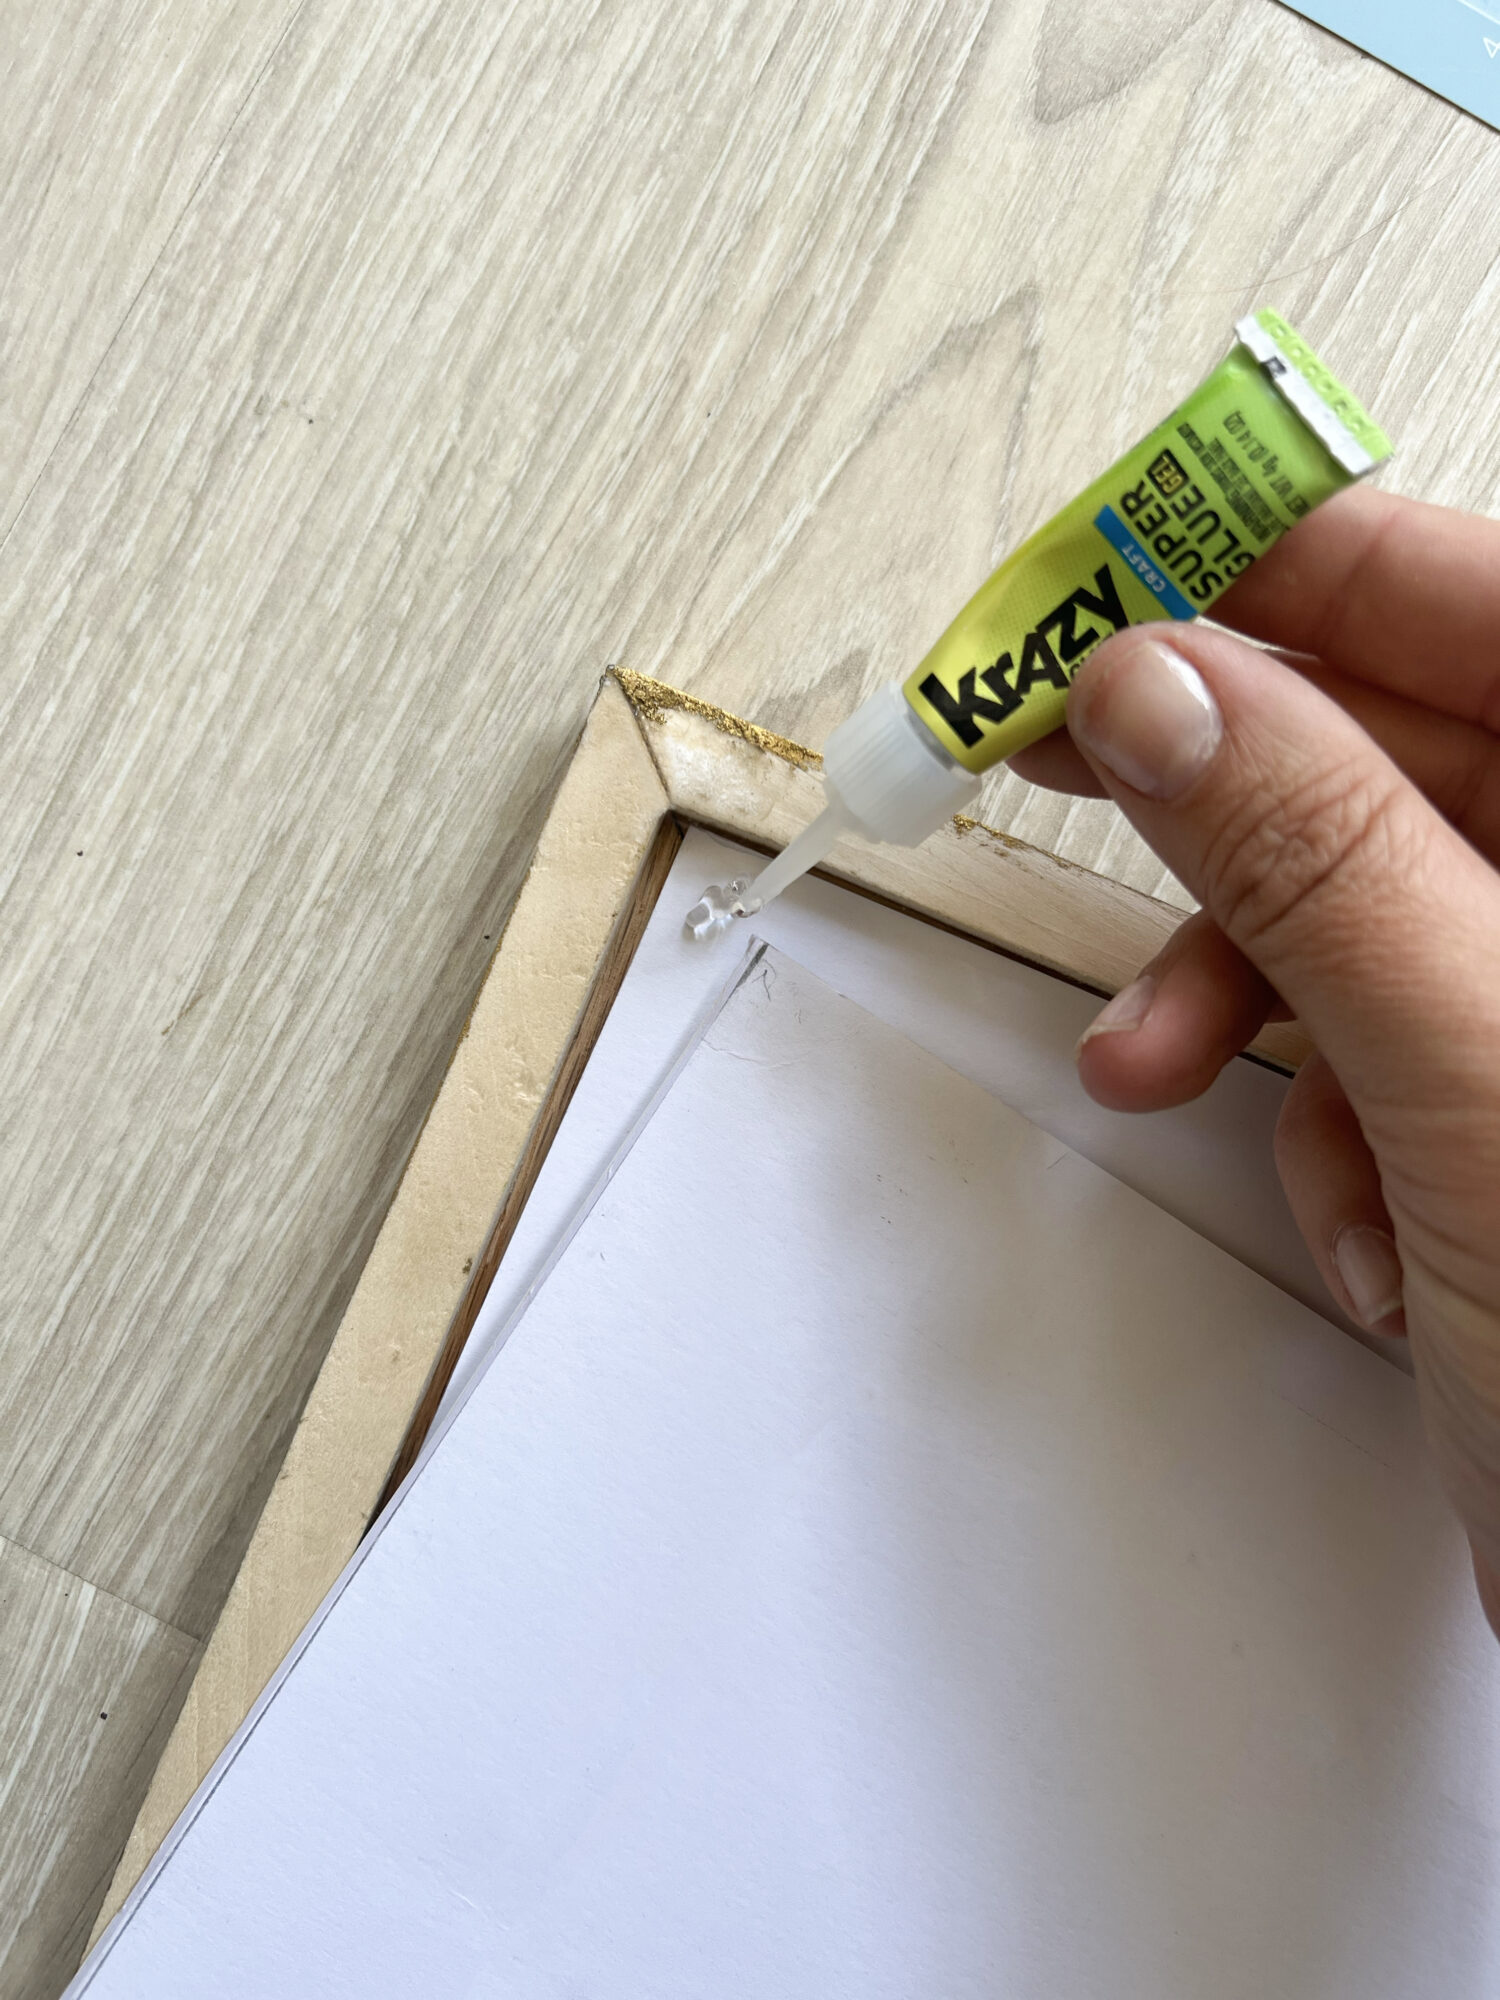
Step 12 Once your mat fits the frame, dab a little Krazy Glue Craft Super Glue in each corner, then add the mat. The gel is great because it stays in place, and will not run. Let dry.
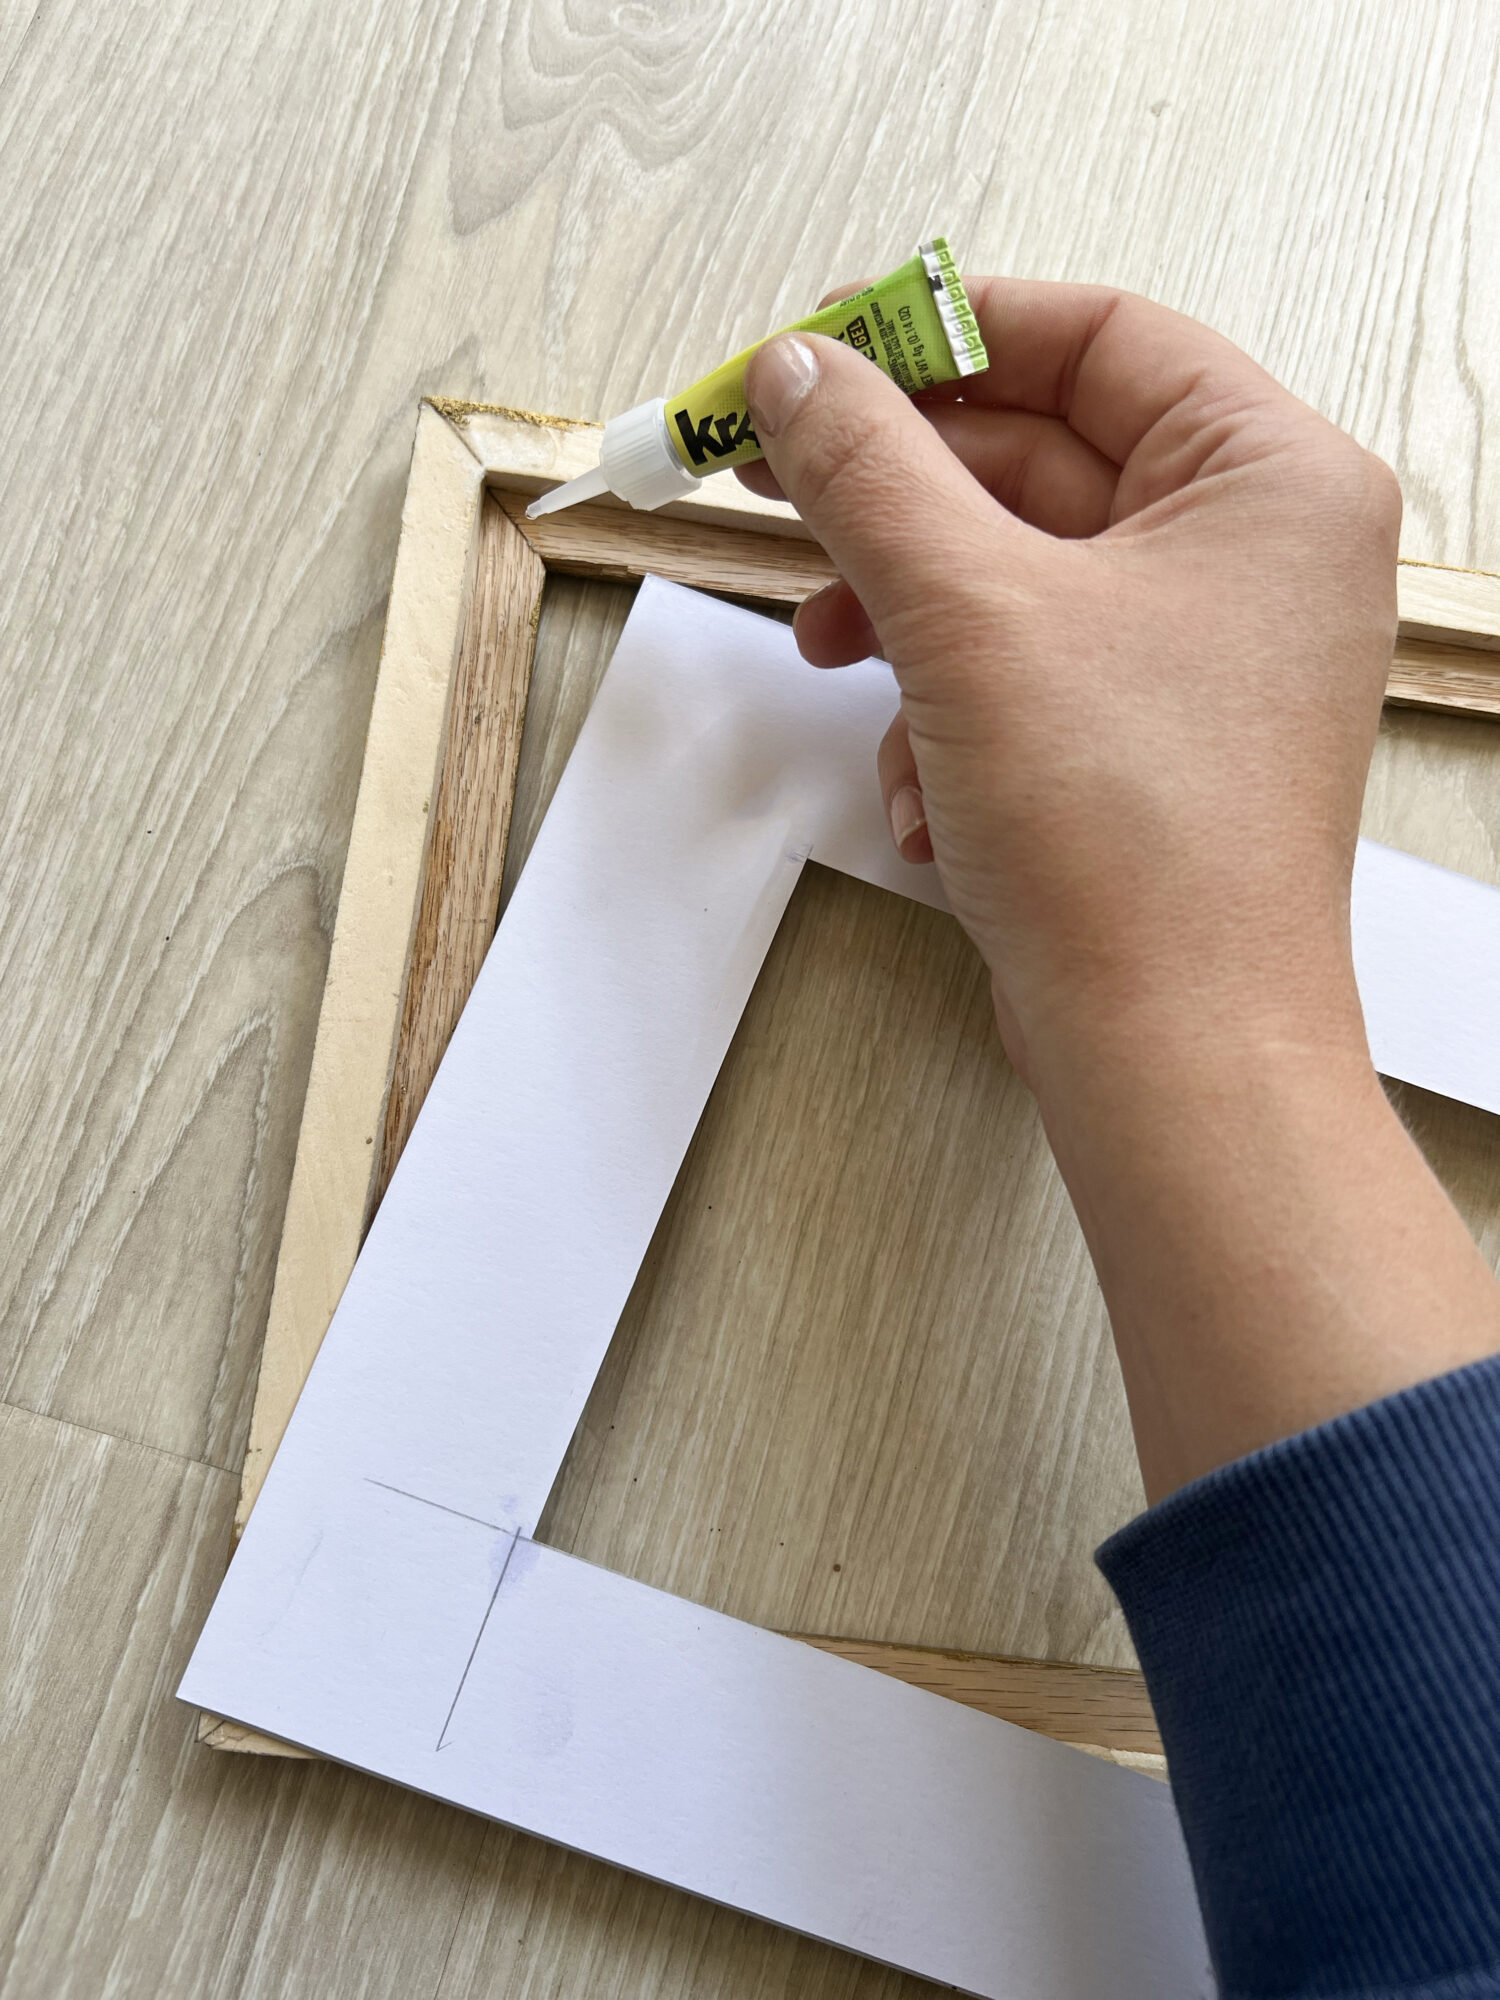
Step 13 Add your art (you can dab a little Krazy Glue Craft Super Glue in the corners of the art to adhere to the mat) And then glue another piece of cardboard to sandwich the art in between it and the mat.
Step 14 Hang!
This post was created in partnership with Krazy Glue.
EXPLORE MORE: DIY PROJECT


