DIY DUPLEX | Laying LifeProof Flooring in an 100 Year-Old House
DIY PROJECT, Home DIY
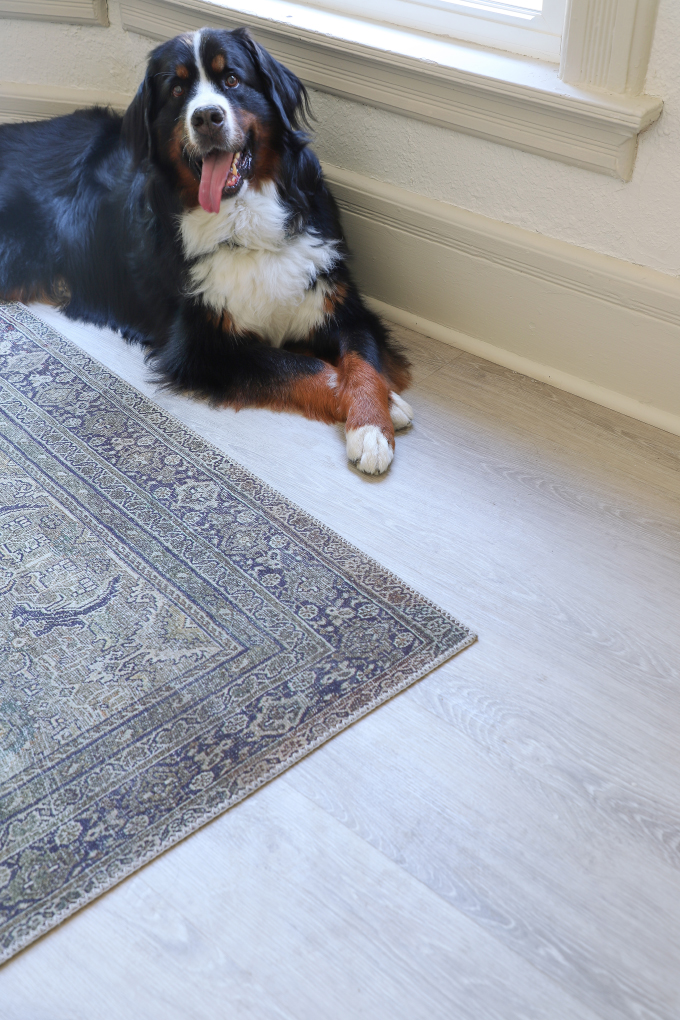
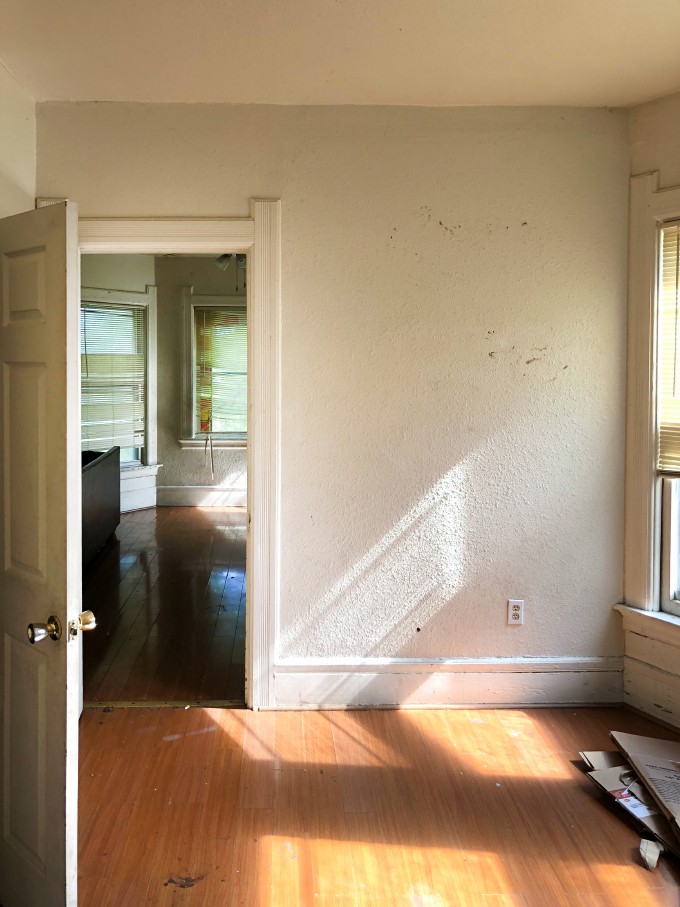
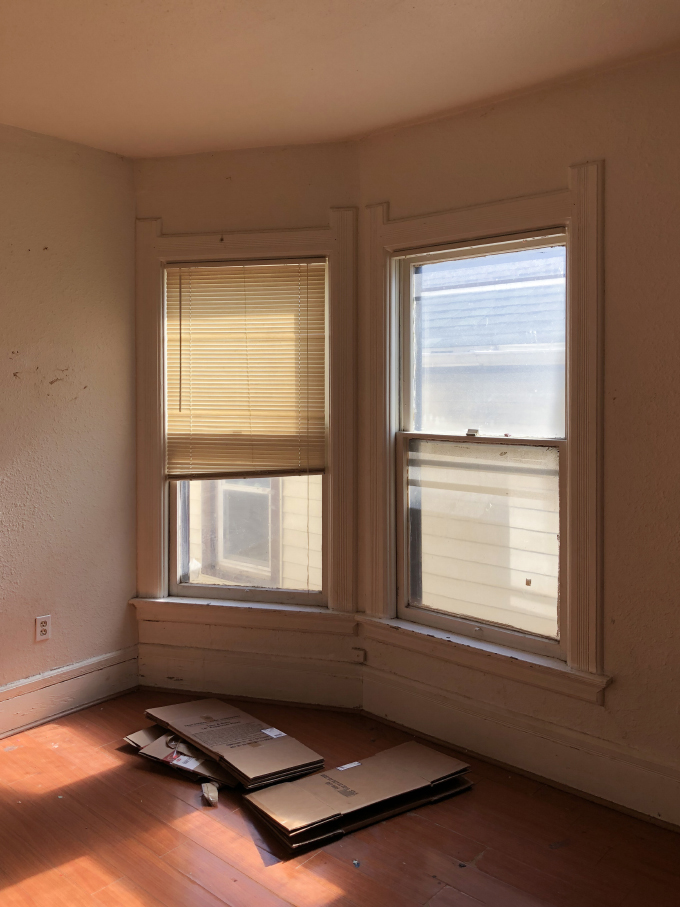
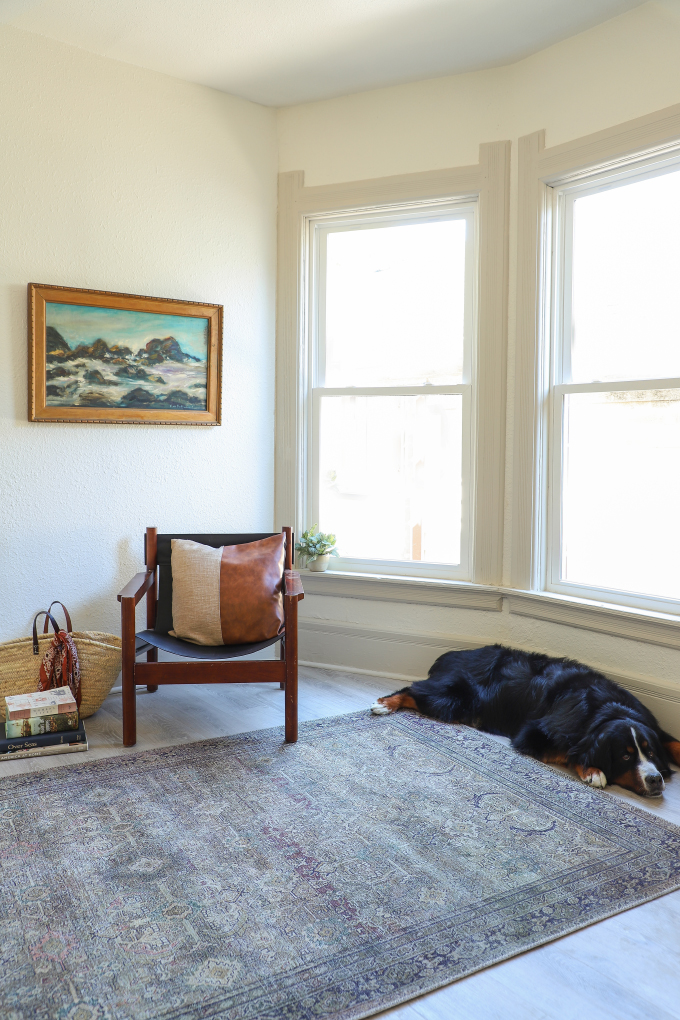
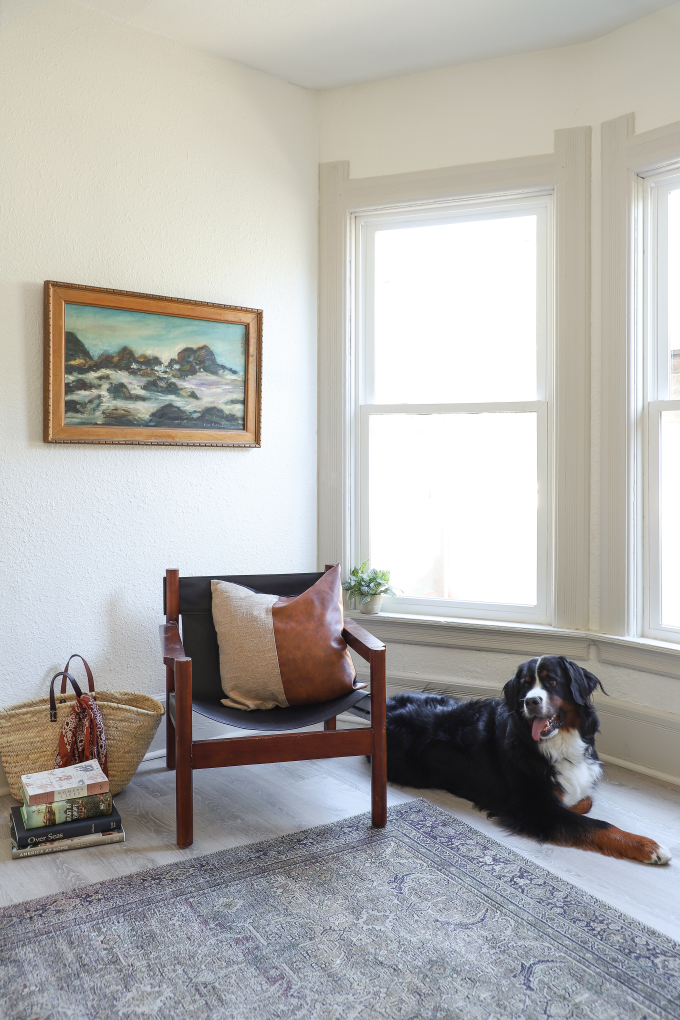
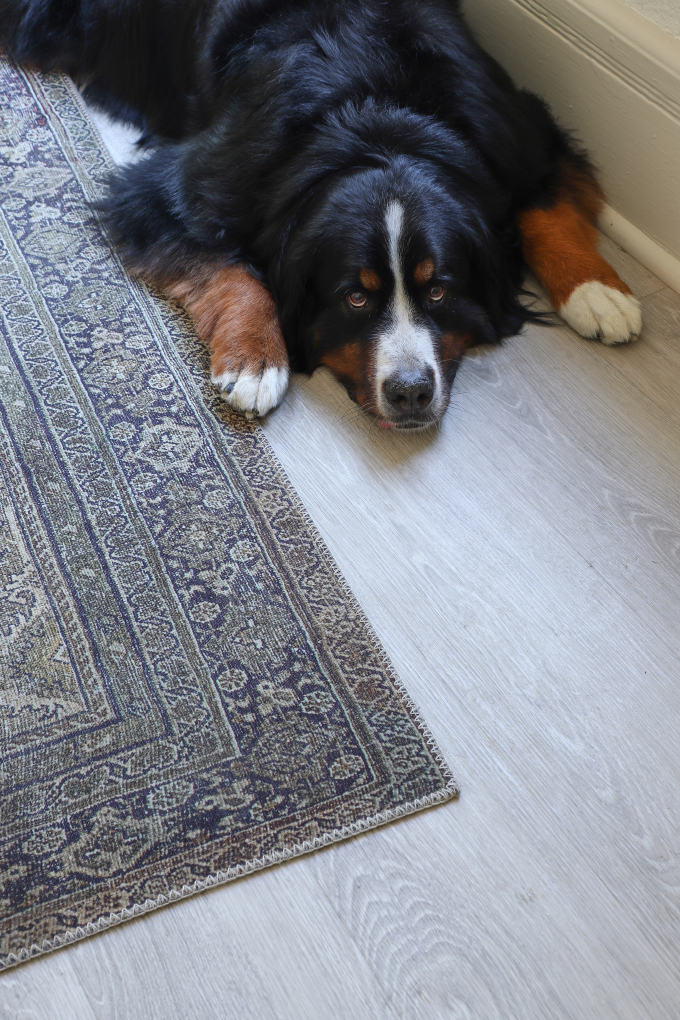
Excited to be sharing another peek at the DIY Duplex renovation that we have been working on for the last few months. A little background, we started the demo on this two unit (upper and lower) house at the beginning of the Summer with the plan to do a total DIY renovation on it, then rent it for a bit, with the possibility of Airbnbing in the future. The house was built in 1890, and it had some original trim and baseboard that we wanted to preserve, but sadly no original hardwood floors. Also the laminate that was installed in the lower level was starting to buckle and peel. Even worse, when we pulled it up, we found it was installed OVER carpet! So all the flooring on both floors needed to go. I had used LifeProof Luxury Rigid Vinyl flooring from The Home Depot in the mudroom at our house and absolutely LOVED the product. It was super easy to install and has held up great with the pups who are walking and running on it all day, plus since it’s in our backyard entry it sees a ton of dirt, rain soaked boots, and muddy paws and still looks perfect because it’s completely waterproof, scratch-resistant and stain-resistant. I knew I wanted to use it in the duplex because the durability is PERFECT for renters. (Can we give a big shout out to Big Papi for being the perfect pup model to show how great these floors are for dogs!!!)


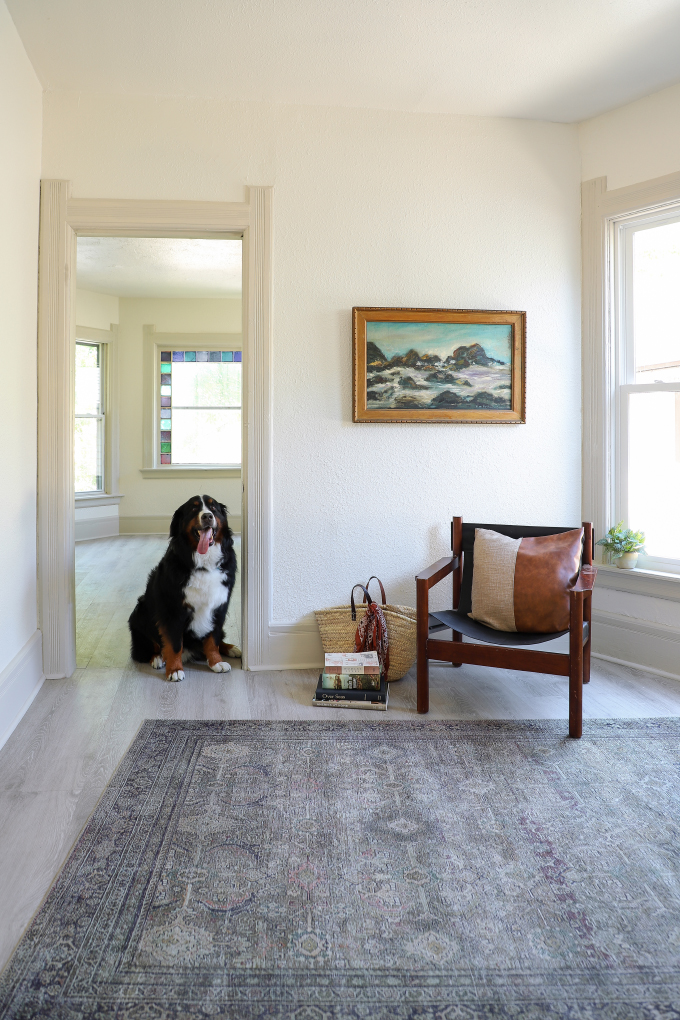
We have the top floor completely done and love how it turned out! I picked a light grayish, tan flooring called LifeProof Beacon Oak Light. It’s perfect for the DIYer, it just snaps into place, and has an underlayment already attached so you can install it right over concrete, tile, vinyl, and wood. It took my hub about two days to install 550 square feet, which included a living room, office, laundry room, and hallway, which equaled a lot of cuts and working around doorways. But he breezed through it because the planks are so easy to cut and click into place!
There are a few different ways to lay/finish the flooring, . If you are working with a newer home, head over to The Home Depot’s tutorial here, if you are updating the flooring in an 100+ year old house like we are, here is our process!
Steps after the break!
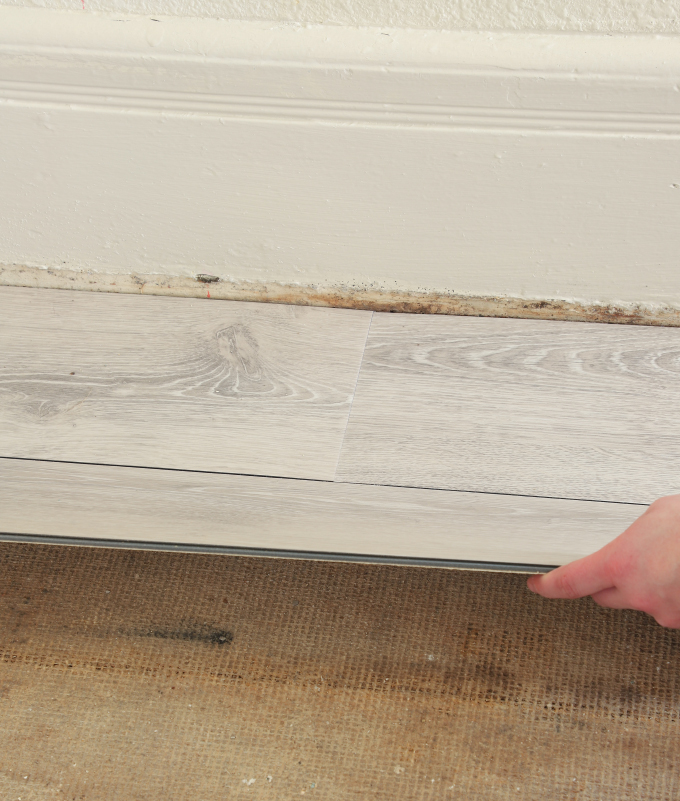
First we tore up all the flooring, and pulled out all the staples and nails. We were able to lay the LifeProof floor right on top of the subfloor even though it had a ton of imperfections which was a huge timesaver.
I wanted to save the original 1890 baseboards, so we opted not to tear them off and just added the flooring right up to them and covered the gap with quarter round (or shoe molding).

Start at the corner of your room. Work left to right with the “groove” edge facing out. Once you have the first one in place, click in the next piece end to end and complete an entire row.
At the end of a row, you may need to cut your plank to fit. To cut a plank, use a straight edge and utility knife to first score and then cut it. Or you can use a jigsaw, circular saw or miter saw.
Start your next row with a cut piece so you stagger the seams (make sure to stagger more than every other row, it will look much more natural that way!).
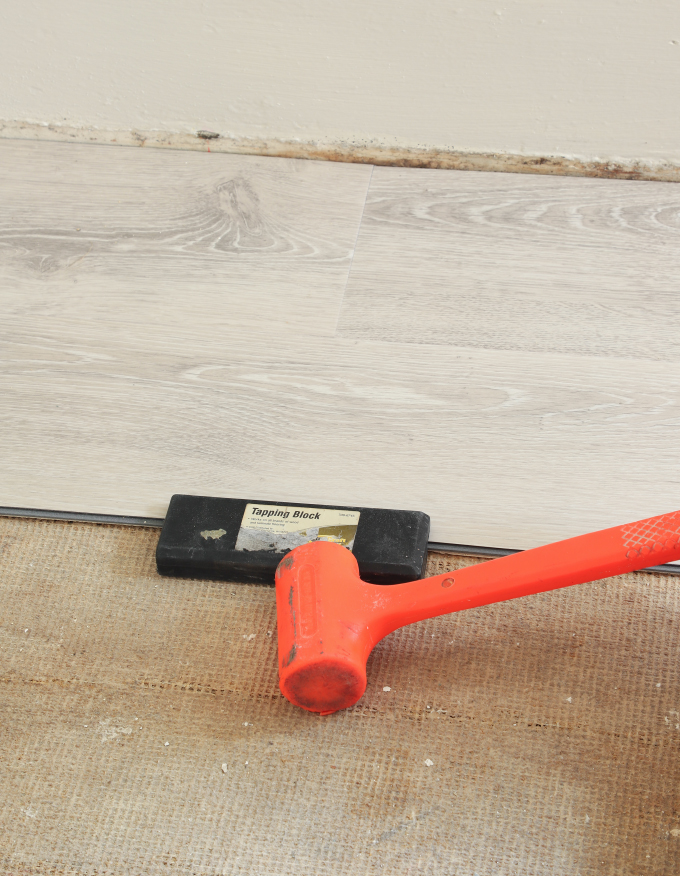
Use a tapper block and mallet to tap your planks into place.
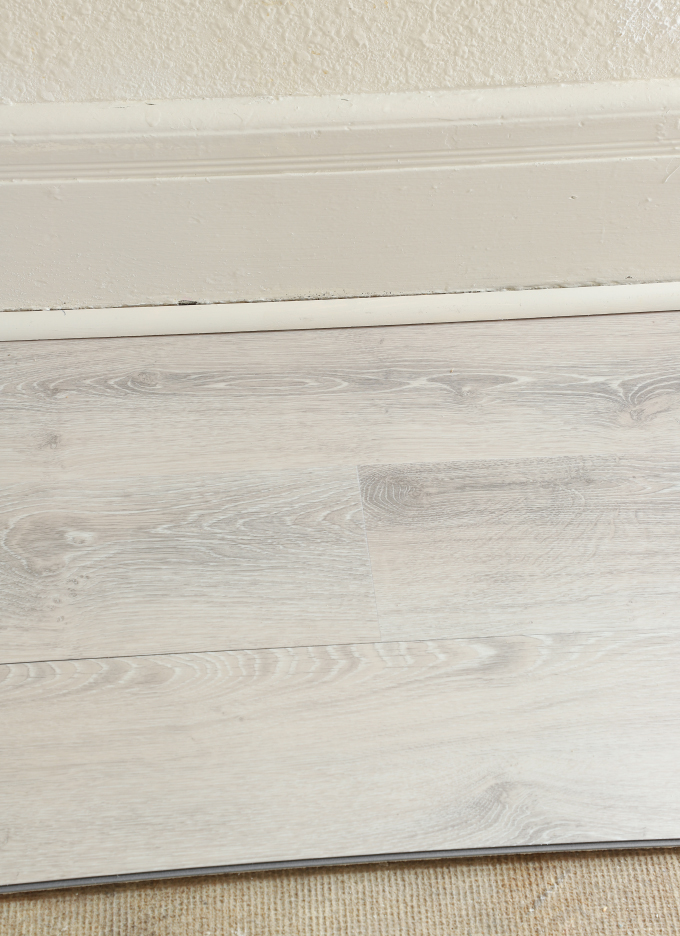
Once you lay the entire floor, time to finish it! We painted our quarter round before installing it, which help speed up the baseboard painting process and saves you from having to tape off your new flooring (although paint is super easy to wipe off the LifeProof floor).
Quick note on quarter round vs. shoe molding – you can use either, we use quarter round because it’s profile is a little larger which helps cover up the character (aka imperfections) of the 100+ year old baseboard.
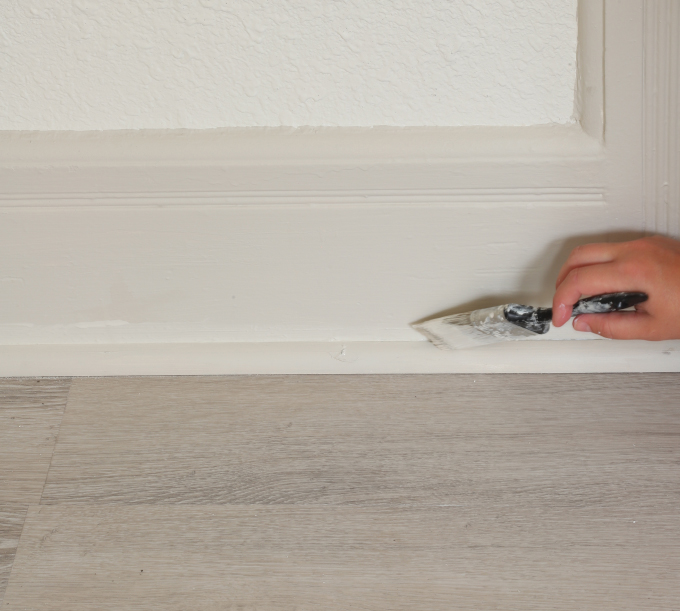
After cutting the quarter round, nail it to the baseboard. This will hold your new flooring in place.
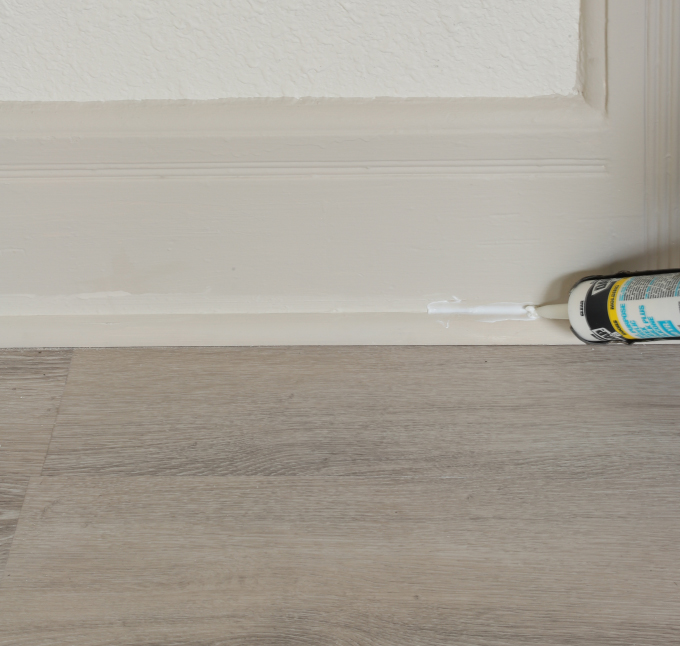
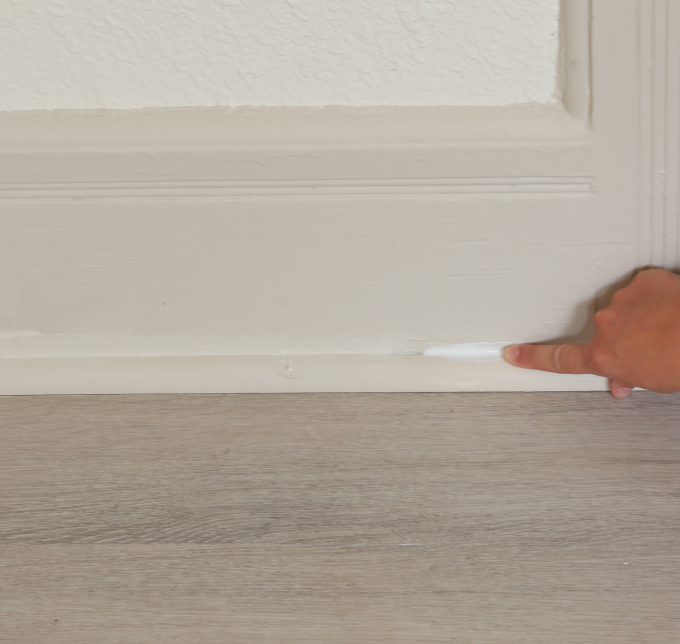
Next caulk! Add a bead of caulk in the gap between the quarter round and baseboard, then run your finger lightly along it to create a smooth transition.
Let it dry, and then paint over it. Done!
I received LifeProof floors from Mohawk Flooring free of charge for this post, but all opinions are my own!
EXPLORE MORE: DIY PROJECT, Home DIY


