Barnhouse | Reading Corner & DIY Petal Stamped Wall
Before & After, DIY PROJECT, Room Makeovers
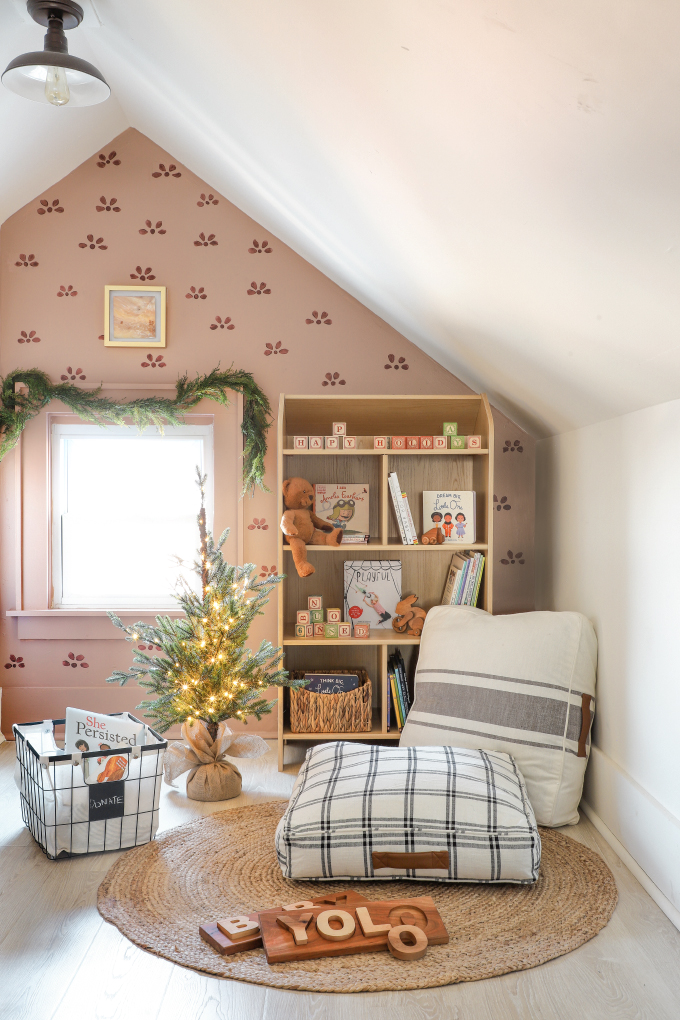
This corner of the loft got a little makeover! A while back I did a sponge pattern on the this wall, and SO MANY of you recreated the DIY in your home (tutorial here!). It was so fun seeing the project in your homes. Now it’s time for a change! I look at this corner as my ever-evolving place to play in the house. The work bench was not getting a ton of use there, so we moved it into my workroom in the basement. I thought it would be fun to create a little space where Baby Yolo and I could read books. Keep reading for shopping info and DIY wall tutorial using an unexpected tool!
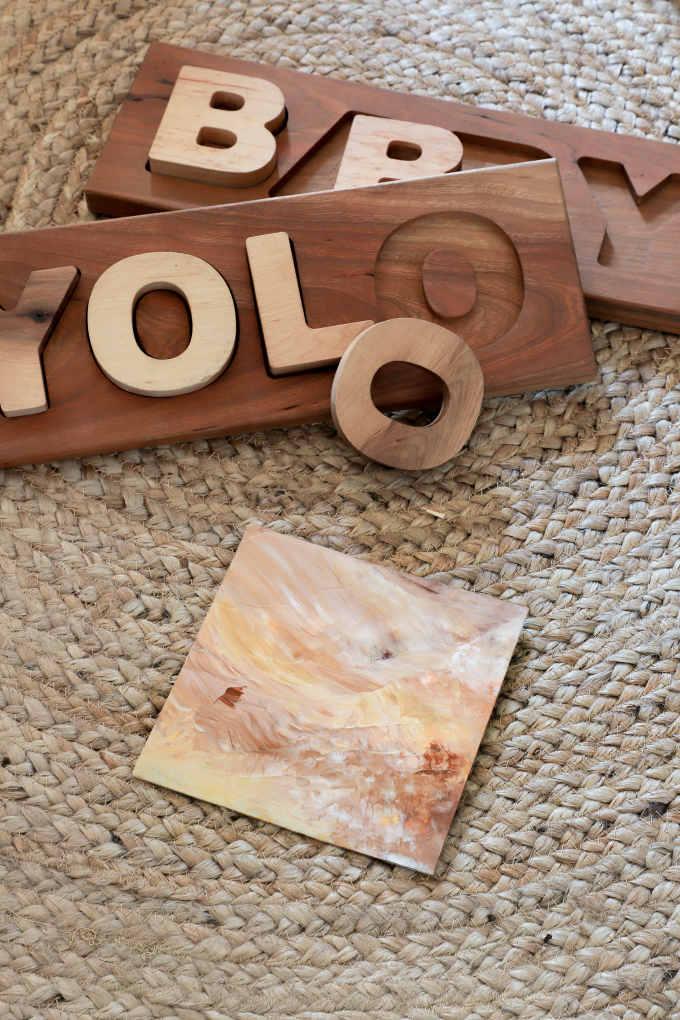
The color inspiration for this reading nook came from Baby Yolo’s first piece of art she made at a playdate. I was a proud Mama when I saw the colors she picked, so I wanted to pull out the peachy pink and crimson colors to create a new statement wall.
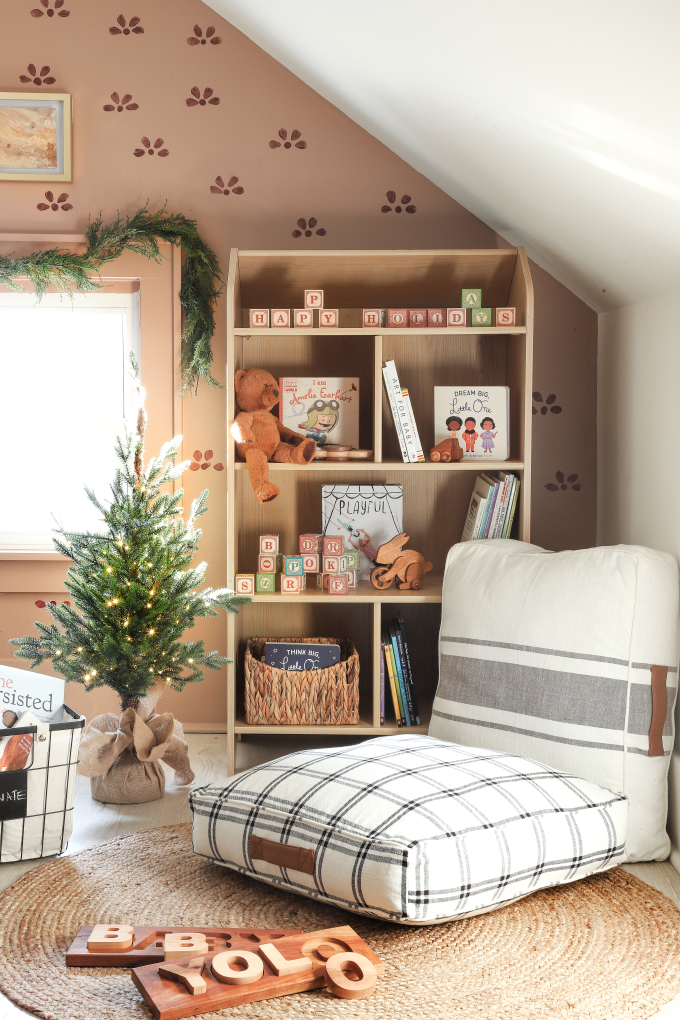
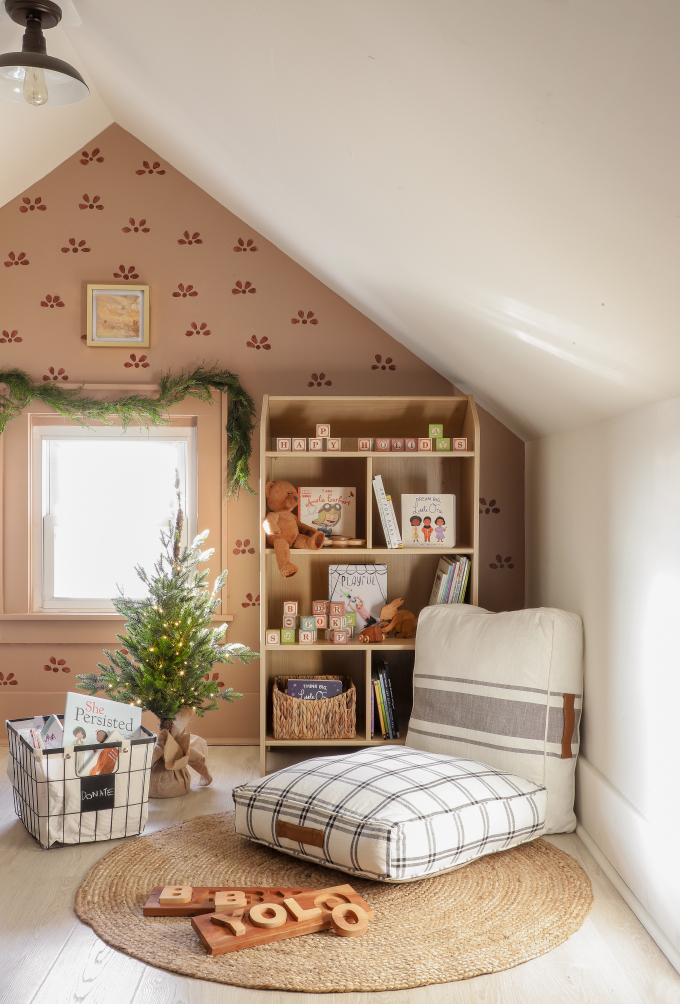
I started by painting over the old design (covered easily with two coats!) with Redend Point from Sherwin Williams. And then added this sweet floral petal pattern using the color Arresting Auburn also by Sherwin Williams (Cute right?! tutorial below!!). While I waited for that to dry I assembled the focal point of the reading nook, the Dollhouse/Bookcase. The bookshelf is so fun, the backside is reversible, so you can have plain wood, or fun patterns that look like wallpaper! I went back and forth, and ended up going with the wood side because I wanted the pattern on the back wall to stand out. I can easily flip it back if Baby Girl wants to use it as a dollhouse.
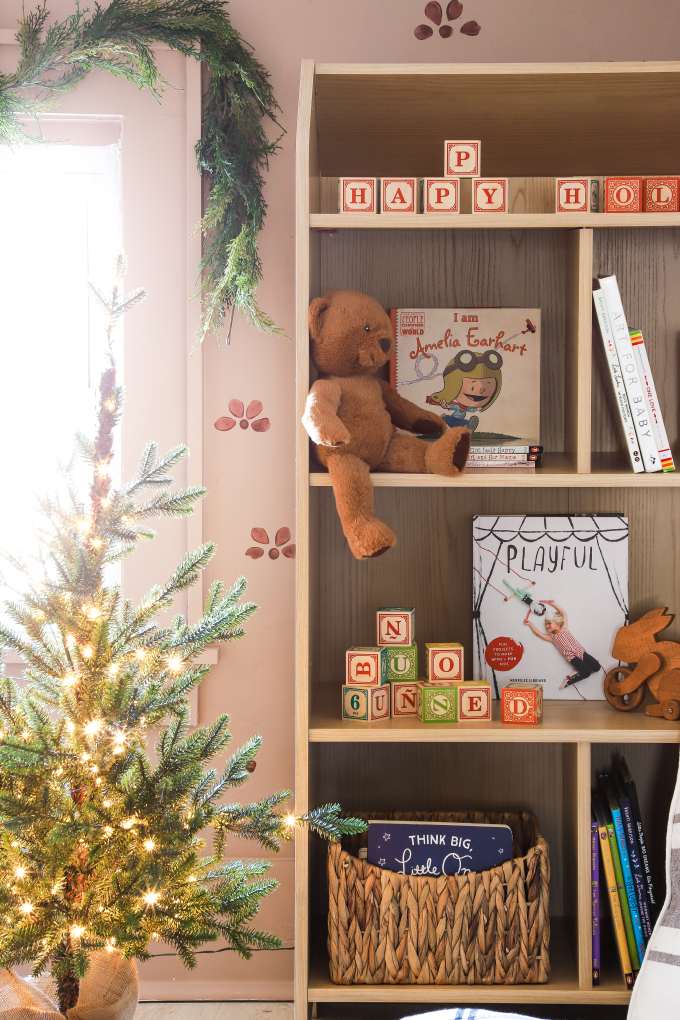
I loaded up the shelves with a bunch of her favorite books and toys! Plus a little Christmas cheer!
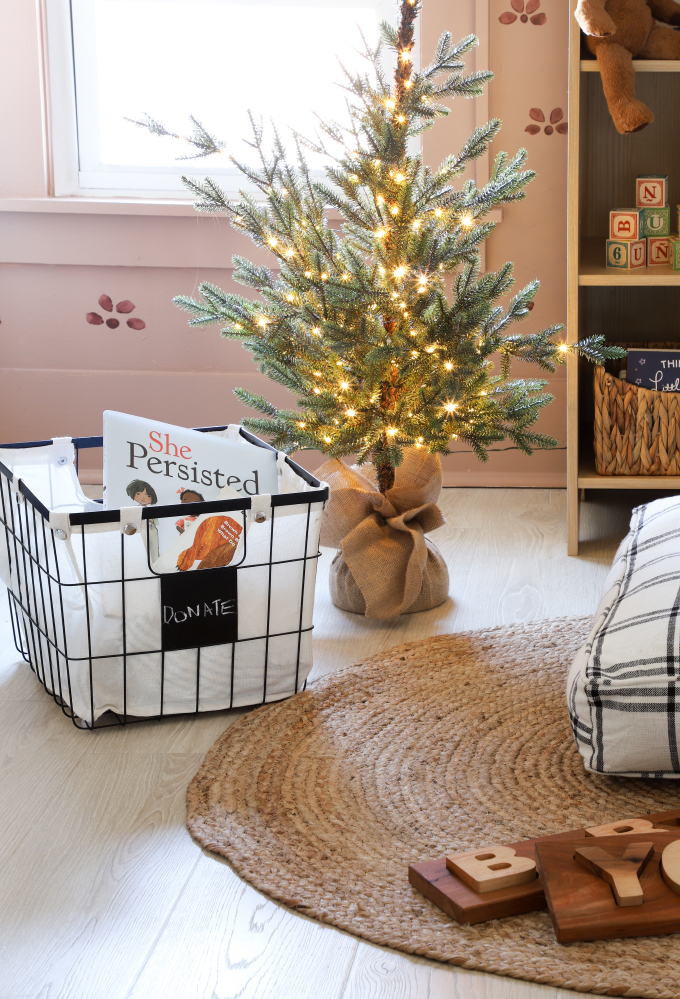
To finish up the space I added these oversized Floor Pillows that we have been loving to cuddle up on. The leather handle is such a pretty (and functional) detail. I also put a Wire Basket in the room to put some of our books in to teach Baby Yolo giving during the holiday season.
DIY Petal Wall
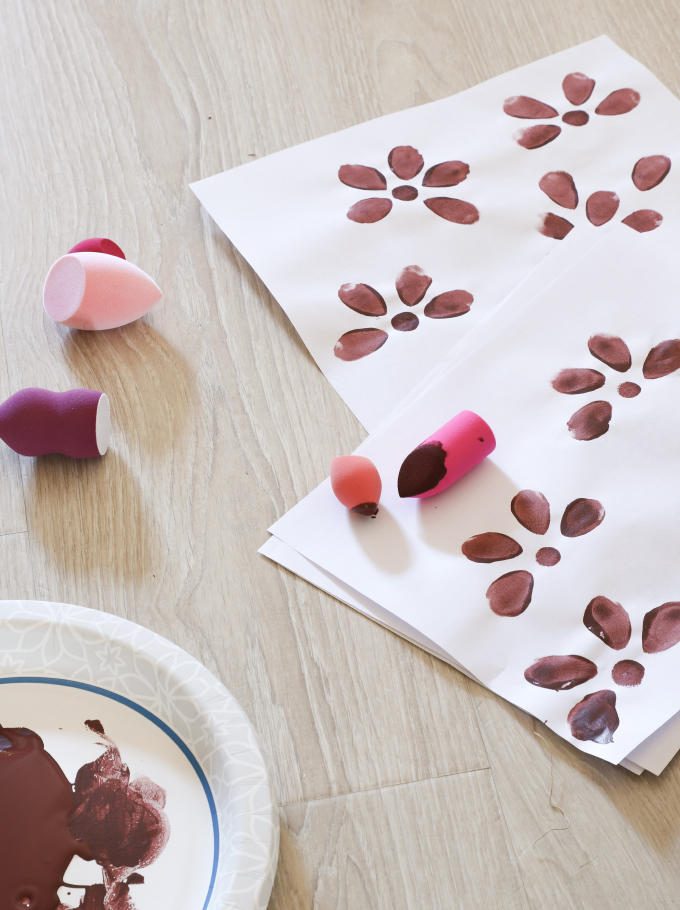
To create the petal wall I used beauty blenders! Usually used to blend makeup, but since the sponges are already cut in petal shapes, they worked perfectly for this project! Before taking it to the wall, I played around with the sponges, and practiced the pattern a bunch on paper.
Step 1
I used a pointy sponge to make the center dot.
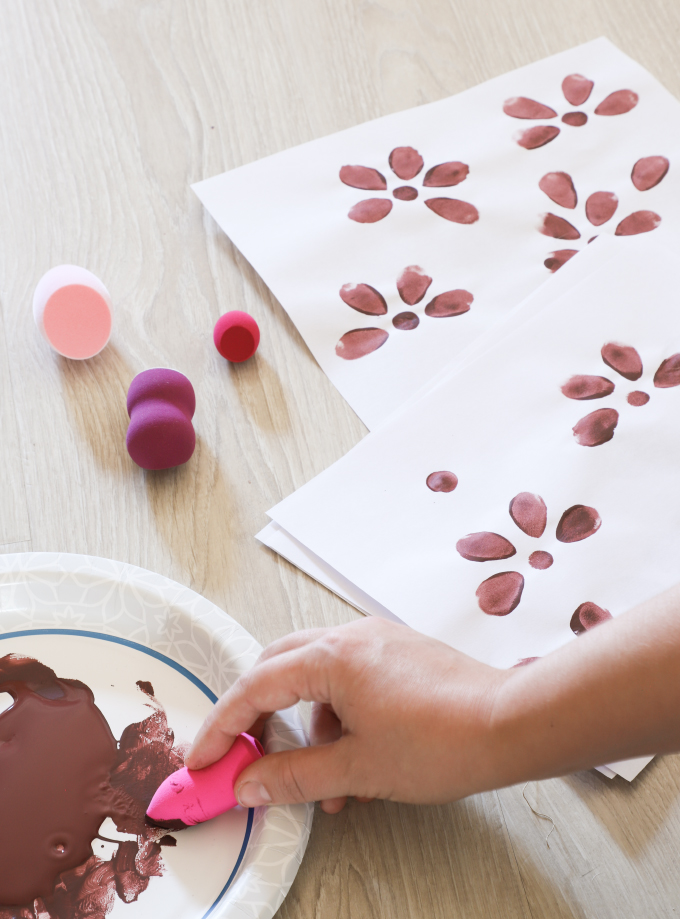
Step 2
Load the petal sponge up with paint. The technique I found to work best was dip it in the paint, then blot off before applying. I put enough paint for 2-3 petals.
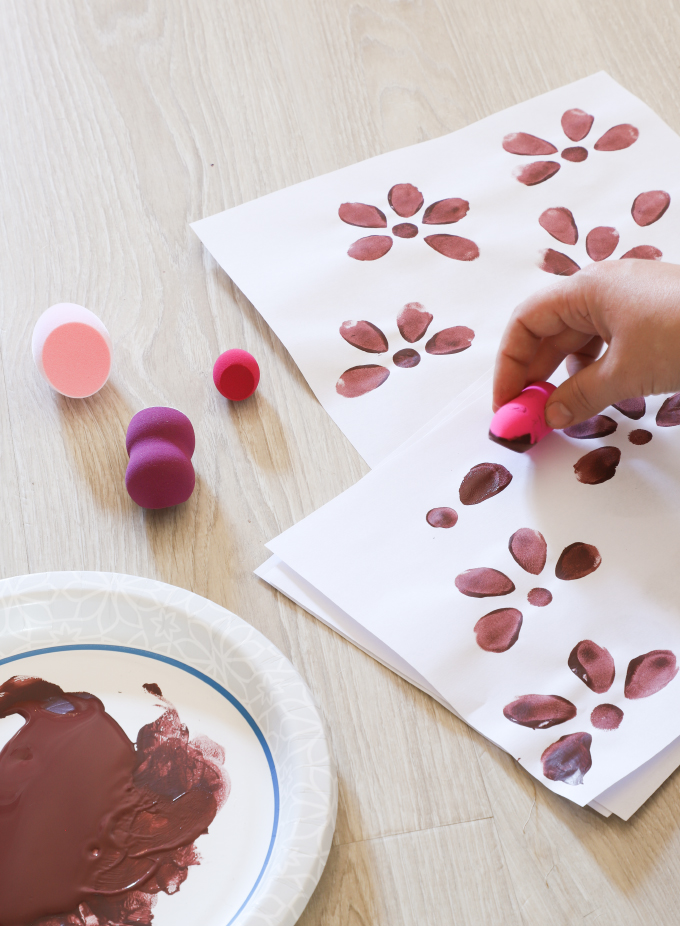
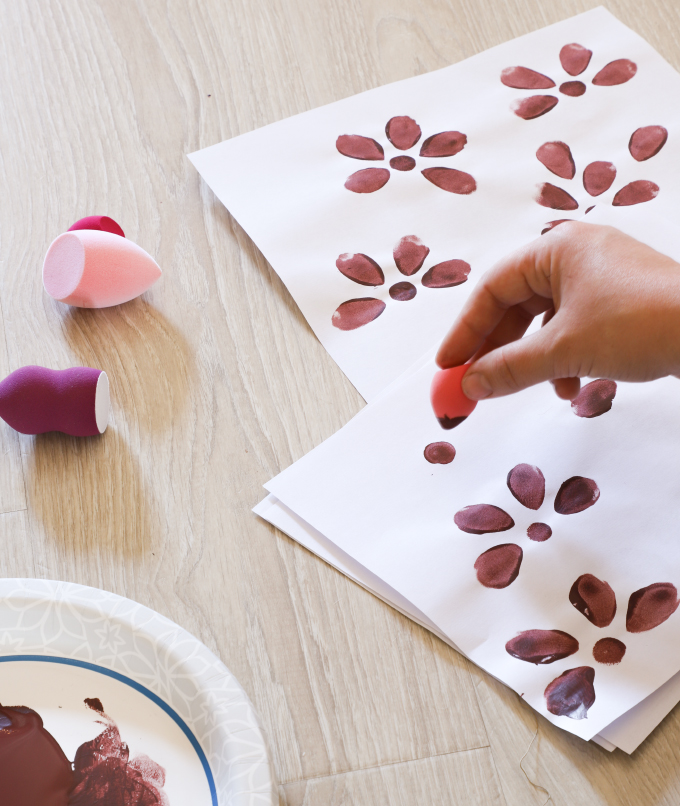
Step 3
To apply, touch the tip to the paper and roll the sponge backwards with some pressure so each part of the sponge makes contact, creating the petal shape. Make sure to practice to get your pressure right! Then you are ready for the wall!
We are going to be inside a whole lot more with the temps dropping, so I just love this little space to hide away with my girl and read 🙂 Let me know what you think!
Shopping
Better Homes & Gardens Yarn Dyed Floor Pillow, White and Black Windowpane Plaid
Better Homes & Gardens Yarn Dyed Floor Pillow, White and Gray Center Stripes
Better Homes & Gardens Cartwheel Dollhouse/Bookcase
Better Homes & Gardens Medium Wire Basket with Chalkboard, 2 Pack

EXPLORE MORE: Before & After, DIY PROJECT, Room Makeovers


