NAIL ART | Polka Dots
DIY PROJECT, Nail Art

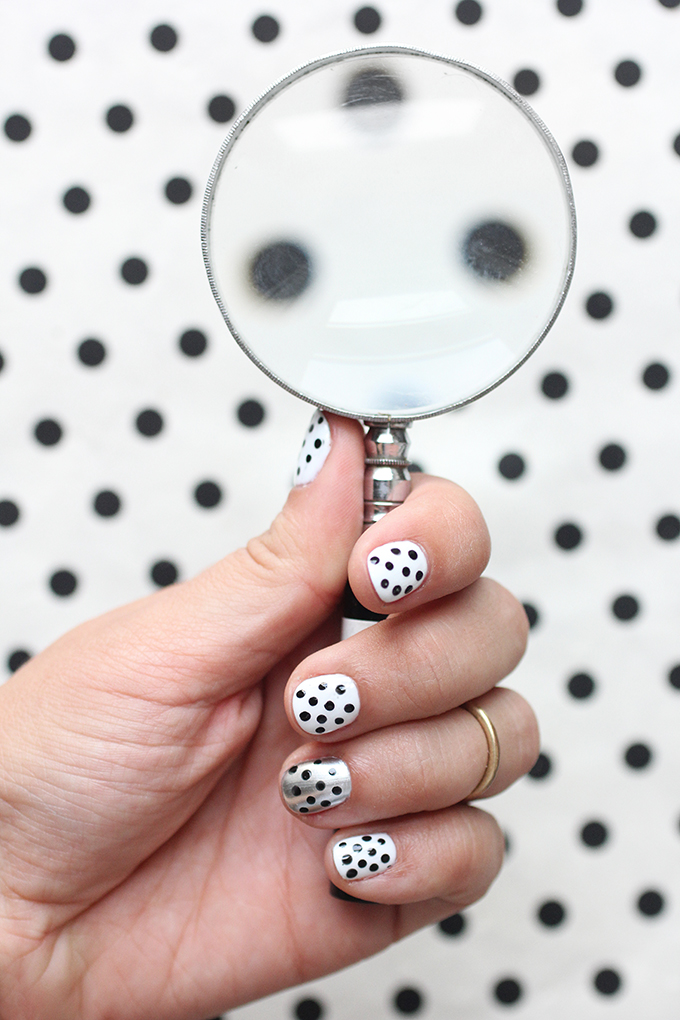
Over the last couple months, multiple gel manicures have taken a toll on my nails, so I decided to give them a breather. White is always my go-to nail color, but I have been having a bit of a polkadot obsession, so decided to test out some of my new nail art tools and give my basic mani a spotted makeover. I am also OBSESSED with the Foil Nail polish, so gave a couple of my digits a metallic touch. Steps and supplies after the break!
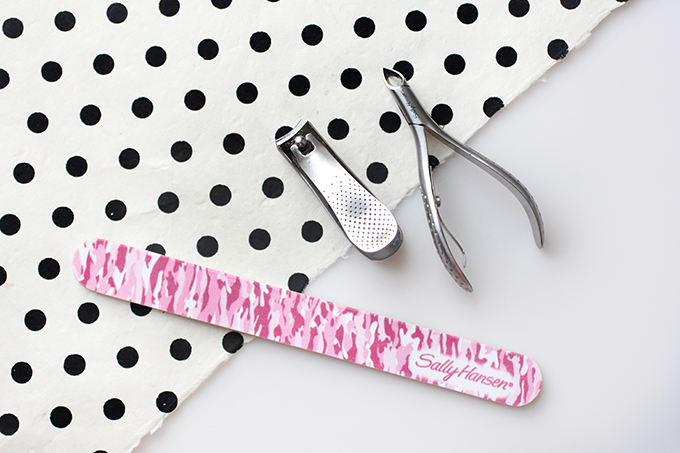
Nail care: I have a habit of picking off my gel manicure (I know, I know, It’s horrible) which leaves my nails super brittle. I started by snipping my nails super short with my nail clippers, because in the current state they would undoubtedly break. Then, I filed down the uneven surface of the nail and rounded off the top with a nail file. I added a base coat to strengthen the nails before painting. Sally Hansen Double Duty 2-in-1 Base and Top Coat is one of my favorites.
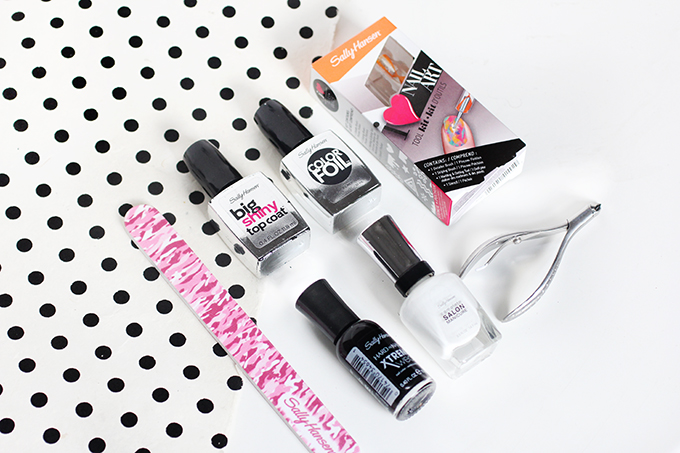
What you need:
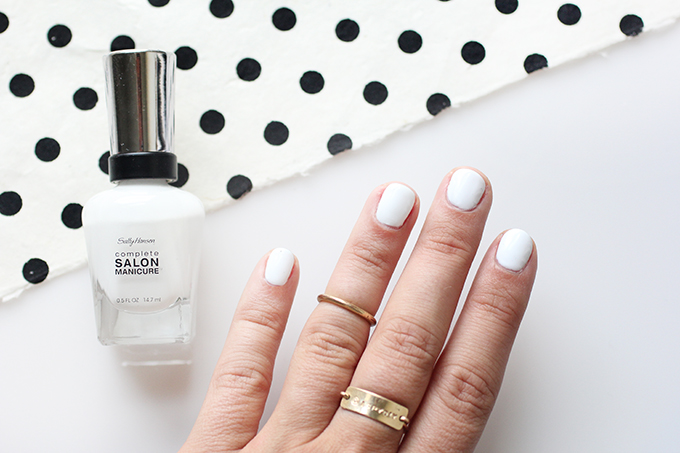
Salon Manicure White Nail Polish
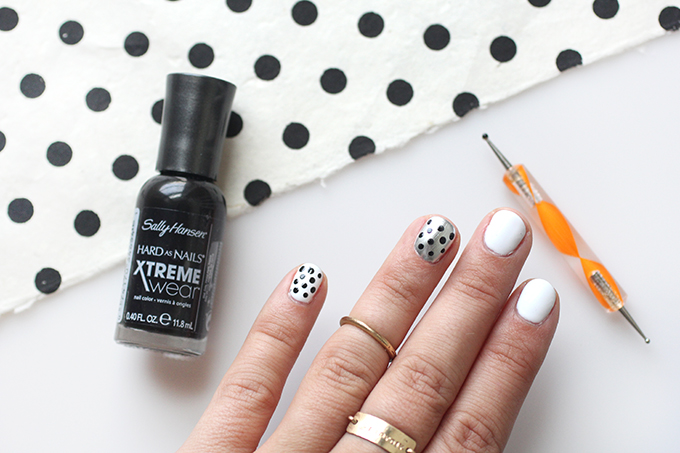
Hard as Nails Extreme Black Nail Polish
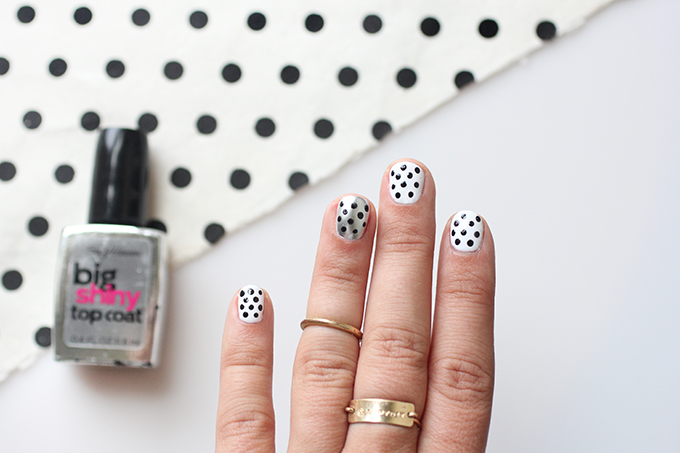
Sally Hansen Big Shiny Top Coat
Silver Foil Nail Makeup
Nail Art Tool Kit
Sally Hansen Nail File
Sally Hansen “Clean Cut” Nail Clipper
Reinforcement Labels
All available at Target.
What to do:
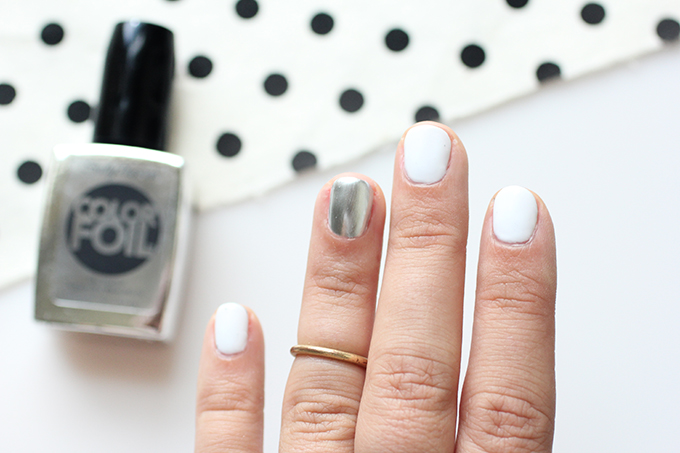
Paint your nails white, then let dry.
Next, paint an accent nails with your Silver Foil.
Next, dip your dotting nail art tool in black paint and dab on your nails creating polka dots. I like to pour a little out in a tray, and dip the tool in between each dot for a consistent look.
Apply top coat. Let dry. Done!
This post was brought to you by Sally Hansen and Style Coalition. Thank you for supporting my amazing sponsors!
EXPLORE MORE: DIY PROJECT, Nail Art


