MY DIY | Quote Bubble Welcome Mat
DIY PROJECT, Home DIY
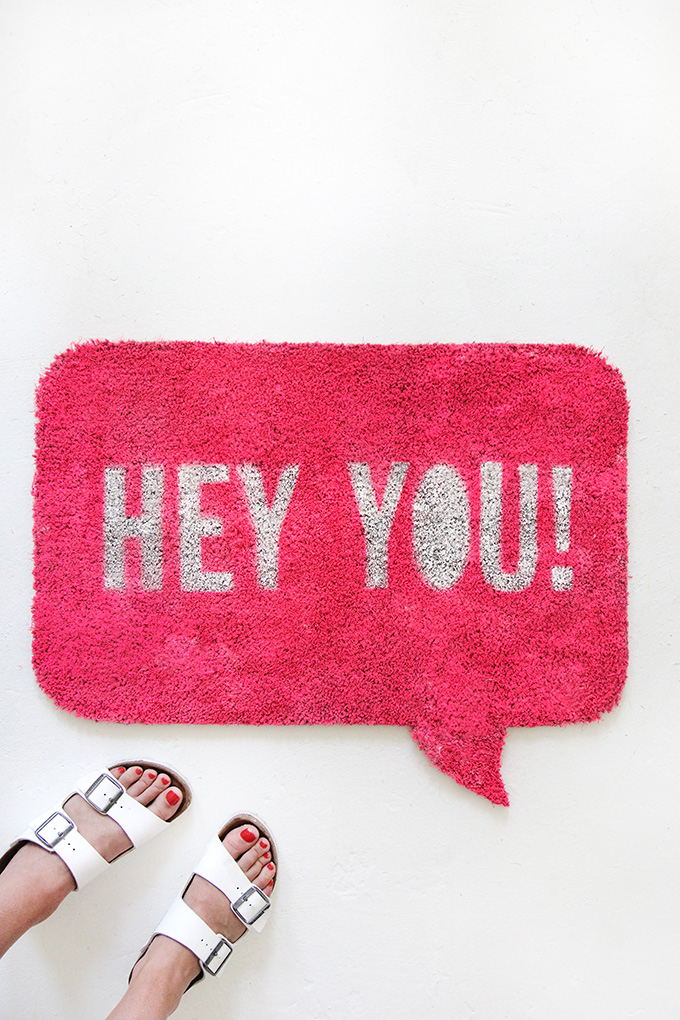
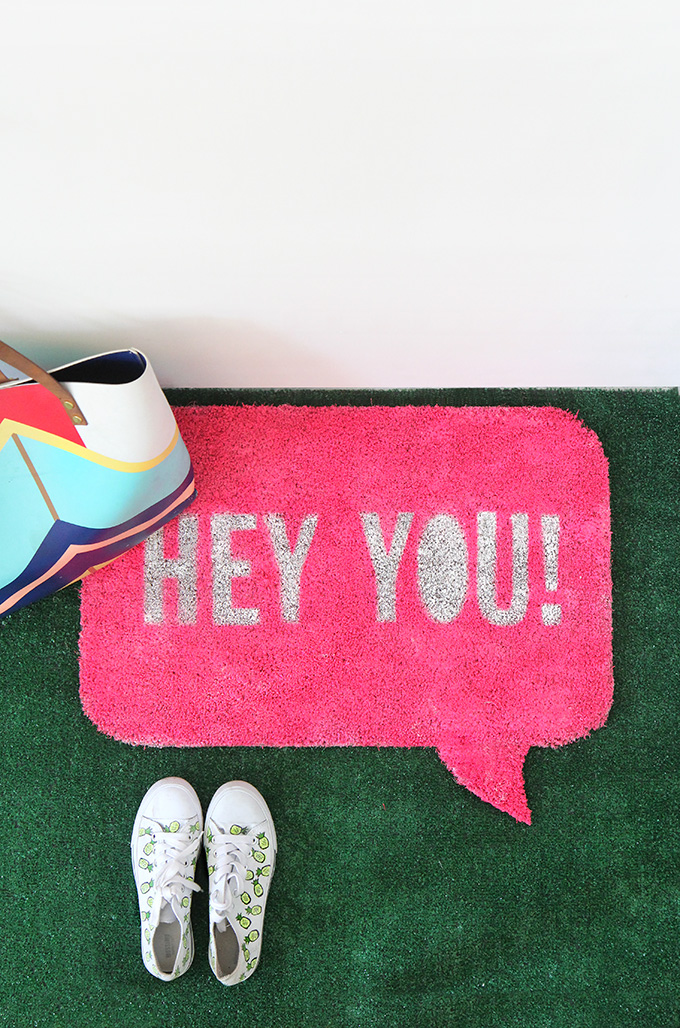
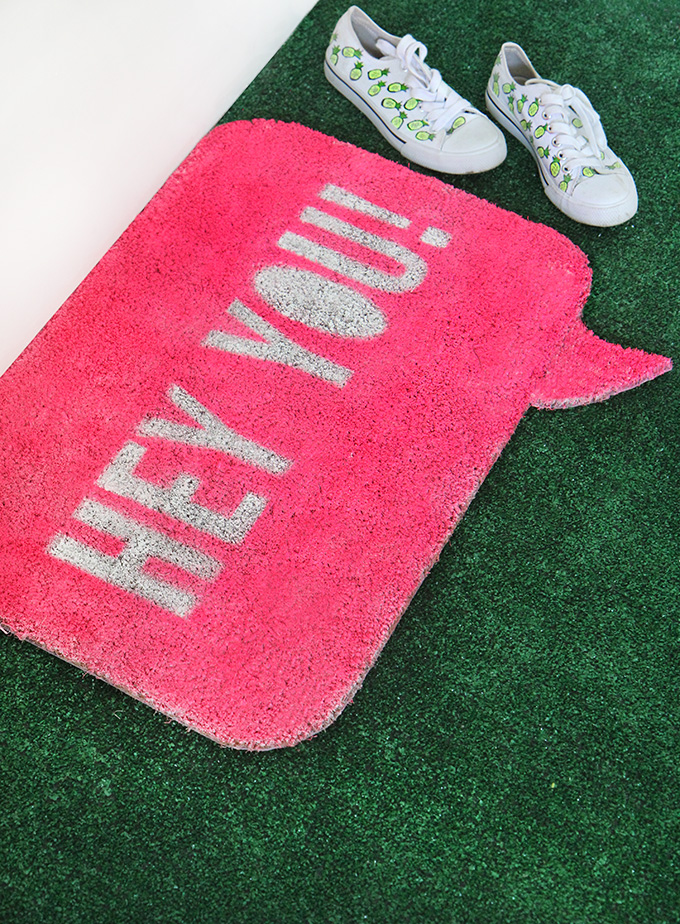
After traveling for the last 5 days, I can’t even tell you how excited I was to come home to my new apartment! Unfortunately, because I have been away, the unpacking was put on hold…and even worse I opened/dumped out all the boxes searching for clothes for my trip #majormess. The good news is, I have set aside this weekend to get everything in order and to start decorating!! If you have been following I SPY DIY for awhile, you know that I love a pop of color, BUT there is a strict no painting rule in my rent.com find, so I have to find ways to inject my personality without upsetting the landlord. I have a little tradition of making a welcome mat for every new apartment, and thought this would be the perfect place in add some color (specifically hot pink) into the place! Just my little way to say “Hey you! Come on in!”. For more on making your own, steps and supplies after the break….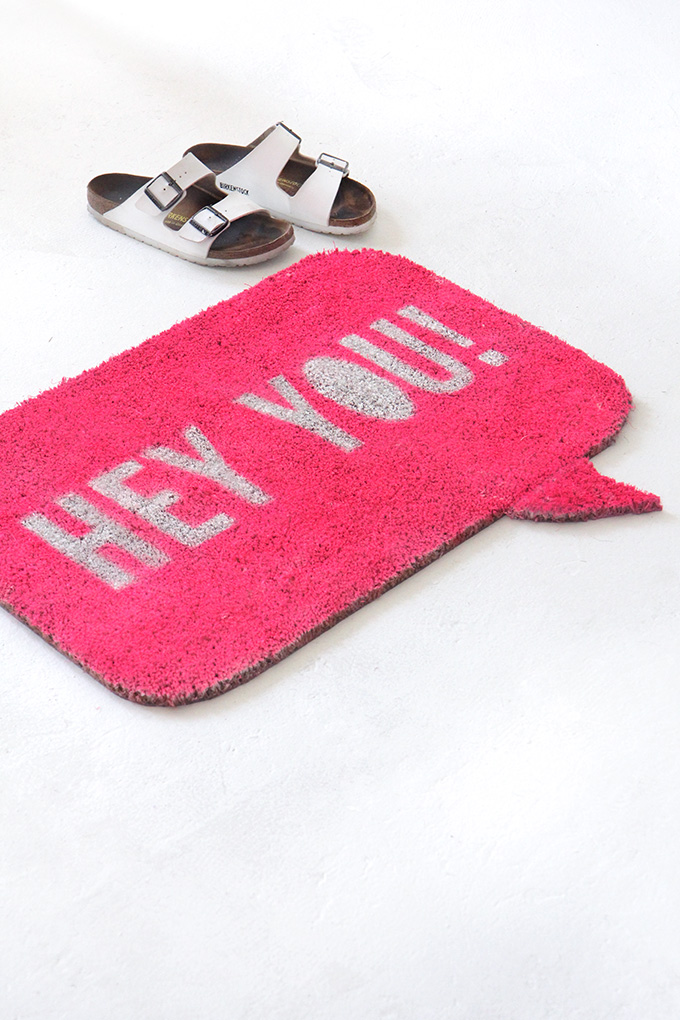
What you need:
Coir Doormat
Marker
Razor Knife
Scissors
Super Glue
Paint Brush
White Paint
Vinyl Letters
Pink Spray Paint
What You Do:
Lay your doormat on a flat surface with the bottom facing upward.
With the bottom of the mat still facing upward, draw a rectangle with rounded corners leaving off 3″ on one side. Use this excess mat to create the tail of your speech bubble.
Using your blade, cut around the outline and trim any excess straw off with a scissors.
On the 3’’ strip, draw a curved triangle and cut out.
Turn the mat facing up, and paint the entire surface of the speech bubble white and let dry.
Spell out the message that you would like to great your guests with using vinyl letters. Place on the top of the mat.
Spray paint over the letters and peel them back to reveal your greeting.
Finally, glue both pieces of the speech bubble together, and let dry
Touch up your letters by going over them with white paint and a paint brush.
EXPLORE MORE: DIY PROJECT, Home DIY


