MY DIY | Live Edge Slab Bar Top Table
DIY PROJECT, Home DIY
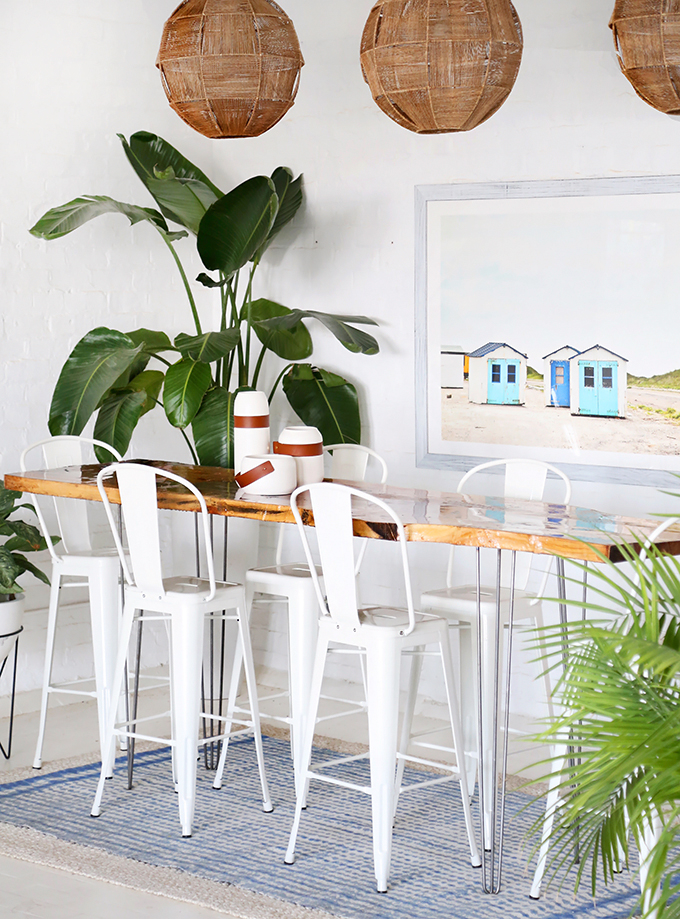
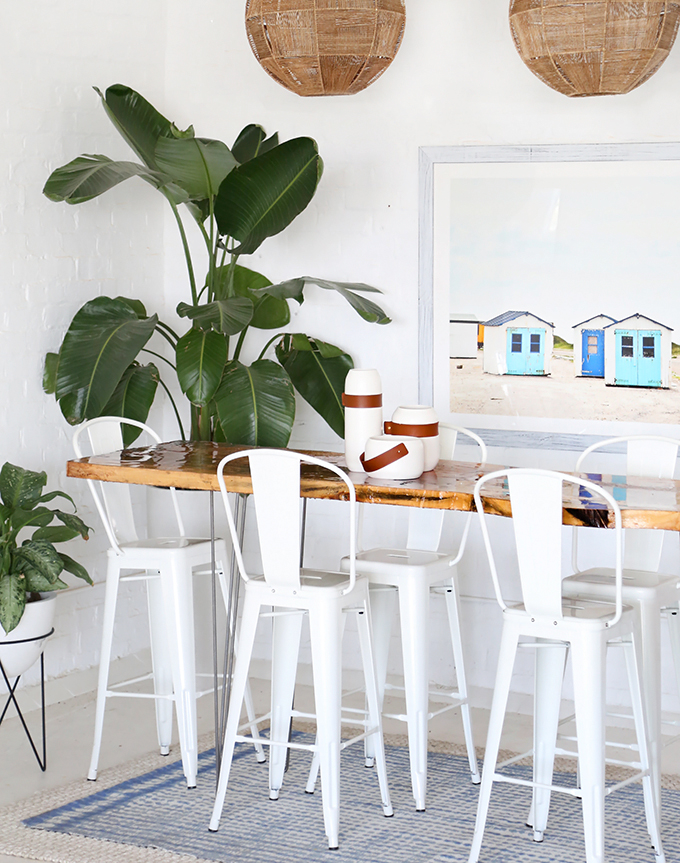
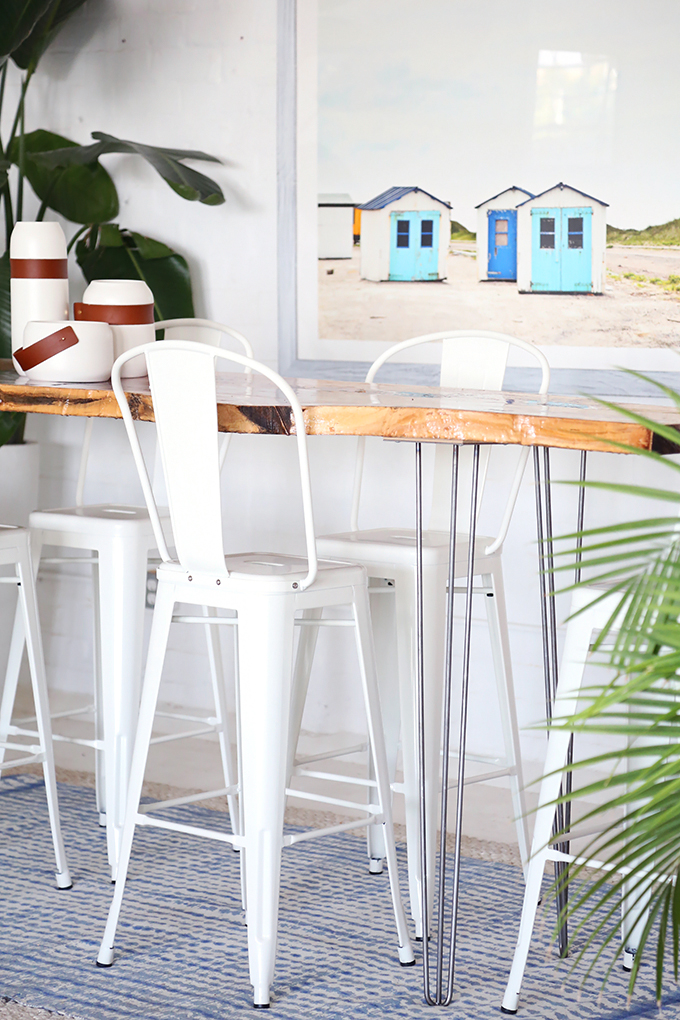
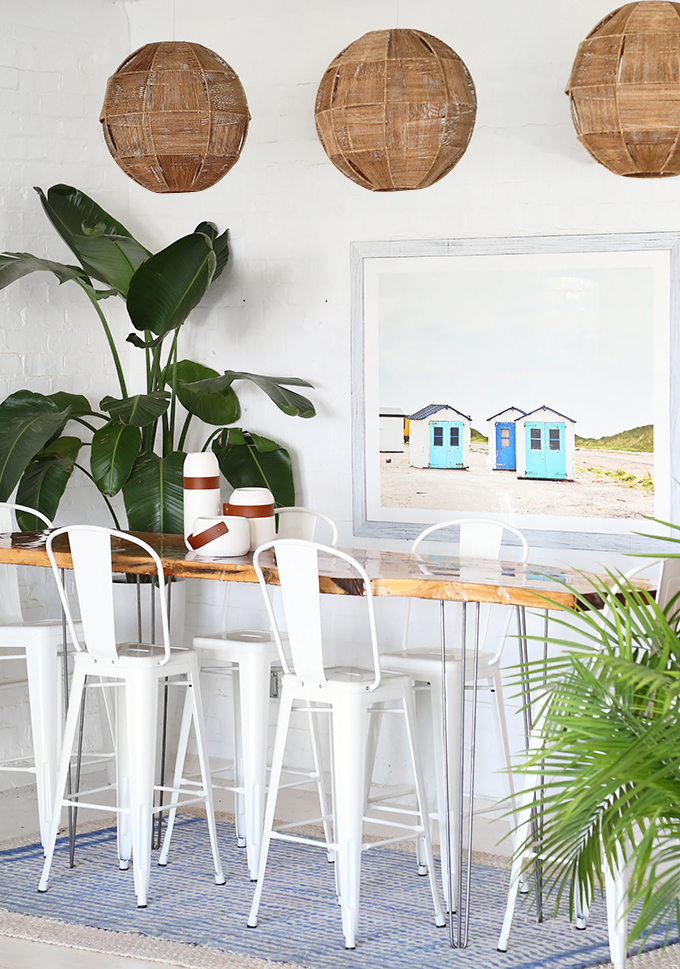
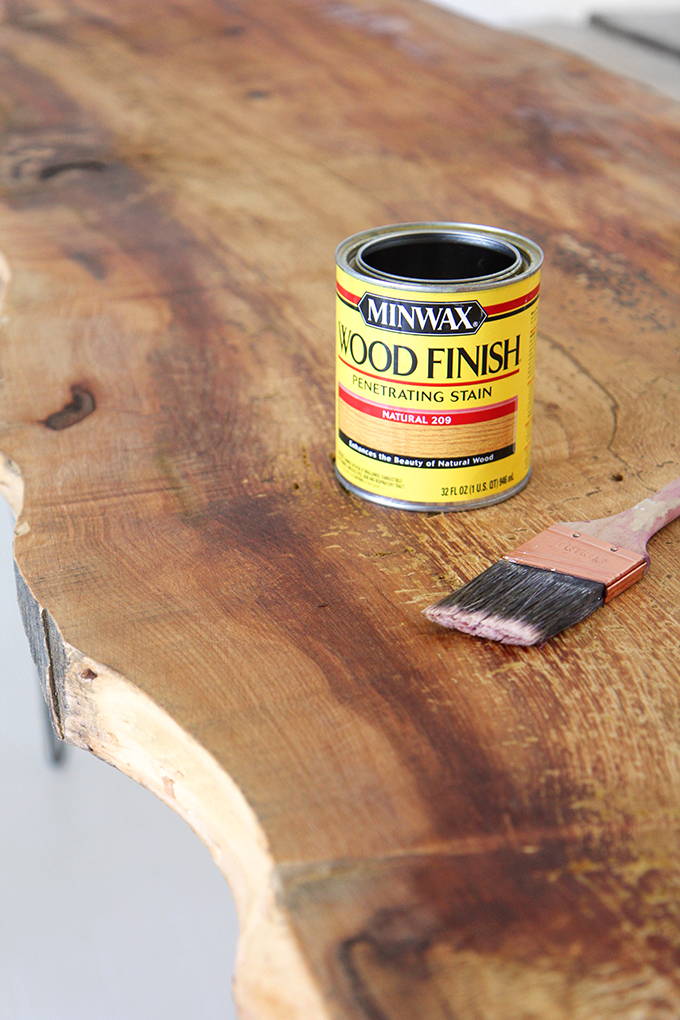
When I was looking for a conference table for the studio, I knew I wanted to make one using another live edge slab. First step: picking out the wood. I found an 8+ footer that was perfect for a bar height table. I wanted something that we could stand or sit around during brainstorming sessions, and that would fill the space with super high ceilings. Next, I had to figure out the legs…At a local maker mart, I found and amazing fabricator, Mike (he also built my triangle shelves), who was excited to take on the project of making super high hairpins! Then, it was time to finish the slab: after hours of sanding, I got a little nervous because there were a lot of imperfections, but after a coat of Minwax® Wood Finish™ Natural 209, the rich tones of wood were amplified, giving the wood some much needed character. After brushing on the stain, the once “problem spots” gave the wood more personality, and then the epoxy filled in all the cracks and divots I could not sand away. I could not be happier with how it turned out! Steps after the break…
ROOM DETAILS | Minted Three Houses Art, Ceramic Planter with Leather Strap, White Industrial Barstool

What you need:
Live edge slab of wood
Minwax® Wood Finish™ Natural 209
Belt sander
Hairpin legs
Wood screws
Bar top epoxy
Mixing containers
Mixing stick
Paint brush
Plastic drop cloth
What to do:
1. Sand down the wood to create and even surface. My piece of wood had a lot of imperfections, so I spent a couple hours with the belt sander trying to buff out some of the dips and cracks. In the end, I made it as level as possible, and the epoxy filled in the problems.
2. Attach the hairpin legs using wood screws. I had a local steel worker make mine bar height. Tip: he leveled the uneven slab with shims.
3. Lay down a plastic drop cloth under the table.
4. After wiping the surface clean, use a brush or rag, and evenly cover the wood with Minwax® Wood Finish™ Natural 209. I just used one coat to bring out the rich colors of the wood.
5. Next, mix the epoxy following the directions on the box (make sure to do EXACTLY what the directions say.)
6. Then pour the epoxy on the table top spreading with the mixing stick, covering the top evenly. Use a paint brush to cover the edges. I used 3 boxes for this approx. 8ft slab. Mixing one box, then applying, then quickly mixing the next, then applying, and then a third. Let the epoxy self level and harden for 24 hours. Done!
This post was made in partnership with Minwax® Products. Thank so much for supporting my amazing sponsors who make I SPY DIY possible! For more woodworking/wood staining inspiration head over to the Mixwax Facebook page and “LIKE’ them!
EXPLORE MORE: DIY PROJECT, Home DIY


Wow this looks amazing! X
http://www.thoughtsinstyle.com/
amazing!
http://www.wonderlandclothing.com
This table is so beautiful. Love it.?
Thanks! Love the tractor 🙂
Wow, beautiful!
https://www.makeandmess.com/
I love it! But I’m happy it’s your DIY 😉
Wow – what a job! Turned out great – really pretty.
http://anneritataylor.blogspot.com
Awww thank you!
Like table, lamp, picture and the whole setting.
Very cool! I just built a dining room table using hairpin legs and stacked plywood. It’s one of the easier DIYs I’ve ever done and probably my favorite, too.
Amazing! love that idea!
Oh My Gosh! I love the hairpin legs, and the look. I am wondering about suggestions on how to sand the gorgeous edges of my oak piece (free from a neighbor, hurray) without loosing all of the detail and not taking forever. Is there a “soft” sander? Do you think a car buffer might work? Not looking for absolutes except if you can say “NO! Did that – DON’T DO THAT!” sort of thing. I am planning on it being a super large display platter.
You are able to get a super fine grit sandpaper that will not take away the detail, or you could use a hand sander to really control it. Thanks!
Looks gorgeous!