MY DIY | Live Edge Bath Board
DIY PROJECT, Home DIY
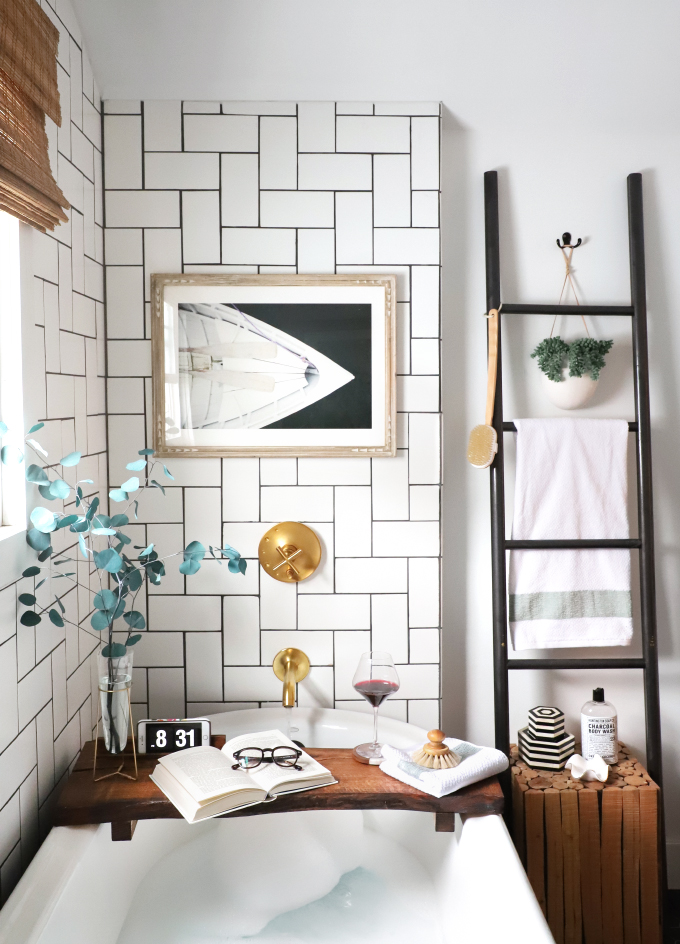
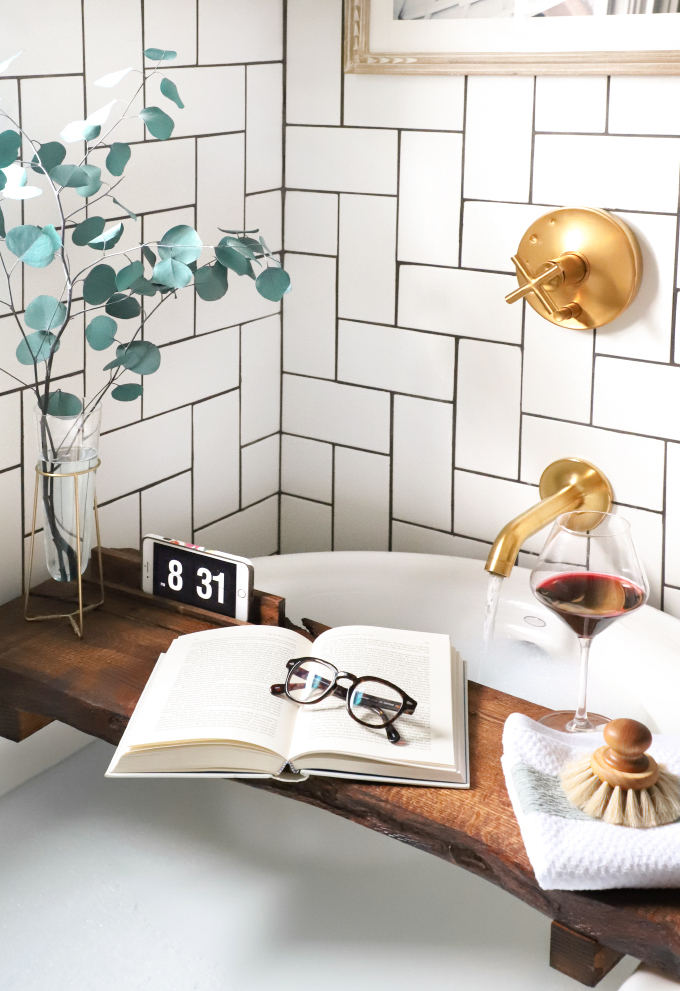
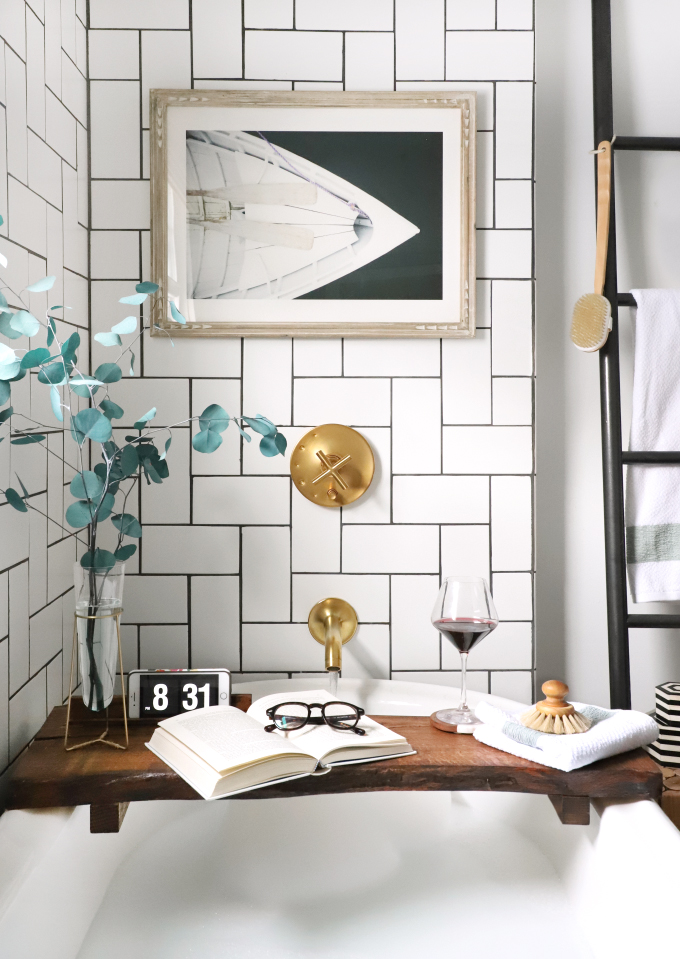
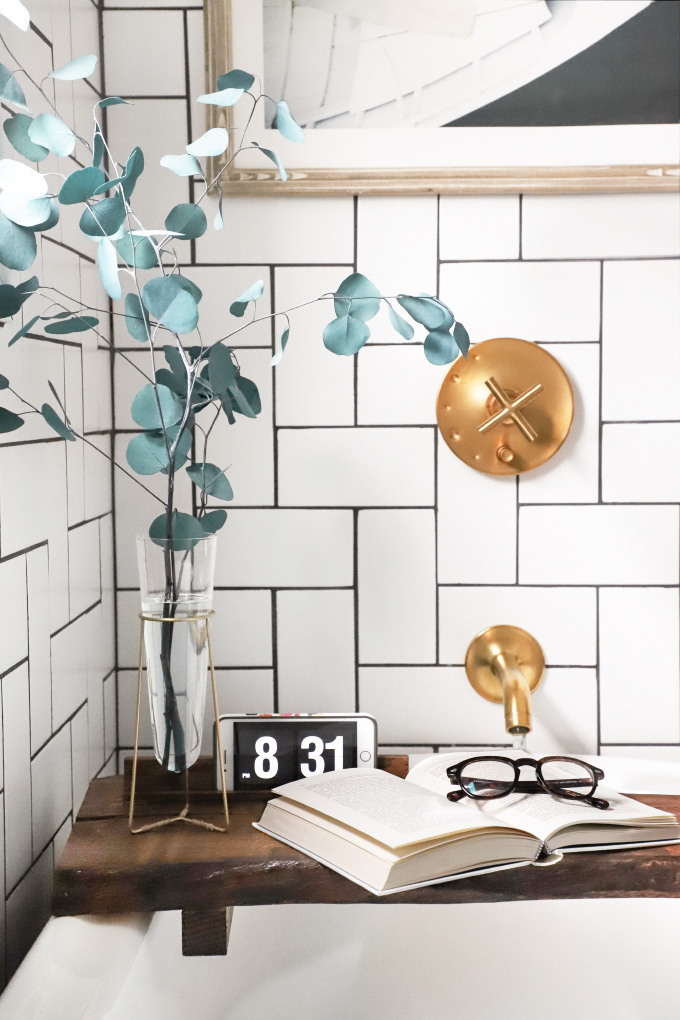
One last project before the New Year! One of my absolute favorite things in my house is my claw foot tub, and now that the temps are below zero it’s time to step-up my setup. I bought this piece of live edge wood a while back and cut it to fit on the tub, but never got around to finishing it…until now! I wanted to add little legs to secure it on the tub edges, and more importantly I wanted a little stand to prop up my cell phone so I could watch a little reality TV…er the News…yah that’s what I meant.
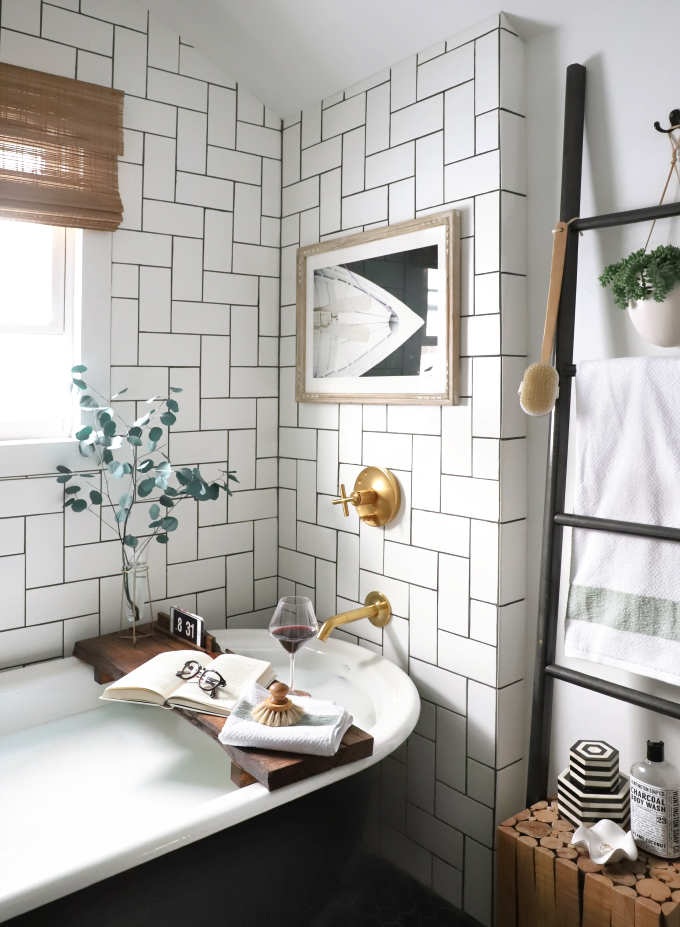
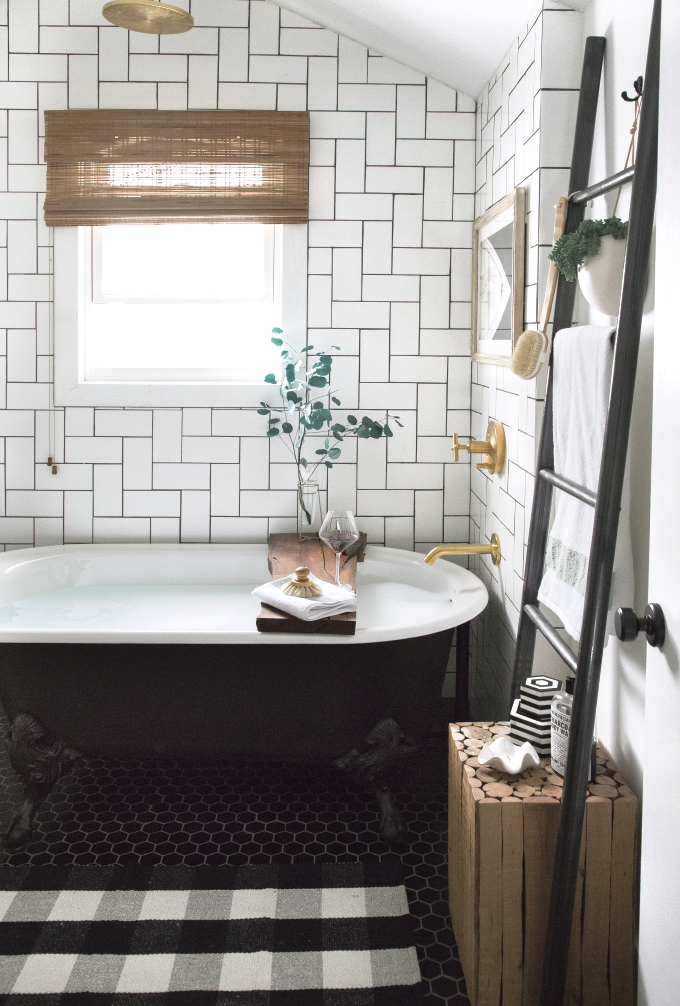
SHOP: Kohler Cast Iron Bathtub + Kohler Purist Valve + Euclyptus holder and bath brush from a local MKE shop Specter + Minted Art Afloat by Haley George + DIY Ladder + Target Towel and Wood side table (old) + Amazon Rug + Flying Tiger Plant Holder (old) + West Elm Stripe Jewelry Box (old)

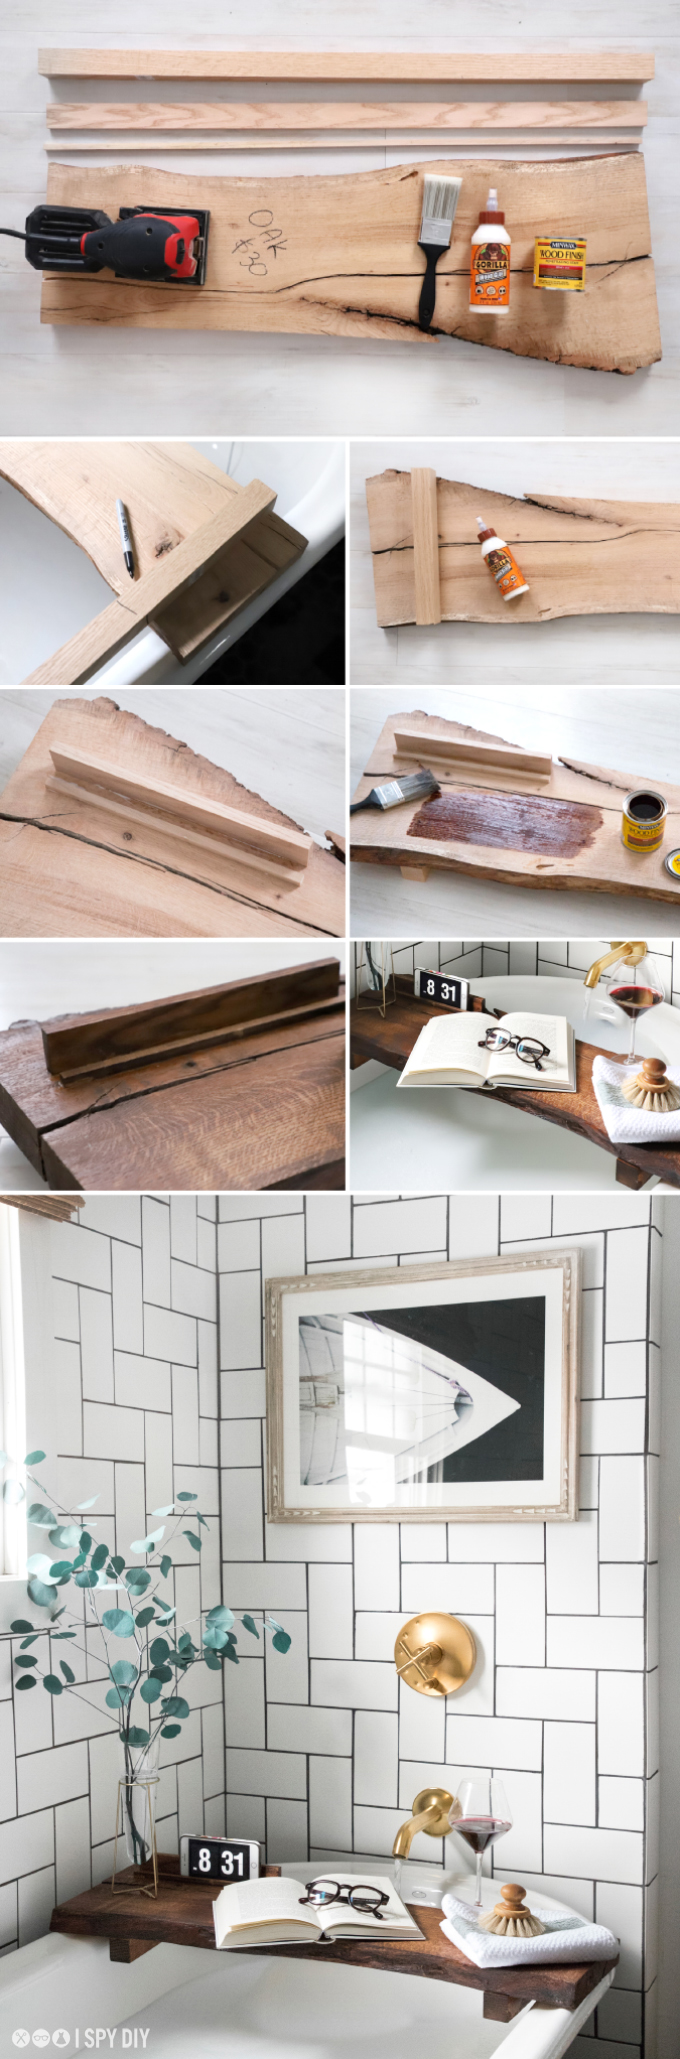
With a couple couple wood cuts and some glue my board was ready to be stained, I pick this darker stain called Honey by Minwax to match the vanity, and I just love how rich the color turned out! With one coat of stain and two coats of the Fast-Dry Polyurethane I was ready to bath in style. I gathered up all my favorite things for my bath board, and got ready to soak…well take way too many pictures, then soak. The question is: wine at 8:30am or pm (really neither, it was just an clock photo from google, ha!) Steps and supplies after the break…
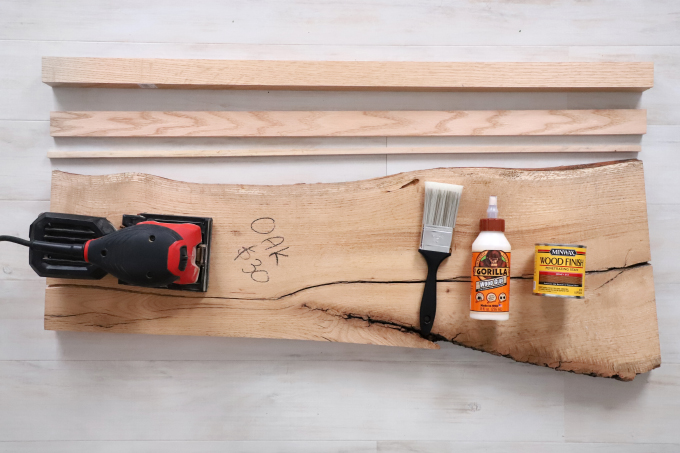
What you need:
Piece of live edge wood (I buy mine at the local ReStore)
Three pieces of wood:
1″ x 1″
.5″ x 1.5″
.5″x.5
Minwax Wood Finish Penetrating Stain – Honey
Fast-Dry Polyurethane
Paint Brush
Sander
Wood Glue
Miter Saw
**Before we start the project, this is where I warn you about using electronics in the tub at your own risk, and I SPY DIY is not responsible if your phone or tablet slip out of your soap covered hands or bath board.**
What to do:
Cut your live edge board to with the miter saw to fit the length of your tub
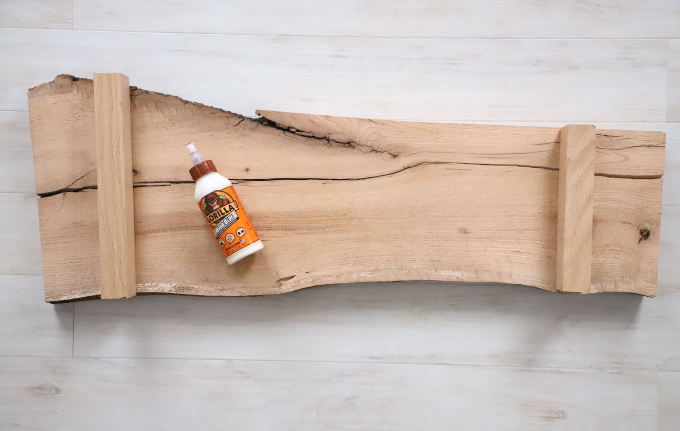
Lay your board upside-down where you would like it to sit on the tub. The place the 1″ x 1″ board an inch in for the inner edge of the tub. Mark where it should be cut, and were it will be glued to the board. Repeat on the opposite side.
Cut the legs with the miter saw, then glue in place. Let dry for an hour, then flip over.
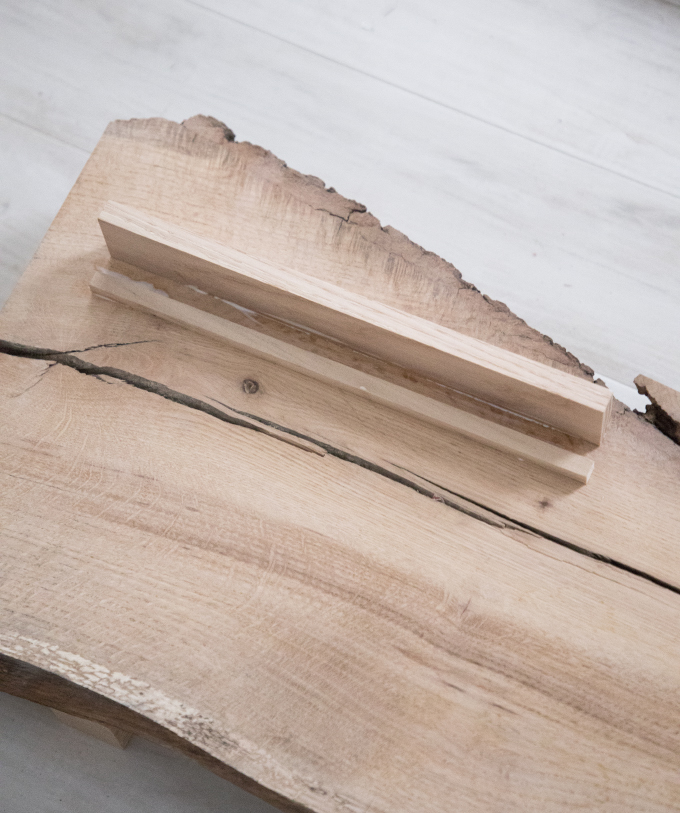
Cut the .5″ x 1.5″ and .5″x.5 a few inches longer then your phone or tablet, then glue to the board. Use your device to determine how far apart you glue them. It should fit snug. and lean against the taller board.
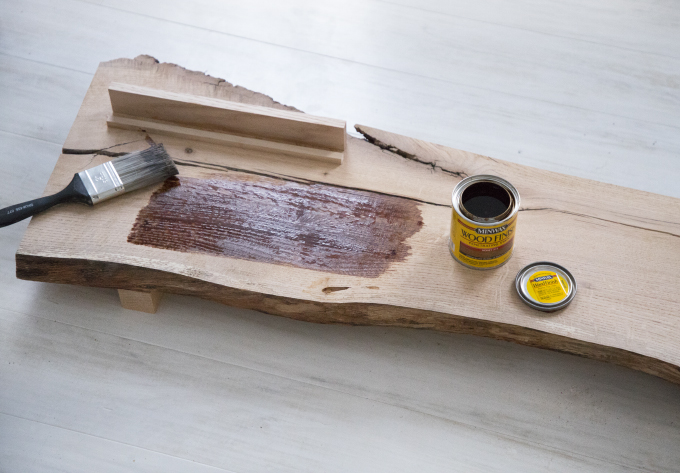
Next, brush on the Minwax Wood Finish Penetrating Stain – Honey , following the directions on the can. Let dry.
Finish by brushing on two coats of Fast-Dry Polyurethane, letting it dry between coats.
Bathtime!!

PIN THE STEPS BELOW!
Thanks to my amazing sponsor, Minwax®, for partnering with me on this project!
EXPLORE MORE: DIY PROJECT, Home DIY


This is so cute! X
http://www.thoughtsinstyle.com/
I really like that you used a natural piece of oak, it looks incredible!
https://www.makeandmess.com/
It looks so nice. I love it.
http://sugarcoatedbears.blogspot.com/
What a fun project! I have been wanting to use a piece of live edge wood in a some way too?. I just love the brass faucet??
What a cool project!!!
Cool design. And i love the live edge wood, they help bring out the look of the room and make it more visitor friendly http;//sprayerguide.com