MY DIY | Herringbone Wood Headboard
DIY PROJECT
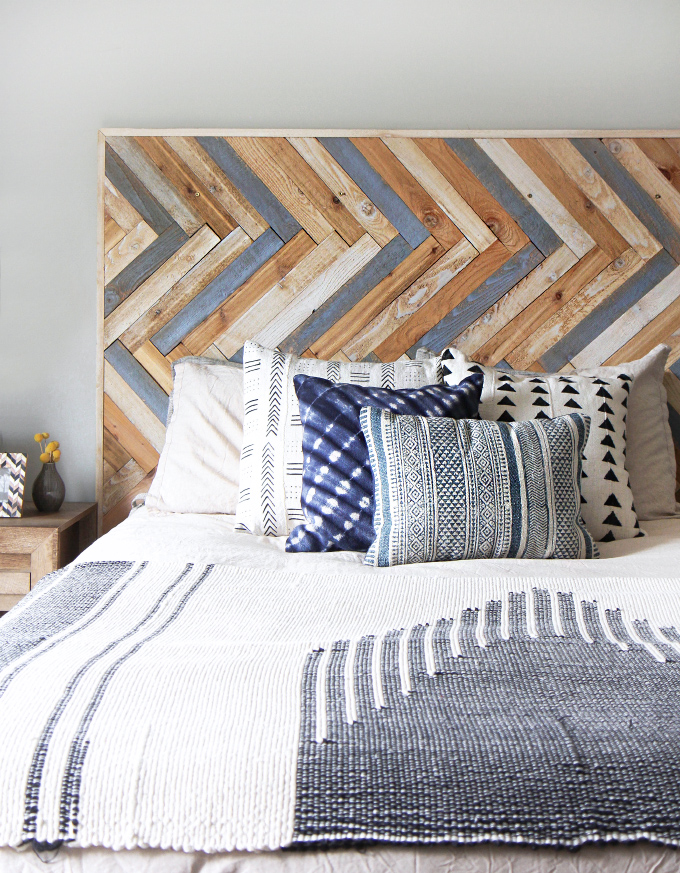
I have been so excited to make this project for my client’s bedroom ever since spotting this wood wall. The concept of the herringbone pattern is pretty simple, but I thought there might be some challenges turning it into a headboard. I was beyond happy when this project ended up being easier and way less time consuming then I thought, and turned out even better then I hoped! The guys at the hardware store were skeptical when I showed them the inspiration pic and told them I planned on finishing it in a day, but all the cutting/staining/gluing took about 3 hours. Then, I let the glue set over night and spent around 2 hours the next day adding the frame and poly coats. I made the accent color Minwax’s Pearl Gray, but you can switch it up to match the decor in your bedroom. All the supplies cost $150 dollars, which is pretty darn good for a custom headboard!
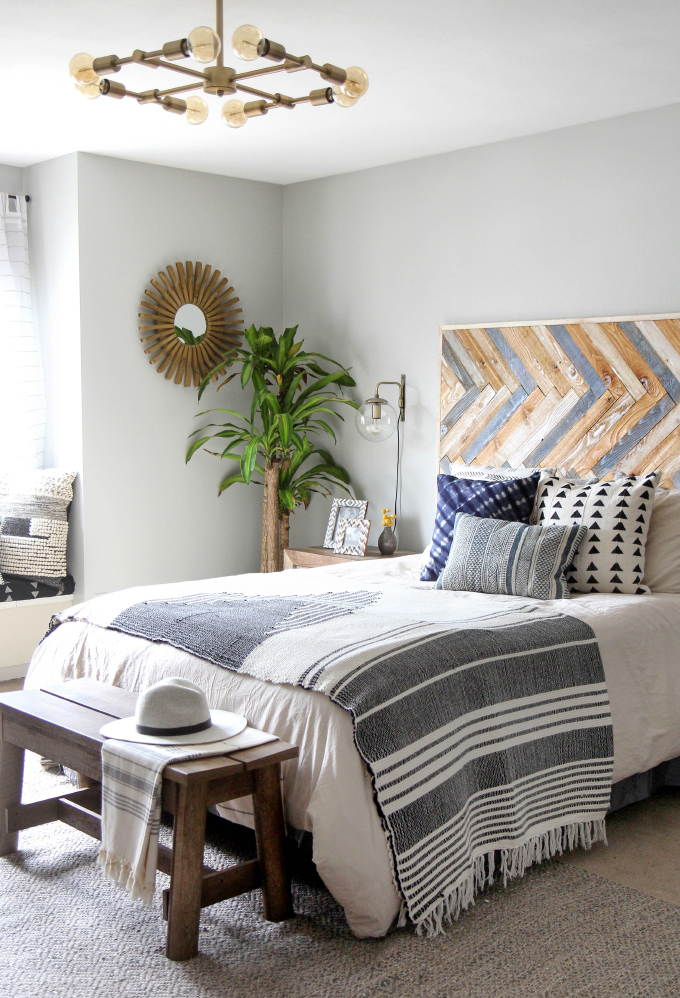
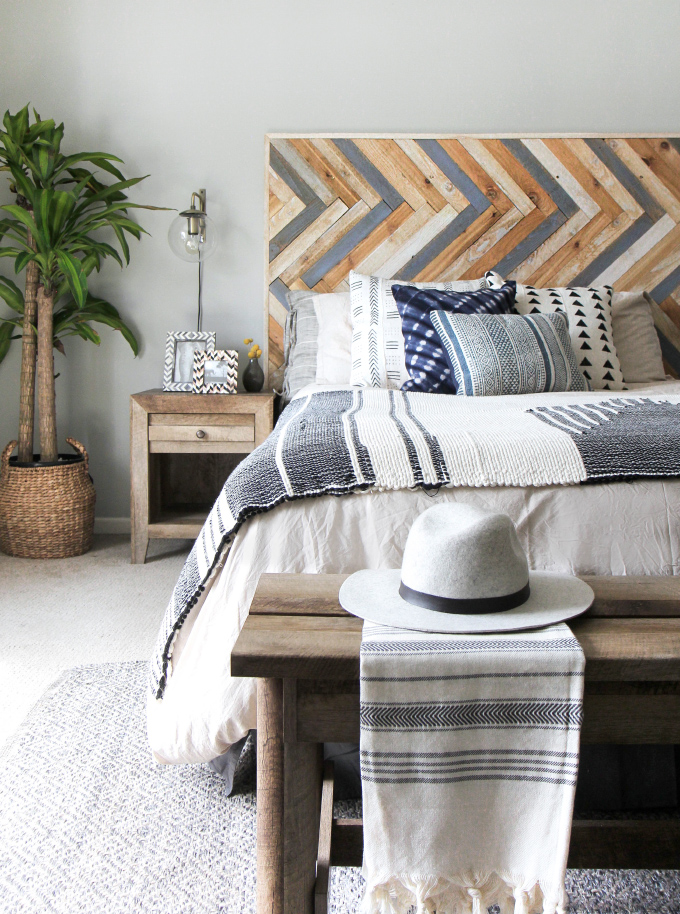
Steps and supplies after the break!
What you need:
Plywood 4x 8ft 1/3 in thick – for a queen bed cut to 70″ x 48″
7/8in X 3in – 8FT Cedar Boards (18 boards)
7/8in X 2in -8FT Cedar Board (4 boards)
1 Quart Minwax Stain – Pearl Gray
1 Quart Minwax Stain – White Wash Pickling
Polycrylic Protective Finish
Wood Glue (3 bottles)
2in wood screws
Paint brush
Clamps
Drill
Miter saw
Circular saw
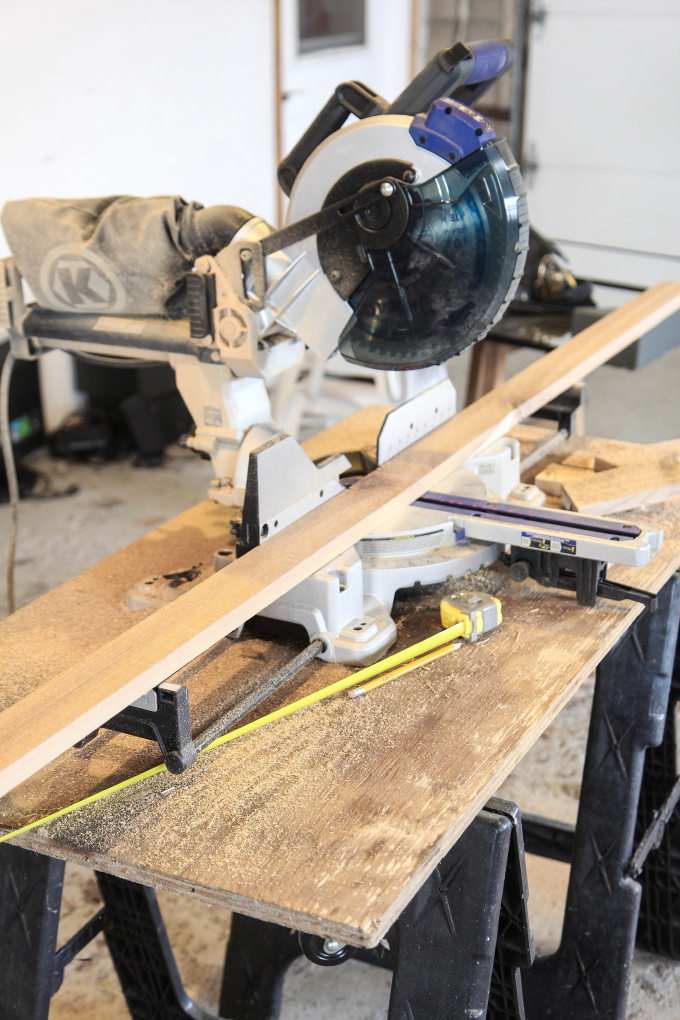
I did a bit of guesstimating at the hardware store and bought 18 – 8ft pieces of 3 in cedar and after factoring in a few bad cuts, I had the perfect amount of wood. If you did some more math you could probably save some money with 12ft pieces, but math hurts my brain…
Now time to blast your music and start cutting! Using your miter saw, cut the cedar to 18″ inches pieces. After cutting each board down, I laid the pieces on the plywood backing. Place the pieces to create 90 degree angles (butt joints), that repeat to create a vertical herringbone pattern. Once I got to the ends, I cut smaller pieces making sure that all of the plywood backing was covered.
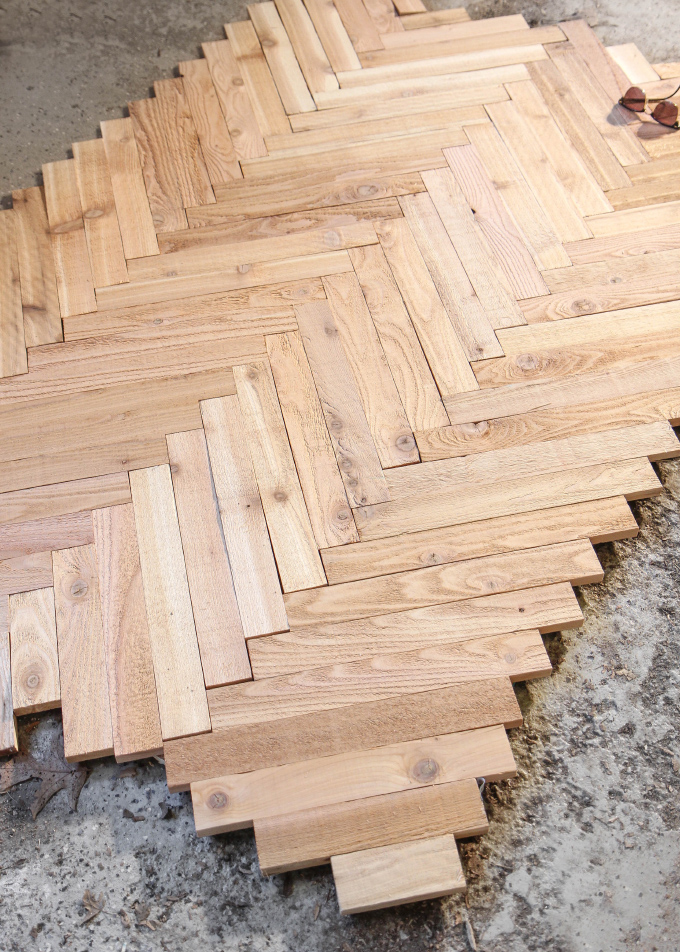
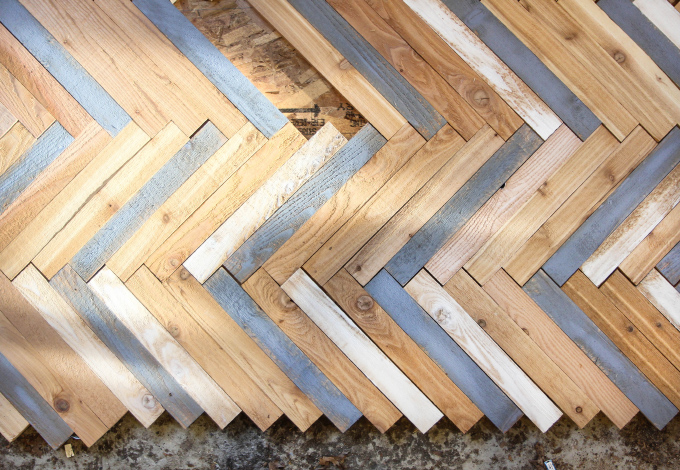
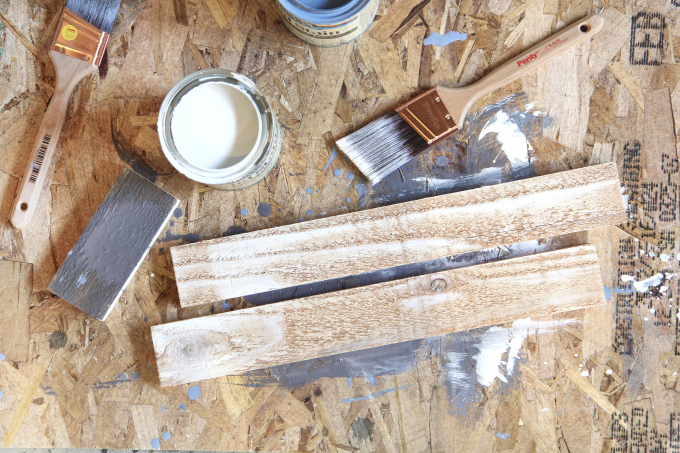
Once all the pieces were in place, I picked out every third one and brush it lightly with the blue stain, then set it back into place. Then picked out random ones to stain white. I also flipped some of the raw cedar to show the rough side and others to show the smooth size to get a lot of different colors and texture. Doing it this way went a lot faster then I thought, and let you really make sure you are getting that unplanned yet perfect look!
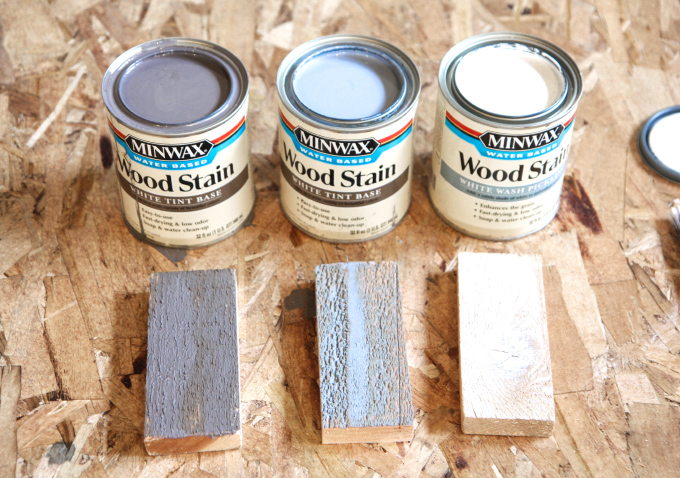
I experimented with Slate and Pearl Grey stain, planning on using both, but ending up just using the Pearl Grey and White Wash because I did not want the headboard to look too busy (but the Slate is gorgeous and I can’t wait to use it on another project!)
 On sone of the white washed pieces I used a super thin layer on the rough side of the cedar, and I LOVE how the wood peeked through. On other pieces I added a second coat so they would be whiter.
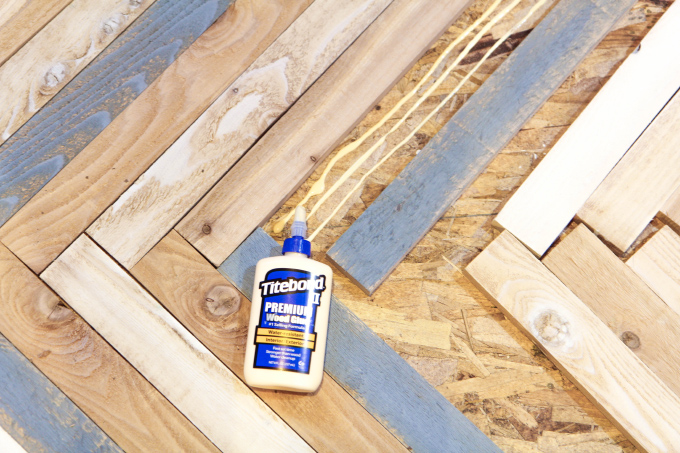 Once your stain is dry to the touch, you can start gluing down all the pieces. My Bro-in-law came up with the brilliant idea of using his nail gun to secure a zig-zag down the middle as a guideline, and then I worked my way out on both sides making sure the pattern stayed straight and covered the plywood.
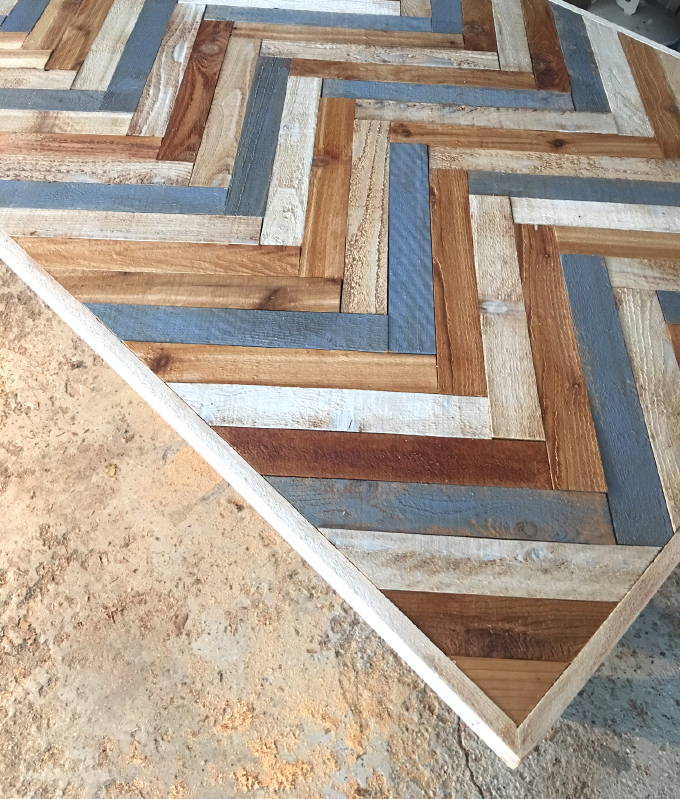 I don’t have a pic of the next step because I was holding down the wood while my Bro-in-law used a circular saw to cut off all the wood that hung over the plywood. We clamped down a piece of wood along the edge to run the circular saw along to make a straight cut.
Next, create the frame by measuring each side and making 45 degree miter cuts. I did this by making a 45 degree cut on one side, then lined the short end up to one corner, then marked the other corner and cut. I clamped the frame pieces to the headboard, and then drilled in 2in wood screws around the perimeter to secure the frame.
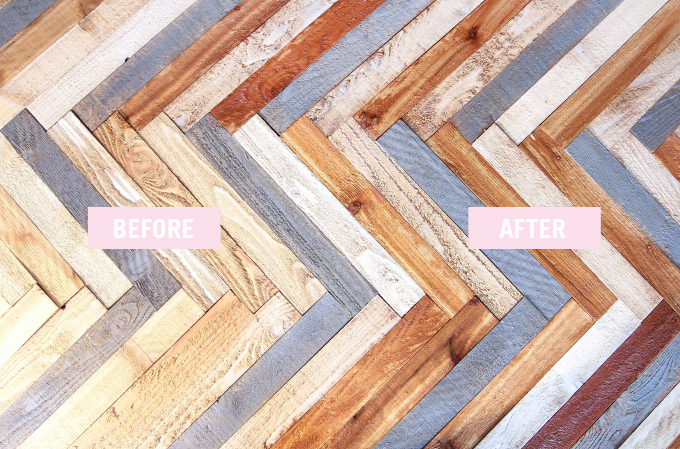
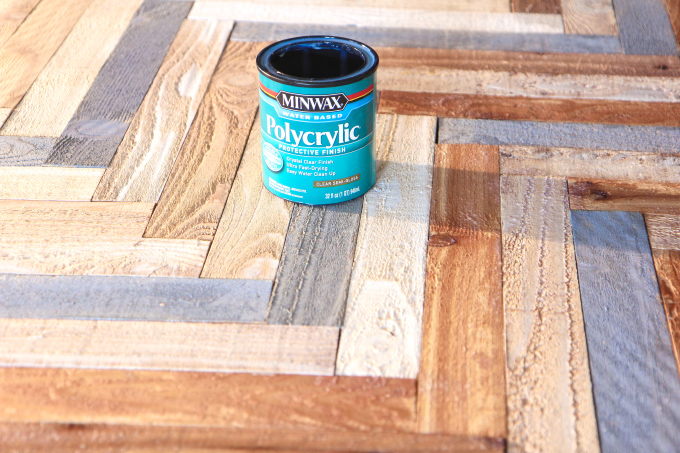 The final step was adding a Polycrylic Protective Finish, which was a game changer, it brought out all the beautiful colors of the cedar! Make sure to brush on in the direction of grain, then let dry completely.
 Securing to the wall was a two woman job, we propped it on top of the bedframe to get the right height, and then used a stud finder, and drilled 8 screws through the headboard and into the studs to make sure it would stay put on the wall!
I can’t wait to see your version, make sure to post on Instagram and tag with #ispydiy!
This post was made in partnership with Minwax® Products. Thank so much for supporting my amazing sponsors who make I SPY DIY possible! For more woodworking/wood staining inspiration head over to the Mixwax Facebook page and “LIKE’ them!
EXPLORE MORE: DIY PROJECT


It’s beautiful, I just love the colours and texture of the wood!
https://www.makeandmess.com/
This is such a lovely idea! X
http://www.thoughtsinstyle.com/
This is so cool Jenni! I love really hands on projects like this and it must have been so satisfying putting it all together. Definitely beats a headboard you can buy!
http://www.shessobright.com
Hello Jenni. My name is Aleksandra. I admire your wonderful handworks. Everything is beautiful.
Hi Jenni! I think this is a great idea as it is rustic but modern and definitely pulls the room together! This is not that difficult to make and the thing I like most about this design is probably all the different kinds of wood… or the chevron pattern. I can’t decide 🙂
https://sillatran.wordpress.com/
Nice tutorial. Looks greattt 🙂