MY DIY | Cotton Fabric, Copper & Wood Magazine Holder
DIY PROJECT, Home DIY
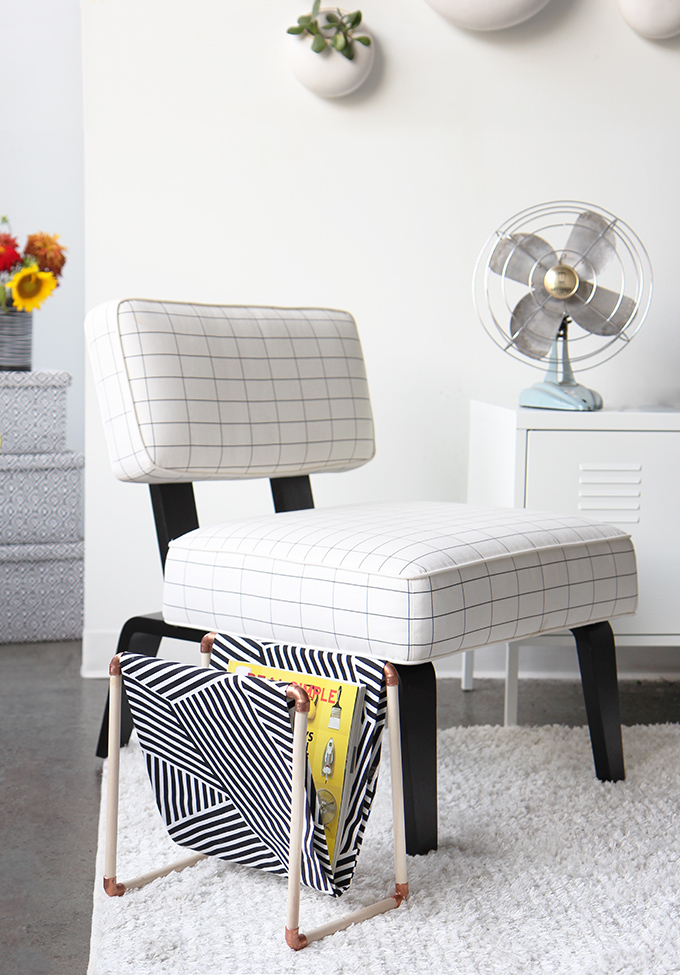
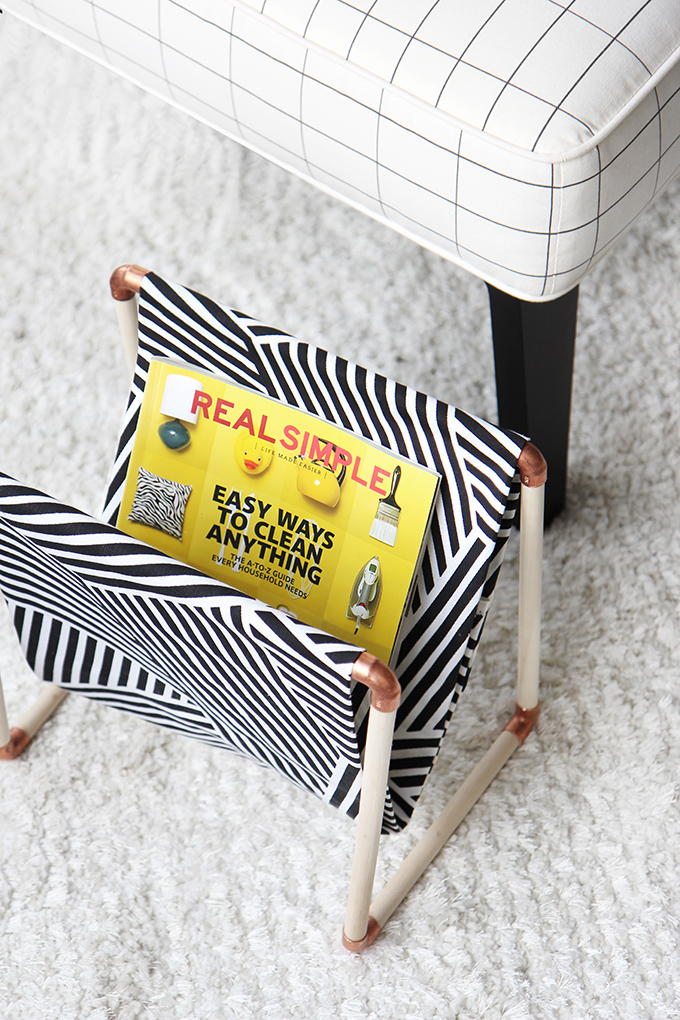
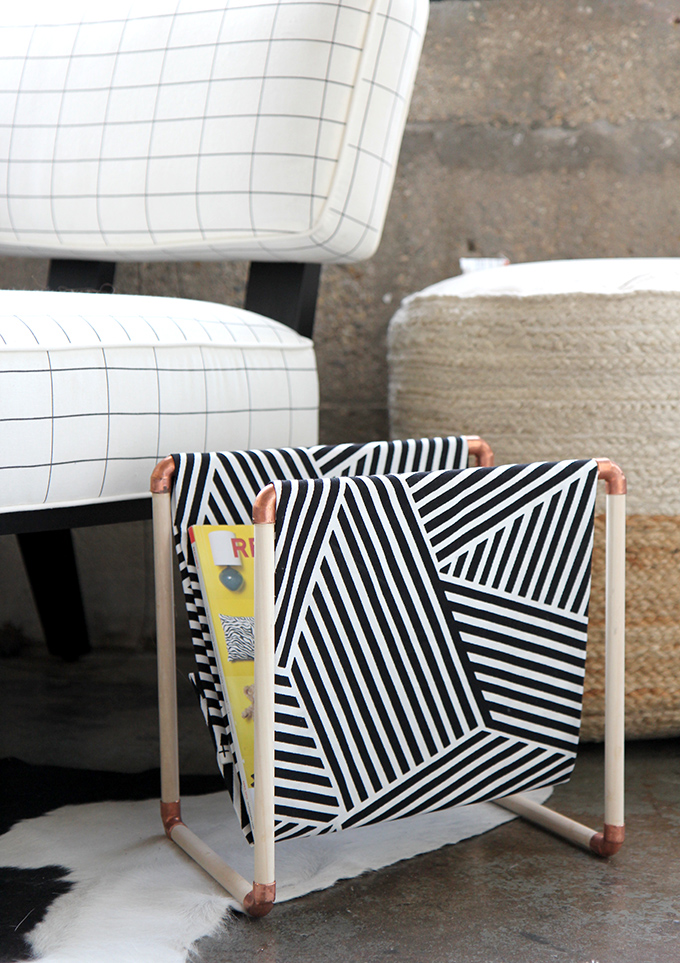
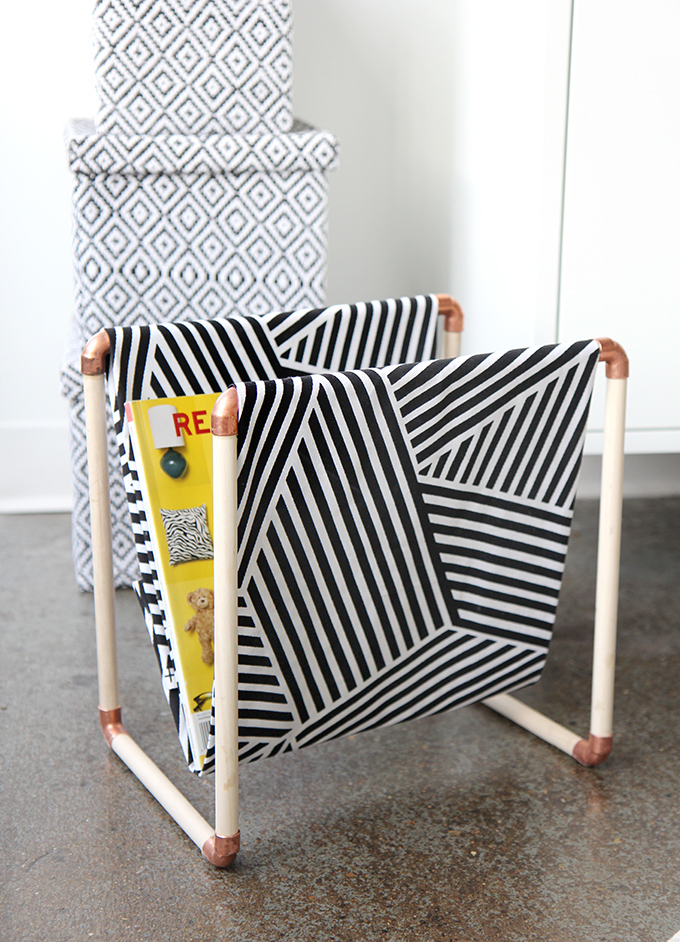
I’ve always been a magazine junkie. Stacks of them were piled high in my bedroom growing up, I worked at a fashion magazine for years, and I continue to read them religiously. It was only fitting that I create a stylish way to display my favorite reading material. I wanted a less expensive way to build a magazine rack than the all copper versions that are online, so I replaced the metal poles with wooden dowels and added copper fittings for a little shine. The entire rack came in under $15, which means more money to spend on new magazine subscriptions! Picking out the fabric was this highlight of this DIY. Cotton fabric is perfect for a project like this because it is durable enough to hold a lot of magazines and there is a variety of prints to choose from… you know I can’t resist a good black and white print! Get the how-to in the DIY video below, and find the steps and supplies after the break…
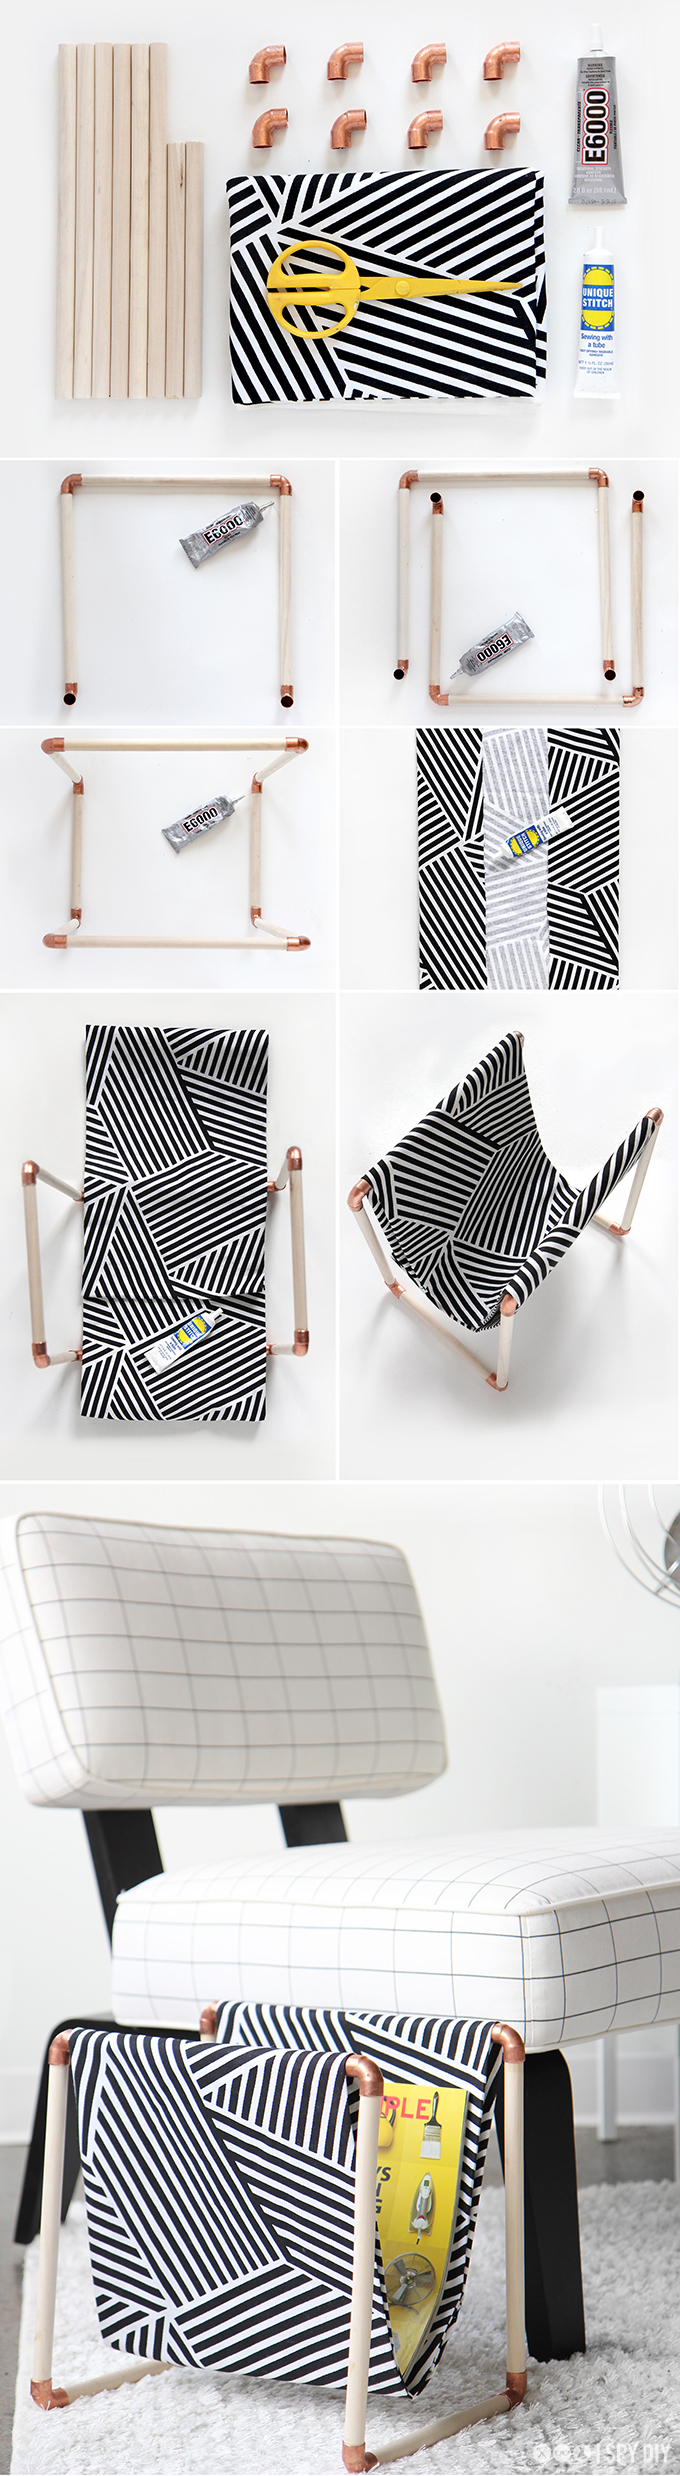
What you need:
6 1/2in wooden dowels that are 12” long
2 1/2in wooden dowels that are 10” long
Cotton fabric
Scissors
Fabric glue
8 1/2in copper elbow fittings
E6000
What you do:
Step 1: Attach 3 of the long dowels together (as shown in the picture) using the copper fittings. Reinforce them with some E6000. Repeat this step using the last 3 long, wooden dowels.
Step 2: Insert the small wooden dowels into the copper fittings at the bottom of the structures that you previously made. Attach using glue and let dry.
Step 3: Measure the distance between the copper fittings at the top of the structure and cut a piece of cotton fabric that will fit in between the two ends.
Step 4: Crease the sizes of the fabric inward and iron to create a crisp hem. Glue the fabric down using fabric glue.
Step 5: Turn your structure so that the base is facing upward and create a loop around it with the fabric. Glue both ends of the fabric together and let dry.
Step 6: Once dry, flip the structure right side up and slide in your favorite magazines.
This post was brought to you by Cotton Incorporated. Thank you for supporting my amazing sponsors who make I SPY DIY possible!
EXPLORE MORE: DIY PROJECT, Home DIY


