MY DIY | Colorblock Wooden Ladder
DIY PROJECT, Home DIY
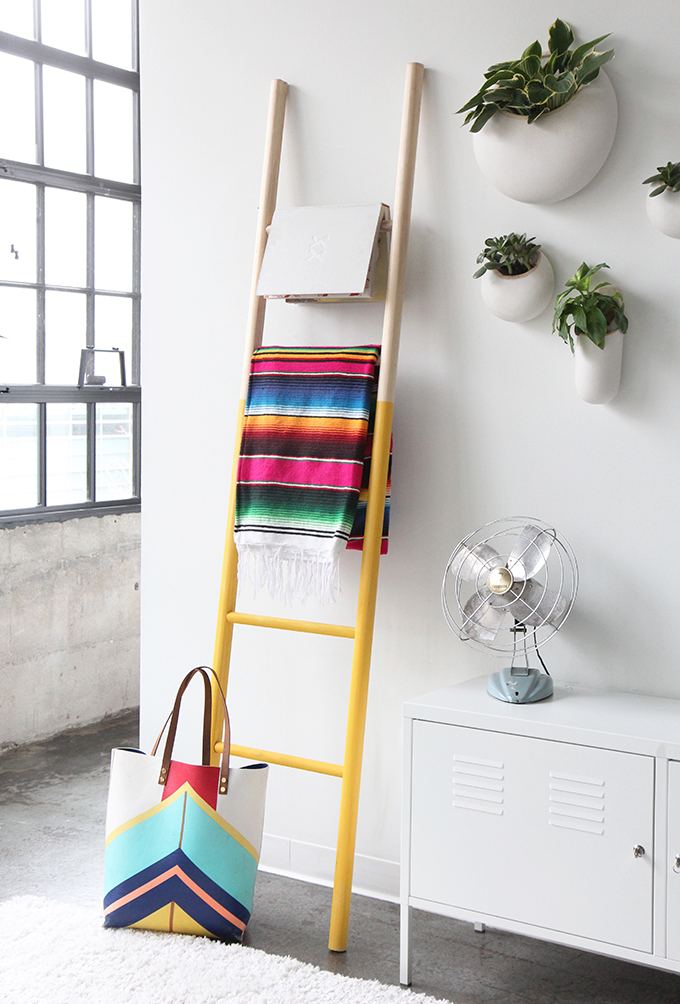
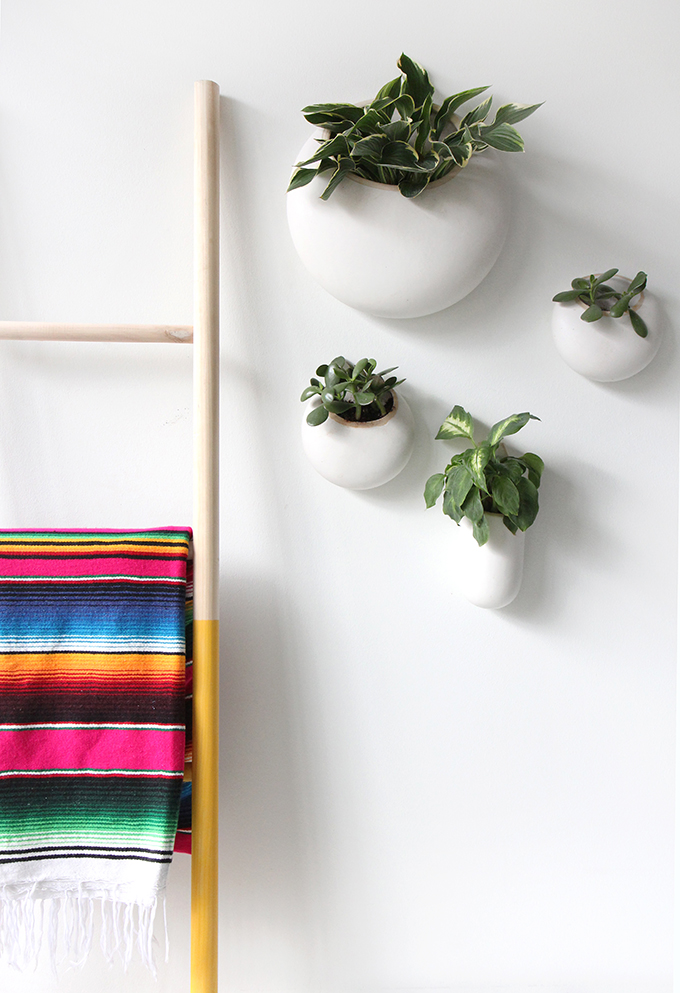

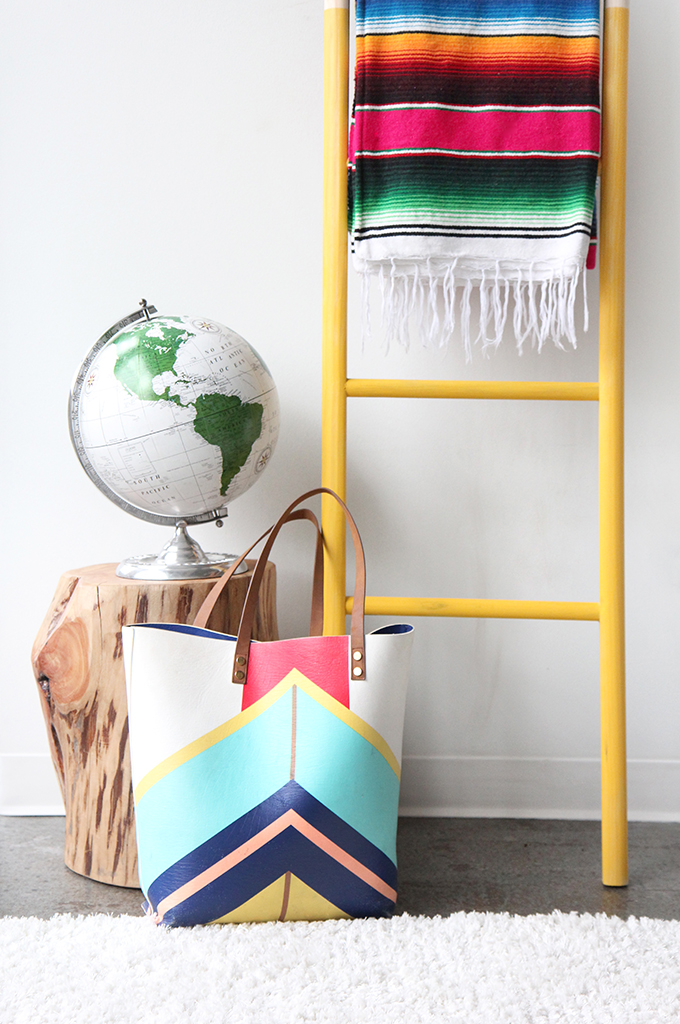
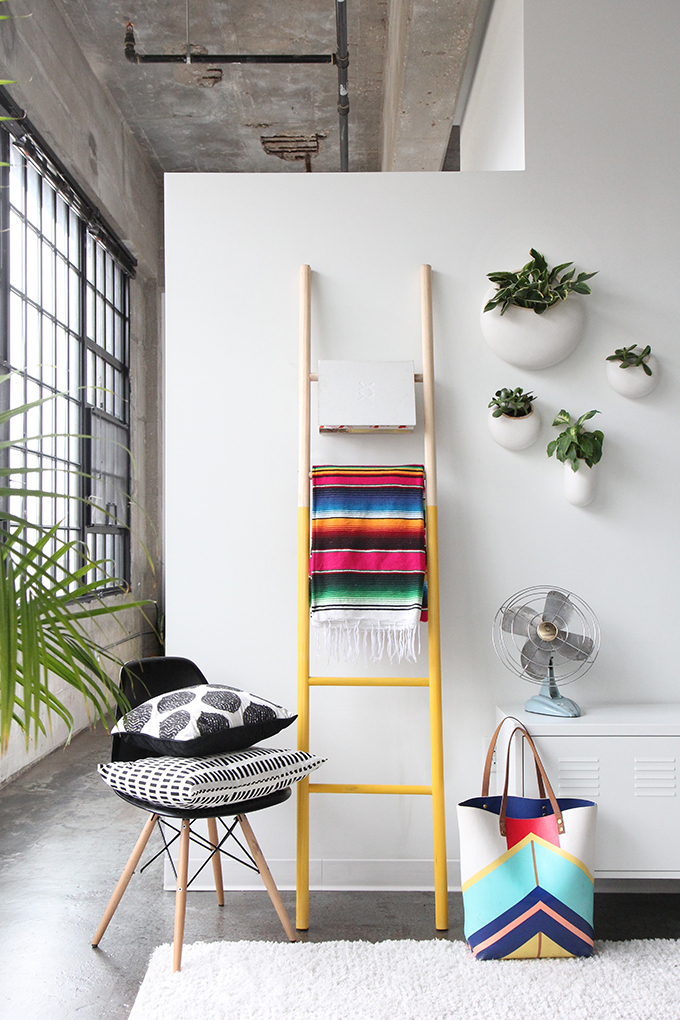
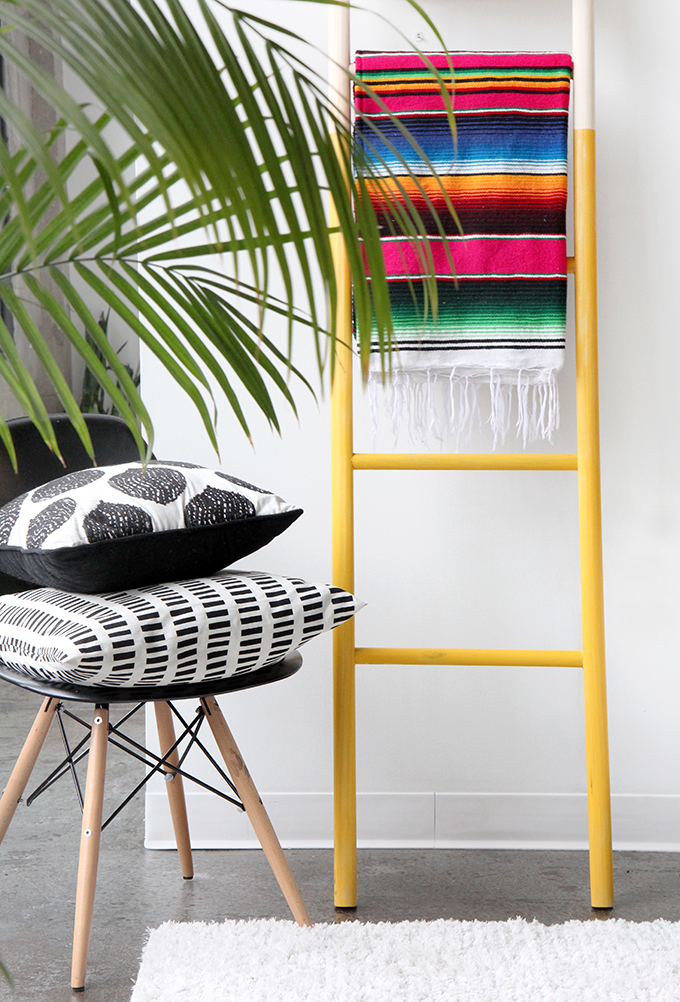
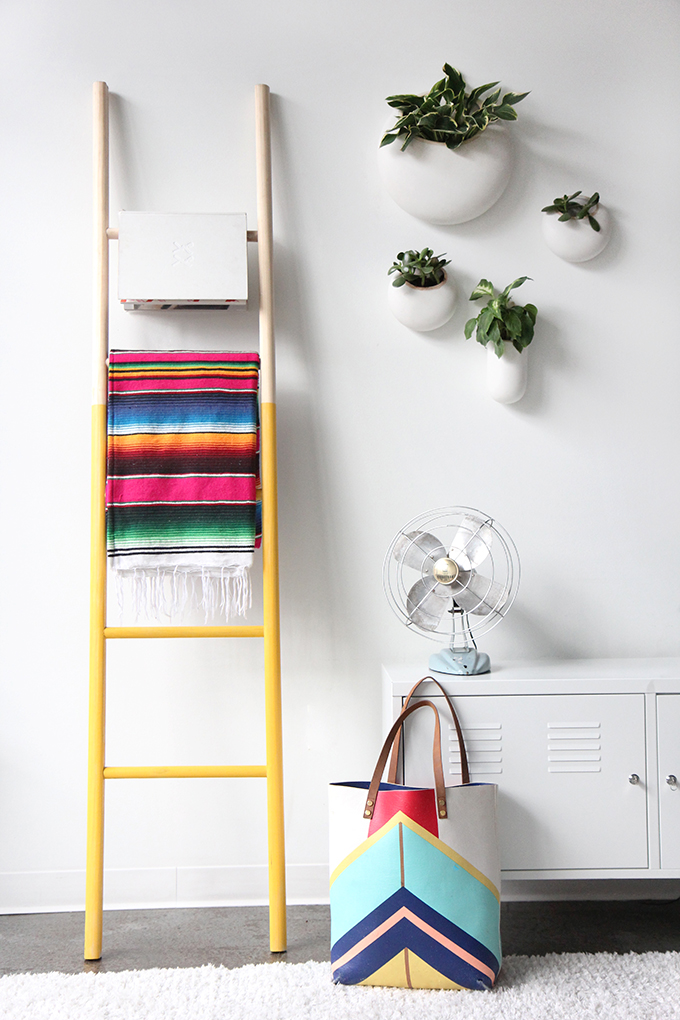
Winter is coming and I have been hoarding blankets at my apt, and wanted a fun way to display my favorites, plus, a little dose of color gives the space warm weather vibes all year round! I love how the ladder turned out, but have to admit it took a little longer then expected and a spare set of hands is crucial when it comes to the assembly portion. To save time, have your hardware store cut all the pieces of wood for you. Also, sadly, my ladder with galvanized pipe rungs (I gave a sneak peek on ispydiy snapchat) was a fail, but I am going back to the drawing board to figure out a more stable way to hold it together. But, I did figure out that using a handrail made this project way easier because the flat edge provided an easy surface to drill into (and it make sure all the holes lined up)! Steps and supplies after the break…
What you need:
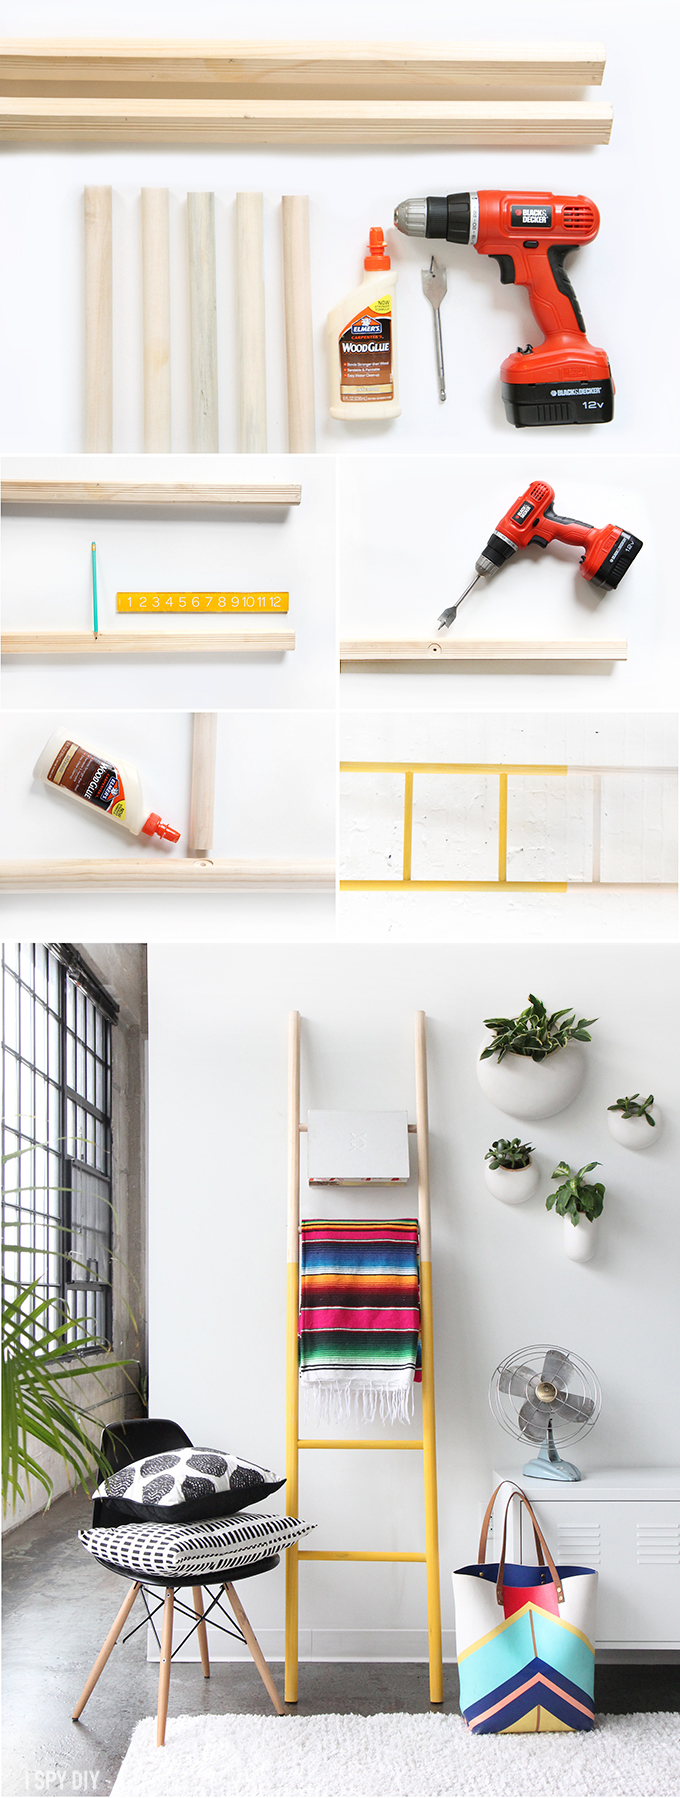
2 – 1.5in Pine Handrail Molding – 7ft each
3 – 1in dowels – 12in each
Drill with 1in spade bit
Wood glue
Minwax® Clear Tint Base – Daffodil
Paintbrush
Ruler
What to do:
Put down your between your two pieces of handrail where you would like the rungs lay. Use a ruler to make sure they are evenly spaced. and use a pencil to mark on the flat end of your bannister.
Next, drill into each mark, down an 1/2 in to create a pocket for your dowel to fit in. Repeat on both pieces of handrail.
(This is where you need a helping hand) Fill all the pockets with wood glue, then quickly put the rungs in place. And then we wedged between a wall and a bunch of books to put pressure on each side keeping the ladder together. This was the toughest part, because you have to get all the rungs in and secure it quickly so it can dry for correctly. Also, note that some of the wood glue will drip out of the holes, I ended up sanding off most of it and making that the back of the ladder. But make sure to lay down a tarp or paper to protect your floor!
Let dry overnight.
Bonus: Stain half of it a bright color. Done!
EXPLORE MORE: DIY PROJECT, Home DIY
