MY DIY | Cement Letter Photo Holder
DIY PROJECT, Home DIY
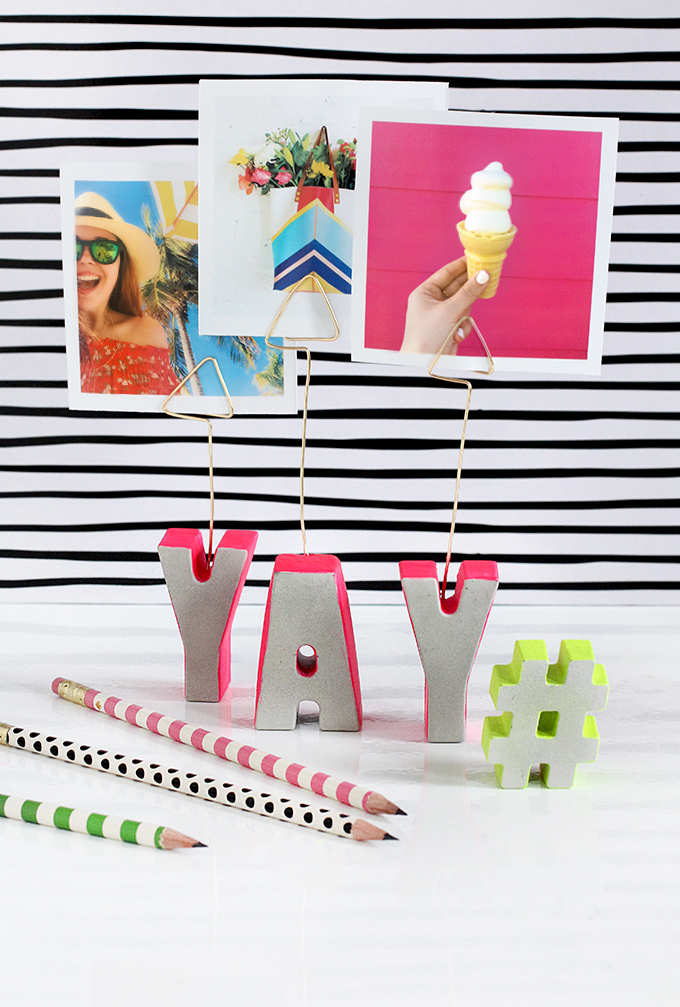
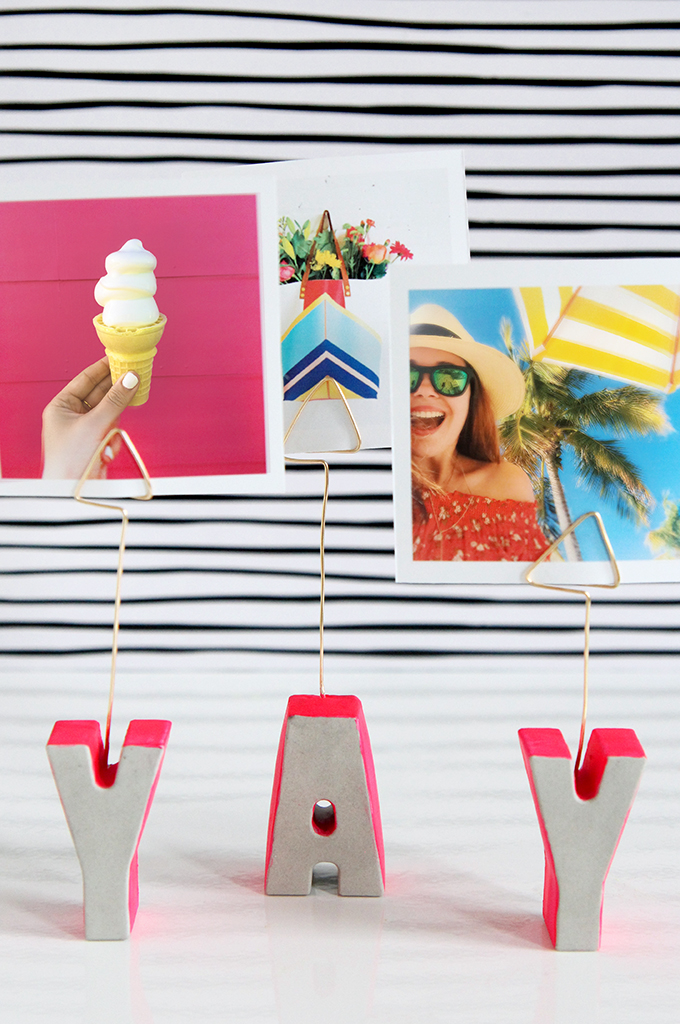
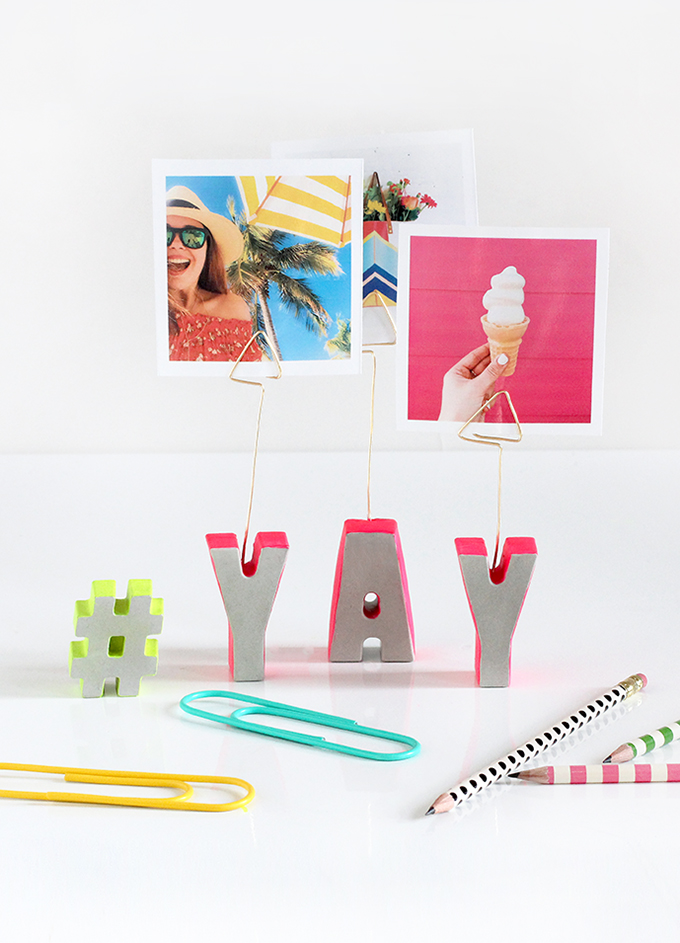

Honesty, HOW CUTE are these little cement letters!? I was amazed at how perfectly smooth they turned out after popping each out of the silicone mold. I’ve wanted to make a Instagram photo stand for awhile now and thought these would be the perfect base. After adding a little pop of color, they are happily perched on my desk. This is just the start for fun ways to add a concrete alphabet into your life…let the brainstorming begin! Now the question is, what’s your word? #yay! Step & supplies after the break…
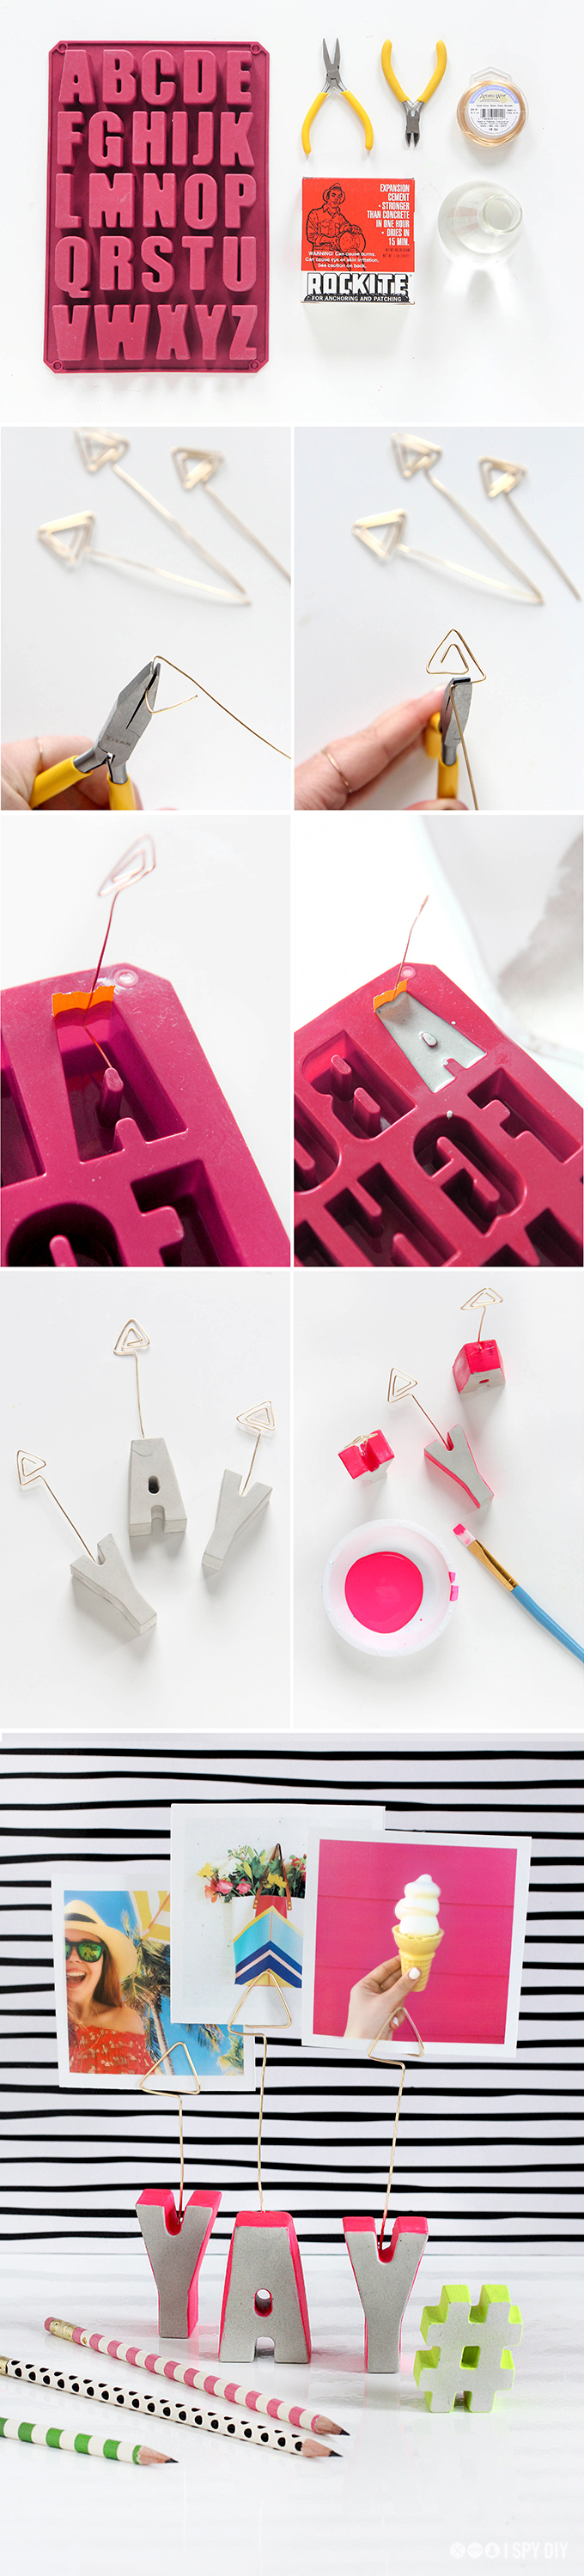
What you need:
Quick dry cement
Silicone Letter tray
Silicone symbol tray
Gold Wire
Foam brush
Neon Paint
Jewelry Pliers
Tape
Get all the supplies in a DIT KIT HERE!
What to do:
Create photo holder with the wire by bending into a small triangle surrounded by a larger triangle using the jewelry pliers. Leave a long end to put into the cement letter.
Next, bend the other end of the wire an inch, and tape to the top of the letter inside the mold. This will keep it in place, in the middle of the letter.
In a bowl, mix water and cement (follow the directions on the packaging).
Play around with the measurements until you get a puddy like texture. Once your cement is mixed, pour it into the letter mold.
Allow your cement to set for 20 minutes or until the cement has completely hardened, then peel out of the mold.
Bend the wire upwards to stand up straight.
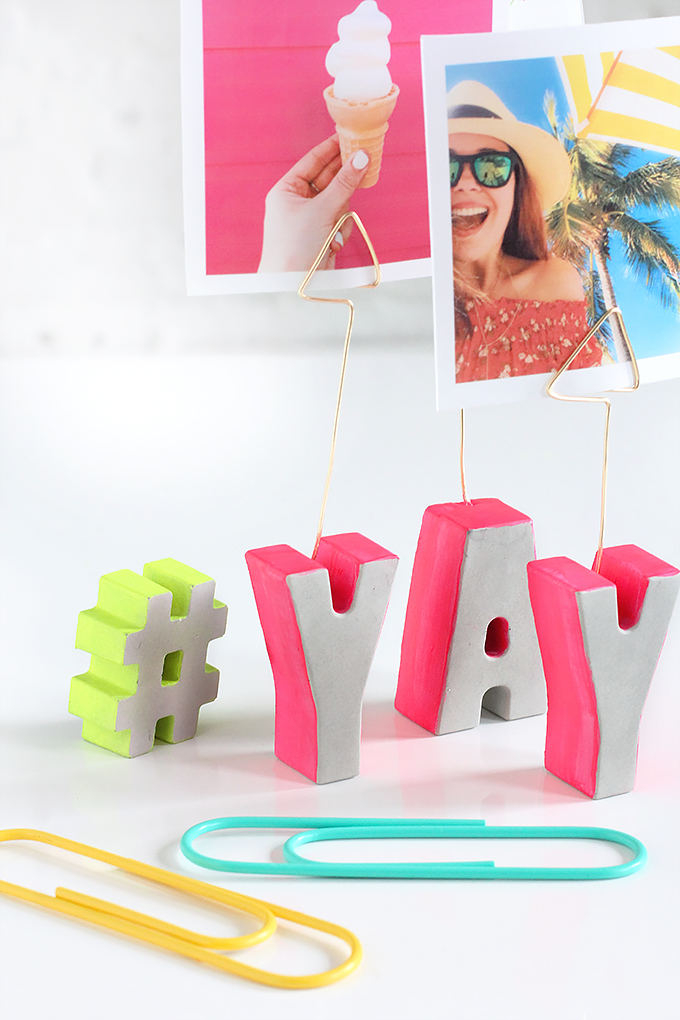
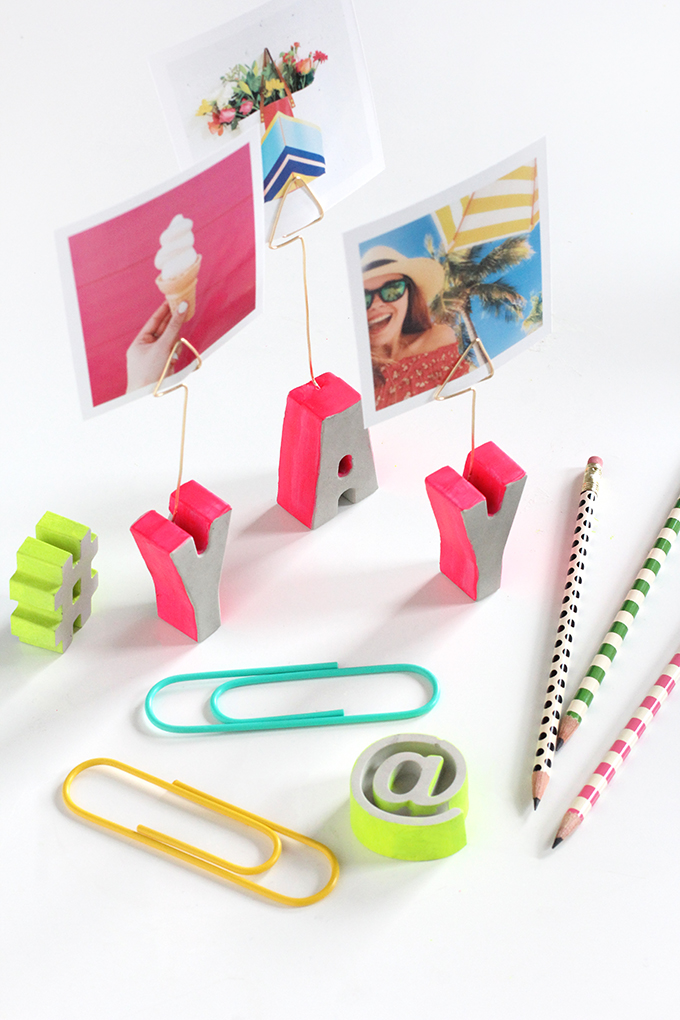
Add some color with your foam brush, by painted the perimeter with neon paint. Allow the paint to dry for 30 minutes.
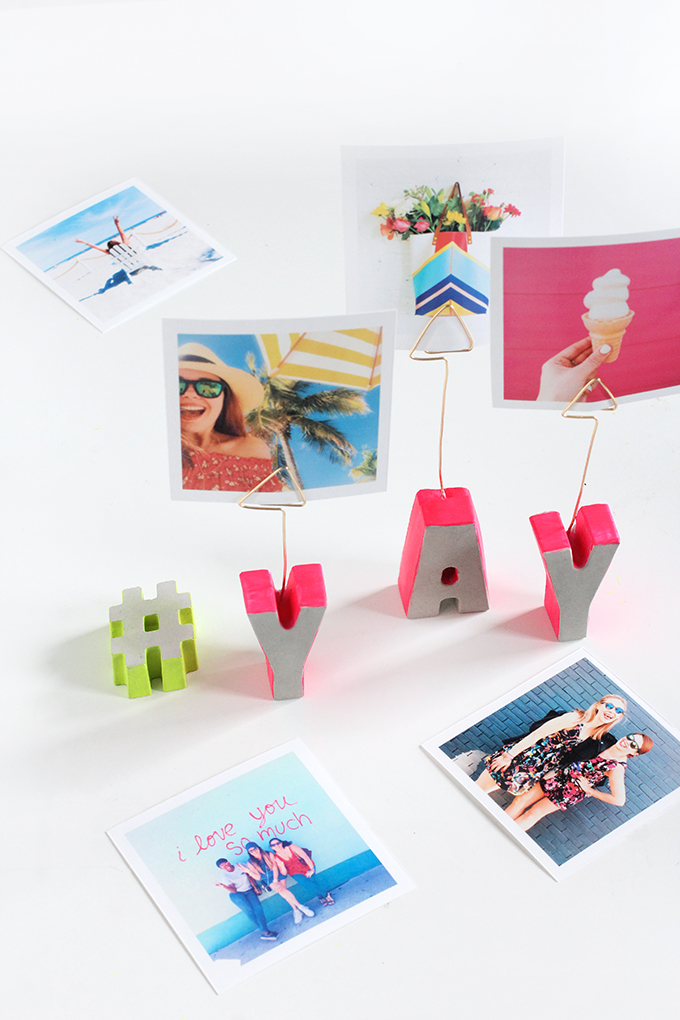
Add photos. Done!
EXPLORE MORE: DIY PROJECT, Home DIY


