My DIY | Barnhouse Entry Table
DIY PROJECT, Home DIY
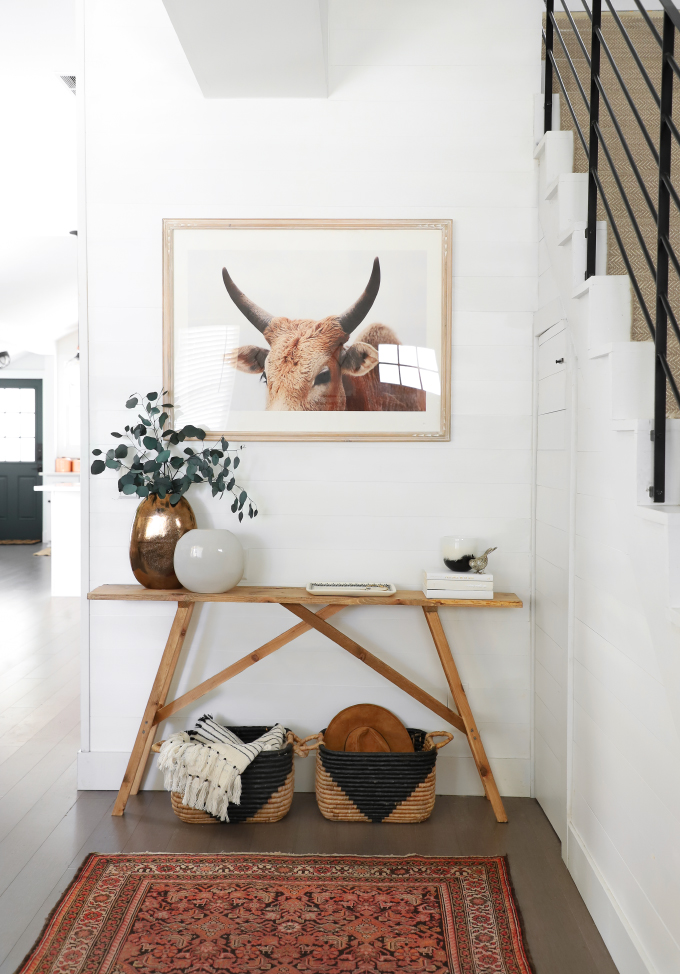
I have been looking for a table to put into the entryway of the Barnhouse for a while. I had something very specific in mind, but was not finding it anywhere for a reasonable price. After seeing this photo, I figured I would try building one that would fit the space, and I am pretty pleased with how it turned out! The total cost was about $30, and it took under 3 hours to make and stain. That’s not bad at all when you consider how long it can take to assemble ones you get in the mail, ha!
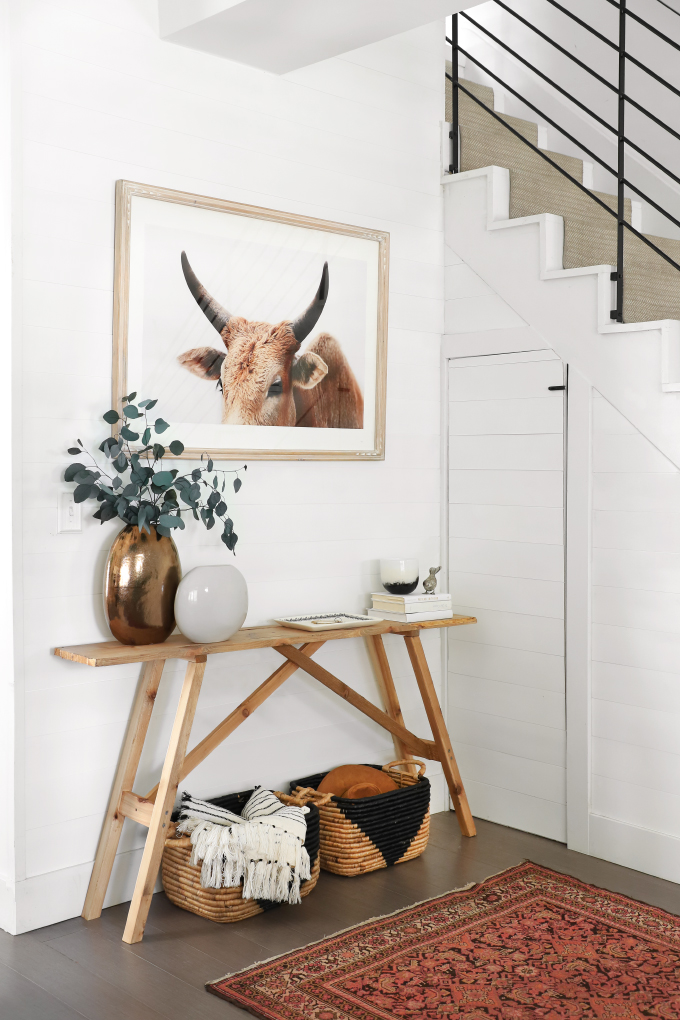
For those just starting with power tools, all you need is a drill and a miter saw. The miter saw is honestly my favorite power tools, and a great one to start with because it can cut all the angles you need (it also sits stable on a table, and has safety guards which makes it less intimidating). With a few cuts and some screws it was assembled, and staining was super simple using the Minwax Wood Finishing Cloths. I tested out the Walnut and Natural Oak, and ending up loving how the Natural Oak gave the bench a weathered barn wood look. The wipes come in a handy pack pre-soaked in stain, with a pair of gloves, so it’s easy and quick to clean up; making them perfect for a small project like this. Below are all the step and supplies!
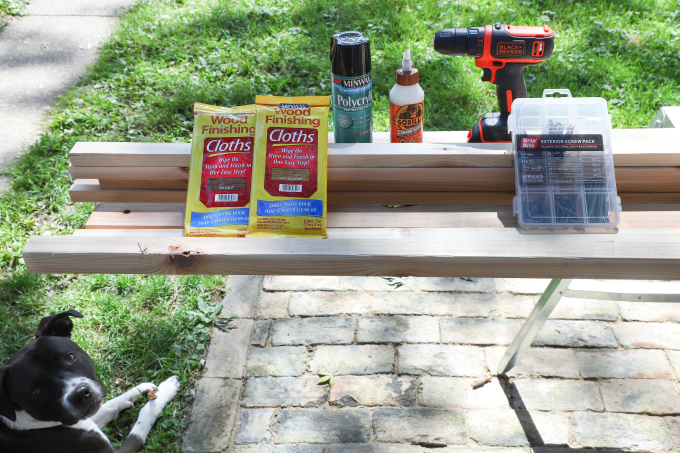
What you need:
1×2 Cedar board (I used cedar, but any wood can be used)
2×2 Cedar board
1×6 Cedar board
1×3 Cedar board
Minwax Wood Finishing cloths – Natural Oak
Minwax Water Based Polycrylic
Gorilla Wood Glue
Drill/driver
Exterior Wood Screws
Miter Saw
What to do:
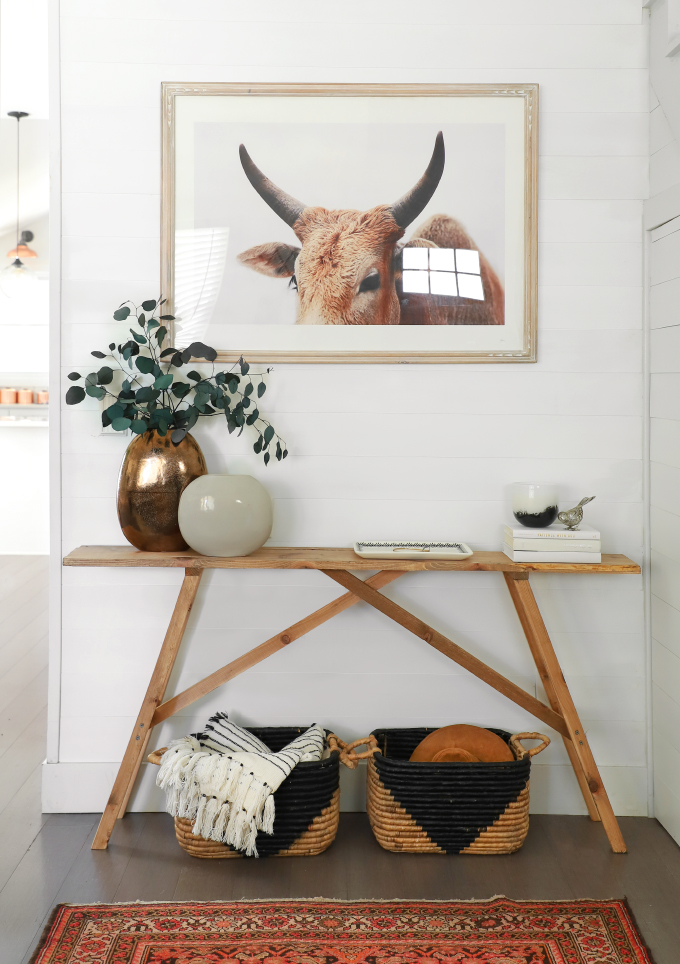
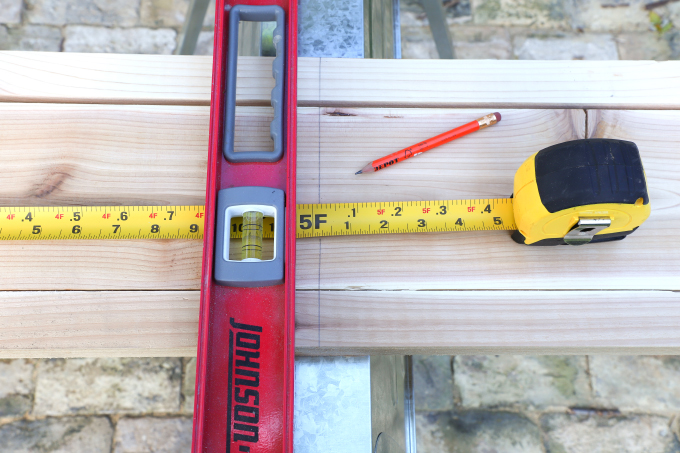
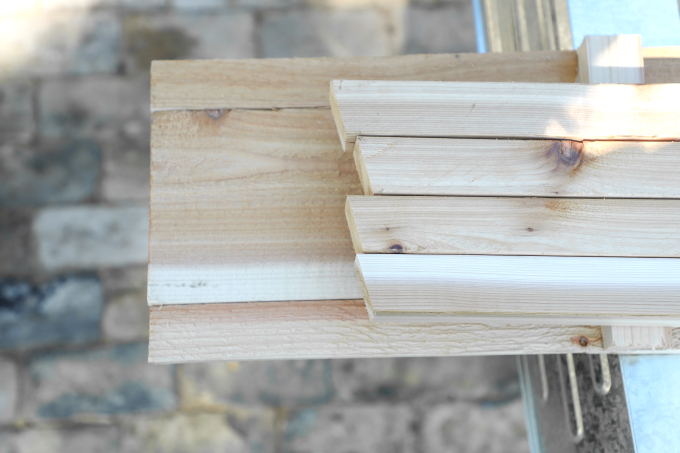
I liked the width and look of the 1×6 with a 1×2 on each side. Measure and then cut all the boards to the desired length with the miter saw, my table is 5 ft.
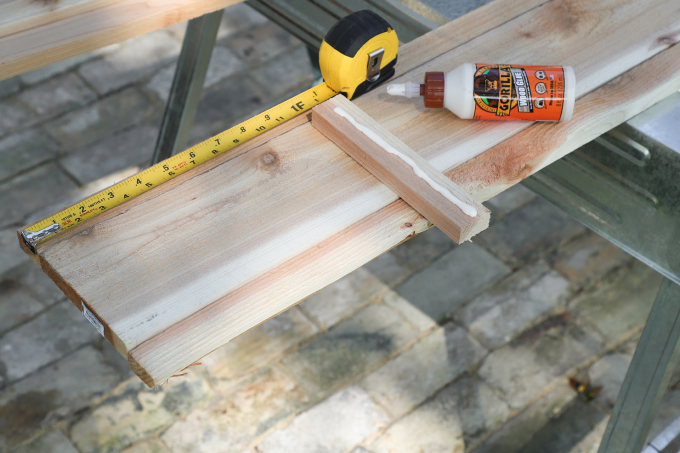
Next, measure the width of the boards and cut the 1×2 to fit. Cut 2 pieces the same length.
Then, glue the piece to the boards (this will hold them together), one foot from each end, and let dry while you cut the other wood.
Cut the 2×2 boards into four 30in legs with 30 degree angles at each end.
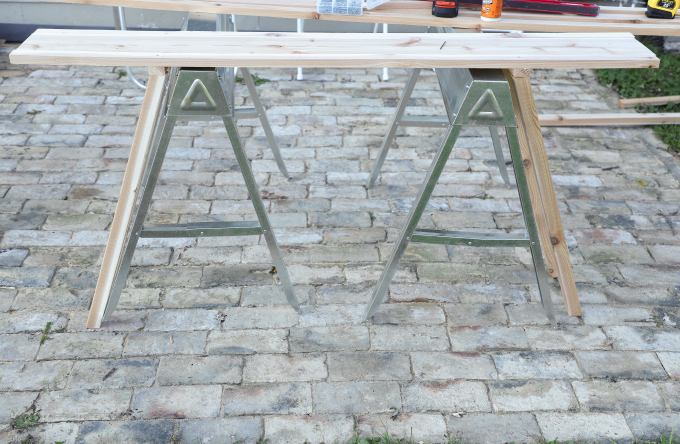
Once the wood glue is dry, flip the top, and line up the legs on the cross board.
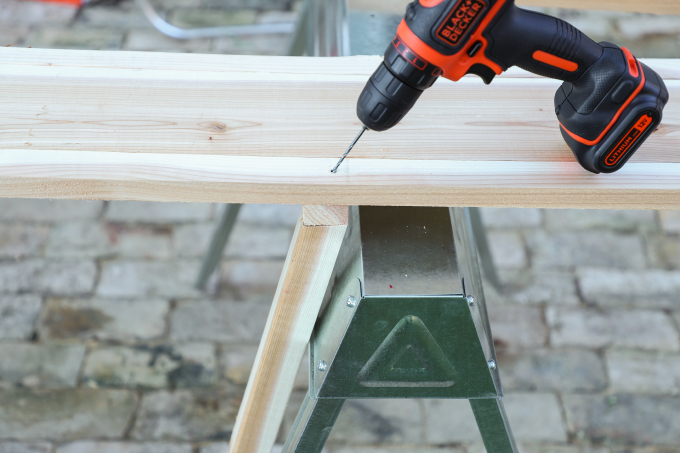
Start by drilling a pilot hole, going at an angle into the leg.

Drill in the wood screw following the pilot hole angle, repeat on the 4 legs.
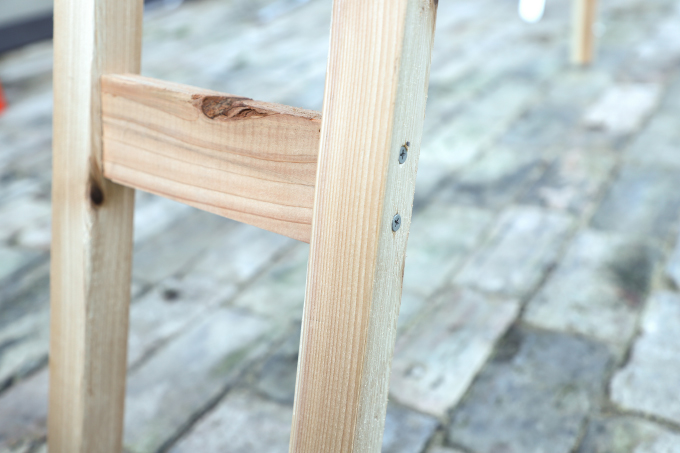
Next measure and cut the 1×3 brace between two legs, then screw into place with two screws to stabilize the legs. Repeat on the other side.
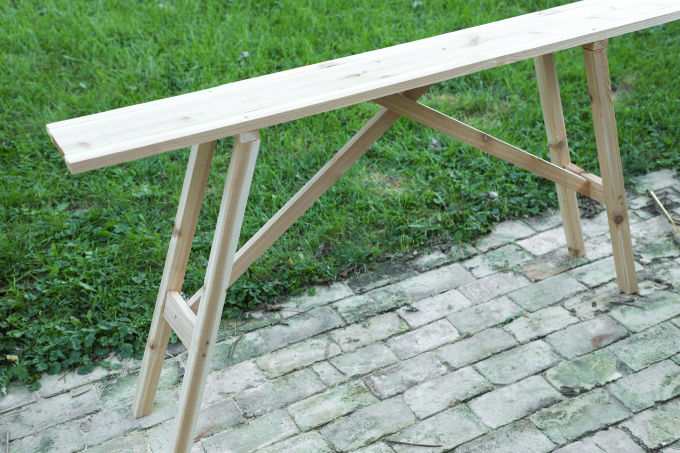
Next cut the cross braces, Hold the the 1×2 piece in front of the bench at the angle you desire. With a pencil, mark the angle by the cross piece and under the the top (a little more then the center) I suggest cutting the cross braces a little long, so you have room to make adjustment cuts.
Once the cross braces sit flush to the brace between the legs, and under the top. Drill pilot holes at following the angle, and then drill in wood screws.

Prep the wood for staining by sanding the wood smooth, and then remove any sanding dust
Wipe on the stain with Minwax Wood Finishing Cloths using the pre-soaked cloths.
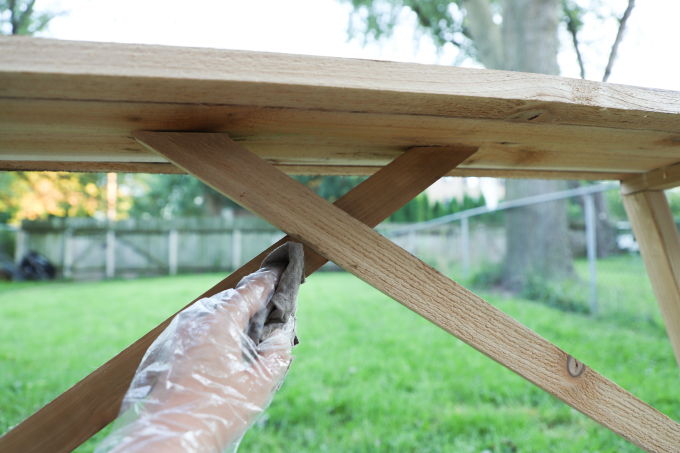
Wipe off the excess with a clean rag, let dry for an hour.
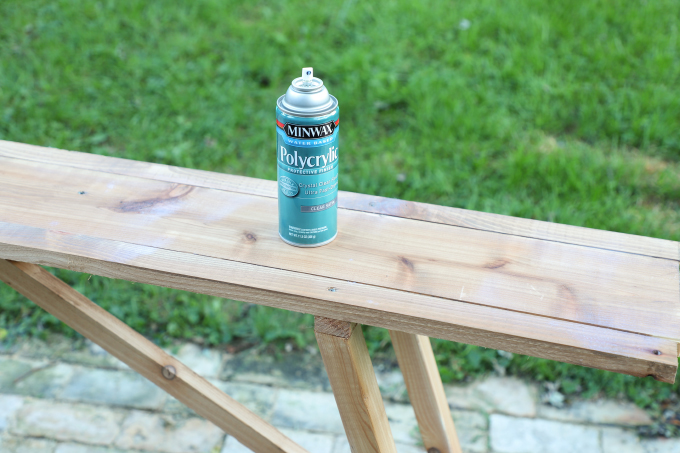
Finish by spraying on Minwax Water Based Polycrylic, let dry, and you are done!
I can’t wait to see your version, make sure to post on Instagram and tag with #ispydiy!
This post was made in partnership with Minwax® Products. Thank so much for supporting my amazing sponsors who make I SPY DIY possible! For more woodworking/wood staining inspiration head over to the Mixwax Facebook page and “LIKE’ them
EXPLORE MORE: DIY PROJECT, Home DIY


This table is perfect! We need to make one for our home!
Paige
http://thehappyflammily.com
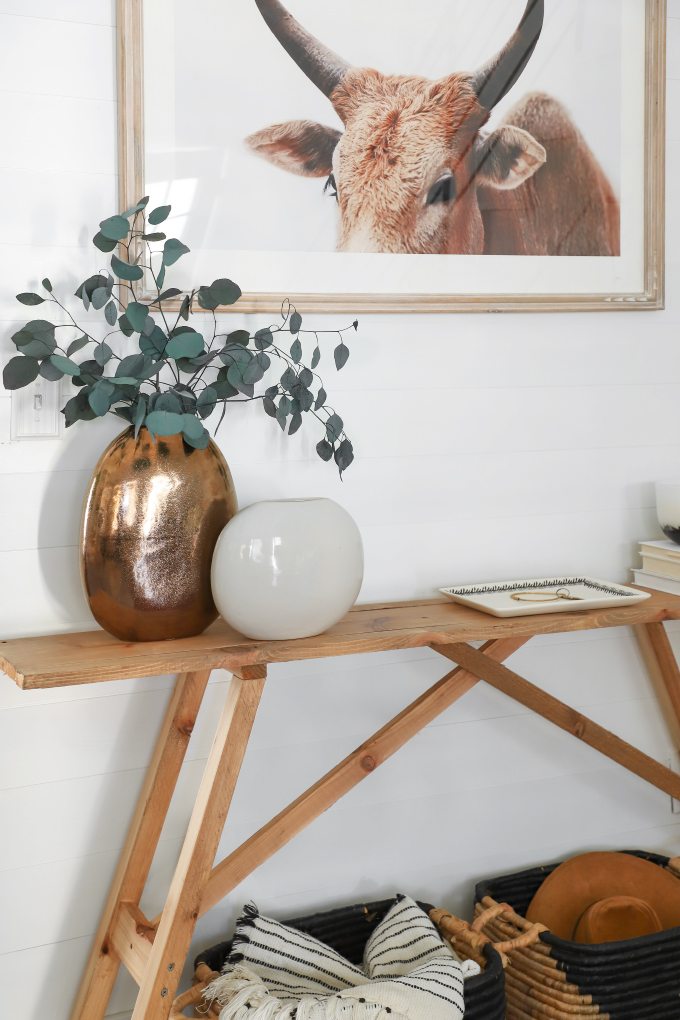
Great tutorial silly question, but where do you get your faux eucalyptus? Or is it fresh? Thanks!!
It’s dried from Hobby Lobby!
It’s Faux from Hobby Lobby!
It looks so gorgeous, I love the design! I wish my hallway was big enough for such a table.
https://www.makeandmess.com/
Literally OBSESSED with this table. However, hello from Canada! Can you add if the measurements are in metric or imperial? Thank you
LOVE THIS!!!!
OMG! I love that cow picture! Great set up. Atowle|https://formationvacations.com/
It’s terrific. I think using the sawhorses for the proper angle is nothing short of brilliant! And it’s narrow enough that it will fit in a small space.
Really Nice
https://www.shoppingspout.de/
This table looks so beautiful. I love this easy pattern!! Great tutorial! Thank you for posting! https://www.akbarinternational.com/
You did a great job. I just love this DIY Barnhouse entry table. Many thanks for sharing this post.
https://www.thefurnshop.co.uk/