DOG DIY | Wood Dog Bowl Stand
DIY PROJECT, Home DIY
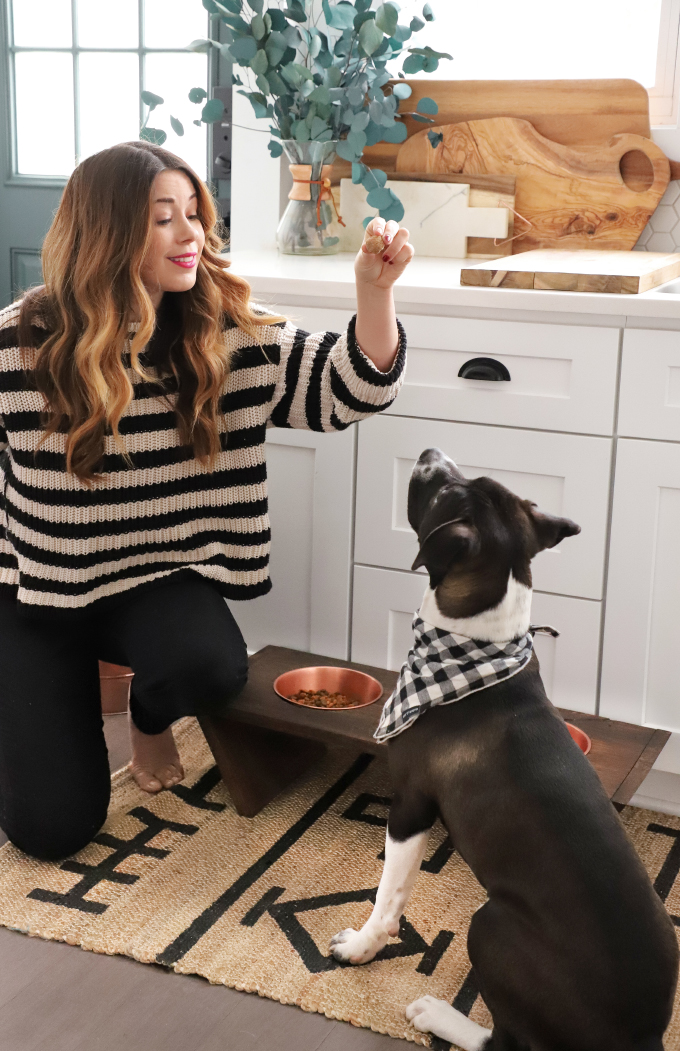
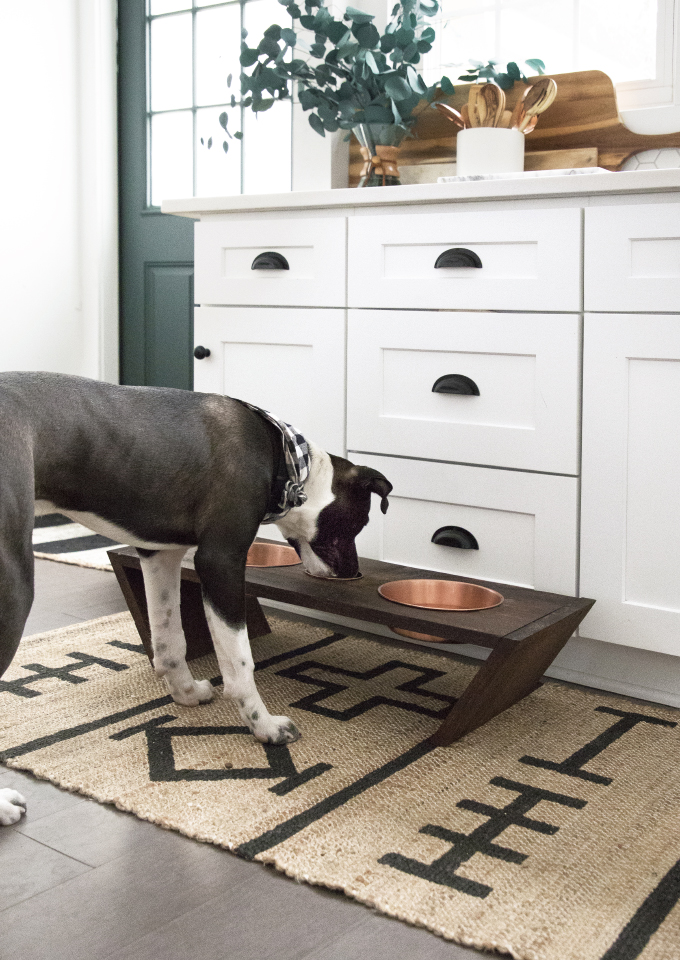
I made a 2018 pact to fix all the little nuisances in my home. The Problem: my sweet puppy, Griffin, loves to knock over his bowls, spilling food and water right where I step. The Solution: A DIY dog bowl and treat holder! It will keep my socks dry and create a special place just for Griff in the heart of my home – the kitchen.. I love his copper food and water bowls, so I wanted to build a custom holder for them. I had this idea in the works when Milo’s Kitchen reached out to partner about their home-style dog treats. Of course I said YES! Any time to combine DIY, treats and bonding with Griff is good for me! 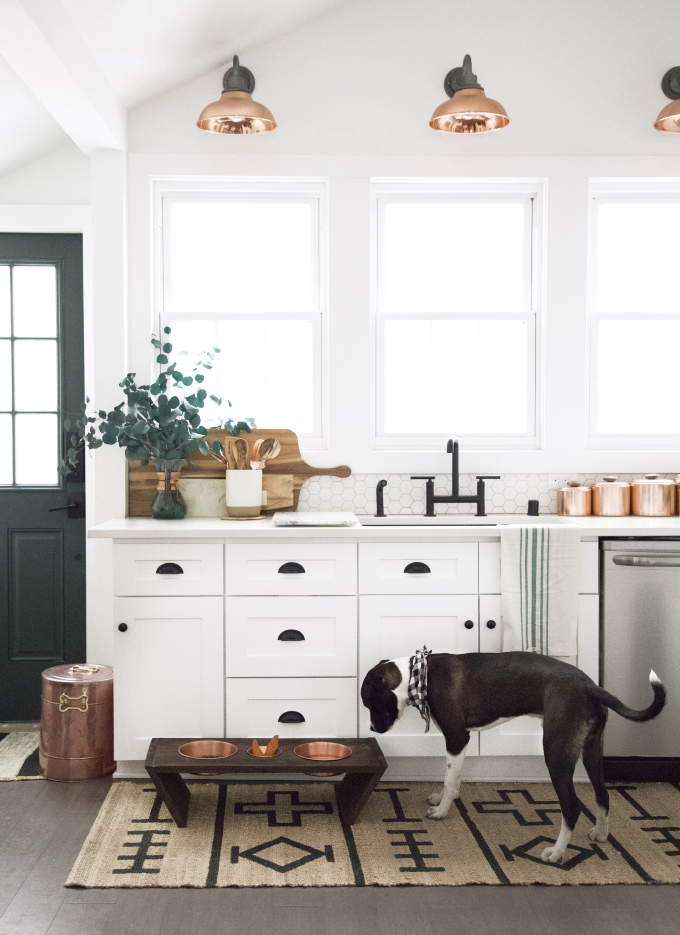
I always check the labels on Griff’s treats, and was excited to see that Milo’s Kitchen treats are made in the USA with real chicken as the #1 ingredient, and are free of artificial flavors! I love this little guy, so he gets only the treats made with quality ingredients. Next up was a taste test with a pretty picky eater, and I swear I have never seen Griff’s tail wag faster than when he tried the Chicken Jerky and Chicken Meatballs; they are like food that would come from the kitchen, but made just for dogs (and probably tastier than most meals that come out of my kitchen, ha!).
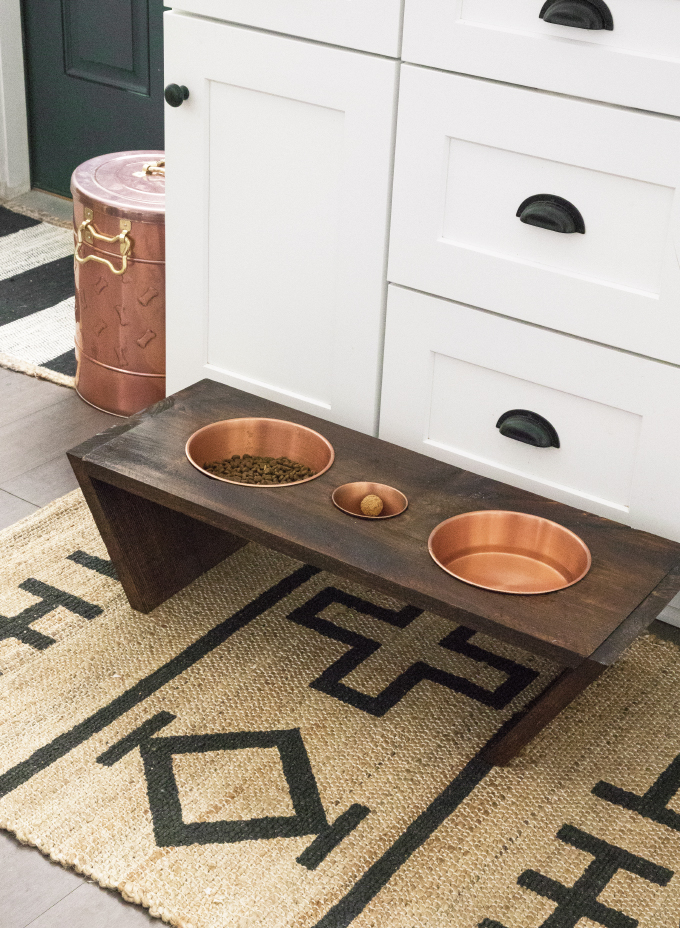
I re-jiggered my dog bowl holder and added a little cup in the middle. Since Griff never leaves my side while I am in the cooking, I always put a treat in the cup before I eat so he can enjoy something delish before dinner! Steps and supplies after the break.
What you need:
Jig Saw
Sander or sand paper
Drill
1.5 in Wood screws
Miter Saw
1X12X8′ Eastern White Pine Board
Minwax Honey Stain
MinwaxClear Semi-Gloss Polycrylic Protective Finish
Paint brush
2 dog food bowls, and one smaller treat cup (all with a lip)
Milo’s Kitchen® Chicken Jerky Recipe and Milo’s Kitchen® Chicken Meatballs – you can find them at large grocery chains and other locations where you find your favorite dog treats in a variety of sizes
What to do:
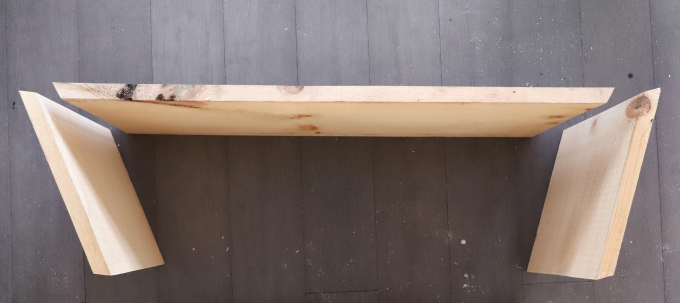
1. Cut the board into 3 pieces using a miter saw set at 30 degrees, my top was 30″ long (but that may need to be adjusted depending on the size of your bowls) and the two side pieces are 10″ each. I originally was going to add a base, but ended up liking it better without.
2. Arrange pieces as shown so the legs angle in.
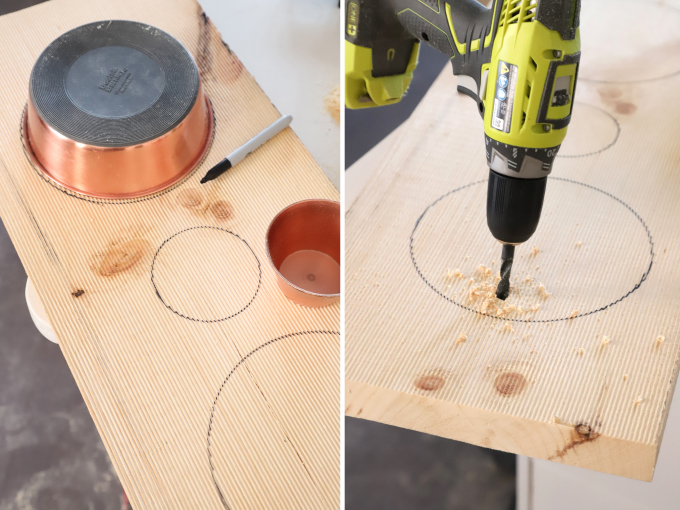
3. On the back of the top piece trace the three bowls so they are evenly spaced from the edges.
4. Drill a pilot hole an inch in form the line
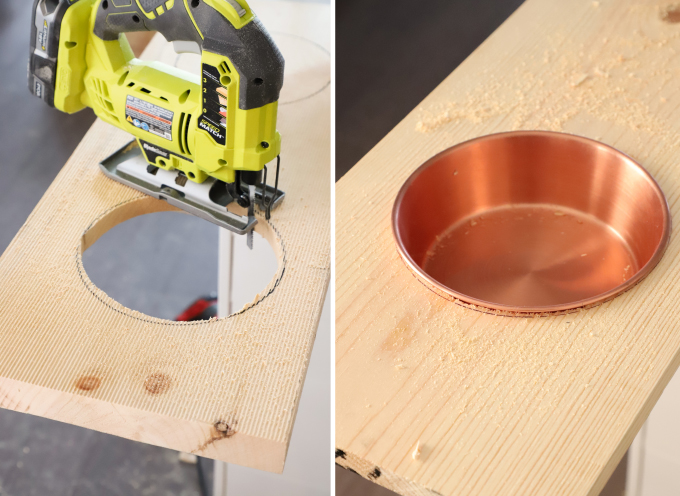
5. Then use the Jig saw to cut a circle about ½ in. inside the line (I practiced on my extra wood to make sure I knew where to cut so the bowl would lay in the hole)
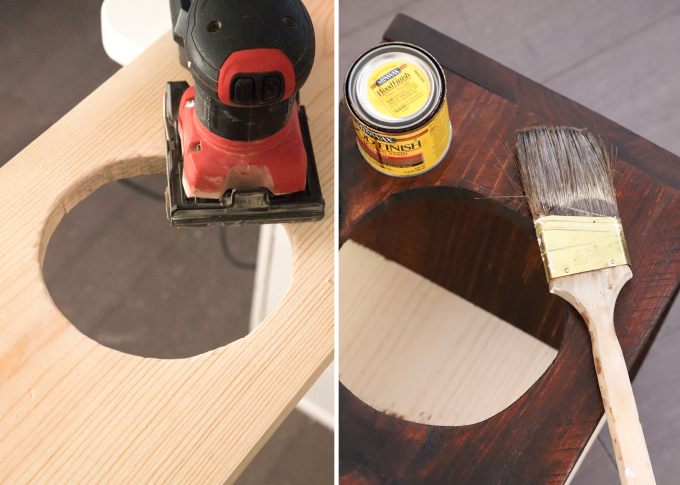
6. Use the sander to smooth any sharp edges
7. Next, drill in two wood screws on each side to attach the legs to the top (you may want to drill pilot holds to prevent the wood from splitting and to guide the screw into the top.
8. Once assembled, brush on stain and let dry.
9. Add two coats of Polycrylic Protective Finish, let dry. 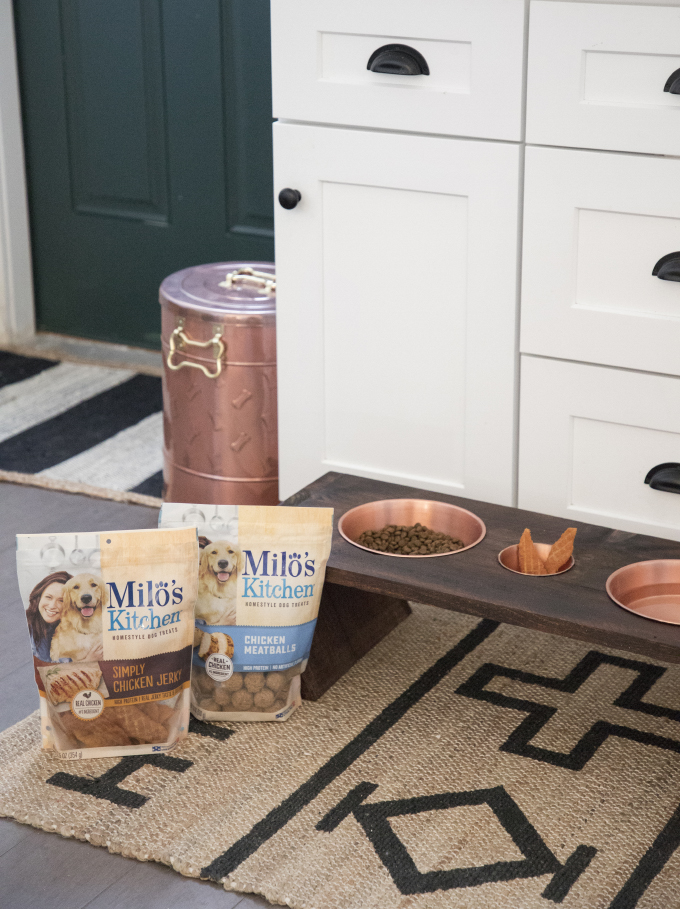
10. Drop in your dog and treat bowls and fill ’em up with a few Milo’s Kitchen treats!
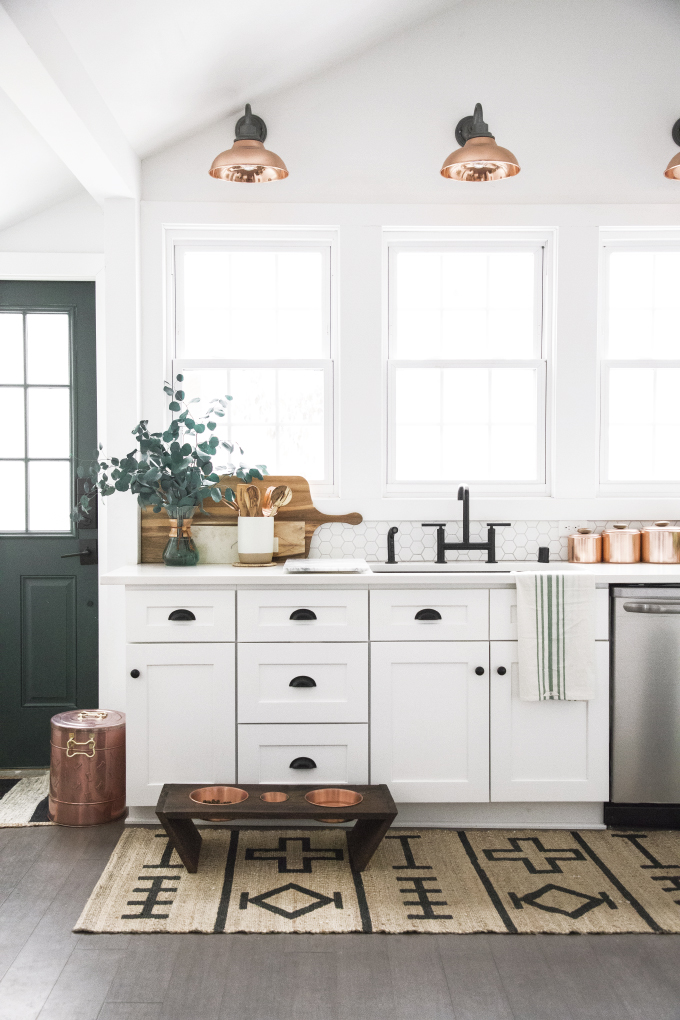
There you have it! One home nuisance checked off my list, and now Griff has his own special spot in the kitchen, stocked with treats that are as close to home cooked as you can get. Only the best for my boy!
========================
PIN THE STEP-BY-STEP BELOW!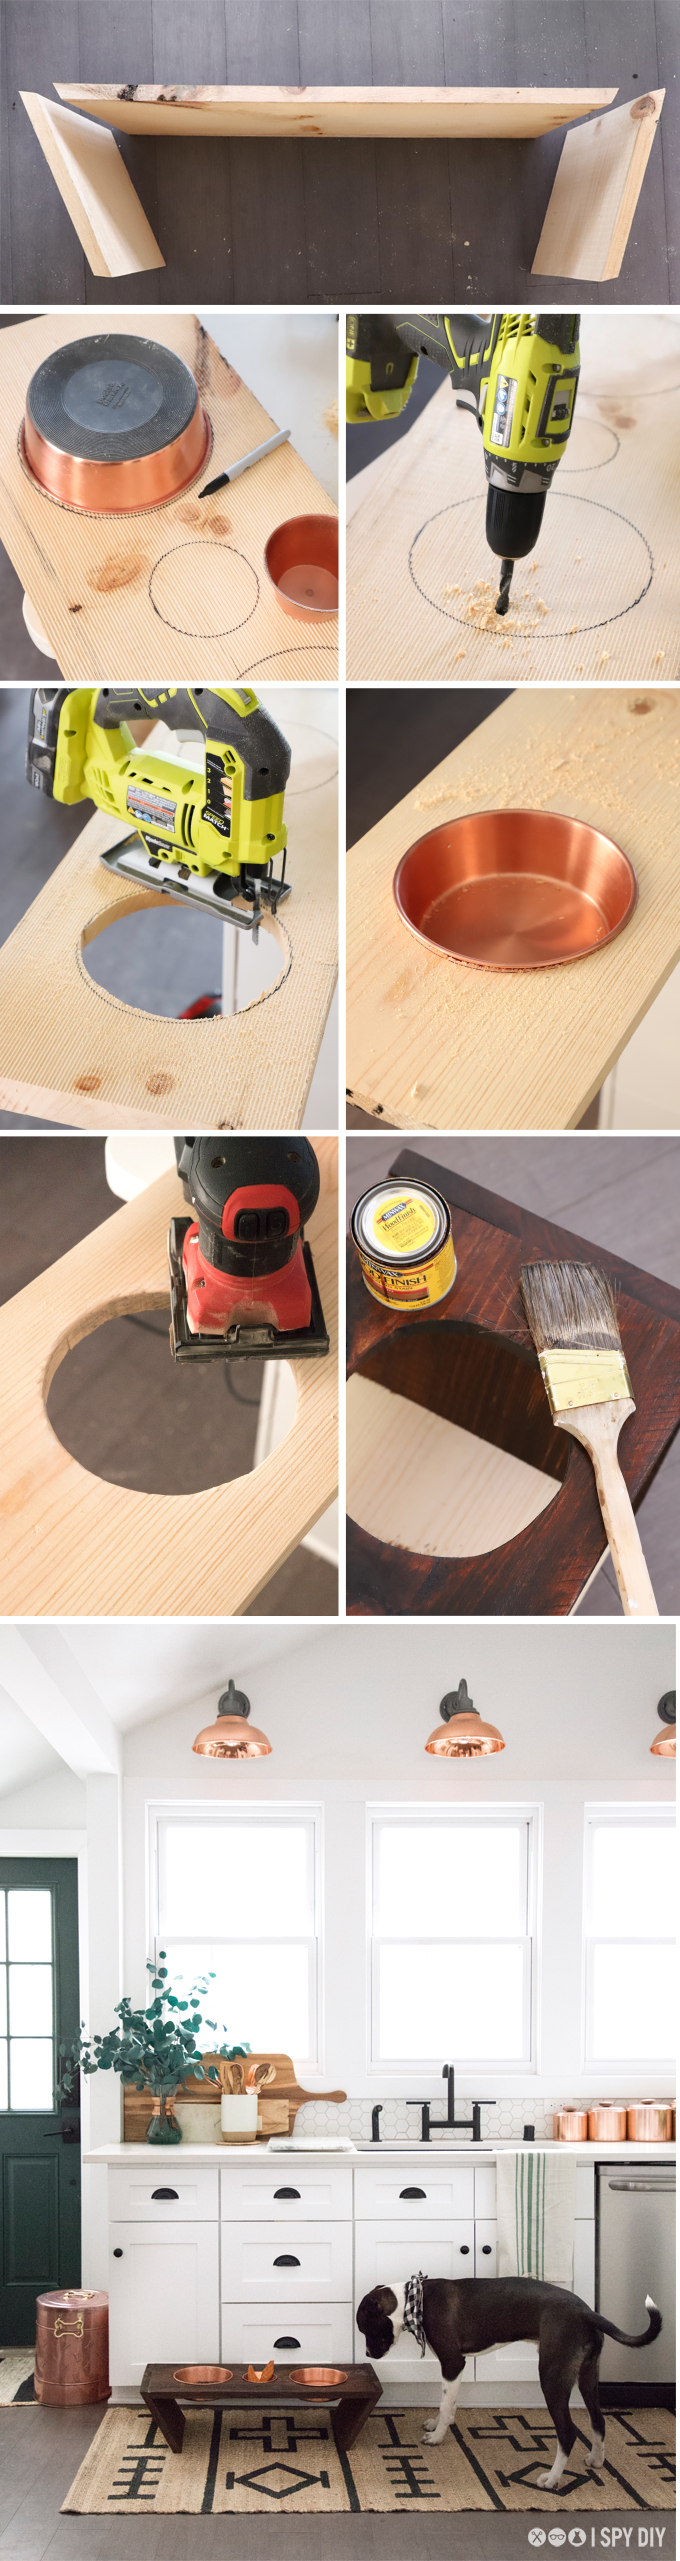
This post has been sponsored by Milo’s Kitchen®. I received product and compensation, but all opinions are my own. Thank you for supporting I SPY DIY’s amazing sponsors!
EXPLORE MORE: DIY PROJECT, Home DIY


This is absolutely stylish, I love the copper bowls!
https://www.makeandmess.com/
Oh my gosh, what a beautiful dog food bowl! I’d make one of these for our cat but he makes a total mess with his food and drinks water from a human glass. It’s lovely! Thanks for sharing.
Eva | http://www.shessobright.com
It’s amazing, the idea is just super!
https://www.aura.diamonds
Love this dog food bowl, and i want to buy one for my cute dog
https://www.hebeos.it
Awe! Griffin is so adorable. This is such a great idea.
Diy Home Sweet Home | http://www.diyhsh.com
I am going to attempt* to make a much smaller version for my yorkiepoo – “Mister Ninja Darth Vader” – this weekend. This might help with the massive mess he makes.
This dog bowl looks very neat! I’m a big cat lover so this idea may come in handy when I’m ready to upgrade the current bowl 🙂
http://mindthetravel.com/bus-lines-in-germany/
Ooh I just love these copper food bowls, they go so well with the rest of your kitchen, and your stand is genius! If my cat wasn’t so terrified of change I’d love to do something like this…!
isoscella | http://www.isoscella.co.uk