MY DIY | Hexagon Shape Shelves
DIY PROJECT, Home DIY

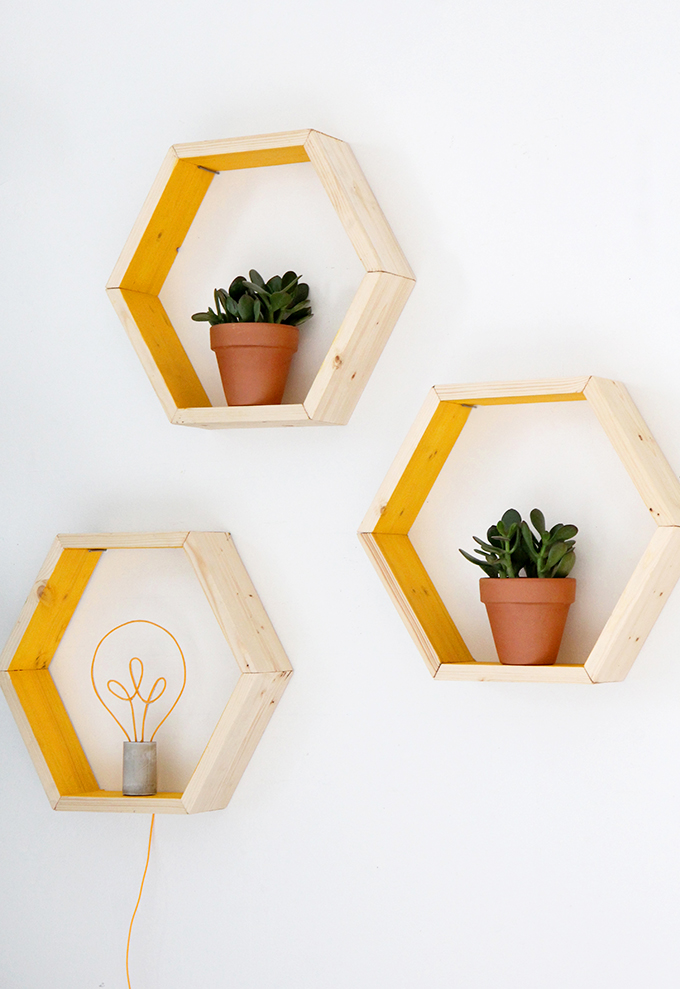

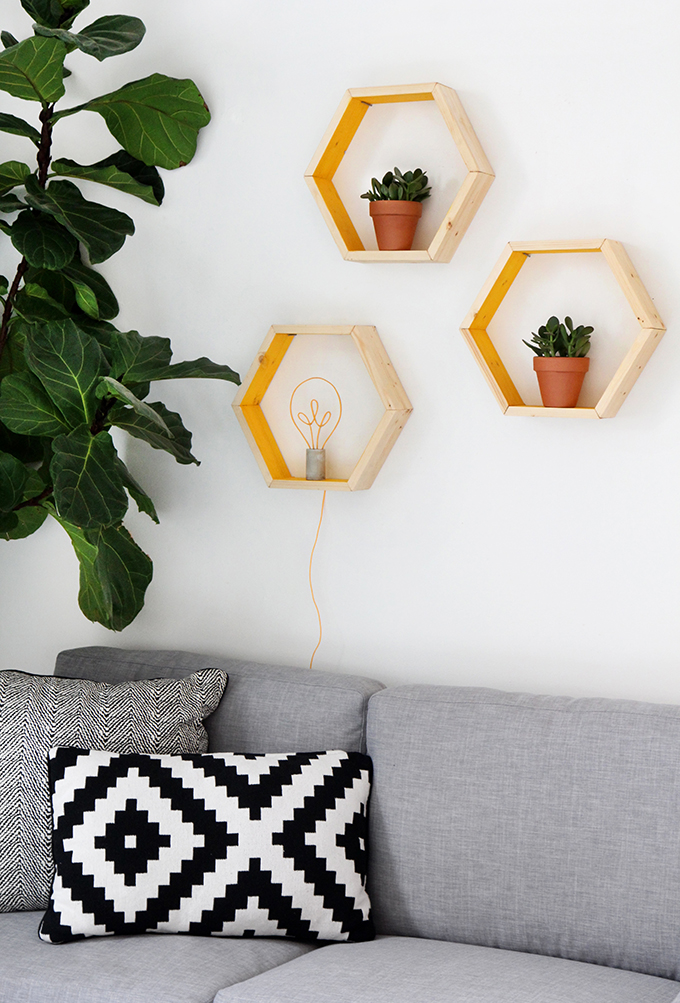
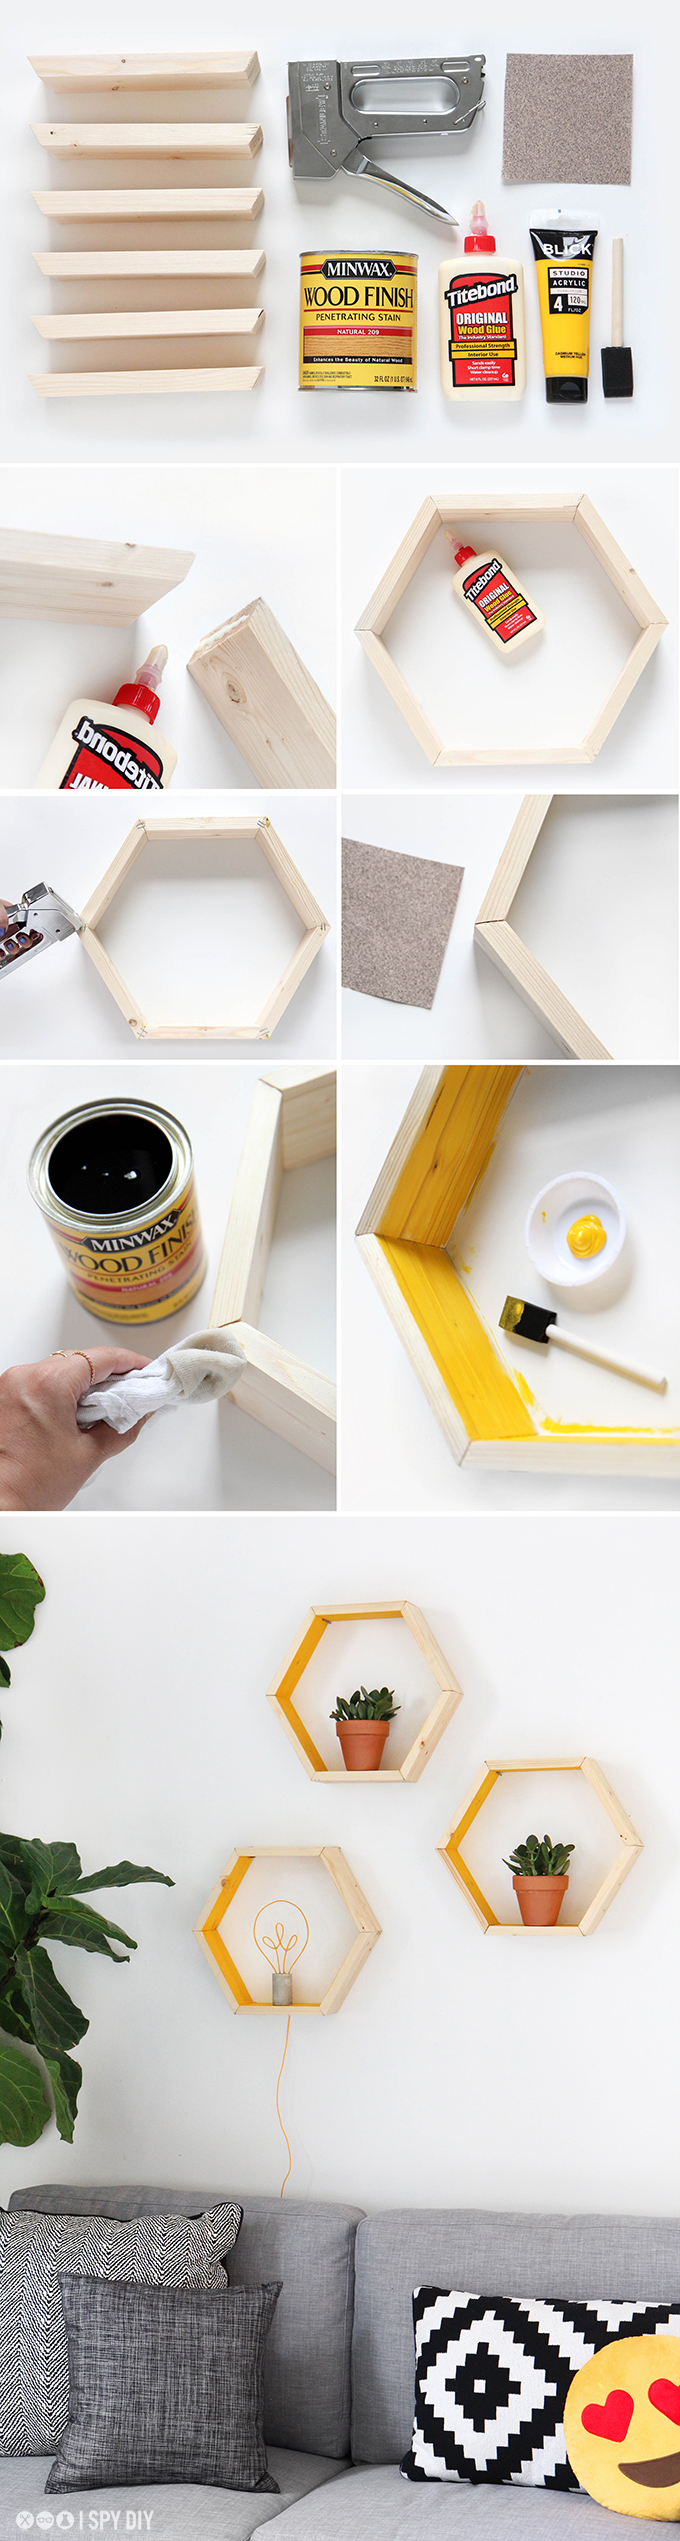
My shape shelves are up and I love how they turned out! I’ve seen quite a few tutorials online, but I wanted to create a simple version that minimized the amount of power tool needed. Strong enough to hold a few potted plants, and my DIY light bulb light. After a trip to the hardware store with my bro-in-law, I had him cut down all the wood to 8″ pieces with a 30 degree angle on each end, then the rest of the assembly was easy peasy. Added bonus, we were able to create 5 hexagons for under $20! Score! Step and supplies after the break…
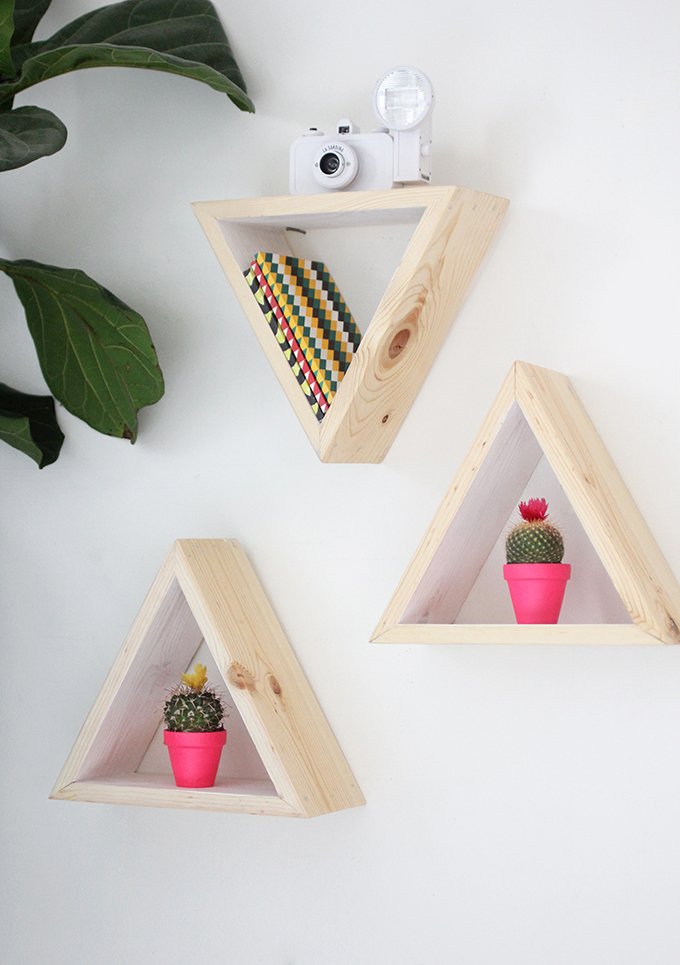
Want to skip the construction?! Stop by Darby Smart to by a pre-made triangle shelf that you can customize!
What you need:
1in x 4in or 6in x 6ft wood
Miter saw
Sandpaper
Wood Glue
Staple gun
Minwax Wood Finish- Natural
Sponge brush
Yellow acrylic paint
What to do:
STEP 1: First, set your minder saw to 30 degree, and cut six 8″ peices of wood, making sure that the cuts on both sizes are angled inward (see image above).
STEP 2: Next create the hexagon, and glue all the joints together with the wood glue, and let dry for an hour.
STEP 3: Flip over the hexagon, and on the backside staple each joint together with two staples. Let dry for 24 hours.
STEP 4: After it’s dry, sand any uneven corners.
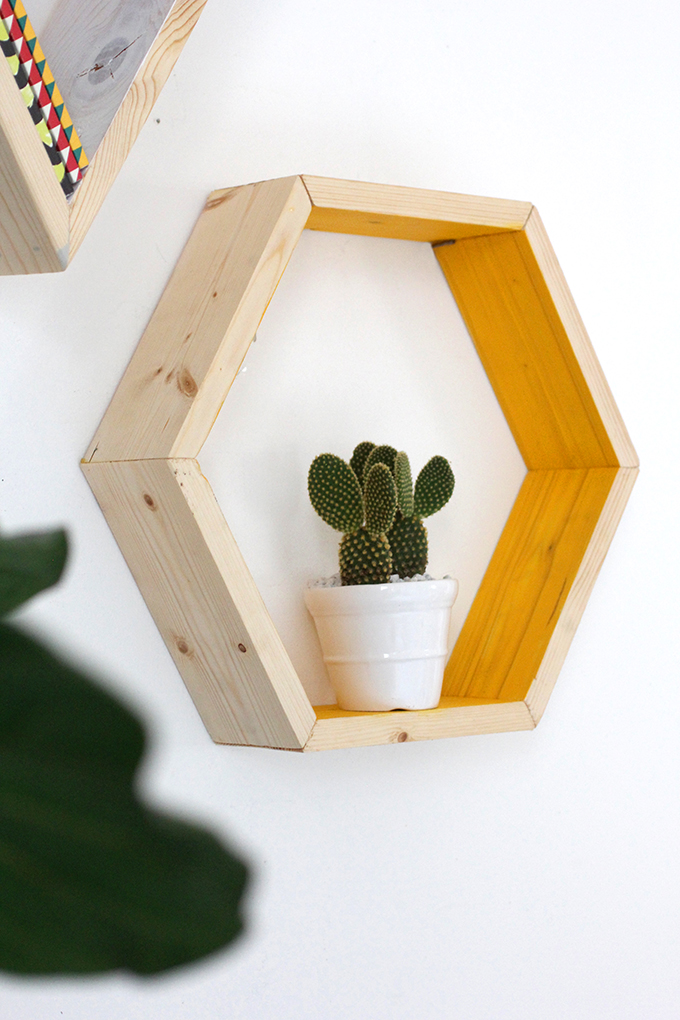
STEP 5: Now is your chance to customize, I stained the outside with a Natural stain, and painted the inside yellow. Let dry.
STEP 6: Hammer nails in the wall that will be disguised in the corner of each hexagon, or use bracket to hang each shelf.
EXPLORE MORE: DIY PROJECT, Home DIY


